Most of what gets called “peeling paint” on a call I run isn’t one problem. It’s three different problems that happen to look the same from across the room, and only one of them gets fixed by scraping off the loose paint and rolling on a fresh coat. The other two come back within a season, sometimes in the exact same spot, because the scrape-and-repaint fix never touched what actually let go.
Twenty-nine years of walking into rooms where paint is curling off a wall taught me to stop looking at the paint first. The paint is just the top layer. What decides whether a repair holds is which interface underneath it failed: paint to paint, paint to wall, or, in a case almost nothing else online talks about, the wall’s own paper skin separating from the drywall core underneath it.
Here’s how to tell which failure you actually have, why the room it’s happening in usually gives away the cause before you touch a scraper, and the fix that matches each one, not the generic version that only works on the easiest third of these calls.
The three things “peeling paint” actually means
People use “peeling paint” as a catch-all for anything wrong with a painted surface, but a scraper in hand shows pretty fast that it’s not all the same failure. Some of it lifts in dry, curling flakes. Some of it is still a smooth, unbroken dome you’d have to pop open to see inside. And some of it isn’t paint separating from the wall at all, it’s a thin skin of the wall itself coming away with the paint. Here’s the terminology I actually use on site, because guessing at the name is how a scrape-and-repaint job turns into a callback.
| What you’re seeing | What it’s called | What’s actually happening |
|---|---|---|
| Paint lifting in flakes or curled sheets, dry and brittle | Peeling | Full adhesion failure at one interface below the top coat |
| A smooth dome or raised patch, paint film still unbroken | Blistering (bubbling) | Moisture or solvent vapor trapped under the film, pushing it up from below |
| A tight, cracked pattern like reptile skin, nothing lifting yet | Alligatoring | An aged, brittle top coat losing flexibility over a softer under-layer |
| Fine surface cracks, paint still bonded tight | Cracking or crazing | A coat applied too thick, or over-thinned, drying unevenly |
| Small chips breaking off at corners, sills, and edges | Flaking | Usually the leading edge of peeling, starting where the film is thinnest |
| Paint comes off carrying a thin tan, fibrous layer with it | Paper delamination | The drywall’s paper face separating from the gypsum core, not just the paint |
That last row is worth pausing on, because it changes the entire repair. If what’s coming off the wall is only paint, primer, or old wallpaper paste, the fix lives on the surface. If what’s coming off includes a thin, fibrous tan layer that looks like cardboard, that’s the drywall’s paper face, and no amount of re-scraping and re-priming that same spot fixes it, because the paper is the substrate failing, not the paint. More on telling the two apart with a five-second test further down. If what you’re actually looking at is fine cracking with nothing lifting, how to fix cracks in walls is the more useful guide than this one.
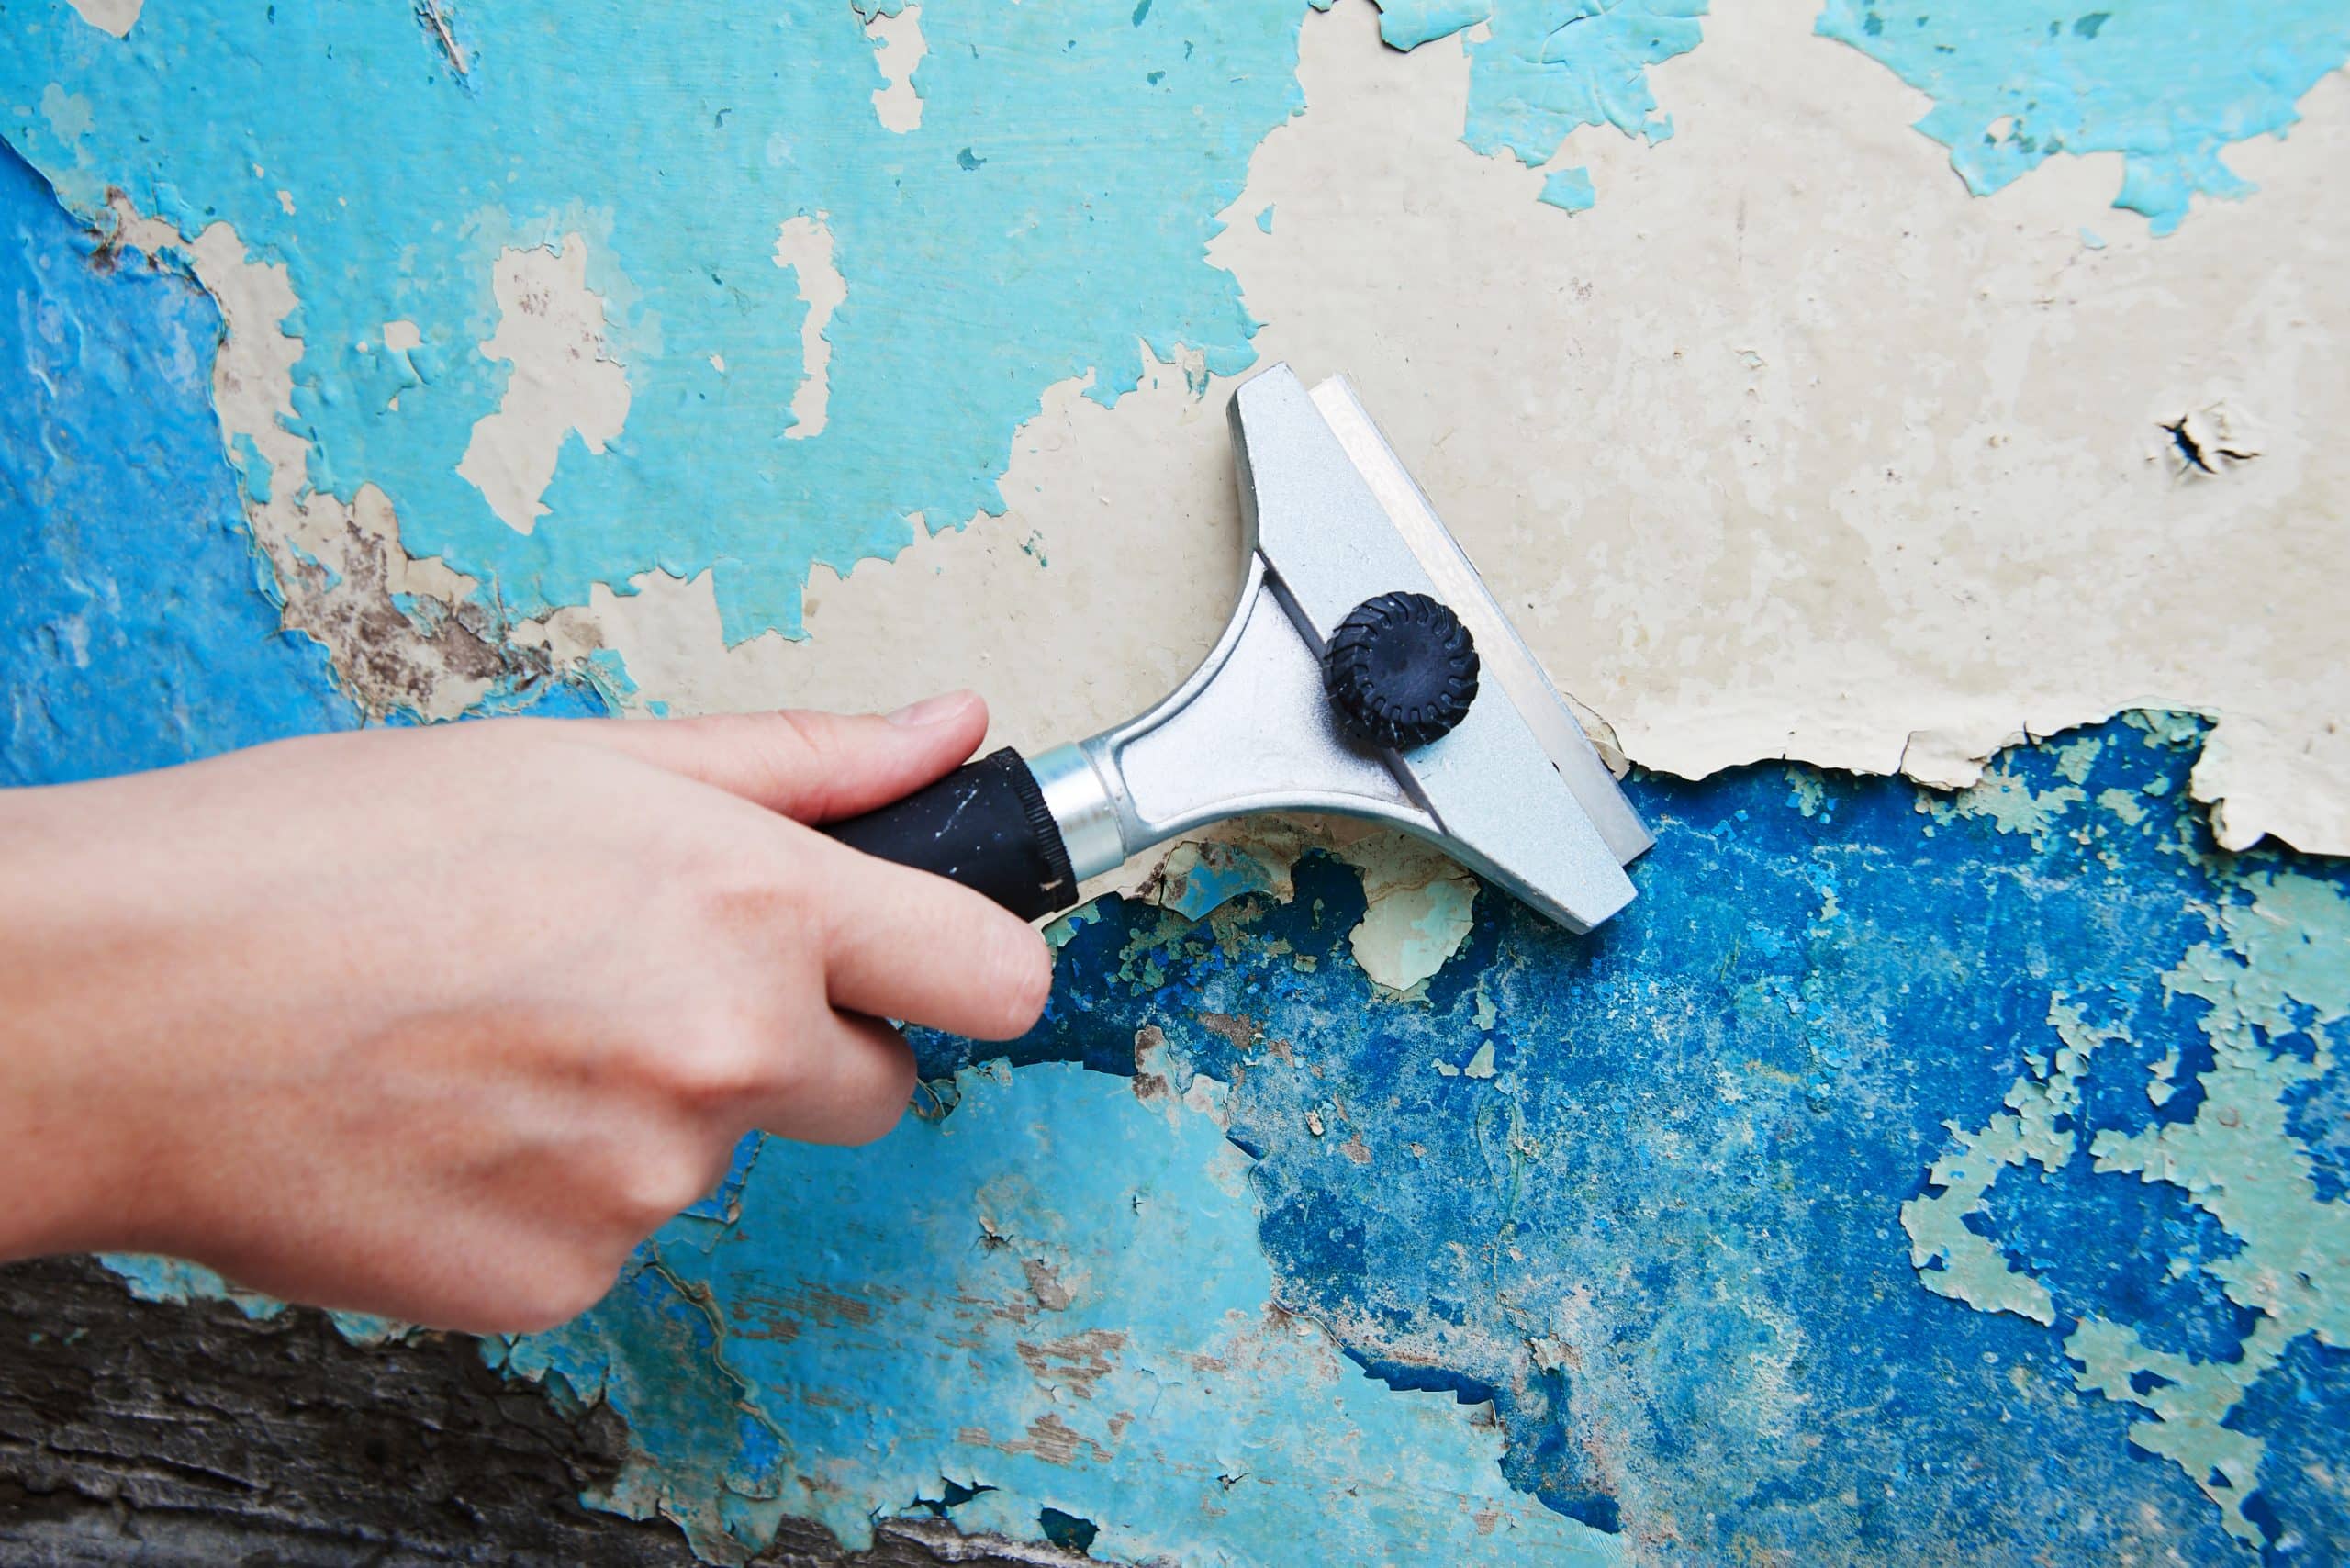
Paint peeling off wall: what adhesion failure actually is
Paint doesn’t dissolve into a wall or fuse to it at a molecular level. It bonds mechanically, gripping into the microscopic texture and porosity of whatever is underneath it, plus a chemical bond where the coating’s resin cures against a compatible surface. Adhesion failure means one of those two bonds never actually formed, or formed and then broke. Almost every case I’ve opened up traces back to one of five conditions being wrong at the moment the paint went on, not something that happened afterward.
1. Moisture pushing from behind the paint film
Water vapor moving through a wall from the room side (a steamy shower, a pot boiling for twenty minutes) or from outside in (a slow roof leak, condensation inside an uninsulated exterior wall) has to go somewhere, and a film of latex or oil paint is the first hard stop it meets. Enough vapor pressure building up behind that film breaks the bond from the inside, whether the paint is six months or six years old. This is the cause behind most bathroom, kitchen, and basement peeling, and it’s the one where repainting without fixing the moisture source just buys another year before it happens again.
2. Painting over a surface that was never prepped for it
Semi-gloss and gloss paint are formulated to resist exactly the kind of mechanical grip a new coat needs. Roll fresh latex over glossy trim or a satin wall without scuffing it dull first, and the new coat is sitting on a surface with almost nothing to key into. The same problem shows up painting straight over old wallpaper paste residue, over chalky exterior-grade paint that migrated indoors, or over a wall that still carries a thin film of old wax or silicone-based cleaner.
3. Skipping primer, or using the wrong one, on bare or patched drywall
Fresh joint compound is porous and drinks paint unevenly if it goes on unprimed, drying to a flat, weak film in exactly the spot most likely to get bumped or scraped later. Bare gypsum board straight from the factory has the same problem along any seam or fastener head that got skim-coated. A coat of drywall primer-sealer evens out that porosity before color ever goes on. Skip it, and the topcoat’s adhesion is only as strong as its weakest, thirstiest patch.
4. Dirt, grease, or residue the paint never actually touched
Kitchen walls collect an invisible film of aerosolized grease long before it’s visible to the eye, and paint rolled over that film is bonding to the grease, not the wall. Nicotine residue, silicone-based furniture polish overspray, and even heavy dust on a wall that skipped its pre-paint wipe-down all do the same thing: they sit between the new paint and the surface it needed to grip. How to clean flat paint walls covers the line between cleaning a wall enough to paint over it and cleaning it hard enough to damage the existing finish.
5. Paint applied outside its working conditions
Every can of paint lists an application temperature and humidity range on the back label for a reason. Paint rolled on too cold, too humid, or in direct sun on an exterior-facing wall can skin over on the surface before it’s actually cured underneath, which looks fine on day one and fails early because the film never finished forming its full bond.
The interface test: find out which layer let go
Before scraping anything, a couple of five-minute checks tell you which of three interfaces failed, and that answer decides whether you’re looking at a half-hour touch-up or a job that needs to start with a moisture fix.
Paint can let go from three places. The new coat can separate from the old paint underneath it, a recoat problem. The whole paint system can separate from the primer or bare substrate, a prep or moisture problem. Or the substrate itself can separate from the wall, which on drywall means the paper face lifting off the gypsum core, a substrate problem paint alone never causes.
The test I actually use on site
Press a two-inch strip of household tape firmly onto a scraped edge, rub it down flat with a fingernail, then pull it back at a sharp angle in one quick motion. Paint professionals use a version of this idea, standardized as ASTM D3359 for rating adhesion on metal substrates, as a rough field gauge of bond strength. Drywall and plaster aren’t the substrates that standard was written for, so treat this as an informal go/no-go check rather than a lab result. Tape that pulls up bare paint down to primer means an adhesion failure at the paint layer. Tape that pulls up primer and a chalky layer with it points to a substrate or moisture problem underneath. Tape that lifts a thin, tan, fibrous layer along with the paint means it isn’t a paint problem at all. That’s the drywall’s paper face.
Bubbles that haven’t burst yet: active vs. inactive blisters
A blister that hasn’t broken open yet is worth testing before you cut into it, because how it responds tells you whether the moisture behind it is still arriving or already gone.
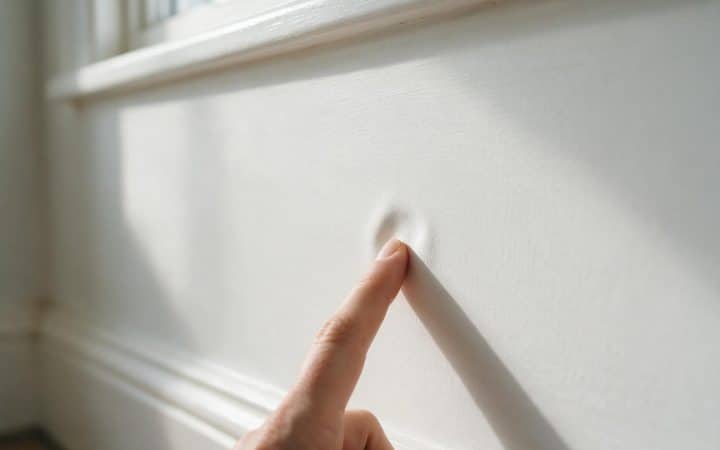
Press the center of the dome gently with a fingertip. If it feels soft, slightly damp, or gives more than the surrounding paint, that’s an active blister, and there’s moisture behind it right now. Cutting it open at this stage usually shows a wet or discolored substrate underneath. If it feels hard, dry, and roughly the same firmness as the paint around it, that’s an inactive blister: a dome that formed once, often during the original paint job from solvent vapor or trapped humidity on application day, and has since dried out with the shape locked in place. Inactive blisters can usually be scraped, feathered, and repainted the same day. Active ones need the moisture source found first, or the new paint blisters again in the same spot within weeks.
Cut a small test window in one blister with a utility knife before deciding which kind you’ve got across a whole wall. A single blister rarely tells the story for an entire room, but it’s usually consistent within the same water-affected section.
Paint peeling off wall in specific rooms: what the pattern tells you
Where the peeling is happening narrows down the cause faster than any test, the same way the shape of a ceiling stain narrows down a roof leak before you ever climb up to look.
Bathrooms and kitchens
These two rooms account for more peeling paint calls than every other room combined, and the mechanism is almost always the same: repeated humidity spikes from showers, boiling water, or a dishwasher cycle, without enough exhaust fan runtime to clear the moisture before it condenses on the coolest nearby surface, usually the paint right above the tub, behind the toilet, or over the stove. Kitchen walls add grease on top of the humidity, its own adhesion problem covered above. Check that the bath fan actually vents outside rather than dumping into the attic, and that it runs long enough after a shower; ten to twenty minutes on a timer switch does more for peeling paint in a bathroom than any paint additive on the shelf. How to detect mold inside walls is worth reading alongside this if the peeling comes with a musty smell, since the same moisture that lifts paint is exactly what mold needs.
Basements and below-grade walls
Peeling paint on a below-grade wall is rarely about the paint at all. Concrete and block hold groundwater and wick it upward and inward by capillary action, and a film-forming paint on top of that wall traps the moisture instead of letting it breathe, which is exactly backwards from what a below-grade wall needs. If the peeling is showing up alongside a white, chalky crust, that’s a related but different problem. Efflorescence on walls walks through telling a one-time construction-moisture event apart from an ongoing water path that needs fixing before any paint, breathable or not, will hold.
Exterior-facing walls in cold climates
An exterior wall corner, especially one near a window, is often the coldest interior surface in the house during winter. Warm, humid room air hits that cold surface and condenses on it, sometimes inside the wall cavity itself if the insulation or vapor control isn’t doing its job, and paint sitting at that cold spot takes the same hit a window does. Condensation on windows covers reading that pattern on glass; the wall version is the same physics with a less obvious warning sign, since paint doesn’t fog up the way glass does before it fails.
Ceilings, especially after a stain or a repaint
Peeling on a ceiling almost always means water got there first, even if you never saw a stain. A slow leak can push enough moisture through drywall to break the paint’s bond without leaving visible discoloration, particularly if the ceiling was repainted since the leak happened and the stain got sealed over along with the moisture behind it. Early signs of water damage on a ceiling covers what shows up before a stain does, and water stain on ceiling covers tracing an existing one back to its source before repainting over it a second time. Once the ceiling itself is ready for a full recoat, how to paint a ceiling with a roller covers the technique that keeps the new coat from showing lap marks under raking light.
Walls that used to have wallpaper
Paint applied directly over old wallpaper, over paper that wasn’t fully stripped, or over paste residue left behind after a rushed removal job is peeling from a surface that was never a sound substrate to begin with. Can you paint over wallpaper? covers the checks that tell you whether the wall underneath is solid enough to paint directly, and how to remove wallpaper covers doing it properly instead of painting over the problem.
When peeling paint takes the wall’s paper skin with it
This is the failure most peeling-paint articles skip entirely, and it’s the one that turns a bucket of primer into a callback if you miss it. Drywall isn’t a solid material with paint sitting on top of it. It’s a gypsum core wrapped in paper facing, and that paper is glued to the core during manufacturing, not fused to it. Paint bonds to the paper. The paper is supposed to stay bonded to the gypsum. When it doesn’t, scraping and repainting the same spot is treating the wrong layer.
This shows up most often in three situations: a wall that took on real water damage at some point, even if it dried out and got repainted since; a spot where masking tape or old wallpaper was pulled off aggressively enough to take the top ply of paper with it; and, less obviously, a wall that’s been scraped too hard or too many times in the same spot chasing ordinary paint peeling. Each scrape removes a little more of the intact paper face, and eventually there isn’t enough of it left to hold a new coat, so the “peeling” comes back looking identical to the last time even though the paint work itself was done correctly.
The fix is different from a paint fix. A torn or lifted paper face needs to be sealed, not just primed, usually with an oil-based or shellac-based stain-blocking primer that locks the loose fibers down, followed by a thin skim coat of joint compound to rebuild a flat, sound surface over the damaged area. Skim coat walls covers the GA-214 finish levels and how many coats a patch like this actually needs, and joint compound vs spackle covers which material to reach for depending on how deep the damage goes. Skip straight to paint over torn paper without that step, and the new coat has the same weak, fibrous surface to grip that just failed the last time.
If the tear goes deeper than a skim coat can level out, down into visibly crushed or soft gypsum rather than just the paper face, that’s no longer a paint-adjacent repair. How to repair a dent in drywall and how to patch a large hole in drywall cover the two most common versions of that deeper repair.
How to fix paint peeling off the wall, by failure type
The scraping and priming steps below are close to universal. What changes by failure type is what happens before the scraper comes out, and whether the job stops after step four or keeps going through a skim coat.
-
Find the edge and keep scraping until it stops
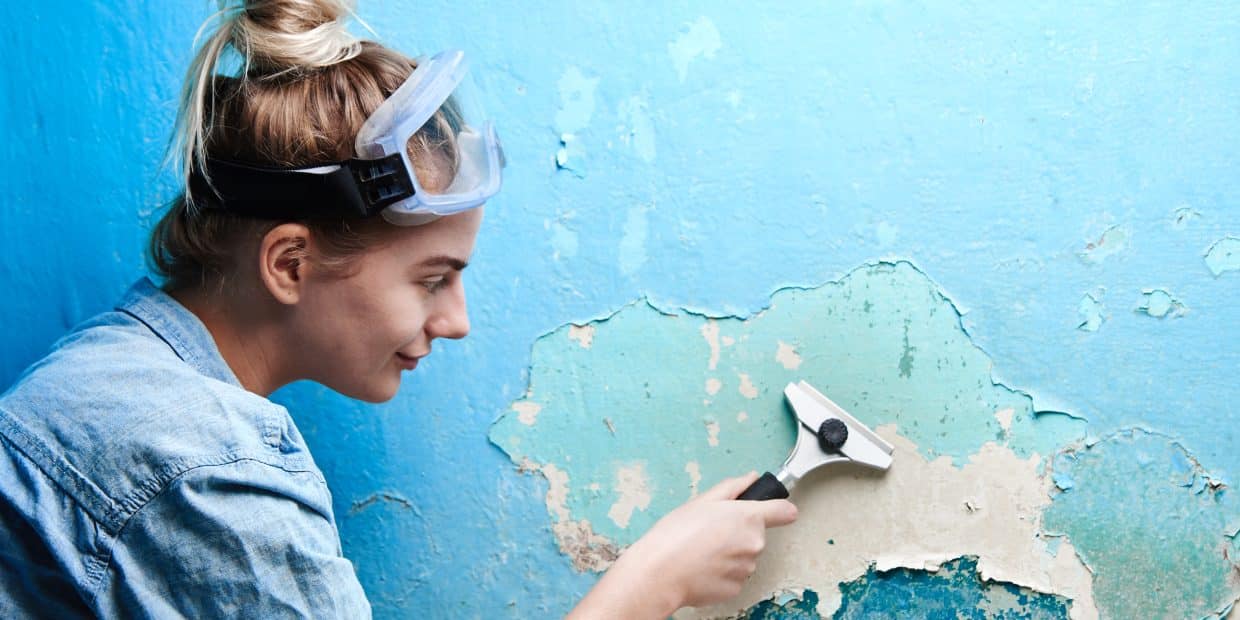
Work a stiff putty knife or scraper under the lifted edge and keep going past where the peeling looks like it ends. Paint that looks bonded right at the visible edge of a peeling patch is often only one light touch away from lifting too. Stop where the scraper meets real resistance, not where the damage looks like it visually stops.
-
Feather the edge
Sand the transition between bare substrate and intact paint with 120 to 150 grit so it doesn’t leave a hard ridge that telegraphs through the new coat. What grit to sand drywall covers the full progression if the area needs more than a light feather.
-
Check what you exposed
Bare drywall paper, gray primer, old paint, or that tan, fibrous paper-delamination layer described above. This is where the repair branches.
-
Address the cause, not just the surface
Moisture source fixed and the area fully dry (give it days, not hours, especially in a bathroom or basement), incompatible sheen scuffed dull, grease or residue washed with a degreaser and rinsed clean, or torn paper sealed and skim-coated.
-
Prime the exposed area
Spot-prime bare drywall, patched compound, and any torn paper with a stain-blocking primer-sealer, feathering the primer slightly past the repair so it doesn’t leave its own visible line under the topcoat.
-
Repaint in matching sheen, full coverage over the repair
Cut in the edges first, then roll the full wall or panel rather than just the patch. Spot-repainting a patch in isolation is one of the most common reasons a repair stays visible from across the room even after the peeling itself is fixed for good. Painting walls the way that keeps roller marks and flashing off the finish and how to cut in paint without relying on tape cover that full-coverage technique.
Two of those six steps are where causes actually diverge. Moisture-caused peeling needs the source fixed and real dry time, not just a fan pointed at it for an afternoon, before step five. Paper-delamination peeling needs the seal-and-skim-coat step worked in between steps four and five, not skipped. Everything else on the list holds regardless of what broke the first bond.
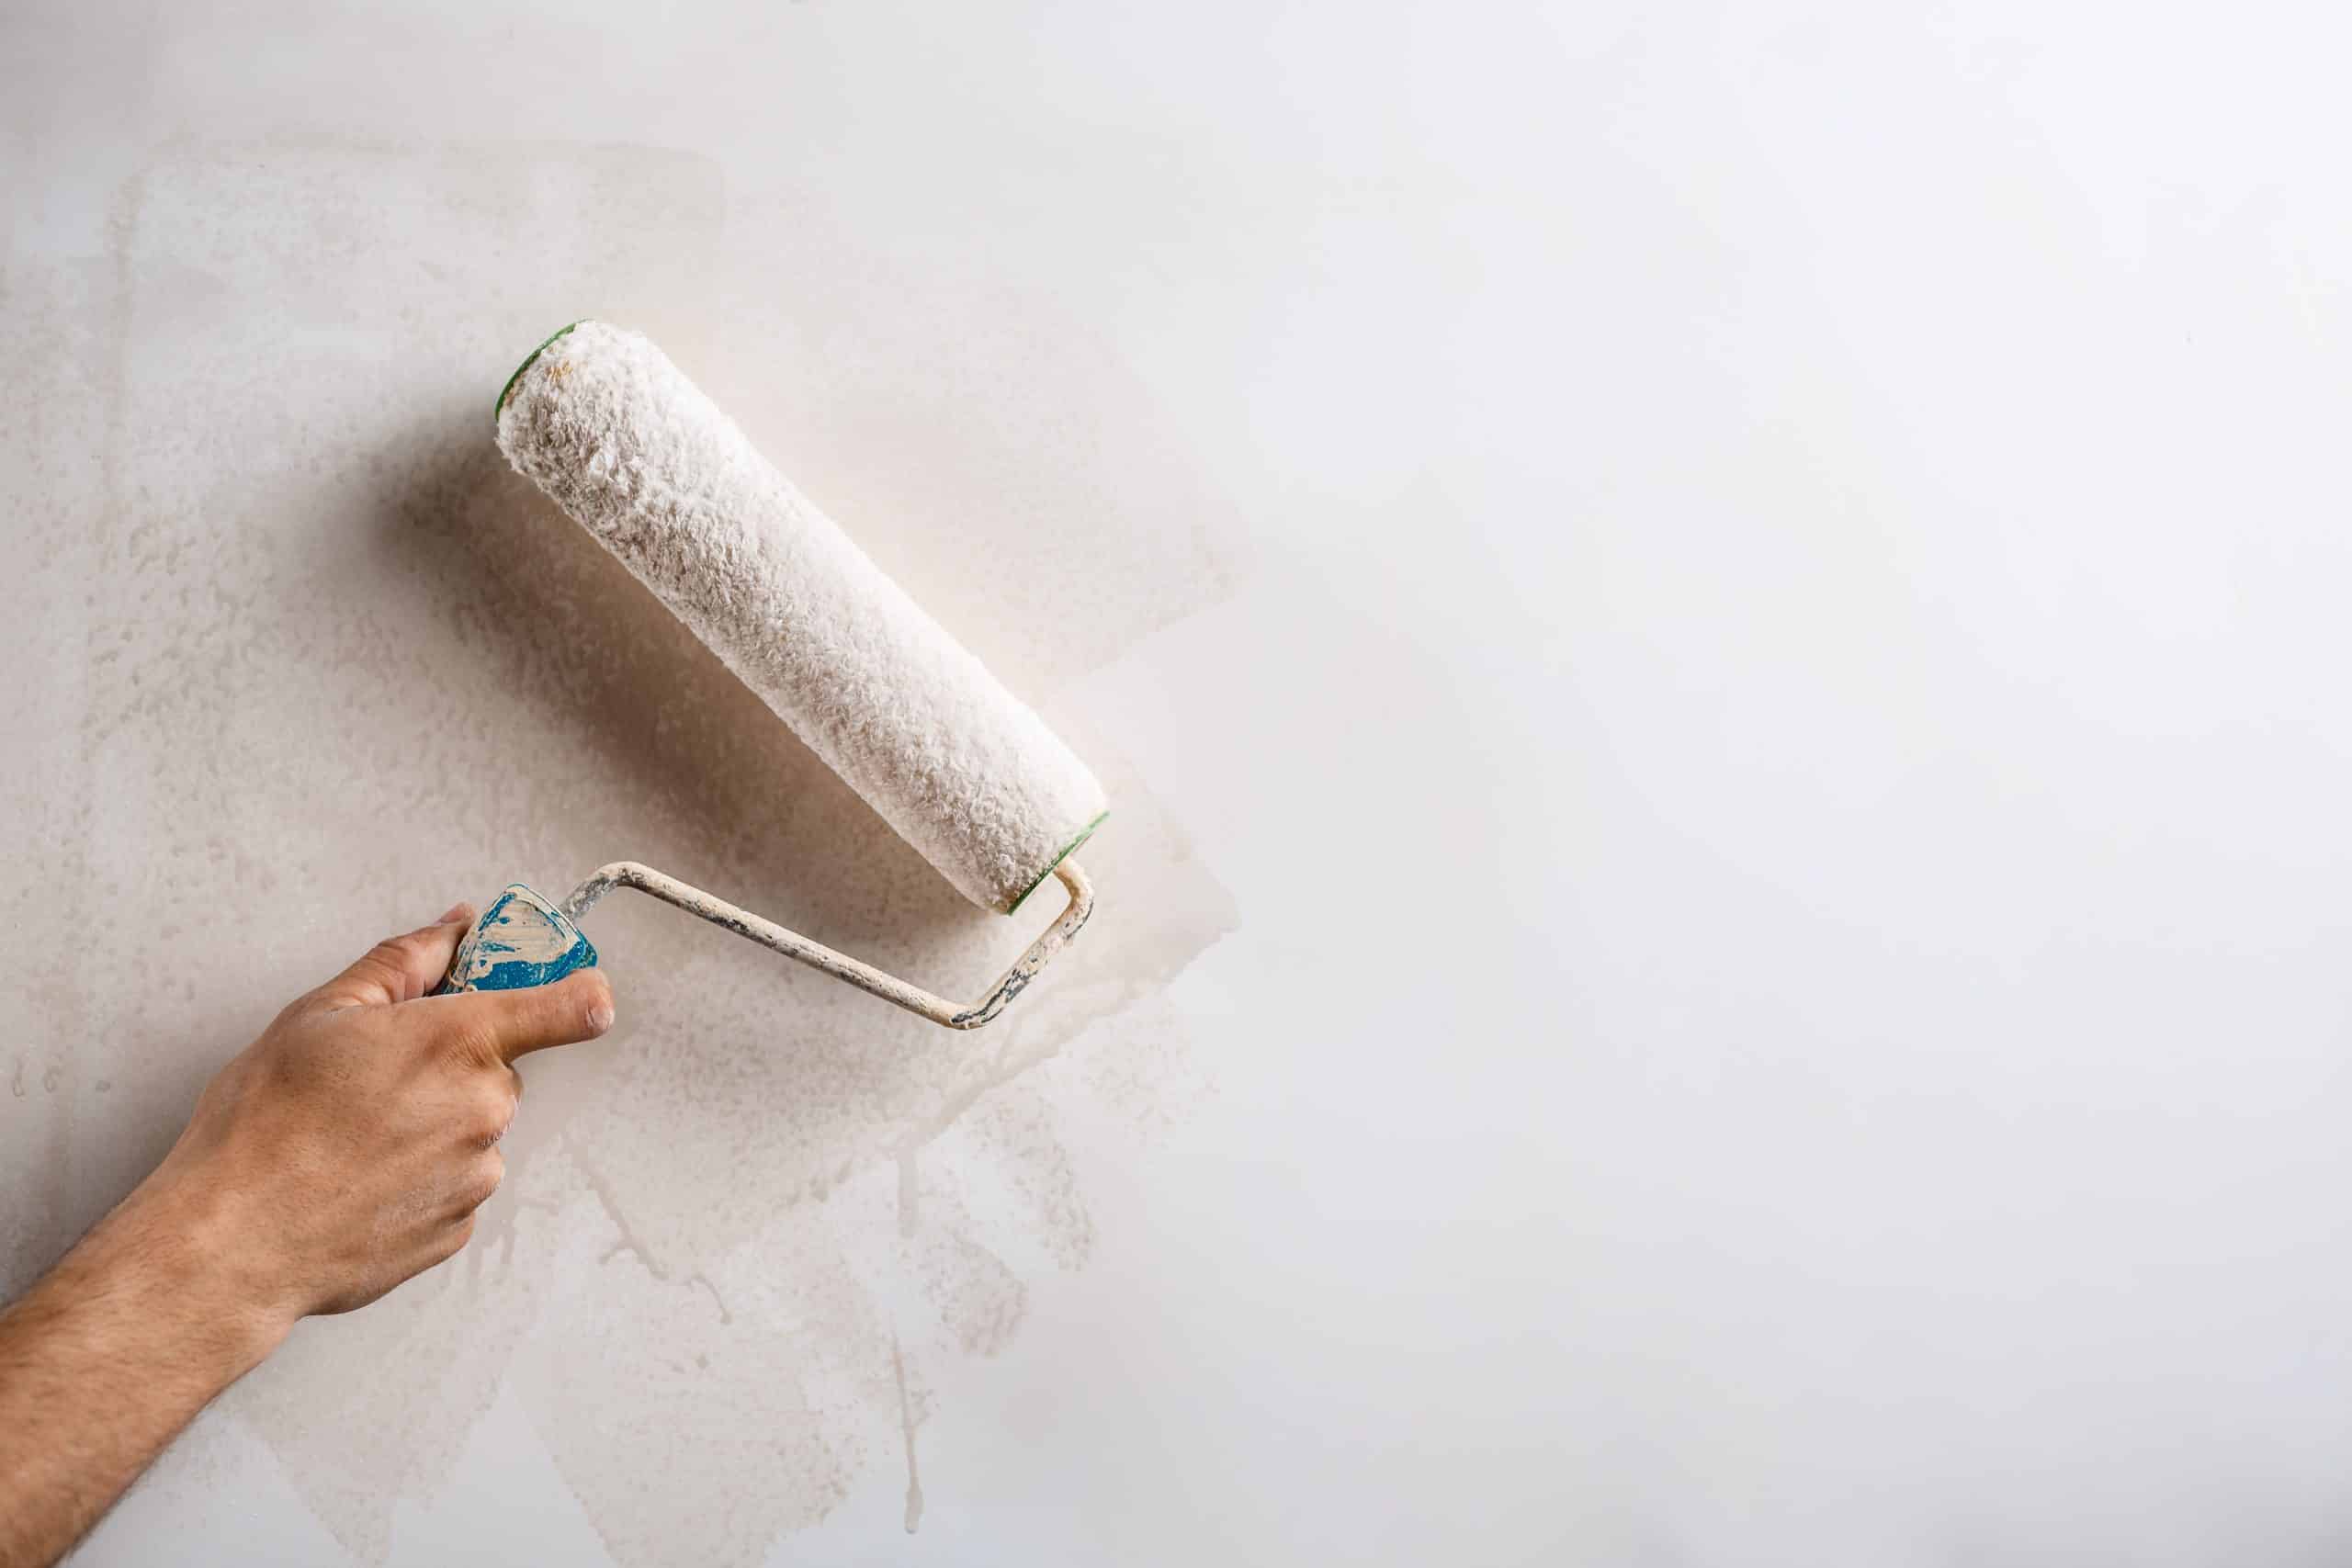
Tools and materials for the fix
Nothing on this list is specialty equipment. What matters more than any single tool is not skipping the ones that feel optional, especially the primer and the degreaser.
| Item | Use | Rough cost |
|---|---|---|
| Stiff putty knife or 3-inch scraper | Removing loose paint down to firm material | $8-$15 |
| 120-150 grit sandpaper or sanding sponge | Feathering the edge between bare and intact paint | $6-$12 |
| TSP substitute or a household degreaser | Cutting grease and residue before priming | $8-$15 |
| Stain-blocking primer-sealer, oil or shellac-based | Sealing torn paper, bare compound, and stains before topcoat | $20-$40/quart |
| Joint compound and a 6-inch taping knife | Skim-coating over torn or damaged paper face | $15-$25 |
| Matching topcoat paint, same sheen as the surrounding wall | Full-coverage repaint over the repair | $35-$65/gallon |
| Painter’s tape and a moisture meter (optional) | Protecting trim; confirming a wall is actually dry before priming | $10-$45 |
What it costs to fix peeling paint in 2026
The spread on this job has almost nothing to do with square footage and everything to do with which failure type is behind it, same as the tools list above.
| Job | DIY materials | Typical pro cost, 2026 |
|---|---|---|
| Small patch, under 10 sq ft, simple paint-to-paint peeling | $15-$40 | $150-$300 |
| Full wall, moisture-caused, source already fixed | $50-$120 | $350-$650 |
| Full wall, including finding and fixing an active moisture source | $100-$400+ | $500-$1,800, depending on the source |
| Paper delamination requiring seal and skim coat before repaint | $60-$150 | $600-$1,200 |
| Full-room repaint after the repair, cut-in and two coats | $80-$180 | $400-$900 |
That third row is where quotes swing the widest, and it’s also where I’ve watched homeowners get a painting quote when what they actually needed was a bath fan replacement, or the other way around, a full repaint quoted before anyone checked whether the peeling would just come back in four months. Drywall repair cost breaks down the labor-versus-material split in more detail if the damage under the peeling turns out to be bigger than a skim coat.
Before you scrape: the pre-1978 lead paint check
One check comes before any of the steps above, and it has nothing to do with why the paint is peeling. If the house was built before 1978, there’s a real chance the paint under the top layers contains lead, and dry-scraping or sanding it is exactly the wrong way to disturb it.
This is a federal rule, not a suggestion
The EPA’s Renovation, Repair and Painting Rule requires lead-safe work practices on pre-1978 housing whenever a renovation disturbs more than a small amount of painted surface, and for good reason: dry scraping or power-sanding old lead paint creates fine dust and chips that are far more hazardous than the intact paint film ever was. A simple test kit from a hardware store gives a fast first read; a certified lab sample is the reliable answer. If the test comes back positive, wet-scrape only, never dry-sand, contain debris with plastic sheeting, and consider a lead-certified contractor for anything beyond a small touch-up. Full detail on the rule itself is on the EPA’s lead renovation, repair and painting program page.
This isn’t a step to skip because the peeling looks minor. Peeling and flaking paint is specifically flagged as a higher-risk condition in lead-safe guidance, because loose, failing paint is already partway to becoming dust and chips before a scraper ever touches it.
Questions I get on site
Is peeling paint dangerous?
Usually not on its own, but it’s worth checking two things before writing it off as cosmetic. In a home built before 1978, peeling paint can mean lead paint is now shedding chips and dust, covered above. And moisture-caused peeling is often sitting right next to conditions mold needs, even if none is visible yet. Neither means panic. Both mean check before you just scrape and repaint.
Can I just paint over peeling paint?
No, and this is the single most common mistake I see. A new coat over loose, peeling paint has nothing solid to bond to at that spot, so it fails at the same edge, usually faster than the first time, because now there’s extra weight and thickness for the same weak bond to hold up. Scrape back to firm material first, every time, even if it means a bigger patch than hoped for.
How do I know if it’s mold or just peeling paint?
Peeling is a physical separation, paint or paper lifting away from what’s underneath it. Mold is growth on top of a surface, usually with color (black, green, or orange speckling) and often a musty smell that peeling paint alone doesn’t have. The two frequently show up together because they share the same cause, trapped moisture, so finding one is a good reason to check for the other. How to get rid of mold on walls covers telling them apart up close.
Why does paint keep peeling in the same spot after I fix it?
Two likely explanations. Either the moisture source behind the original failure was never actually fixed, just dried out temporarily, or the real problem was paper delamination from the start, and every repaint has been re-priming a paper face that still isn’t bonded to the gypsum underneath it. If a spot has failed more than twice, stop repeating the same fix and check for the paper-delamination signs described above before painting it a third time.
Does peeling paint mean I have a leak?
On a ceiling or near the top of a wall close to a ceiling line, that’s one of the more likely explanations and worth ruling out first. On a bathroom or kitchen wall, ordinary humidity is just as common a cause as an actual leak. The pattern helps: a leak usually peels paint in a shape that traces back to one point, while humidity-driven peeling tends to spread more evenly across the whole humid zone of a room.
How long does a peeling paint repair last?
Indefinitely, if the actual cause got fixed along with the paint. If only the paint got fixed and the underlying moisture, prep, or paper problem didn’t, most peeling repairs I’ve seen fail again within one season to about two years, depending on how aggressive the ongoing cause is.
Is peeling paint covered by homeowners insurance?
Almost never by itself. Paint peeling from ordinary humidity, age, or poor prep is treated as gradual deterioration and general maintenance, which standard policies exclude. If it’s tied to a sudden, specific event, a burst pipe or a storm-caused roof leak, the water damage itself may be covered even though the peeling paint is really just the visible symptom. Check your specific policy or ask your agent rather than assuming either way.
What’s the difference between peeling and blistering paint?
Peeling is paint that has already fully separated and is lifting or flaking away. Blistering is the stage before that: the film is still intact but has domed up over trapped moisture or vapor underneath it. Every peeling failure that involves moisture usually blisters first. Not every blister goes on to peel, especially the inactive kind described above.
Where I’d start
Scrape back to firm material, run the tape-pull test on what’s left, and let that answer decide the rest. A clean paint-to-paint or paint-to-primer failure is a half-day fix: scrape, feather, prime, repaint. Anything that pulls up a tan, papery layer needs a seal and a skim coat before paint goes anywhere near it again, and anything tied to an active moisture source needs that source found and fixed first, or the same spot is just buying another season before it lets go again.
More on painting technique lives under painting technique, and the moisture side of this problem, including mold, condensation, and efflorescence, is under moisture and mold.