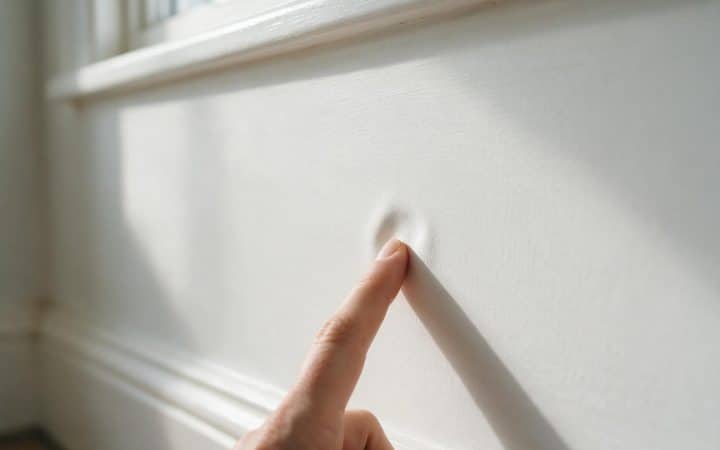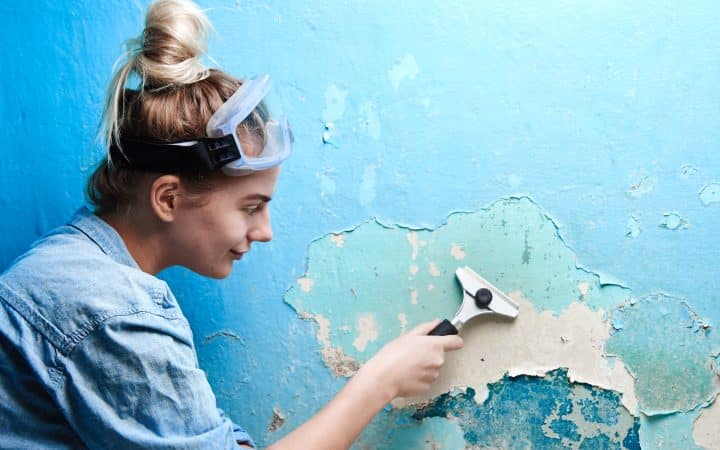
Most people don’t think about the mechanics of painting walls until the coat is dry and something looks off — a band running down the middle, a patch that looks duller than the rest, roller texture where the old wall was smooth. None of that is really about the color. It’s about sheen, film thickness, and timing, and all three get decided before the roller ever touches the wall. This guide covers the parts that actually change how the finish looks once it’s dry: which sheen for which room, which nap for which surface, when to prime, and the sequence that keeps a wet edge instead of a visible seam. If the wall still has a patch, a texture mismatch, or old wallpaper glue underneath, sort that out first — see our guides to patching a large hole in drywall, drywall texture types, or removing wallpaper before you open a can of paint.
Flat, eggshell, satin, or semi-gloss — the sheen decides more than the color does
Paint stores sell color first and sheen second, and that’s backwards for how the wall actually performs. Sheen is a scale, from flat with almost no shine to gloss with the most, and where you land on it decides two things at once: how much the paint hides and how much it shows.
Flat and matte reflect the least light, which is exactly why they hide surface flaws, patch lines, and texture unevenness better than anything else on the shelf. They’re also the least washable — a flat wall in a hallway with kids and a dog picks up marks that never fully scrub out. Eggshell adds a slight sheen and a real jump in washability without giving up much hiding power, which is why it’s the default for bedrooms, living rooms, and hallways on most interior jobs. Satin goes a step further and holds up to the kind of scrubbing a kitchen or bathroom gets, at the cost of showing more of what’s underneath. Semi-gloss and gloss are for trim, doors, and cabinetry, not walls — they wipe clean, and they’re also the most unforgiving finish there is for an uneven surface.
That last part is the piece worth reading twice. The higher the sheen, the more a roller lap, a thin spot, or an unprimed patch will catch the light and announce itself. A satin kitchen wall over a rough patch will show flashing that the exact same patch would have hidden completely under flat paint in a bedroom. Pick the sheen for the room’s traffic and moisture first, then check whether the wall underneath is actually ready for that sheen — not the other way around.
| Sheen | Best for | Trade-off |
|---|---|---|
| Flat / matte | Living rooms, bedrooms, dining rooms, ceilings | Hides flaws well, wipes clean poorly |
| Eggshell | Hallways, living rooms, most bedrooms | All-around default — light sheen, easy touch-ups |
| Satin | Kitchens, bathrooms, kids’ rooms | Scrubs clean, shows more of the surface underneath |
| Semi-gloss / gloss | Trim, doors, cabinetry — not walls | Most durable, least forgiving of flaws |
Match the roller nap to what’s actually on the wall
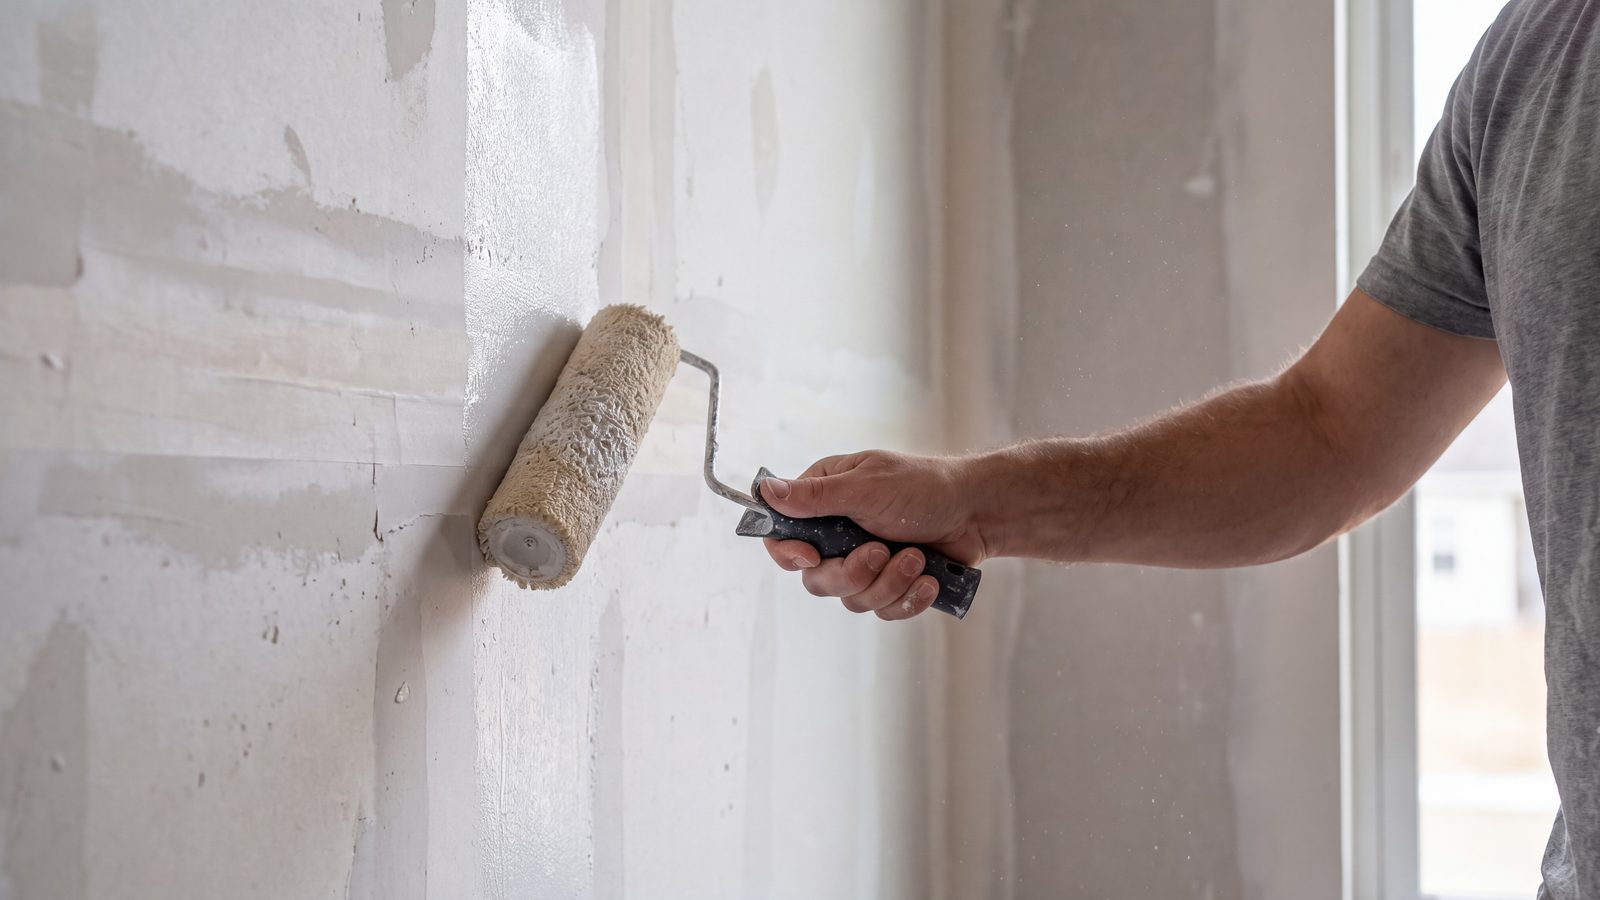
The roller cover matters as much as the paint. Nap length is how far the fibers stick out, and the rule runs one direction: the smoother the wall, the shorter the nap. A wall that’s freshly skim coated or original smooth drywall wants a 1/4 to 3/8-inch nap — enough to lay down an even film without adding texture of its own. Push a thick nap over a smooth wall and you’ll stipple it, laying down texture that wasn’t there before, which shows under any sheen above flat.
Go the other way and a short nap on a heavily textured wall — orange peel, knockdown, skip trowel — skips the low points entirely. The fibers only touch the high spots, so the valleys of the texture stay bare or thin, which is exactly the patchy, half-covered look people blame on cheap paint when the real problem is roller selection. Light texture takes a 1/2-inch nap. Heavy texture — stucco, deep knockdown — needs 3/4 to 1 1/2 inches to actually reach the low spots. If you’re not sure what texture you’re dealing with, our drywall texture types guide covers how to identify it before you’re standing in the paint aisle guessing.
A 3/8-inch nap is the closest thing to a universal choice for interior latex on ordinary walls, which is why it’s what most pros default to when a job mixes smooth patches with lightly textured original wall. It’s a compromise, not a perfect match for either surface — if your wall is entirely one texture, size the nap to it instead.
| Surface | Nap length | Why |
|---|---|---|
| Smooth drywall, skim coated, fresh patch | 1/4″–3/8″ | Even film, no added texture |
| Light texture (orange peel) | 1/2″ | Reaches shallow texture without overloading |
| Heavy texture (knockdown, stucco) | 3/4″–1 1/2″ | Long enough to fill deep low spots |
| Mixed smooth + light texture | 3/8″ | Closest thing to a universal choice |
Prime or skip it
This is the step people skip most and regret first. A fresh patch, new drywall, or bare skim coat is more porous than the paint around it, and uncoated compound drinks paint at a different rate than the paper facing next to it. Paint straight over that without primer and the patch dries a slightly different sheen than the rest of the wall — flat paint hides it least badly, anything with sheen makes it obvious. Prime the patch, feathered a few inches past its edges rather than just the patch itself, and that difference disappears before the color coat goes on. Heavily patched or very porous areas sometimes need a second primer coat — one coat over bare compound doesn’t always seal it evenly.
Repainting over paint that’s already in good shape is a different situation. If the color is staying close to what’s already there and nothing’s being repaired, a quality paint-and-primer-in-one product is genuinely fine — that’s what it’s built for. Where a separate primer coat earns its cost is a real color change, especially dark to light, covering a stain, or any wall that got patched or sanded first. Skipping primer to save a coat is the single most common reason a paint job looks uneven exactly where the wall was repaired, weeks after the roller work itself was clean.
Sanding old paint on a wall in a home built before 1978?
Homes from that era can have lead-based paint under later coats, and dry-sanding it releases dust. A homeowner working on their own house isn’t bound by the EPA’s RRP rule the way a paid contractor is, but the same precautions hold up: keep the area damp while you sand, use a HEPA vacuum instead of a dry brush, and don’t sand a painted wall down to bare drywall without knowing what’s under the top coat. See our disclaimer for the full rundown.
Why roller marks, lap lines, and flashing actually happen
Three separate problems get lumped together as “bad paint job,” and they have three different causes.
Lap marks are a timing problem. Paint applied over an edge that’s already started to dry sits on top of that partly-set film instead of blending into it, and the overlap shows as a visible band once everything’s fully dry. A room that’s warm, sunny, or has a fan running speeds up how fast an edge sets, which is exactly why lap marks show up more in a south-facing room in summer than the same technique in a cool room in winter.
Roller marks are a pressure and loading problem. Too much paint on the roller lays down ridges; too little skips and drags. Pressing hard while rolling compresses the nap and forces out paint unevenly, leaving darker bands where it flattened and lighter ones where it sprang back.
Flashing is the one that confuses people most, because it isn’t really about the paint being uneven in color — it’s uneven in how it reflects light. Any variation in film thickness changes how a dried coat scatters light, and sheen paints (satin and up) exaggerate that difference far more than flat does. A thin spot from a roller that ran dry, a patch that wasn’t primed and absorbed paint at a different rate, or a coat that dried faster in one section than another will all read as a dull or shiny patch under the right light, even though the color is identical everywhere.
That last mechanism is why the sheen and priming sections above aren’t separate from this one — they’re the actual fix. A satin kitchen wall over an unprimed patch and a rushed roller job is close to guaranteed to flash. The same wall, primed evenly and rolled with a wet edge, won’t — not because the paint is different, but because the film underneath it is finally even.
A capful of paint conditioner buys back the time a hot room takes away
Products like Floetrol or Penetrol slow how fast latex paint sets without changing the color or the final sheen. In a warm room, direct sun, or when you’re working alone and can’t keep pace across a full wall, it’s the difference between a wet edge you can actually maintain and one that’s gone before you get back to it.
How to paint a wall without them, step by step
Start at the top of the room
Trim, ceiling, then walls is the common professional order, because it’s faster to tape off finished trim than to tape an entire wall. Most people painting by hand rather than spraying get a cleaner result the other way — ceiling first, then walls, then trim last — so drips and roller spatter land on surfaces you haven’t painted yet.
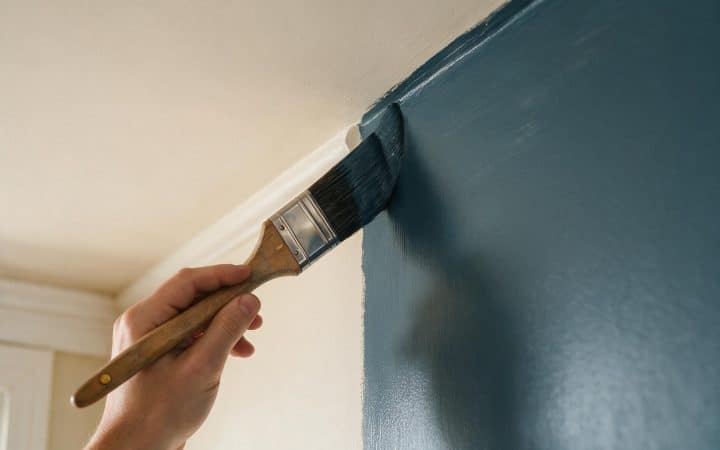
Cut in before you roll
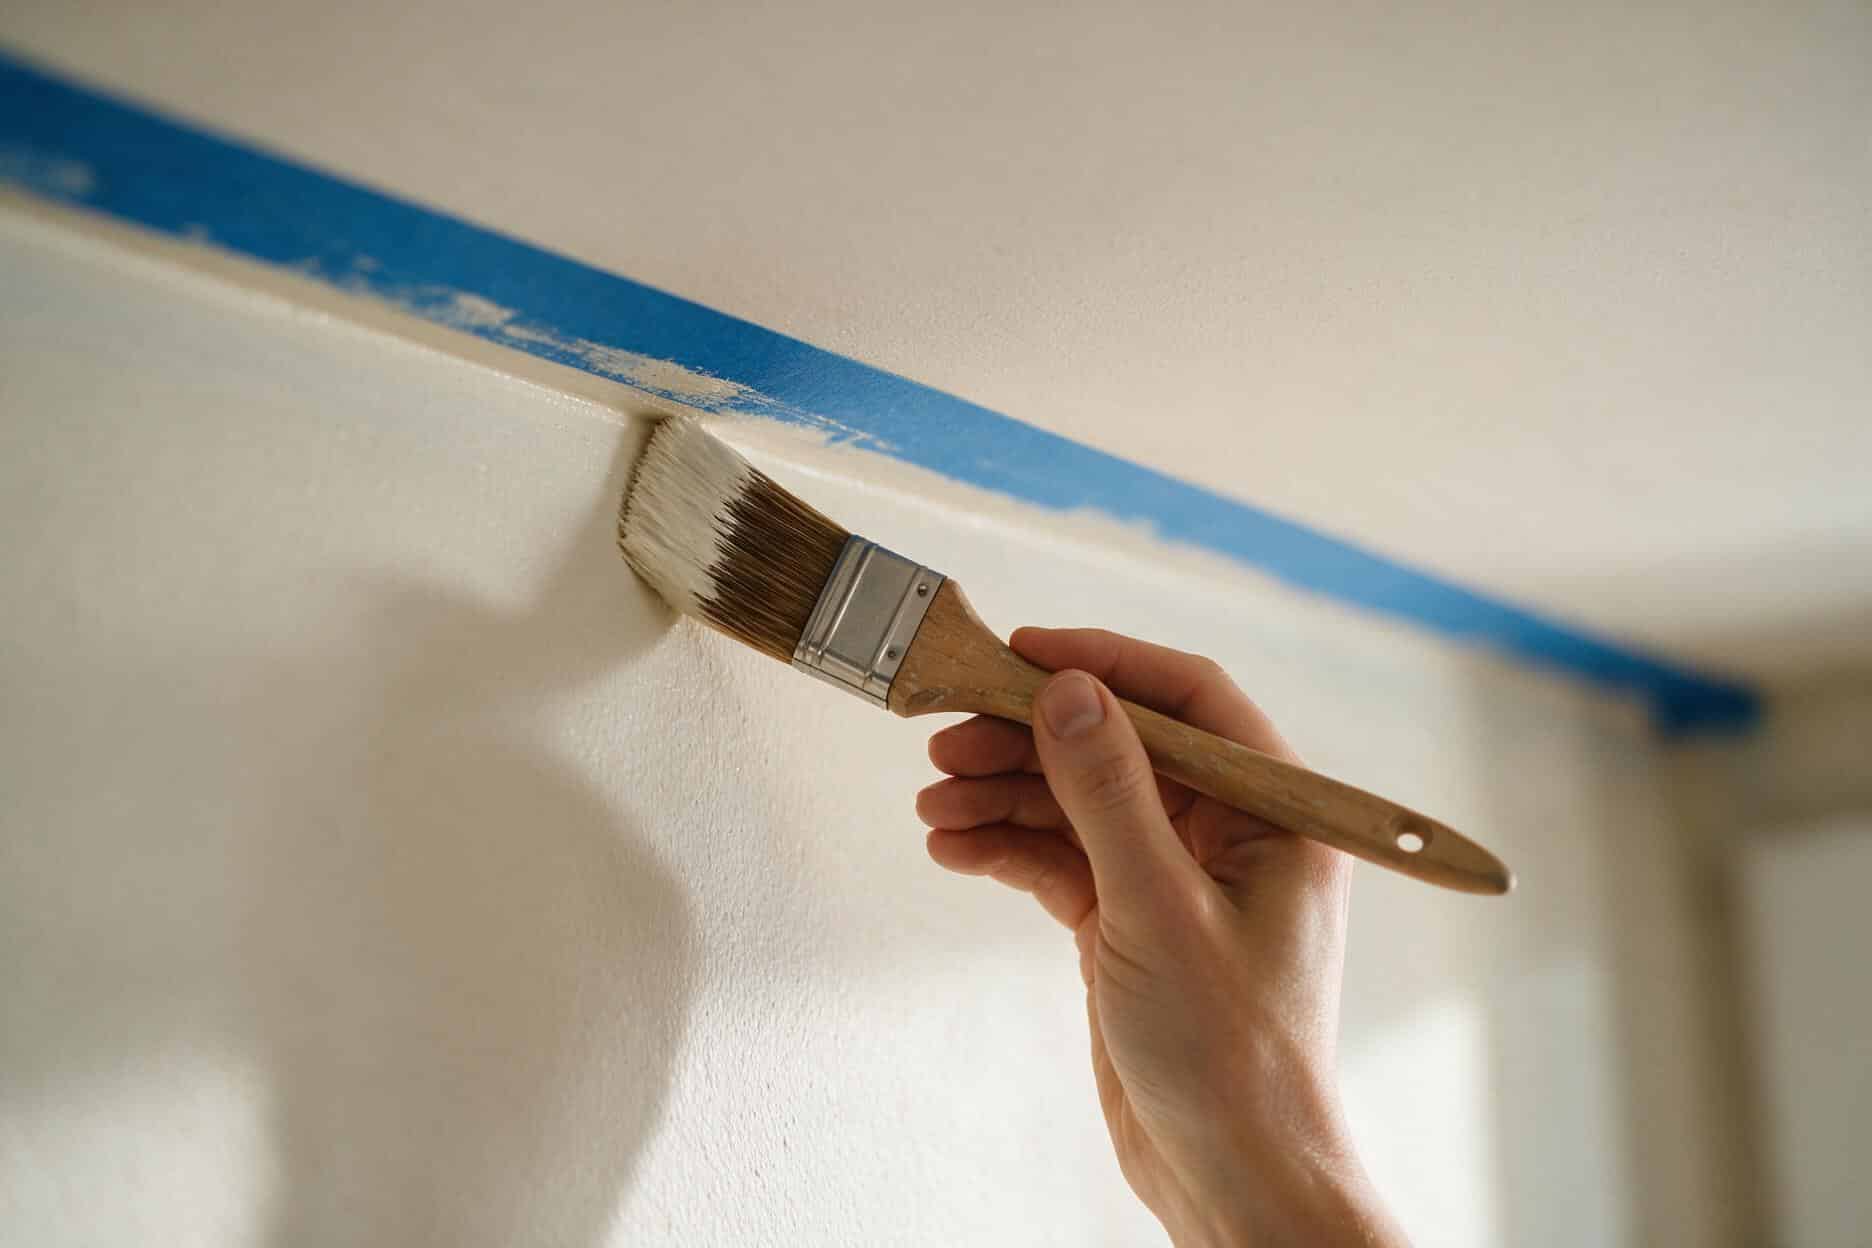
Use an angled brush to paint a 2 to 3-inch band along the ceiling line, corners, and trim — wide enough for the roller to overlap into later, not a thin pencil line.
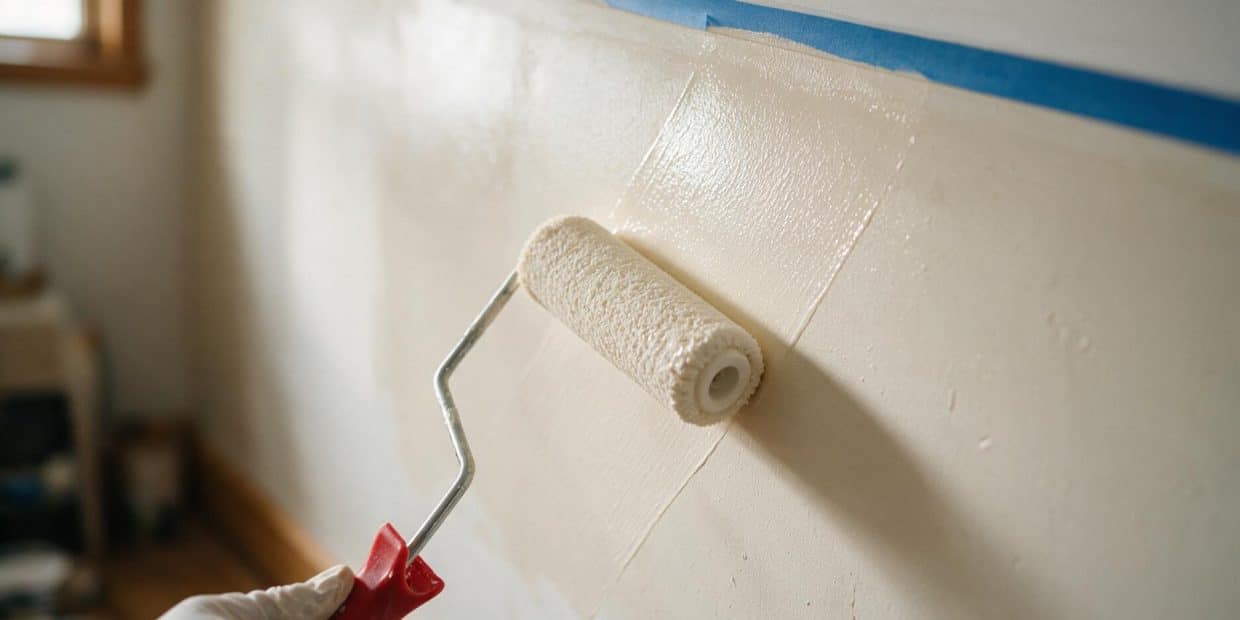
Roll the section while the cut-in line is still wet
The roller nap blends into the wet edge of the cut-in paint instead of sitting on top of a dried one, which is what makes the two techniques read as one continuous coat instead of two.
Load the roller fully, then unload the excess
Roll it out on the tray ridges until it stops dripping. A fully loaded, un-drained roller is the single biggest cause of heavy ridges and drips.
Work in 3 to 4-foot sections, floor to ceiling
Full-height strokes in a slightly overlapping pattern, moving across the wall about three-quarters of a roller width with each pass.
Maintain the wet edge
Overlap about 6 inches into the section you just finished before it has time to set, and always work from the dry, unpainted area back into the wet one — never the reverse.
Finish each section with a light pass
No new paint on the roller — just enough pressure to smooth and blend brush and roller marks together before moving on.
Let the first coat dry fully before judging it
A coat that looks patchy or dull while it’s still curing can look completely different once it’s fully dry — check the recoat table below before deciding it needs a second coat.
Recoat only after the real recoat window, not just dry-to-touch
Painting over a surface that’s dry on top but still soft underneath is one of the more common causes of a second coat lifting or flashing later.
Tools and materials
| Item | Use | Rough cost |
|---|---|---|
| Angled sash brush (2–2.5″) | Cutting in corners, ceiling lines, trim | $8–$18 |
| Roller frame + covers, sized to texture | Main wall coverage | $10–$20 |
| Paint tray + liners | Loading and unloading the roller | $5–$12 |
| Painter’s tape | Protecting ceiling lines, trim, outlets | $6–$12/roll |
| Primer (patches, color changes, stains) | Even porosity before the color coat | $18–$35/gallon |
| Interior latex/acrylic paint | Color coat, roughly 350–400 sq ft/gallon | $30–$65/gallon |
| Paint conditioner (Floetrol/Penetrol) | Extends open time in warm or dry rooms | $12–$18 |
| Drop cloths | Floor and furniture protection | $10–$25 |
A gallon covers less than the can promises on a patched or textured wall
The 350–400 sq ft per gallon on the label assumes a smooth, previously painted surface. Primer covers less — about 225–275 sq ft per gallon — and both numbers drop further over bare compound or heavier texture, which absorbs more of the first coat. Buy the primer coat separately from the color coat rather than assuming one gallon of each covers the whole room.
Dry time and recoat windows in 2026
| Condition | Dry to touch | Recoat window | Full cure |
|---|---|---|---|
| 70°F, 50% humidity (ideal) | 30–60 min | 2–4 hours | 2–4 weeks |
| 70°F, 75% humidity | 1–2 hours | 12–24 hours | 3–5 weeks |
| Below 50°F or above 85°F | Slower, less predictable | Extend well beyond the label | Extend accordingly |
| Above 85% humidity | Not recommended | Wait for conditions to improve | — |
The paint can’s recoat time assumes close to ideal conditions — 70°F and moderate humidity. Push the room’s humidity up toward 75% and a coat that would recoat in 2 to 4 hours can need 12 to 24 instead; roughly every 30-point jump in relative humidity doubles the wait. Latex and acrylic paints apply best between 65°F and 85°F, and most labels cap the low end around 50°F — below that, the paint can dry slower and less evenly than the can suggests, even if it feels dry to the touch on schedule. A coat that’s dry to the touch can still be soft a few millimeters down, and that’s the part that actually decides whether the next coat bonds cleanly or eventually flashes.
What this costs in 2026
| DIY materials | Professional | |
|---|---|---|
| One average room | $100–$300 | $300–$850 |
| Whole house (≈2,000 sq ft) | $400–$800 | $4,000–$11,000 |
| Per sq ft (walls, trim, ceiling) | — | $2–$6, averaging near $4.70 |
The gap between those numbers is mostly labor and speed, not materials — a professional crew finishes in a day what a first-time DIYer spends a weekend on. A middle option splits the difference: handle the prep and cleanup yourself — moving furniture, taping, laying drop cloths, washing walls, hauling everything back afterward — and hire out only the actual painting. Prep and cleanup get billed at the same skilled-labor rate as the painting itself on most quotes, and cutting them from the scope typically brings a bid down 20 to 30%.
Questions I get on site
Do I need to prime if I’m repainting the same color?
Not usually, as long as you’re not repairing or patching anything first. A quality paint-and-primer-in-one product is built for exactly that situation. Add a patch, a stain, or a real color change to the job and a separate primer coat is worth the extra step.
Can I skip cutting in and just roll everything?
Not cleanly. A roller can’t reach flush into a corner or against the ceiling line without either missing the edge or rolling paint onto the ceiling itself. Cutting in first, then rolling while that line is still wet, is what makes the two blend into one coat instead of leaving a visible seam where they meet.
Why does my wall look streaky in some light but fine in others?
That’s flashing — a difference in how the dried film reflects light, not a difference in color. It shows up under raking light from a lamp or window and can be almost invisible from straight on. The fix is even film thickness: consistent priming, a properly loaded roller, and a wet edge maintained all the way across, not touch-up spots after the fact.
What’s the safe temperature range to paint indoors?
Roughly 50°F to 85°F, with 65°F to 85°F actually ideal for how the paint levels and cures. Below 50°F the paint can dry slower and less evenly than the label suggests; above 85°F it can set faster than you can keep a wet edge, which is its own cause of lap marks.
Is paint-and-primer-in-one enough over a patched wall?
No — that product is formulated for repainting an already-uniform surface, not for evening out the porosity difference between raw compound and the surrounding paper facing. Prime the patch itself, feathered a few inches past its edges, before the color coat.
Do higher-sheen paints really show more flaws, or is that overstated?
It’s real, not marketing. Flat paint scatters light in every direction, which is exactly what hides an uneven surface. Satin and semi-gloss reflect more directly, so any variation in film thickness or surface texture underneath catches the light differently and stands out — the same patch that’s invisible under flat paint can flash under satin.
How long should I actually wait between coats?
Check the label’s recoat time for guidance, but treat it as a minimum under ideal conditions, not a guarantee. At 70°F and moderate humidity, 2 to 4 hours is typical for latex. Push the humidity up and that can stretch to 12 to 24 hours — recoating too early is one of the more common causes of a second coat lifting or flashing later.
Trim, ceiling, or walls — which do I really paint first?
Professionals often paint trim first because it’s faster to tape finished trim than to tape an entire wall. Most people painting by hand instead of spraying get a cleaner result going top to bottom — ceiling, then walls, then trim last — so drips and spatter land on surfaces you haven’t painted yet.
Guides on this site are for general information about routine home maintenance. Suspected asbestos, mold over 10 sq ft, or structural water damage should be assessed by a licensed professional in your state.