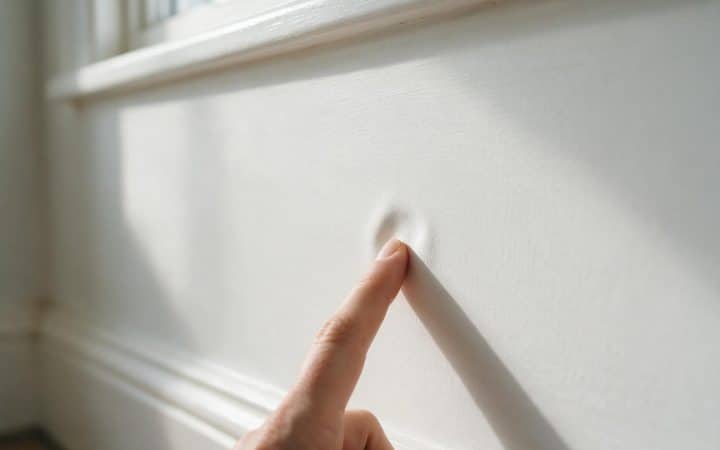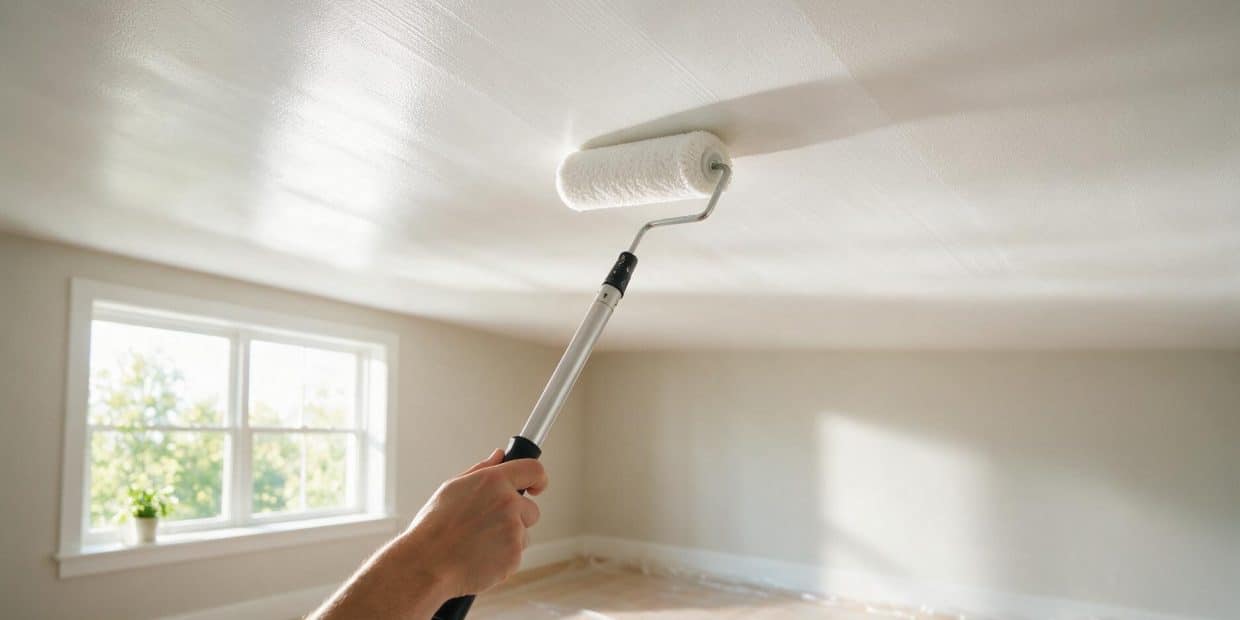
“How to paint a ceiling with a roller” sounds like a one-line answer, right up until you’re the one on the ladder a week later, staring up at a coat that looked flawless wet and now shows a faint grid of stripes the moment low afternoon sun comes through the window. That’s not a paint failure. It’s a light problem, and it’s the part most generic how-to guides skip in favor of W-pattern advice that, on its own, doesn’t actually fix it. A ceiling is the one surface in a house that gets hit by raking light from every window and fixture in the room, which is exactly why flaws a wall would hide show up on a ceiling and stay visible for years. Get the roller direction, the nap, and the paint formula right, and painting a ceiling with a roller stops being the hardest job in the house and turns into one of the fastest.
Why ceilings show every roller mark that walls hide
Every ceiling in an American home is painted flat or “dead flat” for a reason: that low-sheen finish scatters light in every direction instead of bouncing it back in one, which is what hides an uneven drywall seam or a slightly thin patch. Our guide to painting walls without flashing covers the same mechanism on a vertical surface, where higher-sheen paints reflect more directly and expose film-thickness differences the eye would otherwise miss. A ceiling takes that same problem and turns the exposure dial all the way up, because of where the light comes from, not just how much sheen is in the can.
On a wall, most of a room’s light arrives at a steep, glancing angle relative to the surface — a window across the room lights a wall mostly straight-on. A ceiling gets hit at the opposite extreme: window light enters low and travels nearly parallel to the ceiling before it grazes across it, and any lamp, pendant, or recessed fixture sits inches away and throws that same raking angle at close range. That geometry is exactly what turns a roller lap or a faint ridge, invisible under a work light with your neck craned back, into a shadow line that shows up every afternoon once the sun drops low enough to rake across the surface.
The paint itself doesn’t change color where a lap mark forms. What changes is film thickness — a few thousandths of an inch, where one pass overlapped a partly dried edge — and raking light is the one lighting condition sensitive enough to turn that into a visible line. It’s the same mechanism that causes flashing on walls, just aimed at a surface where a light source is essentially guaranteed to eventually rake across it, which a wall’s light source usually isn’t.
That’s also why so many DIYers don’t discover the problem until it’s inconvenient to fix. A wet coat under a work light looks uniform no matter which direction it went on, and most people don’t check a finished ceiling under real raking light until the room is furnished again and the lamps are back in their normal spots — by which point the roller and the drop cloths are long gone. I’ve been called back to look at ceilings I never touched for exactly this reason: a homeowner rolled it themselves, it looked fine for two weeks, and then the first low-sun evening of fall found every seam.
Roll toward the light, not across it — the mistake the W pattern doesn’t fix
Most ceiling tutorials tell you to load the roller and work it in a W or M shape, and that’s reasonable advice for spreading paint evenly within a single pass. It says nothing about which direction across the room those passes should actually travel, and that’s the choice that decides whether lap marks show up later. Roll your finishing passes parallel to the room’s main light source — the biggest window, or whichever fixture you’ll actually be looking at the ceiling under once the furniture’s back — and any faint overlap line runs in the same direction the light travels, so it never catches the light edge-on. Roll perpendicular to that light source instead, and every lap line sits crosswise to it, which is the one orientation raking light is built to expose.
Benjamin Moore’s own guidance on lap marks is built around this “wet to dry” logic: work from a wet edge back into it, plan your breaks at a window, door, or corner, and keep the pace steady enough that the edge you’re rolling into hasn’t started to set. That page doesn’t specify direction relative to light, but painters who work ceilings for a living converge on the same rule from the opposite direction — treat the main window as the line your roller travels along, not the line it crosses.
There’s one exception worth knowing before you commit to a direction: on a small ceiling, roughly 8 by 10 feet or smaller, some painters roll across the light instead, because the room is small enough that traffic flow and reach matter more than a lap line that short. On anything closer to an average bedroom or larger, default to rolling parallel to the light.
Find your light before you open the can
Walk the room at the time of day you actually use it, and note where the light comes in low and hard — a west-facing window in the evening, a bedside lamp, a low bathroom fixture. That’s the direction your roller strokes should run, not whichever direction is easiest to reach from the ladder.
Cut in first, then roll while that edge is still wet
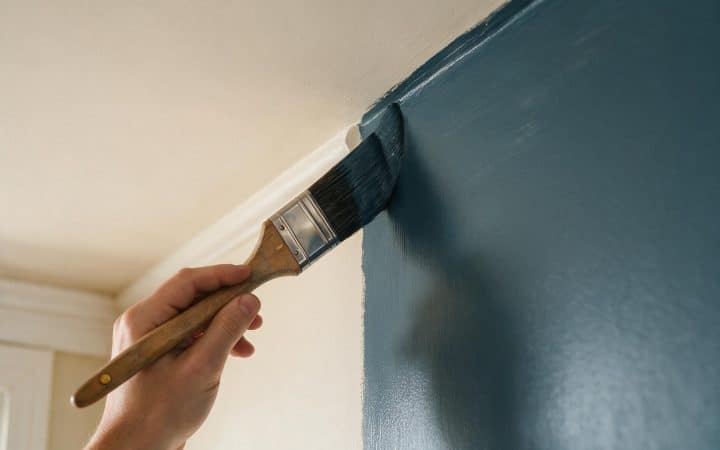
Cut in before you roll, not after. Use a 2 to 3-inch angled brush to paint a band around the entire perimeter of the ceiling where it meets the walls, working each stroke away from the corner and back toward it so the edge feathers instead of piling up. Sherwin-Williams’ own ceiling how-to walks through the identical order for the same reason our guide to painting walls gives for cutting in first there: a roller can’t reach flush into a corner without either missing the edge or rolling paint onto the wall, and starting the roller while that cut-in band is still wet is what blends the two into one continuous coat instead of leaving a hard seam where brush met roller.
That timing matters more overhead than it does on a wall. A cut-in band that’s had time to dry before the roller reaches it doesn’t just risk a visible seam at the edge — on a ceiling, that edge sits in the same raking light doing the damage everywhere else, so a dry-edge seam there is often the first lap mark anyone notices. Work the room in a sequence that keeps the gap between brush and roller short: cut in one wall’s length, then roll that section immediately, rather than cutting in the whole perimeter before picking up the roller at all.

Match the roller nap to the ceiling texture, not habit
Nap length is the one variable people carry over from the last wall they painted, and it’s usually wrong for the ceiling. A smooth drywall or skim-coated ceiling wants a 3/8 to 1/2-inch nap — enough to lay an even film without stippling texture onto a surface that’s supposed to be flat. A textured or popcorn ceiling needs the opposite: a 3/4-inch to 1 1/4-inch nap, long enough to actually push paint into the low points of the texture, because a short nap only touches the raised peaks and leaves the valleys thin or bare, which reads as patchy coverage no matter how many coats go on.
| Ceiling surface | Roller nap | Why |
|---|---|---|
| Smooth drywall or skim coat | 3/8″–1/2″ | Even film, no added texture |
| Light texture (orange peel) | 1/2″–3/4″ | Reaches shallow texture without overloading |
| Popcorn or heavy knockdown | 3/4″–1 1/4″ | Long enough to fill deep pockets |
Textured ceiling in a house built before 1980?
Repainting an intact, painted texture with a roller usually doesn’t call for testing first — sanding, scraping, or drilling into it does. If any of those are part of the plan, see our guide to popcorn ceiling asbestos before a scraper touches it.
Use ceiling paint, not leftover wall paint
Grabbing the flat wall paint left over from the last room is the most common shortcut on a ceiling job, and it’s the reason a lot of DIY ceilings end up patchier and messier than they needed to be. Ceiling paint is a different formulation, not just flat wall paint in a different bucket. It’s built thicker and higher-viscosity specifically so it resists the sideways fling overhead application puts on it, and both Benjamin Moore and Sherwin-Williams sell dedicated ceiling lines — Benjamin Moore’s is an “ultra-flat” formula built to hide imperfections, Sherwin-Williams’ Premium Ceiling Paint is explicitly formulated to cut down on spatter — rather than repackaging their standard wall flat paint for the job.
Many ceiling paints also go on with a faint pink or blue tint that fades to white as they dry, which sounds like a gimmick until you’ve tried to tell a covered patch of white ceiling from an uncovered one under work-light glare. The tint is a photoreactive additive with no purpose beyond showing you your own coverage in real time, and on the one surface where you’re working overhead, can’t always step back to check, and are most likely to leave a thin spot no one notices until raking light finds it, that visual feedback earns its keep.
None of this means wall paint “won’t work” on a ceiling — it will, in the sense that it dries and covers. What it won’t do is match the anti-spatter formulation or the coverage feedback a dedicated ceiling product is built around. And once that dead-flat coat cures, it carries the same trade-off flat wall paint does: it hides flaws well and shows every cleaning attempt just as readily. Our guide to cleaning flat paint without burnishing it covers that low-binder surface problem on walls, and most of it carries straight over to a ceiling.
Why paint flings off the roller overhead, and how to stop it
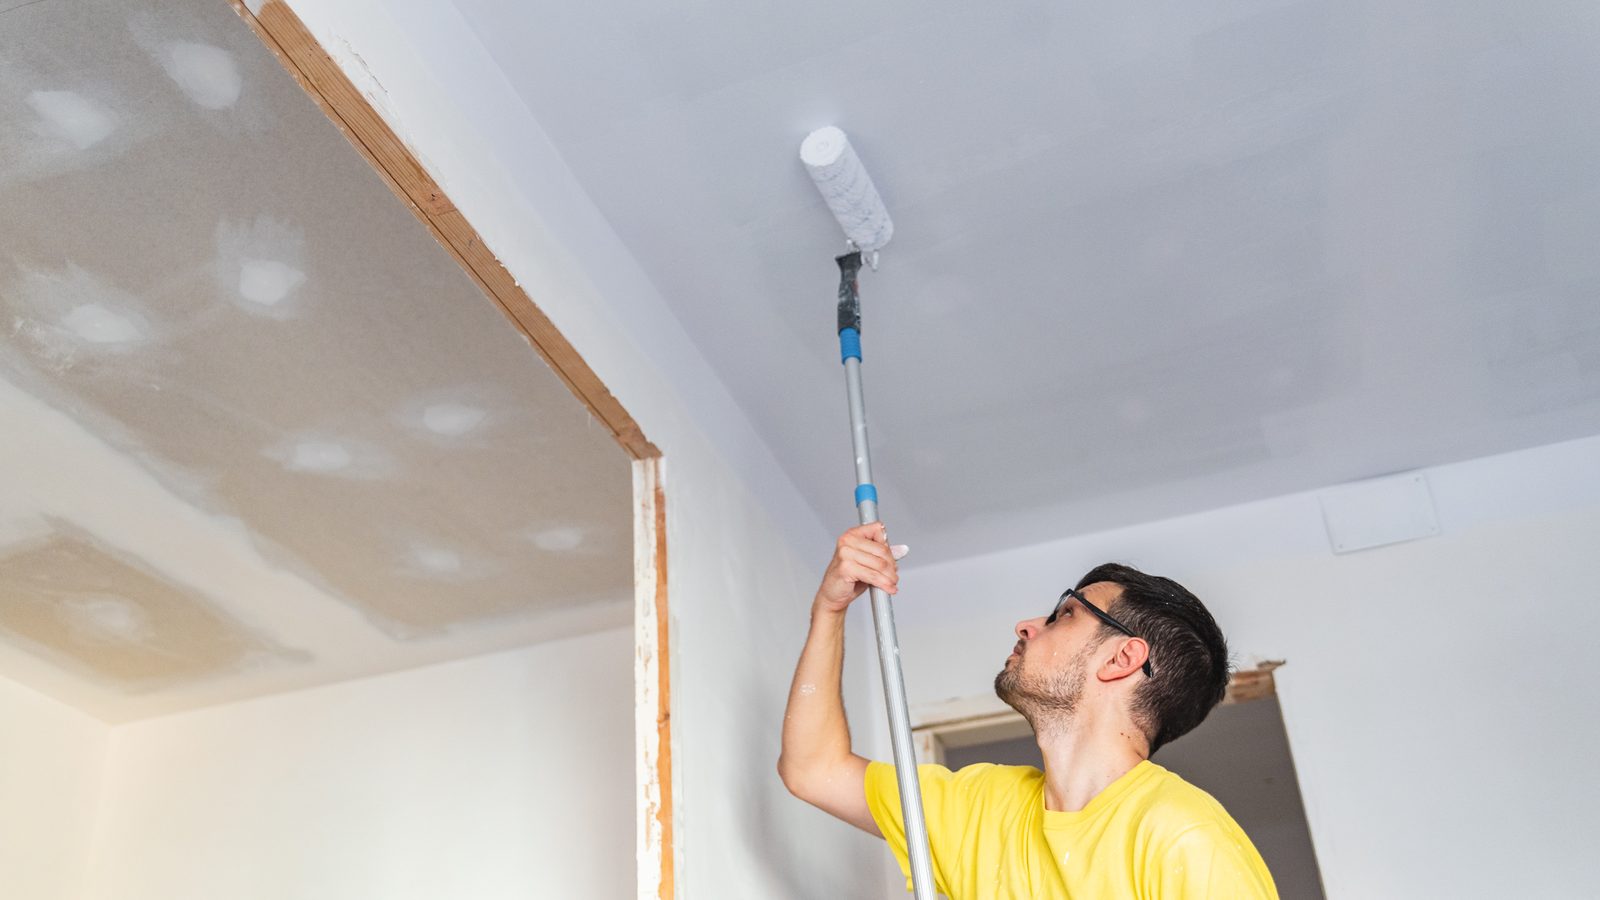
Rolling a wall, gravity is mostly working with you — paint that’s going to drip runs down the surface you’re already covering. Rolling a ceiling, gravity does nothing to help, and centrifugal force works against you instead: spin a loaded roller fast overhead and the same motion that spreads paint on a wall flings it sideways off the nap, which is where most of the freckling on drop cloths and shoulders actually comes from. Sherwin-Williams’ own advice on ceiling spatter comes down to two changes — a paint built to resist it, and rolling slower, since fast motions are what cause paint to flick off the cover in the first place.
Loading technique matters as much as speed. Roll the cover through the paint in the tray several times, then off across the ridges until it stops dripping, before it ever touches the ceiling — an overloaded roller is the single biggest source of both drips and the ridges that turn into lap marks once they level out. Keep pressure light rather than firm; pressing a roller into a ceiling to force coverage squeezes paint out of the ends of the cover instead of laying it down evenly. An extension pole helps more than it looks like it would here too, because it keeps the roller at a steady, controlled angle instead of stretching and jerking it from a ladder.
Cheap safety glasses are worth wearing too — overhead rolling is the one situation in interior painting where drips fall toward your face instead of away from it. A low-tech trick I still use on every ceiling job: push the roller handle through the center of a paper plate and slide it up against the roller cage. The plate catches paint that would otherwise run down the handle and onto your arm.
Priming a stained, patched, or smoke-damaged ceiling
A ceiling with an old water stain, smoke discoloration, or a patched repair underneath needs a different first coat than one that’s just being freshened up in the same color. Ordinary latex or PVA primer, like ceiling paint itself, is water-based, and a water-soluble stain will bleed straight back through both within a day or two, no matter how many color coats go over it. That’s the same failure our guide to a water stain on ceiling walks through in more depth — the fix is a shellac-based or dedicated stain-blocking primer, not an extra coat of ceiling paint, and it’s worth reading first if the mark has a defined brown or yellow edge rather than just general dullness.
Confirm the board is actually dry before any of that, too. A stain that’s fully sealed and hasn’t changed in weeks is safe to prime and paint over; one that’s still faintly damp or reappearing after the last time it was painted means the leak was never fixed, and rolling color over it just hides the evidence without solving anything underneath. Patched sections have a quieter version of the same problem — bare joint compound is more porous than the surrounding paper facing, and it will flash a slightly different sheen under raking light if it goes straight under a color coat without being primed and feathered a few inches past its edges first.
Step-by-step: painting a ceiling with a roller without lap marks
Clear and protect the room
Move furniture to the center and cover it, along with the floor, with plastic sheeting or drop cloths. Overhead work drips onto more surface area than wall work does.
Find your main light source first
Walk the room and note the biggest window or the fixture you’ll actually view the ceiling under. That’s the direction your final passes need to run.
Tape and cut in the perimeter
Brush a 2 to 3-inch band around the whole ceiling edge, working each stroke back toward the corner so it feathers instead of pooling.
Load the roller fully, then unload the excess
Roll it through the paint and off on the tray ridges until it stops dripping. An overloaded roller is the top cause of both drips and ridges.
Roll the first pass beside the wet cut-in line
Start the roller while the brushed edge is still wet, so the two blend into one coat instead of leaving a seam.
Work in 3-foot sections, parallel to your light source
Use a slow W or M motion within each section, always finishing by rolling from the dry area back into the wet edge.
Keep the pace slow and the pressure light
Fast strokes fling paint sideways off the nap; heavy pressure squeezes it out the ends of the cover in ridges.
Finish with one light pass per section, same direction as the rest
No new paint on the roller, just enough contact to smooth brush and roller marks together.
Let the coat dry fully, then judge it under raking light
Check with a lamp held low and angled across the surface before deciding whether a second coat is needed.
Tools, materials, and what a ceiling actually costs to paint
| Item | Use | Rough cost |
|---|---|---|
| Angled sash brush (2–2.5″) | Cutting in the perimeter | $8–$18 |
| Roller frame + extension pole | Reaching the ceiling without a ladder for every pass | $15–$35 |
| Roller covers, sized to texture | Main coverage | $6–$12 each |
| Paint tray + liners | Loading and unloading the roller | $5–$12 |
| Painter’s tape | Protecting the wall line | $6–$12/roll |
| Stain-blocking primer | Sealing stains, patches, or smoke damage | $18–$35/gallon |
| Ceiling paint (flat or dead flat) | Color coat, roughly 350–400 sq ft/gallon | $25–$45/gallon |
| Drop cloths | Floor and furniture protection | $10–$25 |
A ceiling costs less to paint than the walls in the same room, mostly because it’s one surface instead of four, but the per-square-foot professional rate runs higher — height, overhead application, and the extra care lap marks demand all add labor time that a flat wall doesn’t. DIY materials for an average bedroom ceiling land in the $45 to $120 range for paint, primer if needed, and basic tools; hiring it out typically runs $200 to $500 for that same ceiling, and textured or popcorn surfaces push both numbers up because they take more paint and more time to cover evenly. Add a stain-blocking primer to that list and materials climb toward the higher end of the range, which is still cheaper than repainting twice after an unsealed stain bleeds back through the first color coat.
| DIY materials | Professional | |
|---|---|---|
| One average ceiling (≈144 sq ft) | $45–$120 | $200–$500 |
| Textured or popcorn ceiling | $60–$150 | $300–$700 |
| Per sq ft, professional | — | $1.50–$5 |
Texture and ceiling height move the price, not room size
A vaulted ceiling can add 10% or more per foot above the standard 8-foot height, and popcorn or heavy knockdown texture alone can push material cost up by half because of how much more paint it absorbs. A flat 8-foot ceiling in an average bedroom is close to the cheapest square footage in the house to paint.
Questions I get on site
Do I really need to roll toward the window, or is the W or M pattern enough?
The W or M motion only spreads paint evenly within a pass — it doesn’t decide whether a lap line is visible later. That’s set by which direction those passes travel relative to the room’s main light source. Roll parallel to it and lap lines run with the light instead of across it.
Can I just use leftover wall paint on a ceiling?
You can, but you’ll likely see more spatter and a less even sheen. Ceiling paint is a thicker, higher-viscosity formula built specifically to resist flinging off the roller overhead, which ordinary wall paint isn’t engineered to do.
What roller nap do I need for a popcorn ceiling?
3/4 inch to 1 1/4 inch, long enough to push paint into the texture’s low points. A smooth ceiling only needs 3/8 to 1/2 inch — a thick nap there just adds texture that wasn’t there before.
How do I stop paint from splattering everywhere while I work overhead?
Slow the roller down. Fast strokes are what fling paint sideways off the nap through centrifugal force. Keep pressure light, don’t overload the roller, and use an extension pole for a steadier angle than a ladder allows.
Do I need to test for asbestos before painting a popcorn ceiling?
Not to repaint an intact one with a roller. Testing matters before you scrape, sand, or drill into a textured ceiling installed before 1980. Our guide to popcorn ceiling asbestos covers which jobs call for a lab sample first.
Will regular primer cover a water stain before I repaint?
No. Standard latex or PVA primer, like ceiling paint itself, is water-based, and a water-soluble stain bleeds straight back through both within a day or two. A shellac-based or dedicated stain-blocking primer is what actually holds it.
How many coats does a ceiling actually need?
One coat is often enough for a same-color refresh over sound paint. Plan on two for a color change, a stain, a patch, or any popcorn ceiling that’s never been painted, since bare texture absorbs the first coat unevenly.
Guides on this site are for general information about routine home maintenance. Suspected asbestos, mold over 10 sq ft, or structural water damage should be assessed by a licensed professional in your state. See our disclaimer for details.