The dining room paper has to go, you’ve priced out a weekend of scoring and scraping, and now you’re asking the question I get on almost every estimate where there’s wallpaper on the wall. Can you paint over wallpaper instead of stripping it?
Yes. I’ve done it in houses that still looked fine when I went back a decade later. I’ve also seen it turn a two day job into a wall that had to be skimmed flat corner to corner.
What separates those two outcomes has very little to do with the paint. Almost every guide hedges the same way: sure, if the wallpaper is in good condition. Nobody says what good condition means. It means three specific things, and you can check all of them in ten minutes with a putty knife, a flashlight and a wet fingertip.
There’s a second thing that rarely gets said out loud. Painting over wallpaper isn’t always a reversible decision. On some walls it’s a shortcut you can undo later with a steamer and a bad afternoon. On others it welds the paper to the wall for good, and whoever wants it off next is buying new drywall rather than removing wallpaper the normal way. Which of those you’re in depends on what’s behind the paper, not on the paper you’re looking at.
What you’re actually deciding when you paint over wallpaper
Wallpaper paste bonds to whatever it touches. On a wall that was primed or painted before the paper went up, it bonds to that coating, and the coating is what holds it. Soak it later and the bond gives up before the wall does. That’s the easy case, and it’s why wallpaper removal is sometimes genuinely a Saturday.
On a wall that was never primed, the paste soaks straight into the paper face of the drywall, the thin sheet of paper glued to the gypsum core that gives drywall a surface worth painting. Now the paste and the wall are the same thing. Pull the paper and the drywall face comes with it in strips, exposing soft brown backing and chalky gypsum. Ask The Builder has been telling homeowners for years that the missing step in these houses was sizing, a coat applied before hanging specifically so the paper could come off again someday. Plenty of builders in the 1980s and 1990s skipped it.
Now add paint on top. Paint seals the surface of the wallpaper, so stripping solution and steam no longer have a way in. My own wallpaper removal guide covers what changes when paper has been painted: deeper scoring with a perforating tool, two saturations instead of one, and a steamer doing work a spray bottle used to do. That’s manageable on a wall that was primed underneath. On unprimed drywall it isn’t a removal at all.
The one thing you cannot undo
Once paint is on wallpaper that was hung on unprimed drywall, there’s no clean way back. Steam can’t reach the paste through the paint, and scraping takes the drywall face off in sheets. The realistic repair at that point is a full skim coat over every wall in the room, or replacing the board. Ten minutes of testing now is worth more than any other ten minutes in this job.
The three checks that decide it, in about ten minutes
Do these in order, on the worst looking wall in the room rather than the best. If the ugliest wall passes, the rest will.
Check the adhesion at the seams, not in the middle
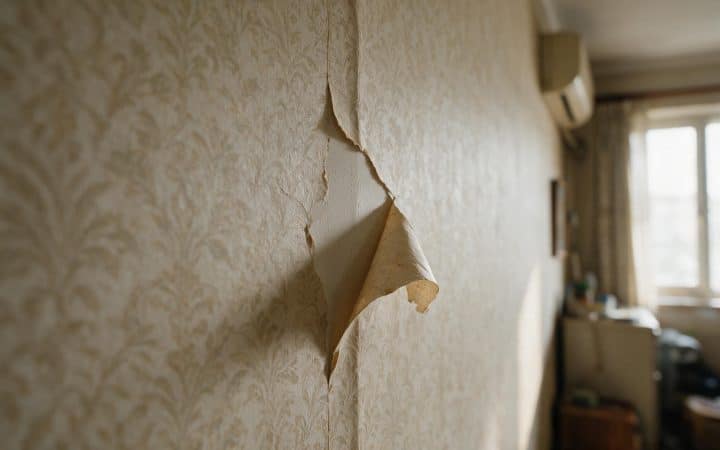
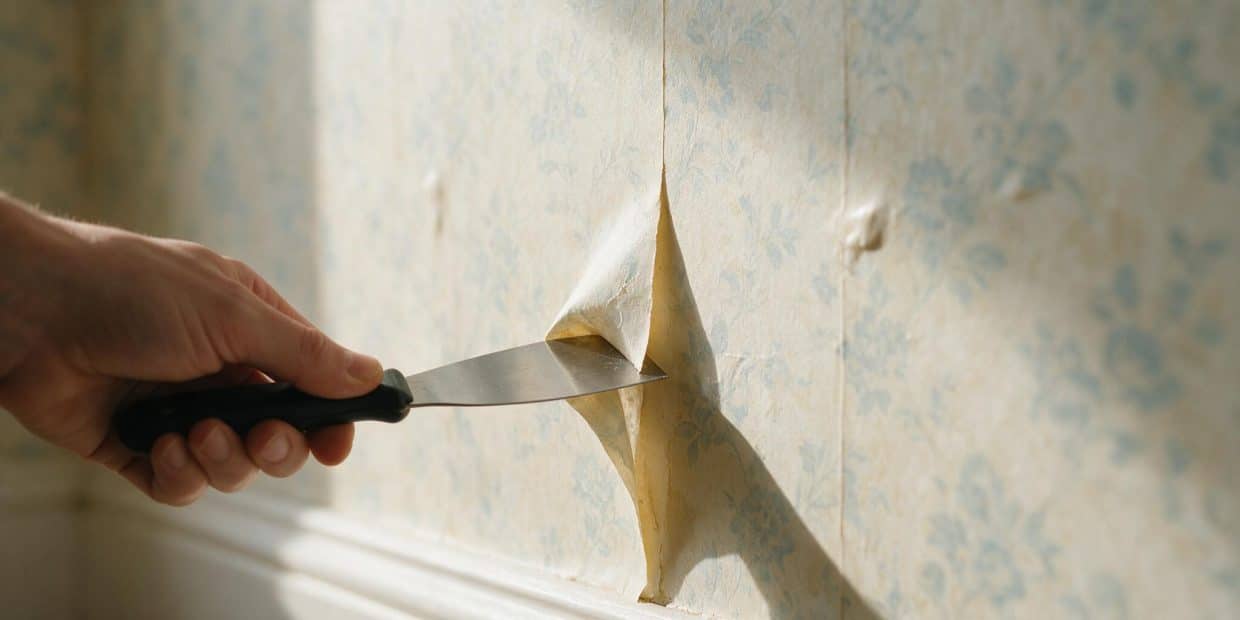
Wallpaper almost never fails in the field. It fails at seams, at outside corners, above baseboards and around switch plates, where paste was thinnest and air gets underneath. Run a flat hand across every seam and feel for ridges or a hollow that gives under light pressure. Then try to slip a putty knife tip under a seam with almost no force. If it slides in and the paper lifts, that seam isn’t stuck. A few loose inches can be glued back down. Loose seams on every wall mean the paste has already let go, and painting just puts a stiff coating on something that’s falling off.
Find out what’s behind the paper
Pick the least visible spot in the room, low in a closet or behind where a bookcase goes, and strip a patch the size of your hand. Wet it, wait, scrape it gently. A hard, cool, dense surface that resists the knife is plaster, and plaster is the friendliest thing wallpaper can sit on. A clean grayish paper face that stayed intact means the drywall was primed or painted before the paper went up, and a future removal will be ordinary work. Brown fibrous paper or chalky white gypsum coming away with the wallpaper means it was hung on raw drywall. That’s the finding that should change your plan, because painting is the move that makes it permanent.
Identify the paper itself, with light and water
Hold a flashlight against the wall and shine it along the surface rather than at it. Raking light shows embossing, texture and every seam, and whatever it shows now will show through two coats of paint later, only in white. Then put a wet fingertip on an inconspicuous spot for thirty seconds. Ordinary paper darkens and softens. If the water beads and sits there, you’ve got a vinyl or washable coating, and paint has nothing to grab. Vinyl is plastic, and standard latex over plastic peels in sheets, usually about a year in.
Add it up before you buy anything
Three passes means go ahead. Failing the first check means glue the loose seams and retest, or strip. Failing the third means sanding and a bonding primer, or strip. Failing the second is the one that carries real weight, because it doesn’t mean the job will look bad. It means you’re trading a removal you could still do today for one that no longer exists.
The flashlight tells you more than the paint chip does
Kill the room lights, hold a work light or a phone flashlight flat against the wall, and look down the surface at a shallow angle. Straight on light hides seams, embossing and bubbles. Angled light finds every one of them. It’s the same trick that finds a bad drywall seam or a lap mark, and it costs nothing.
Why the primer has to be oil or shellac, and never water based
This is the single most common way the job fails, and it fails for a reason people find counterintuitive. Wallpaper paste is water soluble. That’s the whole design. It’s what lets a steamer and a spray bottle take paper off a wall in the first place.
A water based primer soaks through the face of the paper, reaches that paste, and reactivates it. The paper swells, releases in patches, and lifts into bubbles while your roller is still wet. Rolling over them flattens nothing, because the bubble is under the paper rather than in the primer, and there’s no fixing it from the front. This Old House puts it plainly in its guide to painting over wallpaper: use an oil based primer no matter what topcoat is going on afterward, because a water based one loosens the adhesive. You don’t get a warning pass on this. The bubbling starts within minutes and can’t be corrected after the fact.
Oil and shellac primers work because they never introduce free water to the paste. They seal the face of the paper and cure into a barrier, and once that barrier is down you can put ordinary latex over it. Zinsser B-I-N, the shellac based one, is what I keep in the truck for this. It dries in fifteen to thirty minutes rather than overnight, and because shellac carries alcohol rather than water it tends to pull moisture out of a slightly damp paper instead of adding to it. The trade is smell and cleanup, so ventilate properly and buy denatured alcohol for the roller frame.
Seams, embossing, and what will still be visible when you’re done
Paint hides color. It doesn’t hide relief. Every ridge on that wall right now is still going to be there under the finish coat, and a uniform white surface makes shadows easier to read rather than harder, which is why so many people are surprised by how obvious the seams look afterward.
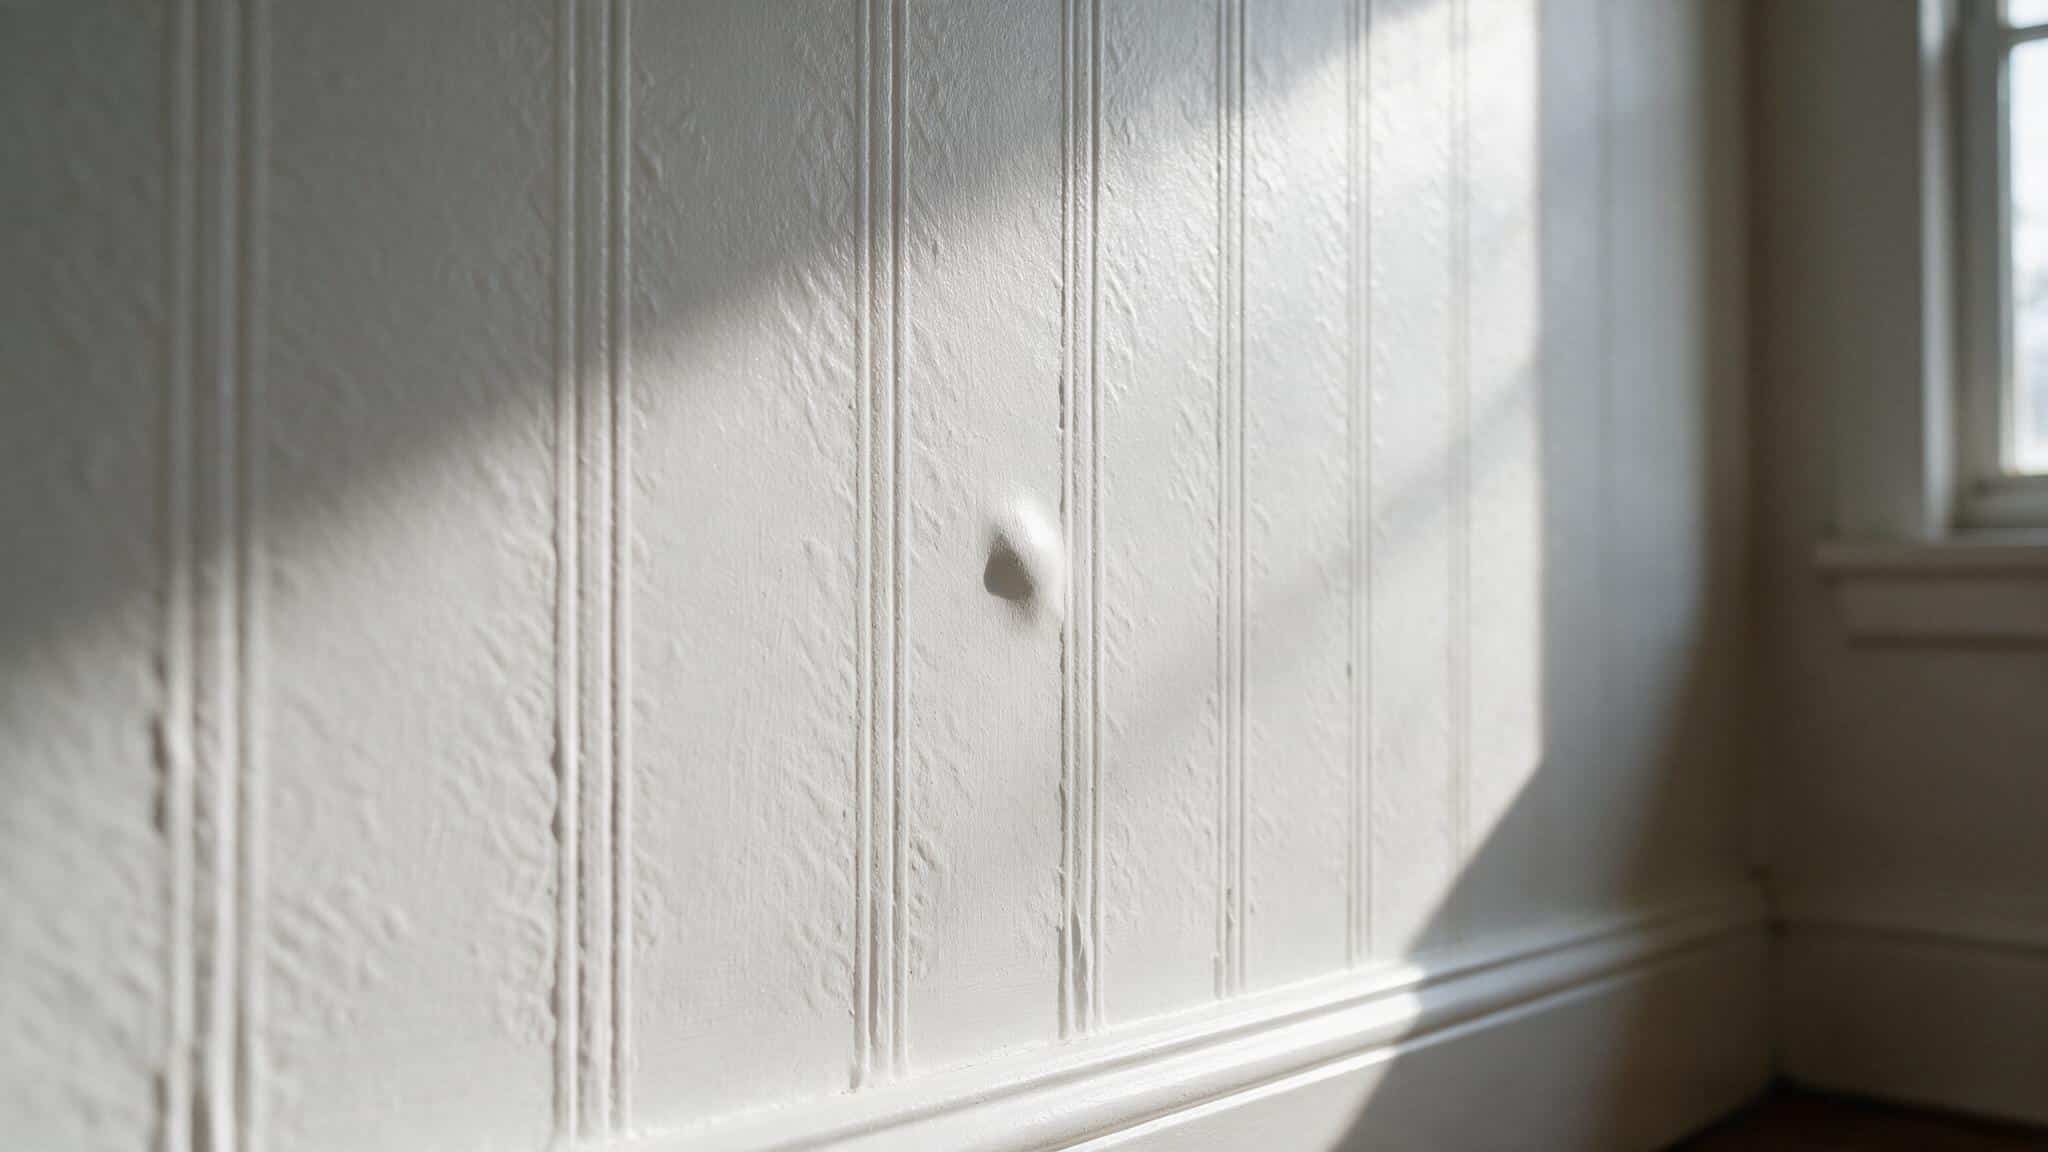
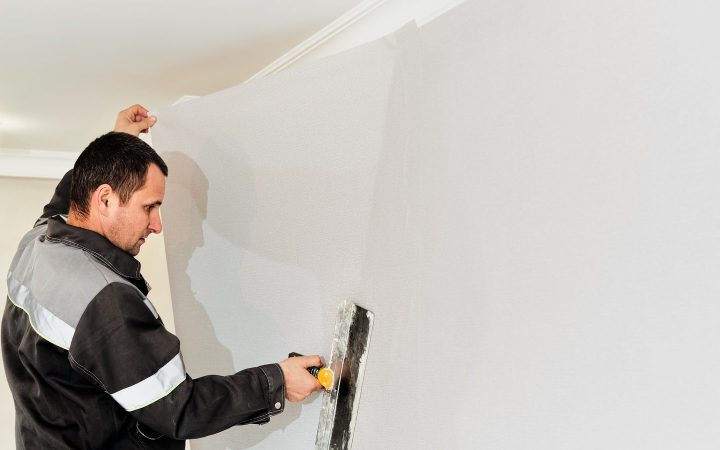
Seams are the fixable part. Once the primer is dry, run a thin coat of joint compound over each seam with a 6 inch knife, feathered six to eight inches wide so there’s no edge to catch the light. Let it dry, sand it with a 120 grit sponge, and spot prime what you sanded. Wide feathering matters more than a thick fill, because a narrow, heavy repair casts its own shadow and you’ve replaced one line with another.
Embossed and textured paper is the part that doesn’t get fixed cheaply. Anaglypta, grasscloth, heavy vinyl with a pattern pressed into it: the pattern is the surface, and painting it gives you the same pattern in a new color. Filling it takes a full skim coat across the entire wall rather than a pass over the seams, and our skim coat guide covers the finish levels and how many coats a wall actually takes. Worth knowing that skim coating over wallpaper means putting a water carrying compound onto paper held down by water soluble paste. It only works over a fully cured oil or shellac primer, and even then a heavy coat can lift a marginal seam.
If the test patch turned up knockdown or orange peel under the paper, the finished wall carries both patterns, and our breakdown of drywall texture types will tell you what you’re dealing with.
Rooms where I won’t do this at all
Bathrooms, kitchens and below grade rooms are where painting over wallpaper fails even when every check passed. The mechanism is the one that makes water based primer a mistake, just slower. Shower steam and cooking vapor push moisture into the wall, that moisture reaches paste that has never stopped being water soluble, and the bond gives up over months instead of minutes. Now it’s failing under a hard paint film, so instead of a lifted corner you get a blister the size of a dinner plate that takes the paint with it. A bathroom rated satin protects the coating, not the glue below it.
The other thing wallpaper does in a wet room is hide what’s happening behind it. I’ve taken paper off bathroom walls and found black speckling across the back of it and soft board underneath, none of it visible from the room. If the paper smells musty, feels cool in patches, or shows dark staining bleeding through, deal with that before deciding anything about paint. Our guides to getting rid of mold on walls and detecting mold inside walls cover where the homeowner threshold sits. A brown ring with a defined edge near the ceiling is a different problem, and our guide to a water stain on a ceiling covers reading it before anything gets sealed over. If it only shows up in wet weather, start with a ceiling that leaks when it rains instead.
What each route costs in 2026
Here’s the number that surprises people, and it’s why I push back when someone tells me they’re painting over wallpaper to save money. Do it yourself and the two routes cost about the same in materials. What painting over buys you is a weekend, not a discount.
| Route | DIY materials, one average room | Pro, per sq ft of wall | What you’re trading |
|---|---|---|---|
| Paint over the wallpaper | $90–$170 | $3.00–$6.15 | Saves the weekend. May cost you a clean removal later |
| Strip first, then paint | $90–$190 | $2.60–$9.00 combined | Costs the weekend. Buys a wall with no history |
Painting over needs a gallon of oil or shellac primer at $35 to $55, a gallon of topcoat at $30 to $60, and $15 to $25 in compound and sanding sponges. Stripping needs $15 to $40 in scoring tools and solution, a quart of primer sealer at $20 to $25, and another $25 to $65 if the paper face tore badly enough to need patching. Those numbers line up with the ones in our wallpaper removal guide.
Hiring it out is where the assumption breaks completely. Homewyse put the cost to paint over wallpaper at $3.03 to $6.16 per square foot in May 2026, which is not a bargain rate. Painters charge that because the prep is the work: securing every seam, an oil or shellac primer coat, seam compound, sanding, then two finish coats. A crew stripping the same room charges $0.60 to $3.00 per square foot for removal and then paints at ordinary rates. The two paths overlap. On sound paper over plaster the paint over route is genuinely cheaper, and on vinyl or three layers of old paper it isn’t.
The number that’s missing from both columns
Neither route prices the repair waiting on the other side of a bad decision. A single room of drywall repair runs $250 to $800 in 2026, and a professional skim coat is $1.90 to $3.40 per square foot. Paint over unprimed drywall, change your mind in five years, and that skim coat over every wall is the bill. Our drywall repair cost guide has the job by job numbers, patching a large hole covers what happens when a scraper takes a chunk out, and water damage ceiling repair cost covers where those quotes land if water is part of the picture.
The sequence if you’re going ahead
All three checks passed, the room is dry, and you’ve decided. This is the order that works, and the only step people skip is the one that costs them the wall.
Glue down every loose seam and edge first
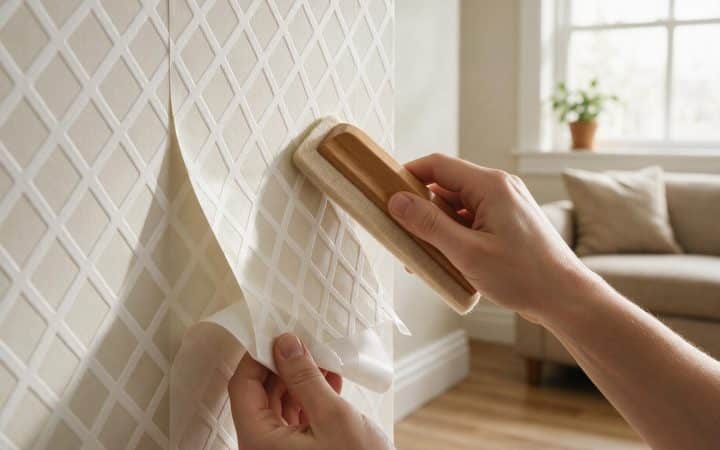
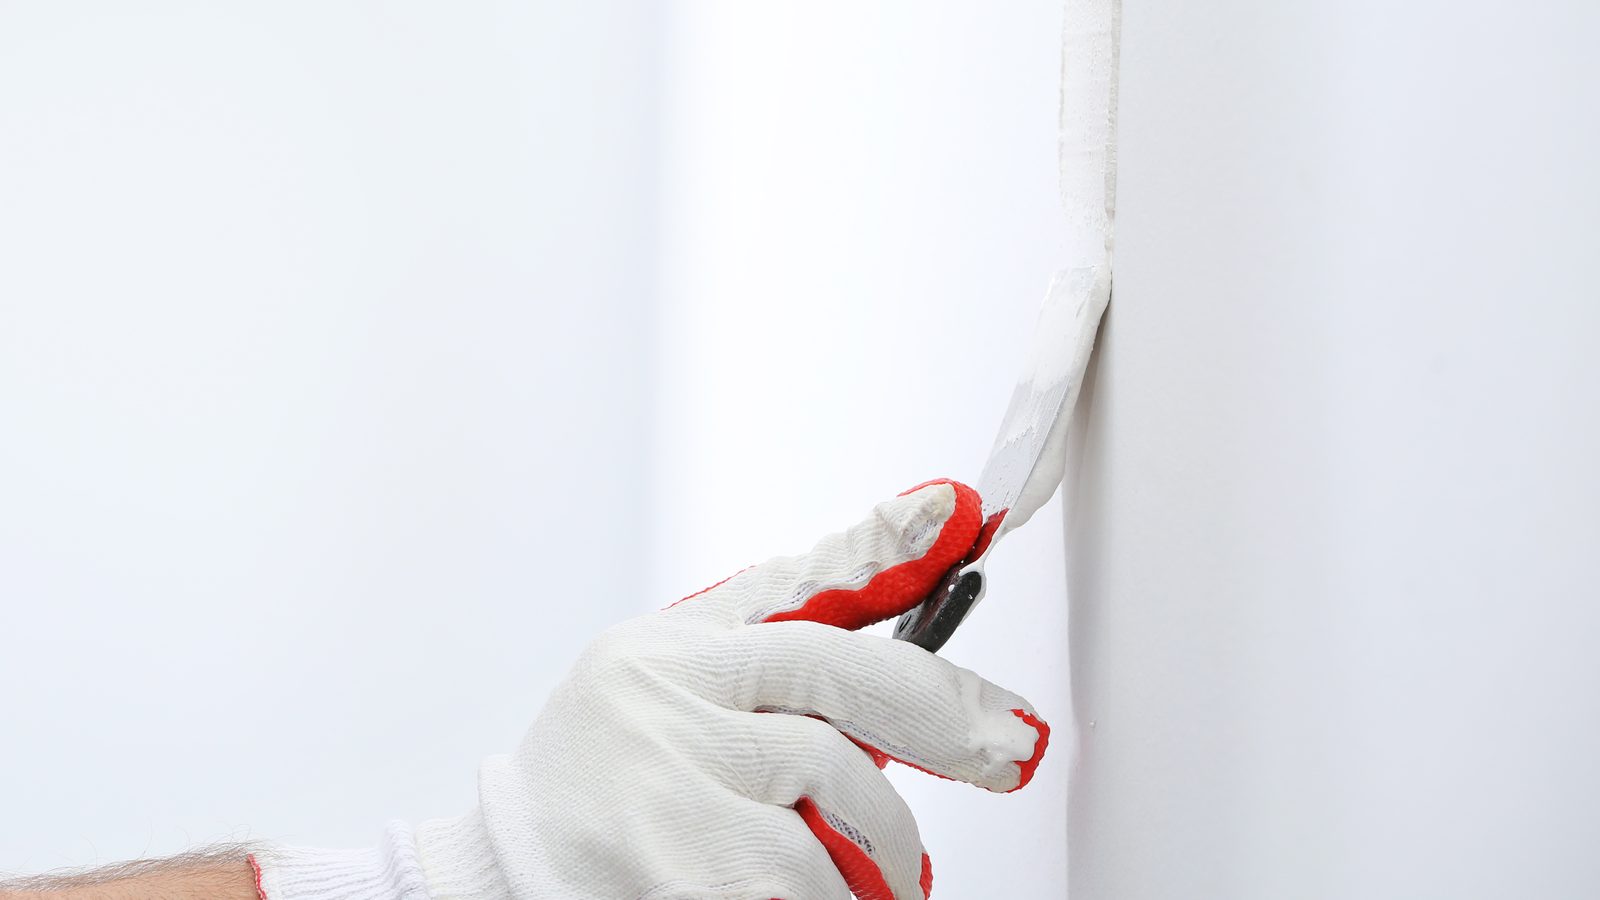
Lift the loose edge with a putty knife, work seam adhesive underneath with the knife tip, press it back with a seam roller, and wipe the squeeze out with a barely damp sponge. Give it a full day. Priming over a loose seam locks the failure in under a hard coating.
Wash the paper and let it dry completely
Dust, cooking grease and hand oils stop primer bonding as surely as vinyl does. Use a teaspoon of clear dish soap in a gallon of warm water, wipe rather than scrub, rinse, and give it 24 hours. Go light with the water and the pressure, for the reasons covered in our guide to cleaning painted walls.
Scuff sand vinyl or anything glossy
If the water bead test said vinyl, go over the wall with a 180 to 220 grit sponge until the sheen is gone. Vacuum the dust and wipe with a dry microfiber. In a home built before 1978 there may be old paint under or over that paper, so work wet where you can and clean up as you go.
Prime with oil or shellac, one full coat
Cut the edges with a brush, roll the field with a 3/8 inch nap, and don’t go back over an area that has started to set. Shellac grabs fast. Keep the windows open through drying.
Compound the seams and sand them flat
Thin coat over each seam with a 6 inch knife, feathered six to eight inches wide, dried, sanded with 120 grit. A second pass on any seam still catching the flashlight beats one heavy pass.
Spot prime everything you sanded
Bare compound drinks paint at a different rate than primed paper, and the result is a pale stripe down every seam once the finish coat dries. Same flashing problem covered in our guide to painting walls without roller marks.
Two finish coats, and pick the sheen deliberately
Flat or matte hides remaining seam relief better than anything else, which matters here more than washability does. Eggshell and satin throw light along the wall and will find every ridge you left. Check it with raking light before the furniture goes back.
Questions I get on site
Will the wallpaper seams show through the paint?
Yes, unless you fill them. Paint covers the pattern and leaves the physical ridge where two sheets overlap or butt together, and a plain painted wall shows that ridge more clearly than a busy print ever did. Compound each seam over cured primer, feather it six to eight inches wide, sand it, and spot prime. Flat paint over that is close to invisible. Satin over an unfilled seam is obvious from across the room.
Can I still remove the wallpaper later if I paint over it now?
It depends entirely on what the paper was hung on. Over plaster or previously painted drywall, yes, and it’s the painted wallpaper job described in our removal guide: perforate deeply, saturate twice, and expect a steamer to earn its rental. Over raw unprimed drywall, realistically no. The paint blocks the moisture and the scraper takes the drywall face off with the paper.
What happens if I use a water based primer anyway?
The water reaches the paste through the face of the paper and reactivates it. The paper swells and lifts, and you get bubbles while the roller is still wet. It can’t be rolled flat because the void is behind the paper. Once the wall dries you’re looking at a rippled surface sealed under a hard film, and the only honest repair is to strip the room.
Can I paint over wallpaper in a bathroom?
I wouldn’t. Shower steam keeps feeding moisture to a water soluble adhesive, and the failure arrives months later as a blister that pulls the paint off with the paper. Better paint and a working exhaust fan protect the coating, not the glue underneath it. Strip bathrooms and kitchens, and while the paper is off, look hard at what was behind it.
Do I have to sand the wallpaper before priming?
Only if it’s vinyl, washable, or has any sheen to it. Ordinary uncoated paper takes oil or shellac primer without sanding, and sanding it just risks tearing the face. Vinyl is a plastic surface with nothing for primer to key into, so it needs a scuff with 180 to 220 grit until the shine is gone, then a bonding or shellac primer. Skip that and the paint peels off in sheets, usually within a year.
The paint is cracking along a line, not at a seam. What is that?
Then it’s probably not a wallpaper problem. A crack running diagonally from a door or window corner, or stepping along a line, is movement in the wall itself telegraphing through everything on top of it. Our guide to fixing cracks in walls covers what the direction and width are telling you, and some of those patterns are worth an engineer rather than a knife.
The rule I work by
Painting over wallpaper is a legitimate shortcut and I’m not going to pretend otherwise. Sound paper, hung on plaster or on a wall that was primed first, no vinyl coating, a dry room: prime it with shellac, fill the seams, roll it flat, and you’ll get years out of it without thinking about the paper again.
What I won’t do is let somebody make that call without knowing which wall they have. Strip one hand sized patch in a closet before you buy a gallon of anything. If the drywall face comes away with the paper, you’ve found out that painting is permanent, and it’s the cheapest thing you’ll learn all week.
One last thing for older houses. While you’re up on a ladder looking at the wall, look up. If there’s sprayed texture on the ceiling and the house went up before the mid 1980s, that’s a separate question with its own rules, covered in our guides to popcorn ceiling asbestos and popcorn ceiling removal cost. Sanding a wall in that room is fine. Disturbing the ceiling isn’t.
Guides on this site are for general information about routine home maintenance. Suspected asbestos, mold over 10 sq ft, or structural water damage should be assessed by a licensed professional in your state. See our disclaimer for details.