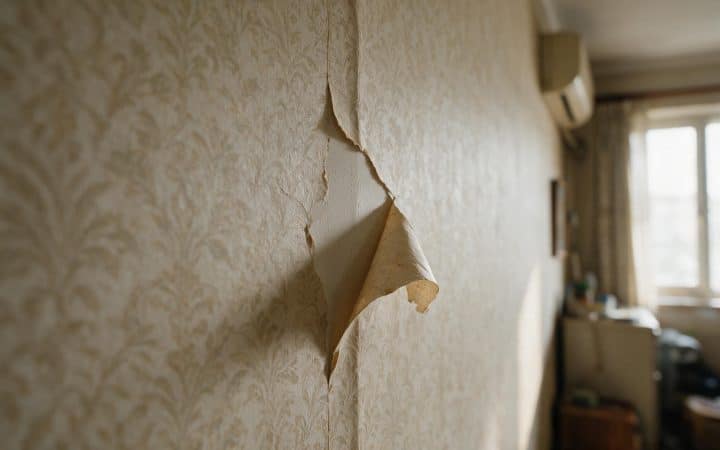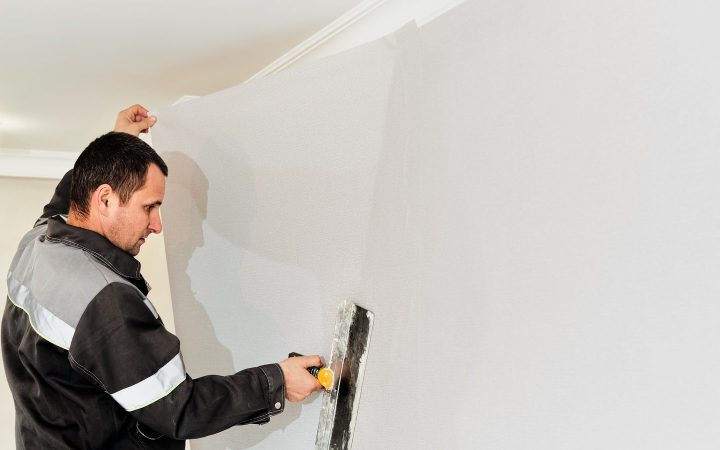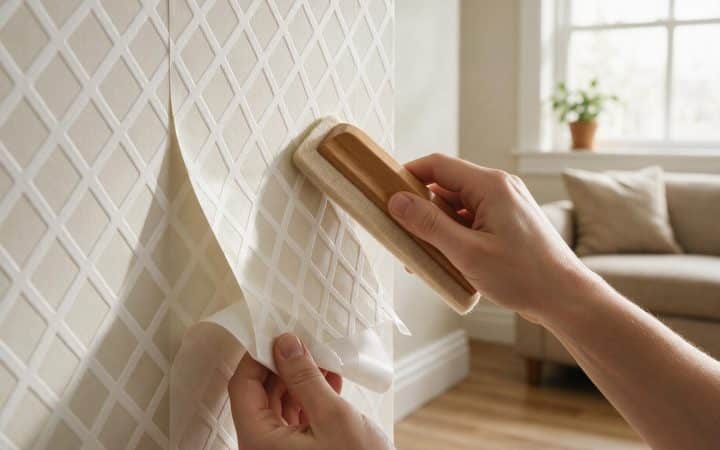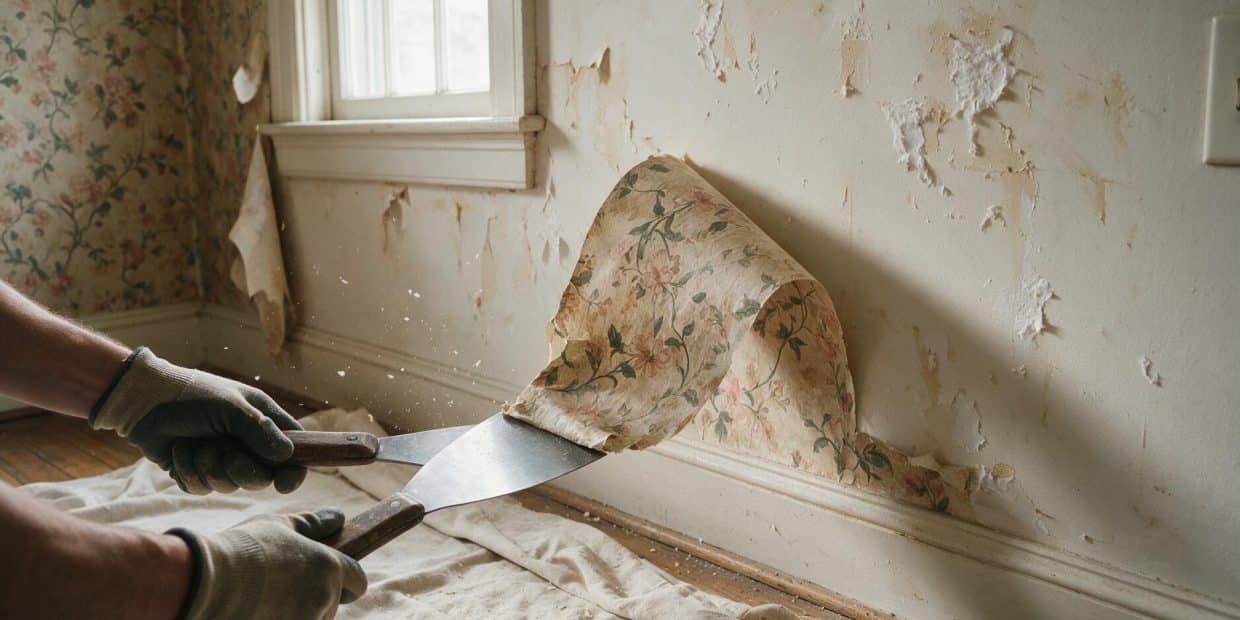
You’ve pulled a corner up to see what’s under there, and now you’re committed. Maybe it’s a whole dining room in a busy floral print from three decades ago, maybe it’s one accent wall peeling at every seam. Either way, the wallpaper itself is not the hard part. Score it, wet it, scrape it, and it comes off a room in an afternoon. The hard part is what the scraper does to the wall underneath while you’re not paying attention — and that’s the part most wallpaper guides skip entirely.
If what’s on your wall is modern peel-and-stick, skip ahead and just peel from a corner — this guide is for pasted, traditional wallpaper, which is what’s actually stuck to the walls in most homes built before the 2010s.
Start here: what’s actually on your wall
Wallpaper removal difficulty comes down to three questions: is it pasted or strippable, is it painted over, and is the wall underneath drywall or plaster. Answer those before you buy anything.
| What you have | What it usually means | Best approach |
|---|---|---|
| Peels off in full sheets, leaving a thin backing behind | Strippable vinyl — the decorative layer separates from its backing | Dry-peel the top layer, then wet-strip the backing left behind |
| Tears into small pieces when you pull a corner | Pasted directly to the wall, no separate backing | Score, soak, scrape (below) |
| Painted over, doesn’t budge when wet | Paint sealed the surface | Deeper scoring, stronger solution or steam, longer dwell time |
| On plaster (solid, cool, sounds dense when tapped) | More tolerant of heat and moisture | Steamer works well, but keep it moving |
| On drywall, especially anywhere patched before | Paper face is thinner and easier to tear | Wet method only, shallow scraping angle, patience over force |
The two-second dry-peel test
Before you mix anything, pull up a loose corner and tug. If a full sheet peels away in one piece and leaves a thin, dull-colored backing stuck to the wall, you’ve got strippable vinyl — the backing comes off separately, with water, in the steps below. If it just shreds into confetti, it’s pasted straight to the wall and you go straight to scoring.
Tools and materials
Only one of these rows applies to your wall — skip straight to the one you need.
| Method | You’ll need | Rough cost |
|---|---|---|
| Score & soak (most walls) | Scoring tool, spray or pump sprayer, 6″ putty knife, drop cloths | $15–$25 |
| Steamer | Wallpaper steamer (buy or rent), scraper, heat-resistant gloves | $40–$70 to buy, $25–$35/day to rent |
| Chemical stripper | Liquid stripper concentrate, pump sprayer, scraper, ventilation | $20–$35 |
| After removal | Gardz or shellac-based primer-sealer, joint compound, sanding sponge | $25–$40 |
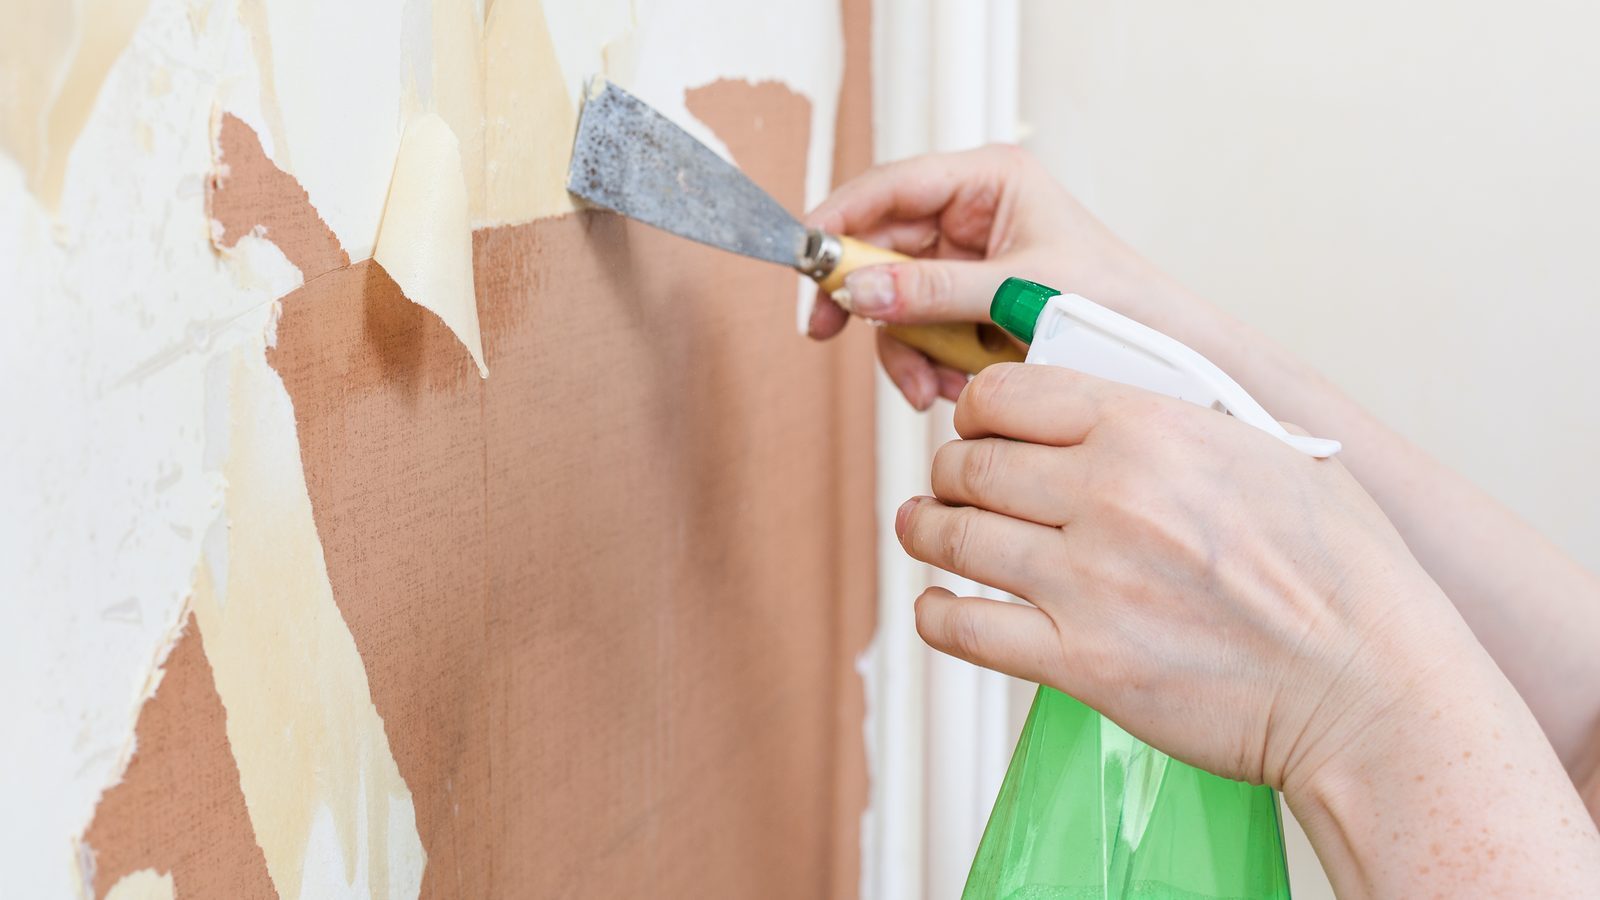
The standard method: score, soak, scrape
This handles most wallpaper without renting anything.
Clear and protect the room
Pull furniture back, run drop cloths along the baseboard, and cut power to any outlets on the wall you’re spraying. Water and switch plates don’t mix.
Score the surface
Run a scoring tool over the wallpaper in overlapping circles — just enough to perforate the top layer without gouging the wall behind it. You’re making a thousand tiny doors for the solution to get through, not carving the wall.
Mix and apply your solution
Saturate the wallpaper with your soaking solution (recipes below) using a pump sprayer, and keep it wet for 10 to 15 minutes. If it’s drying out before you get to it, you’re working too large an area at once — go section by section, about 4 feet at a time.
Scrape at a shallow angle, from a corner
Start where a seam is already lifting. Hold the putty knife almost flat against the wall, not digging in at 45 degrees, and pull the paper toward you in long, slow strokes. A steep angle and speed are what carve up the drywall underneath.
Re-wet and clear the adhesive
A second pass with hot, soapy water lifts the paste residue the first scrape left behind. Rinse with clean water after.
Let the wall dry completely before you touch it again
Give it 24 hours minimum before you assess damage, seal, or repair. Wet gypsum looks worse than dry gypsum, and you want to know what you’re actually dealing with before you commit to a fix.
Homemade wallpaper remover solutions that actually work
You don’t need a name-brand stripper for most jobs. All three of these do the same thing: break the bond between paste and paper so the scraper isn’t fighting the wall.
| Solution | Mix | Best for |
|---|---|---|
| Vinegar and hot water | 1 part white vinegar to 1–3 parts hot water | Light, unpasted or lightly pasted paper |
| Fabric softener and hot water | 1 part fabric softener to 1–3 parts hot water | Vinyl-backed or coated paper; gentler residue |
| Heavy-duty mix | 3 gal hot water, 22 oz liquid wallpaper remover concentrate, ¼ cup fabric softener, 1 cup vinegar, 2 tbsp baking soda | Multiple layers or old, stubborn paste |
Apply with a pump garden sprayer rather than a spray bottle if you’re doing more than one wall — your arm will thank you, and the wider mist covers a section evenly instead of in stripes.
If it’s painted over, here’s what changes
Paint seals the paper, which means your soaking solution has nothing to soak into. The steps are the same; the depth changes.
Score more aggressively than you would on bare paper — a tool like a Paper Tiger, which punches small holes rather than shallow scratches, gets the solution through the paint layer instead of just scuffing its surface. Expect to saturate the wall twice: once to wet the painted surface, a second time a few minutes later once the first pass has found those holes. Painted wallpaper is also where a steamer earns its cost — heat gets through a painted surface more reliably than a cold liquid does.
If the house was built before 1978, stop and think about lead
Paint made before 1978 may contain lead, and scraping or sanding it — including paint sitting on top of old wallpaper — can create lead dust. The EPA requires certified lead-safe practices for any paid contractor disturbing more than 6 square feet of painted surface in a pre-1978 home. Doing it yourself isn’t illegal, but the same logic applies: work wet, never dry-sand or use a heat gun on high, pick up debris as you go, and HEPA-vacuum the area when you’re done. A lead test kit costs under $15 and takes ten minutes if you’re unsure. See our disclaimer for where our advice stops and a professional’s should start.
Steamer or chemical stripper — which one for your walls
For a single room of ordinary pasted paper, the solutions above handle it without renting or buying anything else. These two are for when that’s not enough.
A steamer is faster once it’s running — most rooms in reasonably good condition strip in 1 to 2 hours — and it’s the better choice on plaster, which tolerates heat and moisture better than drywall does. The catch is technique: hold the plate on one spot too long and you can soften old plaster or over-saturate the paper face of drywall, which is exactly the damage this whole guide is trying to help you avoid. Keep it moving, a few seconds per section, and let the moisture do the work instead of the heat.
A liquid stripper concentrate suits small areas better — a single feature wall, a stubborn patch a steamer couldn’t get to — because it takes longer to work across a whole room: expect 30-minute dwell times, sometimes more than one application, and real ventilation since the fumes are meant to be noticed. Reach for it on small jobs, reach for a steamer or the homemade solutions above on anything bigger.
The step everyone skips: sealing the wall before you do anything else
Wallpaper paste doesn’t just sit on top of drywall — it bonds into the paper face, the thin layer of paper glued to the gypsum core that gives drywall its smooth, paintable surface. Pull the wallpaper off, even carefully, and you’re pulling at that bond. Some paper face comes with it. What’s left behind is fuzzy, soft, and torn in patches you can feel with a flat hand even when you can’t quite see them.
Paint or joint compound applied straight onto that torn paper face doesn’t behave the way it does on an intact wall. Raw, fuzzy gypsum soaks up moisture unevenly — a compound skim coat can bubble or blister as it dries, and paint flashes into a patchwork of flat and slightly glossy spots because the torn areas absorbed more than the surrounding wall. It’s the single most common reason a wallpaper removal that looked clean on day one still looks obviously wrong two coats of paint later.
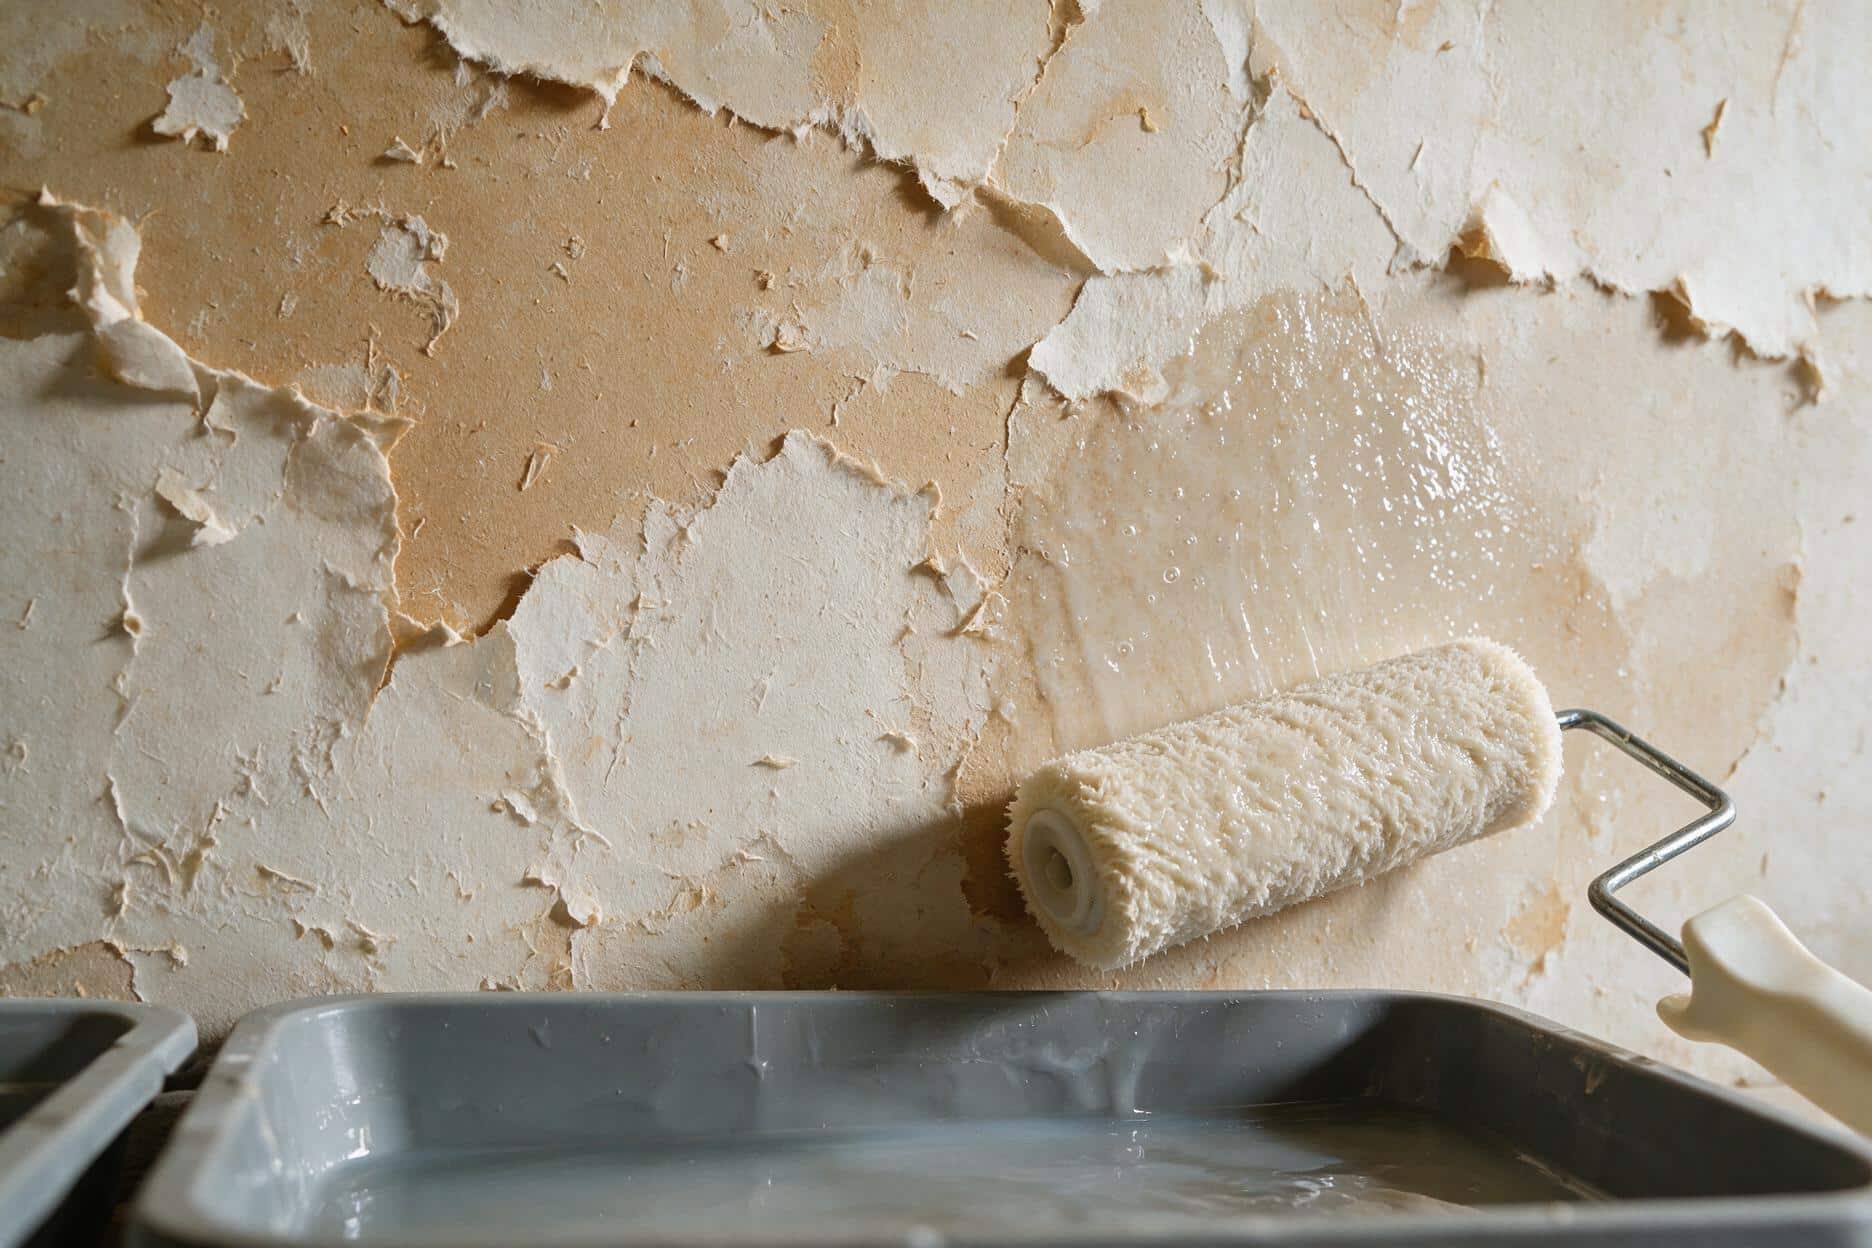
The fix goes on before any compound or paint, not after: a clear primer-sealer made for damaged drywall — Gardz is the name most pros reach for, and a shellac-based primer works as a substitute — rolled over the entire stripped wall, not just the spots that look torn. It soaks into the exposed gypsum and paper fuzz and hardens it into something you can actually skim or paint over without it drinking the next coat unevenly.
Buy the full can, not the smallest one
A quart of primer-sealer covers roughly 200 square feet, usually more than one wallpapered room. Buy the size that seals the whole wall in one pass rather than stopping to remix halfway through — an uneven seal is exactly what this step exists to prevent.
Once the wall is sealed and dry, treat what’s left the way you’d treat any other drywall damage. Scattered gouges and torn patches across an otherwise sound wall are a skim coat job — read our skim coat guide for getting a whole wall to one uniform finish rather than patching two dozen small spots by hand. An actual hole, where the scraper caught an edge and took a chunk of gypsum with it, gets treated like any other drywall hole — our large hole patching guide covers the method by size.
This is also the moment to look at what the wallpaper was covering up, not just what it did to the wall. A ring of brown staining, especially near the ceiling line, is worth reading about before you paint over it — see our water stain guide. Dark speckling or a musty smell once the paper’s gone is a different problem with its own safety threshold, covered in our mold guide. Neither one is something to skim coat over and hope.
What this actually costs in 2026
Materials for a DIY removal are cheap. Renting or hiring changes the math fast.
| DIY solution | DIY steamer rental | Professional | |
|---|---|---|---|
| Typical cost | $15–$40 (tools + solution, one room) | $25–$35/day rental + $15–$25 solution | $320–$1,200 per room ($0.60–$3.00/sq ft) |
Add sealing and repair on top of whichever column applies — a quart of primer-sealer runs $20–$25, and if the paper face tore badly enough to need a patch, that’s another $25–$65 in materials. Our drywall repair cost guide breaks down pricing for anything past a simple skim.
Professional pricing swings on the same factors that make DIY harder: multiple layers of old wallpaper, plaster in questionable condition, or a wall that turns out to need real drywall repair once the paper’s off. A single coat of ordinary vinyl on solid drywall sits at the bottom of that range. Three layers of painted-over paper on cracking plaster sits at the top.
DIY it or call it in
One room, one layer, not painted over — that’s a Saturday, start to dry. Call it in when you’re looking at multiple stacked layers of old paper, plaster you’re not confident will survive steam, enough square footage that a day of scraping turns into a week, or a pre-1978 home where you’d rather not manage lead-safe practices yourself. And if what’s under the paper turns out to be water damage or something growing, that’s a different job before it’s a wallpaper job at all.
Mistakes that turn a weekend job into a drywall replacement
| What you see | Usual cause | Fix |
|---|---|---|
| Gouges and fuzzy patches across the wall | Scraping dry, too steep an angle, or before the solution had time to soak in | Re-wet the spot, flatten the scraper angle, wait the full 10–15 minutes before trying again |
| Compound or paint bubbles days after repair | Torn paper face went unsealed before skimming or painting | Strip back, seal with Gardz or a shellac primer, then redo the finish coat |
| Wallpaper barely moves no matter how wet you get it | It’s actually strippable vinyl and you’re fighting the backing instead of peeling the top layer first | Run the dry-peel test before you spray anything |
| New paint looks patchy, almost checkerboard | Bare compound absorbed paint unevenly next to the older, sealed wall | Prime the entire wall, not just the repaired spots, before the finish coat |
Questions I get on site
Do I need a steamer, or will spraying and scraping work?
For one room of ordinary pasted paper, spraying and scraping handles it. Reach for a steamer when the paper’s painted over, when you’ve got plaster that tolerates heat well, or when a single room is taking so long with a spray bottle that renting one for a day is clearly the faster option.
Can I just paint over the wallpaper instead of removing it?
You can, and it’ll look fine for a while. Seams telegraph through paint eventually, moisture can get trapped between the layers and cause the same paste bond to fail later — except now it’s failing under paint instead of under wallpaper — and it’s one more thing a buyer’s inspector or your own future self has to deal with. It’s a real shortcut, just not a permanent one. Our guide to whether you can paint over wallpaper walks the three checks that decide it, including why the answer changes completely if the paper was hung on unprimed drywall.
How do I keep the removal solution from damaging trim and ceiling paint?
Run painter’s tape along the ceiling line, baseboards, and any trim before you spray anything. The solution is water-based and won’t strip cured paint on contact, but standing water pooling in a corner for twenty minutes will eventually soften it. Wipe drips as you go rather than letting them sit, and you won’t need to touch up trim afterward.
How long does the wall need to dry before I paint or skim coat?
At least 24 hours after the final wet scrape, longer if the room is humid or poorly ventilated. Press a flat hand against the wall — if it feels cool or the color looks darker in patches, it’s still holding moisture. Sealing or painting over a wall that isn’t fully dry is how you get the exact bubbling this guide is trying to help you avoid.
What if I find water stains or mold once the wallpaper’s off?
Stop and diagnose it before you seal or paint over it. A ring-shaped stain usually means a past or current leak — see our water stain guide for reading it. Dark speckling, especially with a musty smell, gets its own safety threshold covered in our mold guide. Sealing over either one just moves the problem behind a fresh coat of paint.
Is wallpaper paste itself dangerous to scrape?
Modern wallpaper paste isn’t an asbestos concern — that risk sits with certain old joint compounds and sprayed textures from before 1980, not wallpaper adhesive. The real pre-1978 risk is lead in old paint, either under the wallpaper or painted over it later, which is a separate question from the paste itself. See the callout above if your home is that old.
Do I really need to prime the whole wall, or just the torn spots?
The whole wall. Priming only the visibly torn patches leaves you with a wall that absorbs paint at two different rates, which is exactly the flashing problem a full coat of primer-sealer is meant to prevent.
Can I put new wallpaper back up on a wall I just stripped?
Once it’s sealed and fully dry, yes — a sealed wall actually holds new paste better and strips easier next time than bare, unsealed drywall does. Skip sizing the wall first and the new paper can bond too aggressively to the paper face, setting up the same tear-prone removal you just finished dealing with.
Guides on this site are for general information about routine home maintenance. Suspected asbestos, mold over 10 sq ft, or structural water damage should be assessed by a licensed professional in your state.