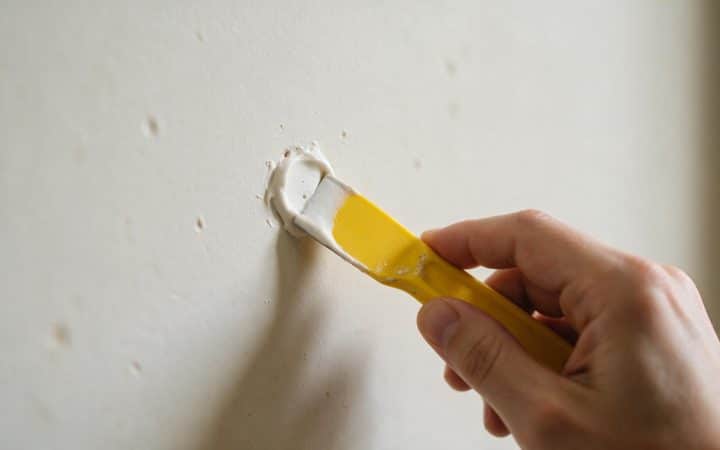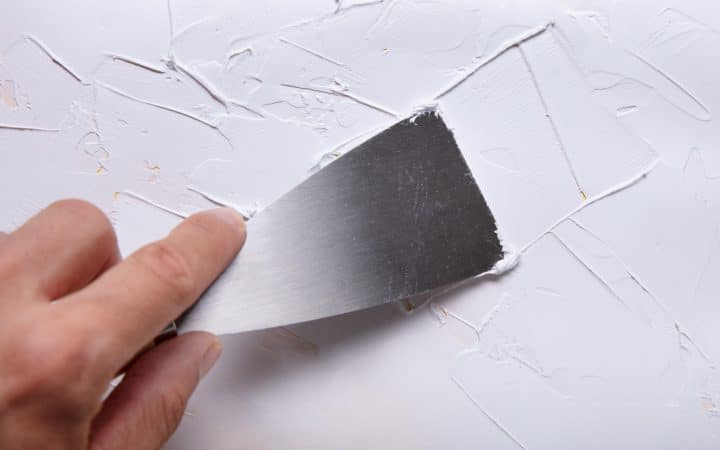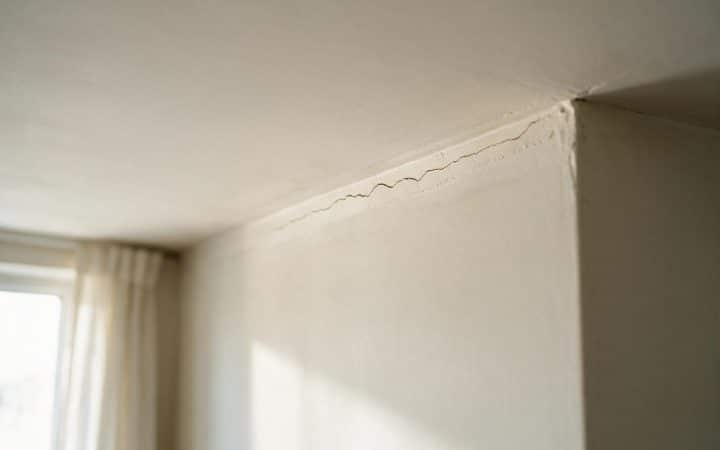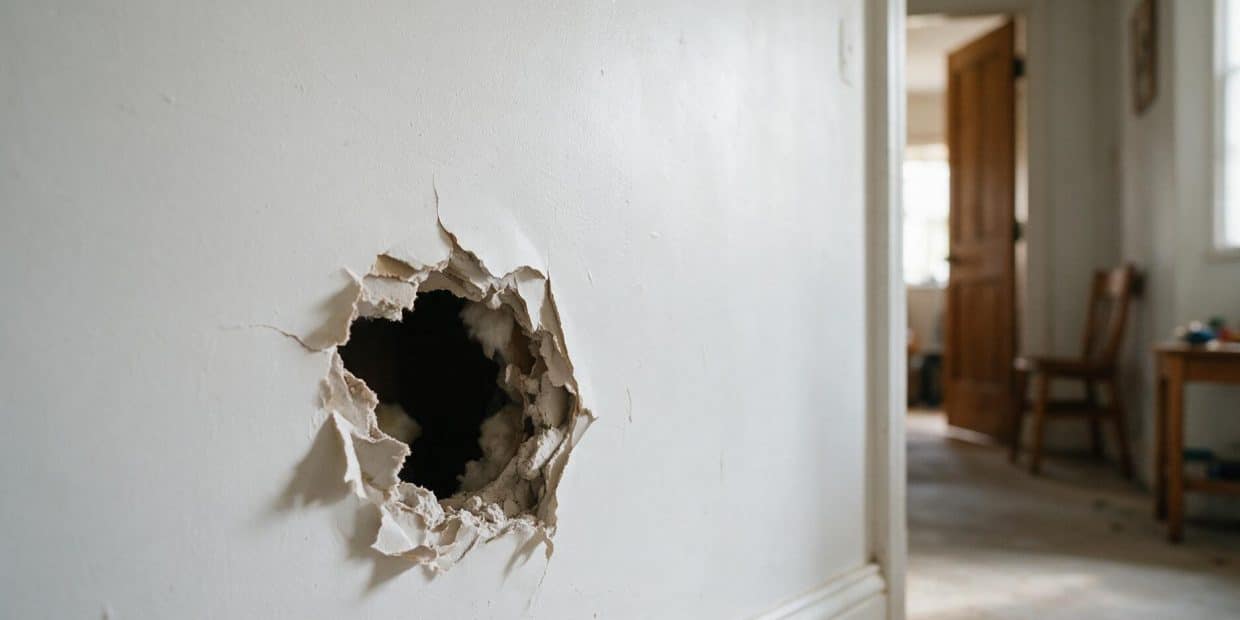
Nobody searches this out of curiosity. You’re standing in front of the hole right now, and it’s one of three kinds: something went through the wall — a doorknob, an elbow, a moving box — and left a ragged opening with crushed edges. Or you took something out — an old through-wall AC sleeve, a medicine cabinet, a vent that got relocated — and what’s left is bigger than anything that’s supposed to be there. Or someone already patched this spot and it’s back: a faint ring under the ceiling light, a soft spot that gives when you press it, a bulge that wasn’t there last spring. The method that actually fixes each one is decided by size and by what’s behind the hole, not by which kit was on the shelf at the store — and that’s the order this guide follows.
Start here: how big is your hole, really
“Large” gets used loosely online. On a jobsite it means something specific: past the point where a self-adhesive patch has anything behind it to hold the wet compound up. Size the hole first, then pick the method built for that size.
| Hole size | What it usually is | Method that works |
|---|---|---|
| Under 1/2″ | Picture hook, old wall anchor | Spackle, no tape needed |
| 1/2″–2″ | Doorknob dent, single screw hole | Self-adhesive mesh patch |
| 2″–6″ | Fist-sized, small fixture removed | California patch (paper-flange) |
| 6″–14″ | Doorknob punched clean through, corner blowout | Backing strips (cleat method) |
| Bigger than a stud bay | Old AC sleeve, water-damaged section, several holes merged | Cut back to the studs, hang real drywall |
The inches matter less than what’s on the other side of them. A 5-inch hole over open framing with nothing to screw into behaves like a 10-inch hole. The same 5 inches with a stud running right behind it is almost a small job. Check that before you commit to a method, not after.
Why the patch kit box lies about size
Self-adhesive mesh patches are sold as good for holes “up to 8 inches,” and that number is doing work it shouldn’t. A self-adhesive patch is a piece of fiberglass or aluminum mesh with sticky edges — that’s the whole product. Nothing behind it holds the joint compound up while it’s wet. Under about 2 inches, the compound spans the gap fine on its own surface tension and the mesh’s stiffness. Push it toward 6 inches and you’re asking a piece of screen-door material to support its own weight in wet mud; it bellies out in the middle by a fraction, and that fraction is enough to catch a lamp or low winter sun at the wrong angle for the rest of the wall’s life. Past 6 inches, buying the bigger patch just delays the failure. It doesn’t prevent it.
The tell that a mesh patch is too big for the hole
If you can flex the patch with one finger before you’ve even opened the joint compound, it has no business holding wet mud in place. That flex is the real answer — not the inches printed on the box.
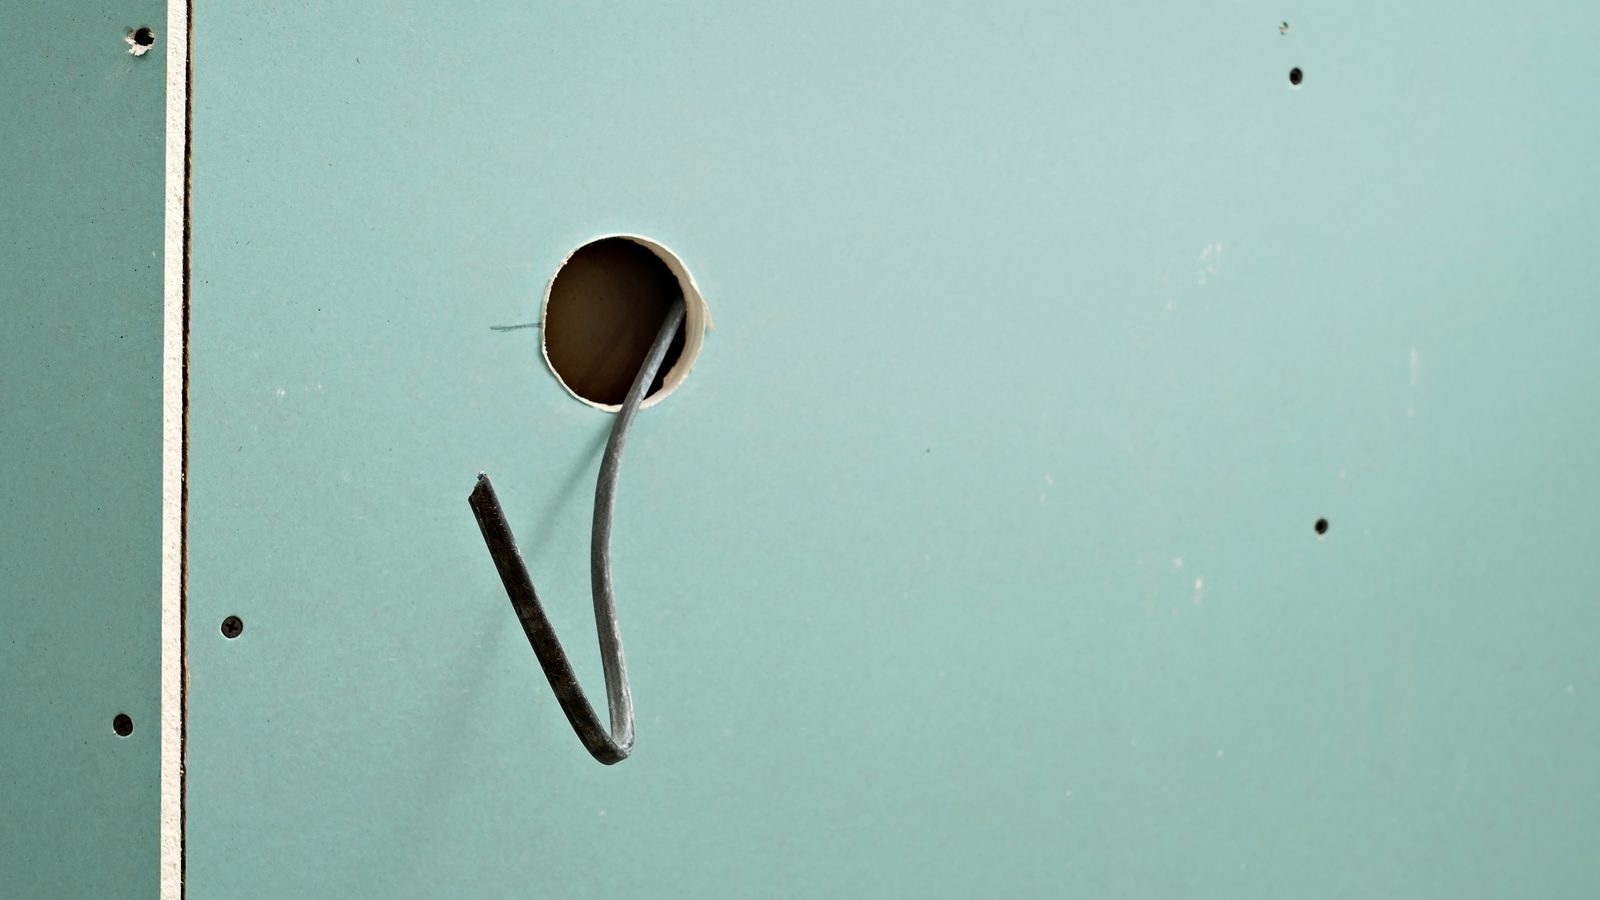
Check what’s behind the wall before you cut anything
Every hole opens into a stud bay, and a stud bay is where wiring runs and, less often, where plumbing passes between floors. Before you enlarge a hole for a patch, or cut back to the studs, know what’s in there.
- Cut the breaker for any circuit near the hole if you’re not sure, and confirm it’s dead with a non-contact tester before you reach inside.
- Most branch wiring runs horizontally about 6 to 12 inches above outlets and switches, or straight up and down from them — treat those lines as off-limits for surprise cuts.
- A stud finder with a deep-scan or metal/AC mode will usually flag a live wire or a metal pipe along with the framing; run it over the area before you commit to a bigger opening.
- If your hand finds a wire or a pipe the moment you open the hole, stop there — see the FAQ below before you go any further.
Stop if the wall is textured and the house predates 1980
Some joint compounds and sprayed textures made before the 1977–78 US restrictions contained asbestos. If you’re sanding into old texture or an old repair on a pre-1980 wall, don’t dry-sand or dry-scrape it on a guess — have a sample tested by an accredited lab first, which runs about $40. Our popcorn ceiling asbestos guide walks through how that testing works, and our disclaimer covers the rest.
Match the thickness before you match anything else
Most interior walls built since the 1960s use 1/2-inch drywall. Older homes and a lot of ceilings use 3/8-inch, and a garage-to-house wall is often 5/8-inch fire-rated “Type X” board by code. A patch piece that’s even 1/8 inch off sits proud or sunken no matter how well you tape it, and you won’t feel that with your fingers through a painted wall — you’ll only see it. Measure the cut edge of the existing wall with a tape measure or calipers before you buy or cut a patch piece. Don’t assume it matches what’s stacked in your garage.
Tools and materials, by method
You don’t need all of this — only the row for the method your hole actually needs.
| Method | You’ll need | Rough material cost |
|---|---|---|
| Mesh patch | Self-adhesive mesh patch, 6″ knife, joint compound | $8–$15 |
| California patch | Scrap drywall, utility knife, 6″ and 10–12″ knives, joint compound | $15–$30 |
| Backing strips | Drywall saw, furring strips or drywall repair clips, screws, drywall patch piece, mesh tape, 6″/10″/12″ knives, joint compound | $25–$65 |
| Any method, finishing | Sanding sponge or pole sander, primer, paint | add $15–$25 |
A half-sheet covers more patches than you’d think
A 2×4-foot scrap piece, about $12 at a hardware store, backs several California or backing-strip patches. Buy the half-sheet instead of hunting for scrap — it pays for itself the first time you need a clean, dust-matched offcut.
Method 1 — self-adhesive mesh patch (up to about 2 inches)
Clean the edges
Knock off any crushed paper or loose gypsum around the hole so the patch sits flat against solid wall, not on debris.
Center and press the patch
Peel the backing and press it over the hole with at least a half-inch of overlap onto solid wall all the way around.
Bed it with compound
Apply joint compound over the whole patch with a 6-inch knife, feathering the edge a good 4 inches past the mesh so there’s no ridge to sand later.
Let it dry, then recoat
Once dry, apply a second, wider coat feathered a few inches past the first, then sand.
Method 2 — the California patch (2 to 6 inches)
This is the patch that made scrap drywall worth keeping. It uses the hole’s own paper facing as a built-in strip of tape, so there’s no separate backing to install.
Cut an oversized square
From scrap drywall, cut a piece about 2 inches wider and taller than the hole in every direction.
Score the back, 1 inch in
Flip the patch face-down and score the paper an inch from each edge with a utility knife, then snap and peel away the gypsum core inside that border, leaving the front paper intact as a flange.
Bed the flanges
Spread a thin layer of joint compound around the hole’s edge, then press the patch in so the paper flanges lie flat against the wall over that compound.
Coat the whole patch
Cover the entire patch face with compound, feathering the outer edge well past where the flange ends.
Tape any open seam
If any side of the patch doesn’t have a paper flange, run mesh tape over that seam before the next coat.
Fill and finish coats
Once dry, apply two more coats, each wider than the last, sanding between coats.
Method 3 — backing strips, the real fix past 6 inches
Past 6 inches, or anywhere the hole runs edge to edge between two studs, there’s no wall left to bed a flange or a mesh patch against. You need something behind the new drywall for it to be screwed to — that’s what a cleat does.
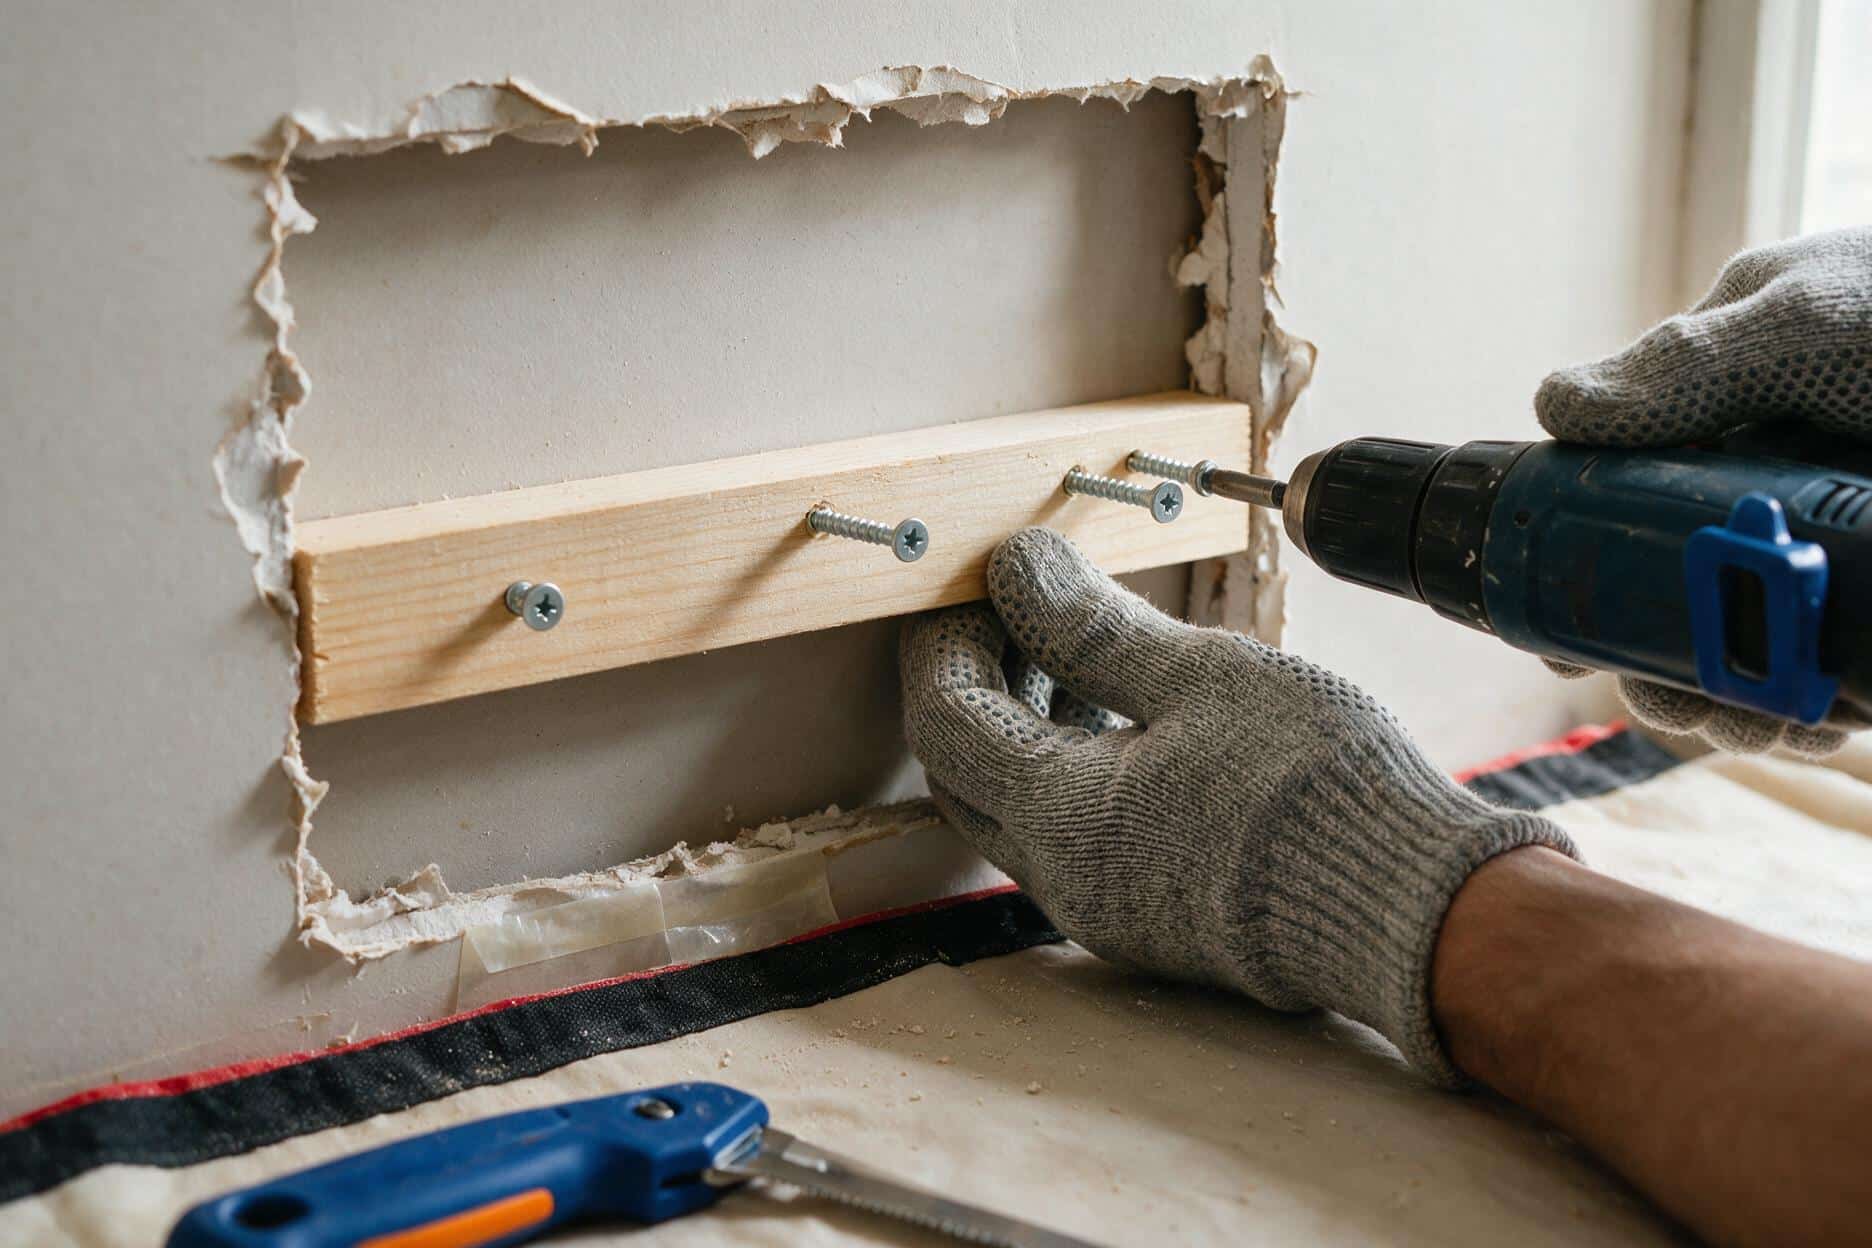
Square up the hole
Cut the damaged area into a clean rectangle with a drywall saw. Straight edges are easier to patch than the original ragged shape.
Cut and insert backing strips
Cut furring strips (1×2 or 1×3) a few inches longer than the hole’s height, slide them into the opening behind the drywall, and screw through the face of the existing wall into each strip so about half its width is captured on each side of the cut.
Repeat top and bottom
For a rectangular hole, run a strip along each edge. You’re building a ledge for the patch to land on all four sides, not just two.
Cut the patch to size
Cut a piece of drywall the same thickness as the wall to fit the opening, and check the fit before you put any compound near it.
Screw the patch to the cleats
Set screws every 6 to 8 inches into the backing strips, driven just below the paper without breaking it.
Tape all four seams
Mesh or paper tape over every edge where the patch meets the original wall.
Fill, feather, and finish
Same three-coat structure as any seam: embed, fill, finish, each coat wider than the last.
Metal drywall repair clips do the same job without needing to reach a stud — they clip onto the cut edge of the existing wall and give the patch a lip to screw to on all four sides. That’s the easier option if you don’t have scrap furring strips on hand.
When there’s no scrap big enough — cut back to the studs
Somewhere past a hole you can cover with a single offcut — an old through-wall AC sleeve, a section with damage behind it, three holes close enough to merge into one repair — patching stops being the job. At that point, cut the damaged section back to the center of the studs on each side, so the new piece has full-width backing exactly like new construction, and hang a real piece of drywall. It costs a little more material and one extra coat over the wider seams, but it holds flatter and longer than stretching a patch method past its size — and it’s the same taping and finishing either way you get there. If the section runs to the ceiling, includes a water stain, or the drywall feels soft and smells off once you cut into it, stop and read our water stain and mold detection guides first. Patching over an active source just moves the problem behind fresh paint.
Taping, mudding, and getting to a finish that disappears
Every method above ends the same way: tape where needed, then three coats of compound, each wider than the last, each sanded before the next.
- Coat 1 — embed. Presses tape or the patch flange into a thin bed of compound. This one’s about adhesion, not looks.
- Coat 2 — fill. The widest structural coat. It builds the seam up level with the surrounding wall.
- Coat 3 — finish. Thin and wide, mostly about erasing the edge of coat 2 into the wall.
All-purpose, pre-mixed compound dries by evaporation and takes 12 to 24 hours a coat at room temperature — three coats in one day isn’t realistic with it. Setting-type compound, sold as “hot mud” or by set time (20, 45, 90 minutes), hardens through a chemical reaction instead of drying out, so you can recoat as soon as it’s set, often the same afternoon. On a patch with anything behind it that could sag — a mesh patch, a California patch’s paper flange, a fresh cleat repair — the base coat is exactly where hot mud earns its keep. It won’t slump while curing the way a thick coat of all-purpose can over an unsupported span, and it lets you run all three coats in a single day if you want the wall paintable by evening.
Feather wider than feels reasonable. A patch that’s still visible after painting almost never failed at the taping — it failed at the feathering. Two inches on each side of a fist-sized patch leaves a ridge you can find with a flat hand in the dark. Ten to twelve inches per side, tapered so thin at the edge that you can’t tell where the old wall ends and the new compound begins, is what actually disappears. On a patch that started 6 inches across, that means the finished repair zone on the wall is closer to 2 feet.
Prime before you paint, every time
Skipping primer on a patch is the single most common reason a technically good repair still shows up after painting. Compound and the surrounding painted wall don’t absorb paint at the same rate — compound is more porous — so finish paint over bare compound dries a slightly different sheen than the paint around it, and that oval of flat-versus-eggshell reads as a shadow under side light even when the surface itself is dead flat. A coat of drywall primer or PVA sealer over the patch, feathered a couple of inches onto the old paint, evens out the absorption before color goes on. If the wall around the patch is textured, matching that texture is a separate skill from patching it flat — our drywall texture types guide covers spray settings and technique for that step. And if you’d rather skim the whole wall to a uniform finish than feather one more patch into an already-patchy wall, that trade-off is covered in our skim coat guide.
Why patches crack or ghost back six months later
A patch that fails later almost always traces back to one of four things.
| What you see | Usual cause | Fix |
|---|---|---|
| Hairline crack along the patch edge | No backing, or compound alone spanning a gap | Redo with backing strips — compound isn’t structural |
| Faint ring visible in low light | Feathering too narrow, or primer skipped | Sand wider, re-feather, and always prime before paint |
| Screw or nail head showing through (“popping”) | Fastener missed the stud, or didn’t bite 3/4″ into it | Reset a longer screw into the stud, not the old hole |
| Whole patch feels soft or has come loose | Framing movement behind it, or moisture reaching the patch | Check for a leak first — this is a moisture issue, not a taping one |
What this actually costs in 2026
Materials for a DIY large-hole patch — backing strips, drywall scrap, compound, tape, primer — run about $25 to $65 depending on the method. The same repair costs a handyman $150 to $350 for a medium hole, or $300 to $800 if it’s large enough to need a real piece of drywall and a full three-coat finish, with specialized drywall contractors billing $65 to $100 an hour on top of material. For the full breakdown by job type — small holes, cracks, water damage, whole-wall jobs — see our drywall repair cost guide; the numbers below are specific to the single-hole patch this article covers.
| DIY materials | Pro, medium hole (5–12″) | Pro, large hole or patch | |
|---|---|---|---|
| Typical cost | $25–$65 | $150–$350 | $300–$800 |
DIY it or call it in
A single patch, on a flat wall you’re repainting anyway, in a room where you’re not chasing a texture match — that’s a Saturday-afternoon job for anyone willing to do three coats instead of one. Call it in when the wall is heavily textured and matching it is the actual hard part, when the hole is on a ceiling and gravity works against every coat you apply, when you find a wire or pipe in the opening, or when what looked like one hole turns out to be soft, damp drywall over a wider area than you can see from the front. None of those are patch problems anymore. They’re a different job wearing a drywall-sized hole in the wall.
Questions I get on site
Can I use a mesh patch for a large hole?
Up to about 2 inches, yes, without reservation. Stretched to 6 inches it can work if you bed it in setting-type compound and feather wide, but past that the mesh has nothing rigid behind it and the middle will telegraph under paint. Past 6 inches, use backing strips instead of a bigger mesh patch.
How long before I can paint a drywall patch?
As soon as the final coat is dry, sanded, and primed. With all-purpose compound at three coats and roughly 24 hours each, that’s 3 to 4 days start to finish. With setting-type compound for the base coat, the same patch can be primed and painted the same day.
Do I need to replace the whole sheet, or can I patch it?
Patch it, in almost every case a homeowner runs into. Full-sheet replacement only makes sense when the damage runs edge to edge across more than one stud bay, or when there’s hidden water damage behind the visible hole.
Can I skip joint compound and just use spackle?
Not for anything you’re taping — a California patch, backing strips, mesh tape over a seam. Spackle is fine for a bare nail hole with nothing to bridge; the moment there’s a seam or a patch edge, it needs joint compound and at least one coat of tape.
Is patching a textured wall different?
The patching itself is the same. Matching the texture afterward is the hard part, and it’s a separate skill — see our drywall texture types guide for spray settings and technique once the patch itself is flat and dry.
What if I find a wire or pipe inside the hole?
Stop before you patch anything. Confirm the circuit is dead or the line isn’t pressurized, and treat it as an electrical or plumbing repair first. Patching drywall over a damaged wire or pipe just hides the actual problem behind fresh paint.
Should I save the piece I cut out?
If it came out in one piece with reasonably clean edges, yes — trim it down and it becomes its own patch with a factory paper face already on one side, which feathers better than a random offcut. If it shattered on the way out, skip it and use fresh scrap instead.
What size container of joint compound do I actually need?
The smallest size sold, usually a quart or a gallon, is more than enough for any single hole up to backing-strip size — you’ll use a fraction of it. Buy small unless you’re patching several holes in the same visit.
Guides on this site are for general information about routine home maintenance. Suspected asbestos, mold over 10 sq ft, or structural water damage should be assessed by a licensed professional in your state.