The call almost always comes in the afternoon, and it almost always starts the same way. I smelled something this morning, but I can’t smell it now. That isn’t the homeowner being unreliable. That’s how a stud bay works.
Overnight, with the doors shut and the air handler off, whatever is off-gassing behind the drywall leaks slowly into a still room and collects there. By ten in the morning the house has warmed, the HVAC has cycled three or four times, and that air has been diluted into the rest of the floor. The smell is real. It just keeps office hours.
So there’s an order to this, and it isn’t the order most people use. Look, smell, measure, then look inside. Cutting a hole is the fourth step, not the first. Of the walls I get called out to, most never need that fourth step, and a decent share turn out to have no mold at all. A saw is an expensive way to learn that.
Two limits on this page
I estimate and finish drywall. I am not a certified remediator or an industrial hygienist. Everything below is about reading the building, and nothing on this page is about what mold does to people. If that’s your question, it belongs with a doctor, not with me. The full boundary is on my disclaimer page.
The second limit matters more for your wall: every method here except the last one is non-destructive on purpose. The EPA’s own guidance on hidden mold warns that investigating it can make things worse, and gives the example of pulling wallpaper off growth you couldn’t see, which dumps a large amount of spores into the room at once. The same logic applies to a reciprocating saw. Don’t open a cavity you suspect until you’ve earned the confidence to open it.
The wall tells you things before you touch it
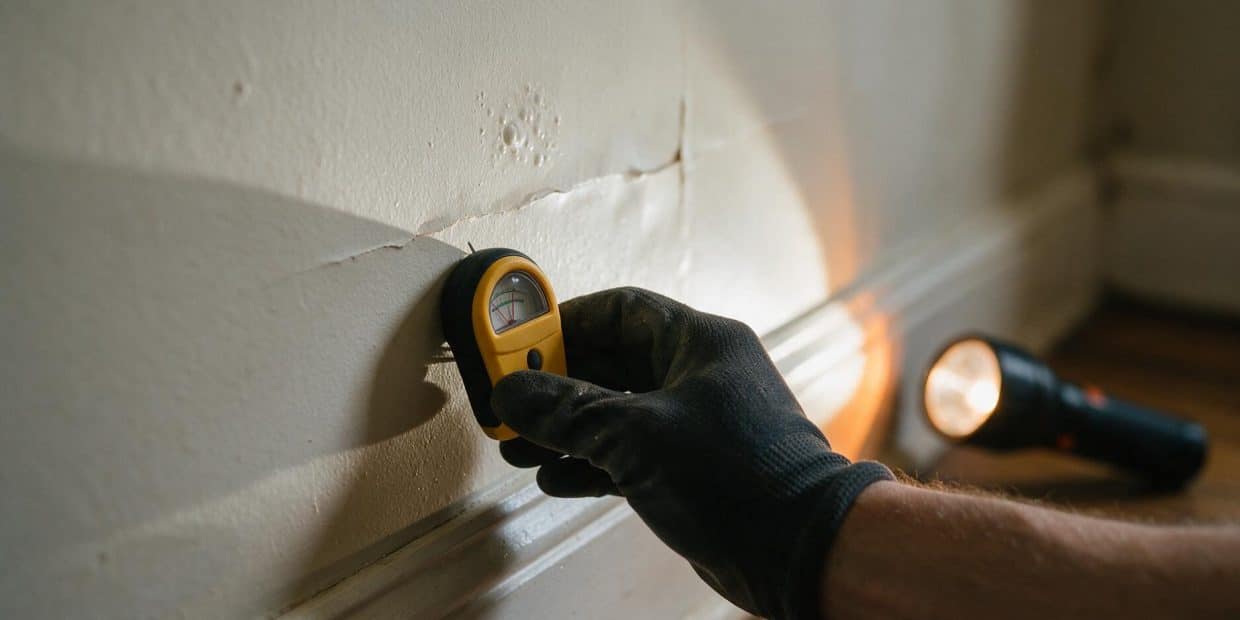
Ten minutes of looking, with a flashlight held nearly flat against the surface, gets you further than most people expect. Raking light across drywall shows deformation that straight-on light hides completely. It’s the same trick I use to judge a skim coat, and it works just as well for finding a wall that has been wet.
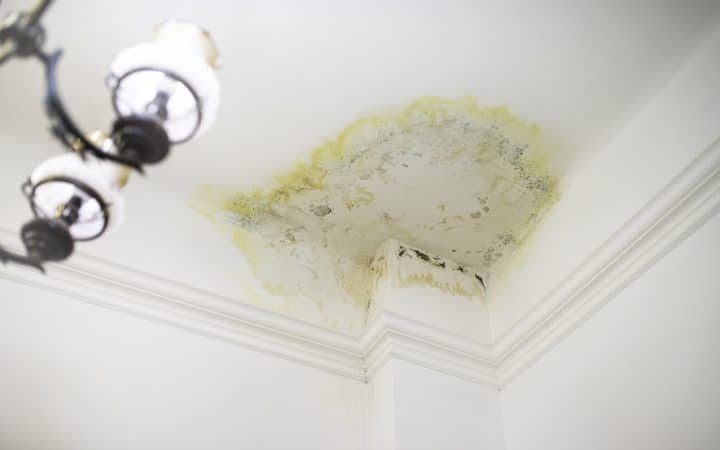
What you’re looking for is not a stain. Stains are easy and everybody already found theirs. You’re looking for shape changes, because gypsum that has taken on water and dried again does not return to flat.
| What you see | What it usually is | Where to look next |
|---|---|---|
| Paint bubbling in a patch, not along a line | Water separated the face paper from the gypsum core | Straight down from it, at the baseboard |
| A tape seam that lifted and stayed lifted | The joint swelled while wet and never went back | Directly above the seam: window head, roof, upstairs bath |
| Screw pops in a cluster on one bay | Framing moved because it gained and lost moisture | The rim joist or sill plate on that wall |
| Baseboard pulling off with a soft top edge | Standing water at floor level, wicking up | Dishwasher, water heater, exterior grade against the foundation |
| A stain that comes back through two coats of stain-blocking primer | The source is still running | Everything above it, in that order |
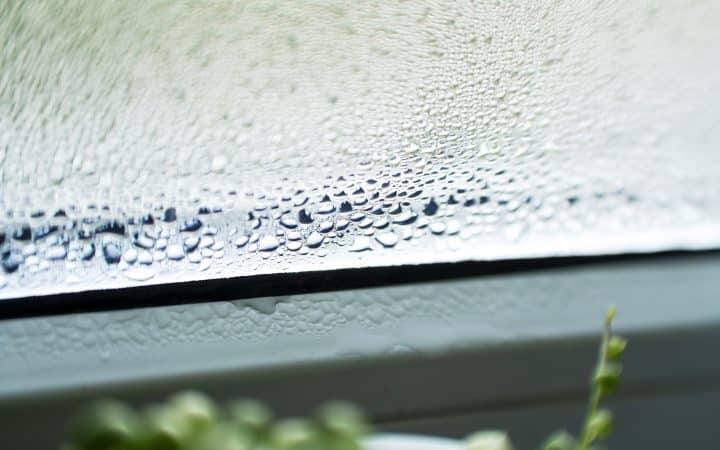
| Grey shadows in a regular vertical rhythm on an exterior wall | Cold framing, condensation, and dust sticking to it | Insulation coverage, not plumbing |
Then press. Firm fingertip pressure, spread over the pad of the finger, not a poke. Sound drywall is rigid and gives you nothing. Drywall that has been soaked feels slightly springy, and drywall that is currently wet stays dented. That last one is the same two-finger test I use on a ceiling, and it decides the same thing there: whether the board is repairable or dead. I go through it in more detail on water stain on ceiling.
The smell test, and the outlet trick that makes it work
Smell is the most reliable free signal you have, and almost nobody uses it properly. The musty odor is not the mold itself. It’s a group of gases called microbial volatile organic compounds, produced while the colony is actively feeding on the paper facing of the drywall. Two things follow from that.
First, those gases are small and they migrate. Spores are heavy and sticky and mostly stay put inside the cavity, which is why an ordinary air test so often comes back clean on a wall that is visibly rotten once you open it. The gases get out. The evidence doesn’t.
Second, an active smell means active growth. A colony that dried out six months ago and stopped feeding smells like very little. That’s useful, because it separates a wall with a live problem from a wall that survived a leak in 2019.
To actually run the test: shut the room up, turn the HVAC off, and leave it alone for two hours. Come back and smell at floor level first, then at the baseboard, then take the cover plate off an electrical outlet on the suspect wall and smell the opening. An outlet box is a hole straight into the stud bay. Nothing else in the room gives you unmixed cavity air like that.
Kill the breaker before the cover plate comes off
You are not touching wiring, only removing two screws and a plastic plate, but the box is live and the plate is the only thing between you and a terminal screw. Breaker off, verify with a tester, then unscrew. Put it back the same evening.
How to detect mold inside walls with a moisture meter
A moisture meter does not detect mold. It detects the only condition under which mold can grow, which in practice is the same thing, and it does it through paint without leaving a mark. For under a hundred dollars it is the single most useful thing a homeowner can own for this.
Pin or pinless, and why it matters less than you think
A pin meter pushes two small probes through the paint and measures electrical resistance between them. It leaves two pinholes you will never find again once the wall is repainted, and it reads only where the pins are. A pinless meter presses a flat sensor pad against the surface and reads a field roughly three quarters of an inch deep, without marking anything.
Pinless is faster for sweeping a whole wall. Pins are better for confirming a specific spot and for reading through a thick coat of paint. If you buy one, buy the pinless for scanning and accept that it will lie to you near metal: a stud with a plate protector, a nail plate, or foil-faced insulation will all read as wet. Then confirm the hot spots with pins.
The number on the screen is not a percentage of anything
This is where the internet does people real harm. Search for acceptable drywall readings and you’ll find answers between 1 percent and 12 percent, all stated with confidence, all sourced from someone who didn’t check which scale their meter uses.
Most affordable meters report on a wood moisture equivalent scale. A WME reading of 10 on drywall does not mean the drywall is 10 percent water. It means the drywall is in equilibrium with an environment in which a piece of wood would sit at 10 percent. Meters with a dedicated gypsum scale report true moisture content, and gypsum holds very little water even when saturated, so those numbers are tiny by comparison.
| Condition | WME scale (most meters) | True gypsum %MC (calibrated meters) |
|---|---|---|
| Dry, normal | Below 17 | Under about 1% |
| Elevated, keep watching | 17 to 20 | Roughly 1 to 2% |
| Wet, needs drying | Above 20 | Above about 2% |
Here’s the part that makes all of that mostly irrelevant. You are not trying to certify a number. You are trying to find a difference. Take a reading on an interior wall in the same room that you have no reason to suspect, write it down, and treat that as your zero. Then work the suspect wall. A wall reading four or five points above your baseline is telling you something regardless of what scale it’s using. A wall reading identical to your baseline is dry, whatever the display says.
Grid it, don’t wander
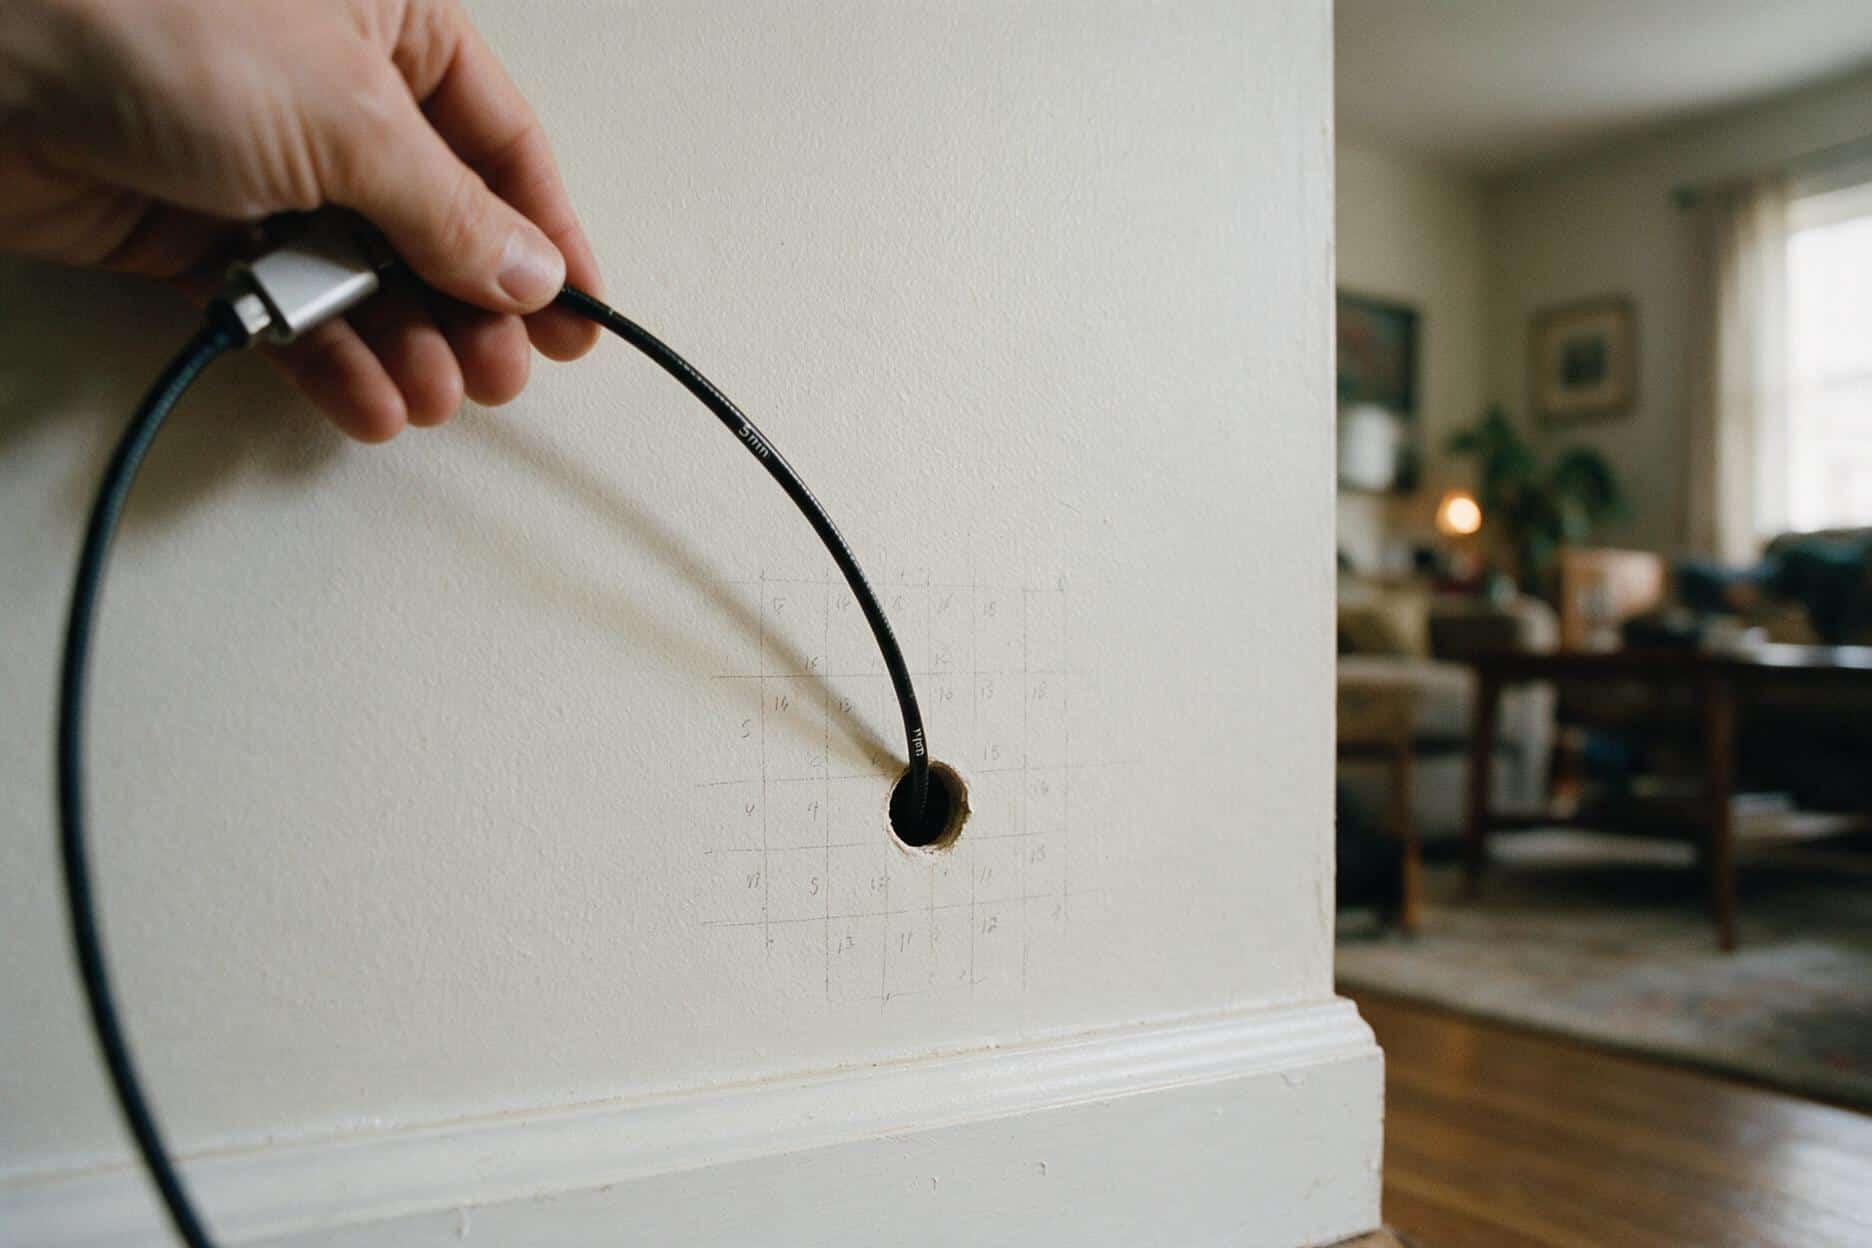
Mark a grid in pencil, roughly a foot square, over the area you care about plus three feet in every direction beyond it. Read every intersection and write the number on the wall. It looks obsessive. It takes fifteen minutes and it produces a map, and a map is what tells you whether you’re looking at a plumbing leak (a narrow vertical column, wettest low), a roof or window leak (wettest high, spreading down and out), or a condensation problem (broad, shallow, worst on the coldest part of the wall).
That shape is worth more than the peak reading. The peak tells you how bad. The shape tells you where the water comes from, and until you know that, any repair is temporary. It’s the same principle behind the diagnostic order in getting rid of mold on walls: fix the mechanism, then fix the surface.
Where a thermal camera helps, and where it lies to you
Thermal cameras have gotten cheap enough that a phone attachment now costs less than a decent circular saw, and they are genuinely useful. They are also the tool I see misread most often, because of one thing people forget: a thermal camera does not see moisture. It sees surface temperature.
Wet drywall does show up cold, because evaporation pulls heat out of the surface. But so does a stud, which conducts more heat than the insulated bay next to it. So does a gap in the insulation. So does a draft coming through a bad window seal. Point a camera at any exterior wall in winter and you will get a beautiful image full of cold stripes, none of which are water.
Two rules make it honest. First, you need a temperature difference to push against, so run the heat or the AC hard for an hour before you scan. A wall at the same temperature as the room shows you nothing. Second, never act on a thermal image alone. The camera’s job is to tell your moisture meter where to go. If the cold spot and the high reading land in the same place, you have something. If the cold spot reads dry, it’s a stud.
What air tests can and cannot tell you
People reach for a test kit early because it feels like the scientific option. For mold inside a wall specifically, it’s usually the weakest tool on the list.
A spore trap pulls room air across a sticky slide for a few minutes and a lab counts what landed. The AIHA’s own guidance on spore trap sampling says the method should be used as a screening tool that supports an informed visual inspection, and that results cannot stand on their own. For a sealed cavity, the limitation is physical: the spores are inside a closed box, many species produce heavy spores that don’t travel, and a few minutes of sampling catches whatever happened to be airborne at that moment. Growth behind drywall regularly produces a clean air sample.
MVOC sampling is the better-aimed version, since it targets the gases rather than the particles, and gases do escape a cavity. It’s less common, costs more, and still doesn’t tell you which wall. Your nose does that part for free.
The hardware store surface kits, the ones with a petri dish, are a different thing again. They will grow something. There is mold in every house on earth and a dish of agar left open on a kitchen counter will prove it. That result carries no information about your wall.
The sequence I actually use
Half a day, start to finish, and the destructive step is last and small.
-
Shut the room down for two hours
Door closed, HVAC off, windows shut. You are letting cavity air accumulate so you can smell it. Do this first because everything else fits inside the waiting time.
-
Rake the wall with a flashlight
Light held nearly parallel to the surface, moving slowly. Circle every bubble, lifted seam, screw pop and soft spot in pencil. Photograph it, because in three weeks you will not remember which marks are new.
-
Do the smell pass, including an outlet
Floor level, then baseboard, then the open outlet box with the breaker off. Note whether it’s a stale-basement smell or a sharp earthy one, and note whether it fades once the room is open again.
-
Set a baseline on a wall you trust
Interior partition, same room, nowhere near plumbing. Three readings, averaged. Write it on a piece of tape and stick it to the meter. Every number for the rest of the day is compared to this.
-
Grid the suspect wall
One-foot squares, extending three feet past the area you’re worried about. Write each reading on the wall in pencil. When you step back, the pattern of high numbers is your diagnosis.
-
Push the temperature, then scan
Heat or AC on hard for an hour, then run the thermal camera. Only investigate cold spots that also read high on the meter. Ignore the rest, they are framing.
-
Drill one hole and look
Three-eighths inch, low on the wall, behind where the sofa sits or inside a closet on the far side of the same bay. Between studs, above the bottom plate, and check for wiring first. Feed the borescope in and rotate slowly. You are looking at the back of the drywall and the face of the insulation, and if there’s growth, you will know immediately.
-
Measure what you saw, then stop
Estimate the affected area in square feet from the scope image before deciding anything. Photograph it. Then patch the hole with a dab of setting compound and go make a decision with a clear head, not with a saw in your hand.
Three things that look like mold inside a wall and aren’t
Roughly a third of the walls I’m asked to look at have no mold in them. Knowing what else produces the same complaint saves a demolition.
| What it is | How it reads on the meter | What settles it |
|---|---|---|
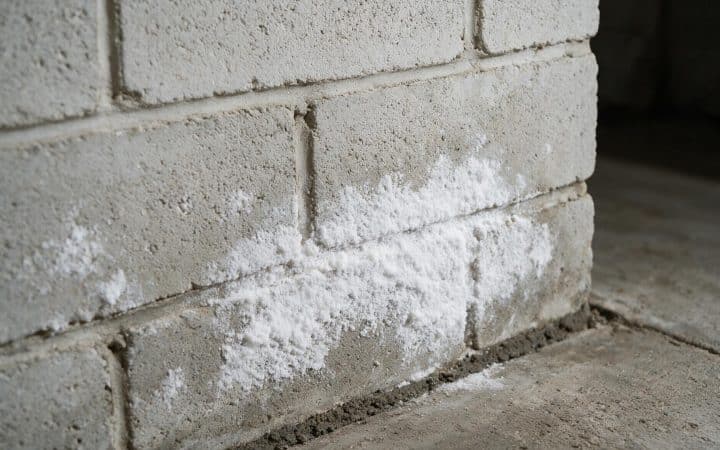
| Efflorescence, on or near masonry | Often dry at the moment you test | It’s mineral salt. Water dissolves it off the surface; mold smears. It doesn’t grow on painted drywall. |
| Dust ghosting on cold framing | Dry, or slightly elevated in cold weather only | The pattern is too regular. Studs are 16 or 24 inches apart and mold has never once respected that. |
| An old dried water stain | Matches your baseline exactly | Tan or brown with a hard tide line. No smell, no softness, and a cavity that has been dry for years. |
| Soot from candles or a gas appliance | Dry | Wipes onto a white cloth as pure black and concentrates near the ceiling and around vents. |
When to stop looking and call someone
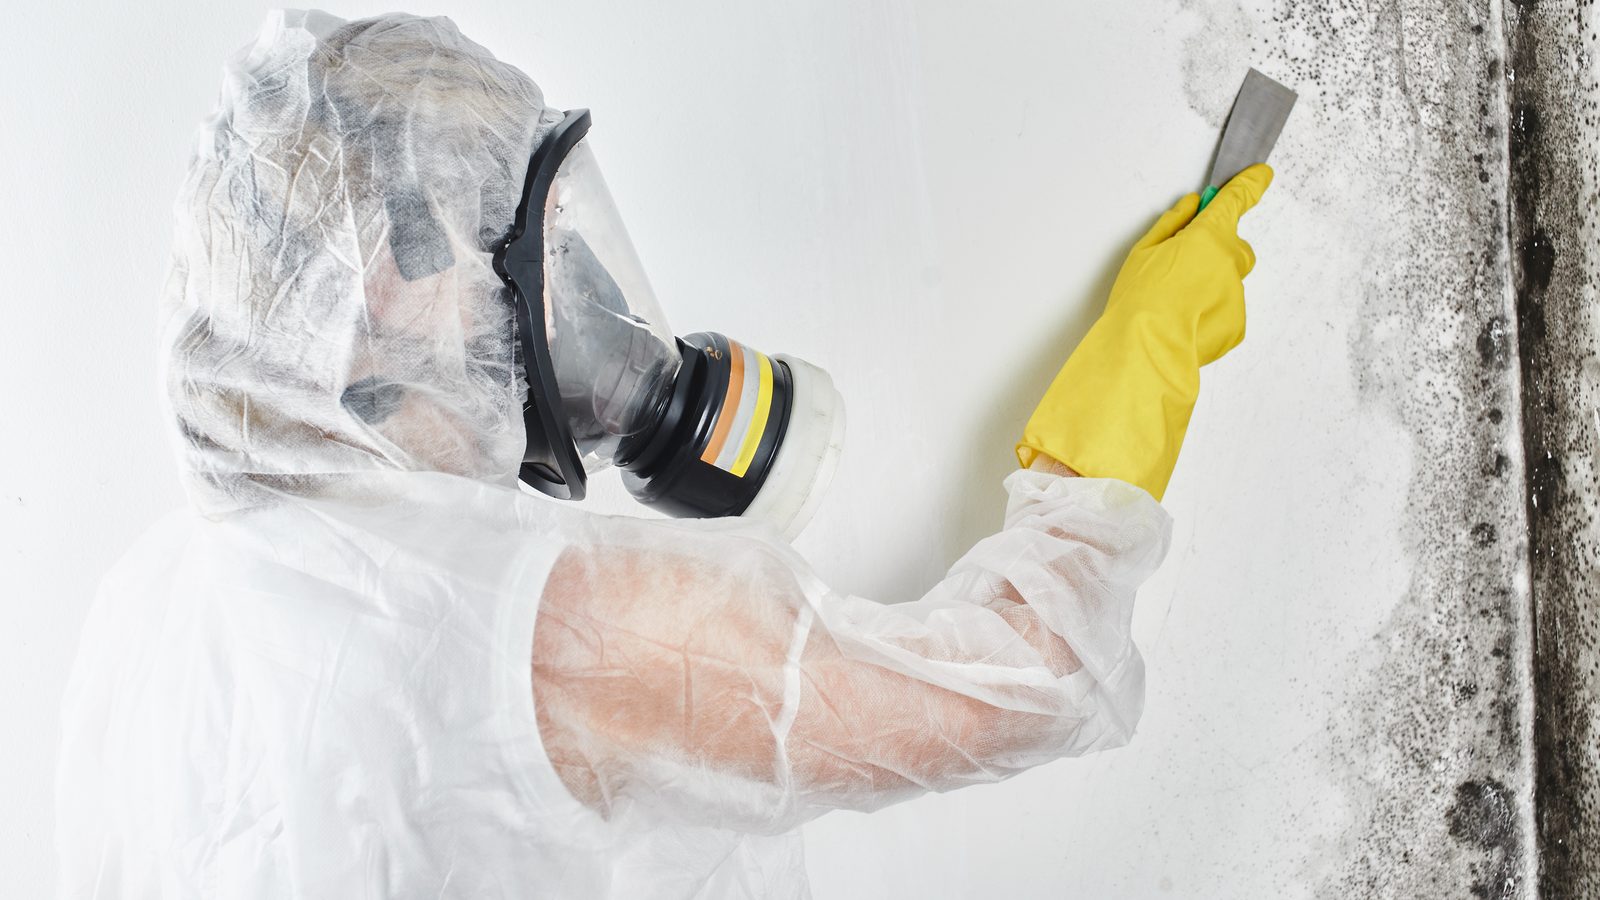
The EPA’s line for a homeowner handling it themselves is about ten square feet, which is a patch roughly three feet by three. Above that, the guidance moves to containment, negative pressure and HEPA filtration, and that isn’t a Saturday.
For a wall cavity I count that threshold more strictly than the number suggests, and I’ll defend it. What you see through a borescope is the back of the board. The board has two faces and the cavity side is always the worse one, because that’s where the water arrived and where the air never moves. A nine square foot patch visible on the back is not a nine square foot job. Count both faces, and a lot of walls cross the line the moment you look inside them.
Beyond area, four situations end the DIY route on their own.
- The cavity connects to a duct, a return, or a furnace closet. Opening it without containment moves the problem to every room in the house at once.
- The water is sewage or comes from a toilet flange. Different category, different rules, not a drywall question.
- You can’t find the source. Growth with no explanation means water is arriving by a path you haven’t identified, and cleaning it just resets the clock.
- The house predates 1980 and the wall is textured or has layered coatings. Old textures and old paint carry their own reasons not to sand or scrape, which I cover in the popcorn ceiling asbestos guide. The precaution applies to walls too, not just ceilings.
One more piece of timing worth knowing before you decide. The restoration industry’s own standard treats a porous material that has stayed wet for 24 to 48 hours as a removal candidate rather than a cleaning candidate. If your leak is three days old, you are not deciding whether to clean the drywall. You are deciding how much of it comes out.
What it costs to find it in 2026
Two columns, and the gap between them is the whole argument for doing the first pass yourself.
| Buying the tools | 2026 price |
|---|---|
| Pin moisture meter, homeowner grade | $30 to $80 |
| Pinless moisture meter | $60 to $200 |
| USB borescope, 5 mm | $25 to $60 |
| Phone thermal camera attachment | $200 to $400 |
| N95, nitrile gloves, sealed goggles | $20 to $35 |
| Hiring it out | 2026 price |
|---|---|
| Visual-only inspection | $150 to $400 |
| Standard inspection with moisture mapping, home under 4,000 sq ft | $300 to $400 |
| Same, larger home | $700 to $1,000 |
| Full assessment: thermal imaging plus multiple lab samples | $700 to $1,200 and up |
| Each lab sample | $75 to $125 |
| National average, all types | About $671, typical range $303 to $1,045 |
About $105 answers most of these questions
A $50 meter, a $30 scope and a $25 patch kit will settle the majority of wall complaints in an evening. Where the $671 inspection earns its money is when someone else has to believe you: a sale, a dispute, a landlord, an insurer. A written report from a third party is a different product from knowing the answer, and it’s worth paying for when the answer alone isn’t enough.
The finding is the cheap part. The repair is where it gets expensive, and it scales with how much board comes out, so the number in your head should come from the opened area, not the stain. I break those figures down in drywall repair cost, and the rest of the pricing work lives in the costs section.
Questions I get on site
Can you detect mold inside walls without any tools at all?
Partly. Raking light plus the outlet smell test plus finger pressure will tell you whether a wall has been wet and whether something is actively growing. What you can’t do without a meter is find the edges of the wet area, and the edges are what determine the size of the job.
Does a musty smell always mean mold?
No, but it always means something biological is metabolizing, and in a wall cavity the food source is almost always paper facing or wood. Old cardboard in a crawlspace, a dead mouse and a dry trap on a floor drain all produce their own smells, and none of them smell like the earthy, cellar-like note you get from a wet stud bay. If the smell strengthens noticeably at an open outlet, it’s coming from the cavity.
Will a hardware store mold test kit find mold inside my walls?
It will grow a colony and tell you nothing. Every house has airborne spores, so the dish always produces a result, and a sealed cavity releases very few spores into the room anyway. You would be paying to confirm that you live on Earth.
How long after a leak does mold start growing inside a wall?
Fast. The restoration standard treats 24 to 48 hours of continuous wetness in a porous material as the point where cleaning stops being the answer. Inside a closed cavity with no airflow, assume the shorter end of that window rather than the longer one.
Where exactly should I drill the inspection hole?
Low on the wall, six to ten inches above the floor so you’re above the bottom plate but below any outlet wiring runs, and between studs. Pick a spot the room hides: behind a sofa, inside a closet backing onto the same bay, or under a stair. Check for wiring and pipes with a scanner first, and drill by hand rather than with a driver so you feel it break through instead of punching past something.
Can my phone camera see inside the wall?
Not through drywall, no. A thermal attachment reads surface temperature only, which is a hint about what’s behind the surface, not an image of it. The cheap USB borescopes do give you a real picture, but they need the hole. There is no version of this where the wall stays sealed and you still get to look inside it.
Is black mold harder to detect than other kinds?
The detection method doesn’t change with color, and neither does the decision at the wall. Wet gypsum with growth on it comes out regardless of what shade it is, and no visual identification through a scope lens is reliable anyway. If the color question is about health rather than repair, that’s outside what I can usefully answer, and my about page explains why.
Does homeowners insurance cover a mold inspection?
It depends entirely on the policy, and I’m not the person to read yours. As a matter of how these contracts are usually written, coverage tends to hinge on whether the water event was sudden and accidental or was continuous seepage over time, and inspection costs are often treated separately from remediation costs. Your carrier or your agent is the only source that counts here.
If there’s mold behind the drywall, does all of it have to come out?
The board that was wet comes out, plus a margin past the last elevated meter reading, usually a foot. Framing is different: solid lumber that’s structurally sound can be cleaned and dried rather than replaced. Insulation that got wet is finished, particularly fiberglass batts, which hold water against the sheathing for weeks.
Where I’d start tomorrow morning
Shut the room before you go to bed. Smell it before you make coffee, while the house is still cold and still. That one habit has told me more about more walls than every meter I own.
Then buy the fifty dollar meter, find your baseline, and grid the wall. If the numbers come back flat and the smell was nothing, you’ve bought yourself an evening’s peace and a tool you’ll use again the next time a ceiling spots. If they don’t come back flat, you now know the shape of the problem, and the next question is what to actually do about it, which is a different job entirely.
Threshold and containment guidance here follows the EPA’s homeowner mold documents; the 24 to 48 hour figure for wet porous materials comes from the restoration industry standard; the position on air sampling as a screening tool rather than a conclusion is the AIHA’s. Prices were checked in August 2026 against national inspection cost surveys and are ranges, not quotes. Everything about reading a wall with a light, a nose and a meter comes off my own job sites. If your situation doesn’t fit any of the patterns above, tell me about it and I’ll say so honestly. More on how I work is on the about page, and the rest of this section lives under moisture and mold.