You back into the wall with a chair, or a moving box catches the corner just wrong, and now there’s a shallow gray shadow where flat paint used to be. Press a finger against it and the wall gives slightly, but nothing broke through. No ragged edge, no daylight from the room behind it, just a dip that catches the lamp at the wrong angle every evening. That’s a dent, and it should be the smallest, cheapest repair on this entire site. It usually is, right up until someone fills it the way they’d fill a nail hole, one quick pass of whatever’s in the junk drawer, and watches the patch dimple back through six weeks later. The size of the dent has almost nothing to do with whether the fix holds. What decides it is whether the paper face on the front of the drywall is still intact under the paint, and that’s the first thing to check before any compound comes out of the tub.
Start here: dent, hole, or nail pop?
Three different repairs get searched with three overlapping sets of words, and they land on this page more often than you’d think. Sort out which one you actually have before you open anything.
| What you’re looking at | What it actually is | Where to go |
|---|---|---|
| A shallow depression, paint or paper intact, no ring or dome anywhere near it | A dent | Keep reading |
| A dime-sized ring or dome with a pinprick of gray or a screw head at the center | A popped fastener | Our nail pop guide |
| Paper torn or a hole straight through to the cavity behind the wall | A hole, not a dent | Our large hole guide |
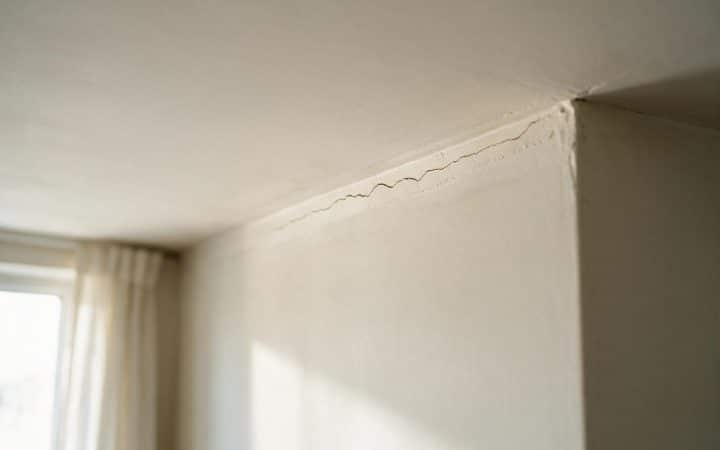
| A thin line with no depression, tracking a straight edge, a corner, or a seam | A crack, not a dent | Our wall crack guide |
The dent and the popped fastener get confused constantly, because both start out as a small, low-relief mark near eye height. Press on each one: a dent stays put, since nothing is pushing back from behind it. A popped nail or screw has a little spring to it. Press near the center and you can sometimes feel it give slightly deeper before it stops, because there’s a loose fastener behind the compound instead of solid, if slightly crushed, gypsum. If yours has that spring, or an actual metal head under the paint, that’s a fastener problem with a different fix; see our guide to fixing nail pops in drywall instead. And if your finger finds a ragged edge, or you can see light or the inside of the wall cavity through it, stop here. That’s a hole, and the sizing and backing methods in our guide to patching a large hole in drywall apply, not this one. This guide covers the specific case of drywall that’s been compressed inward without ever being broken through: a closed dent, not an open one.
Why the depth of the dent decides the repair
Drywall is two things doing two different jobs: a gypsum core that gives the panel its thickness and fire resistance, and a paper face glued to both sides that gives it a smooth, paintable skin and most of its actual resistance to a sharp impact. A dent is what happens when something blunt (a doorknob with no stop behind it, a chair back, the corner of a box carried through a doorway too fast) compresses that gypsum core without ever breaking the paper face on the front. The paper stretches and follows the compression down, and what’s left is a shallow bowl where the wall used to be flat, still sealed under intact paper.
That’s the entire reason a dent is a fundamentally easier repair than a hole: there’s no opening to bridge and no backing to install. You’re not rebuilding anything. You’re filling a bowl level with the surrounding wall and blending the edge until it disappears. But how much bowl you’re filling, and whether the paper at the bottom of it is genuinely still sound, changes which material does that filling. Get that part wrong and a five-minute repair turns into a redo.
The straightedge test
Lay a 6-inch taping knife or any straight edge flat across the dent and look for daylight underneath it. No visible gap, or one you can barely see: shallow. A gap you can see clearly, maybe a sixteenth of an inch or more at the deepest point: medium. If the paper at the bottom looks torn, wrinkled, or has come away from the gypsum in a crease rather than a smooth curve, treat it as the third category below regardless of what the gap measures.
| Depth | What the straightedge test shows | What it needs |
|---|---|---|
| Shallow | No visible gap, or barely one | One thin coat of lightweight spackle, nothing else |
| Medium | A clear gap, paper still smooth and unbroken | Two thin coats of standard joint compound, not one thick pass |
| Paper broken | Paper torn, creased, or crumbling at the low point | Trim the loose paper first, then two coats |
A dent with torn or creased paper at the bottom is the boundary case most spackle-only guides skip past. There’s still no hole, nothing goes through to the cavity, but the compound needs something solid to bond to, and loose or crumbling paper isn’t it. Trim away anything that’s not still firmly glued to the gypsum with a utility knife before you fill, the same way you’d clean debris out of a crack before taping it. Skip that step and the filler bonds to paper that’s about to let go anyway, and the patch comes away in a sheet the first time someone bumps it again.
Tools and materials
Almost every dent needs one or two rows of this table, not all of them.
| Item | Use | Rough cost |
|---|---|---|
| Lightweight spackling compound | Shallow dents, one coat, dries fast and shrinks very little | $5–$8 |
| All-purpose joint compound | Medium dents needing two thin coats | $12–$20/gallon, or a small tub for one dent |
| 4- or 6-inch putty or taping knife | Apply and feather the compound | $6–$12 |
| Utility knife | Trim loose or torn paper before filling | $8–$15 |
| 220-grit sanding sponge | Smooth between and after coats | $5–$8 |
| Drywall primer or PVA sealer | Even out porosity before paint | $14–$18/quart |
| Door stop (if a doorknob is the cause) | Stops the same dent from reappearing in the same spot | $3–$8 |
One small tub goes a long way
A pint of lightweight spackle or a quart tub of joint compound covers dozens of dents at this scale. Buy the smallest size on the shelf unless you’re patching several rooms’ worth in one visit. A full gallon mostly goes to waste on a job this small.
How to repair a dent in drywall, step by step
Once you’ve read the depth with the straightedge test above, this is the repair: the same core sequence whether it ends up being one thin coat or two.
Clean and, if needed, trim the dent
Wipe away dust or loose debris with a dry cloth. If the paper at the bottom is torn or crumbling, trim it back to solid, firmly bonded paper with a utility knife rather than filling over it.
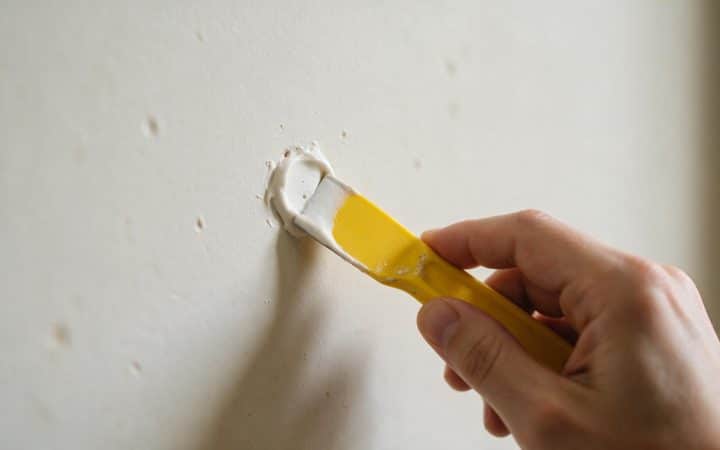
Load the knife, not the dent
Scoop a small amount of spackle or compound onto your putty knife rather than piling it directly into the dent. You’ll control the amount going on far better working from a loaded knife than trying to scrape excess back out of a hole you’ve overfilled.
Press it in from multiple angles
Work the compound into the dent from a few directions with the corner of the knife before you try to flatten anything. This forces filler into the deepest part of the bowl instead of bridging over a pocket of air at the bottom, which is exactly what causes a patch to dimple later.
Scrape it level, slightly proud
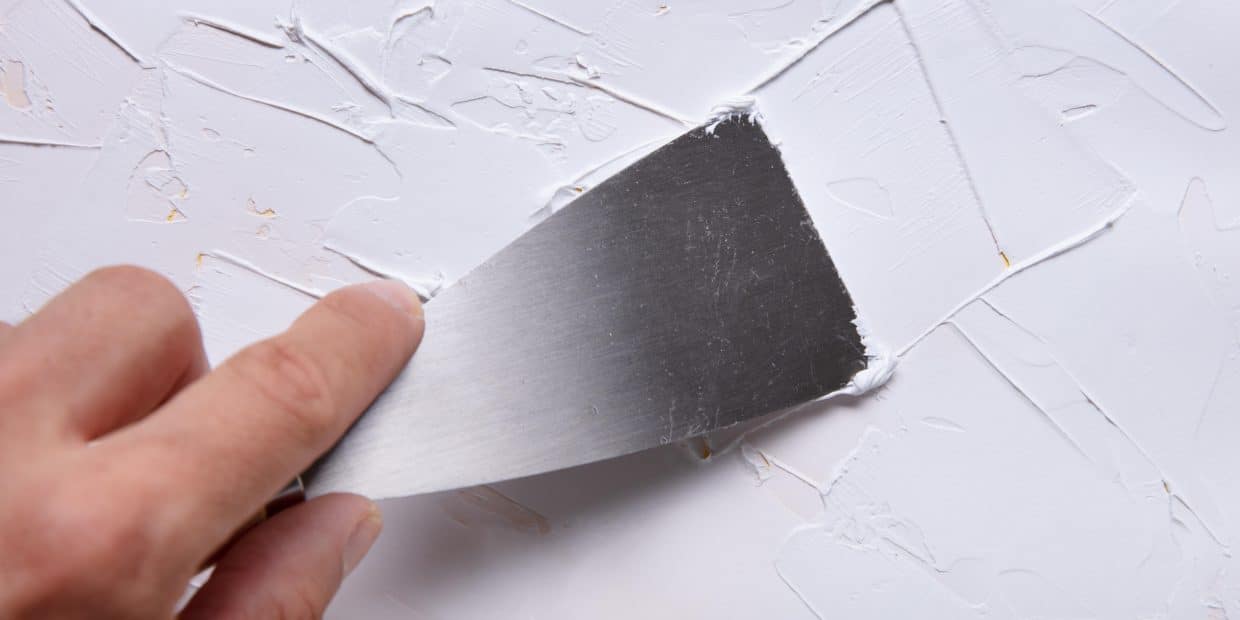
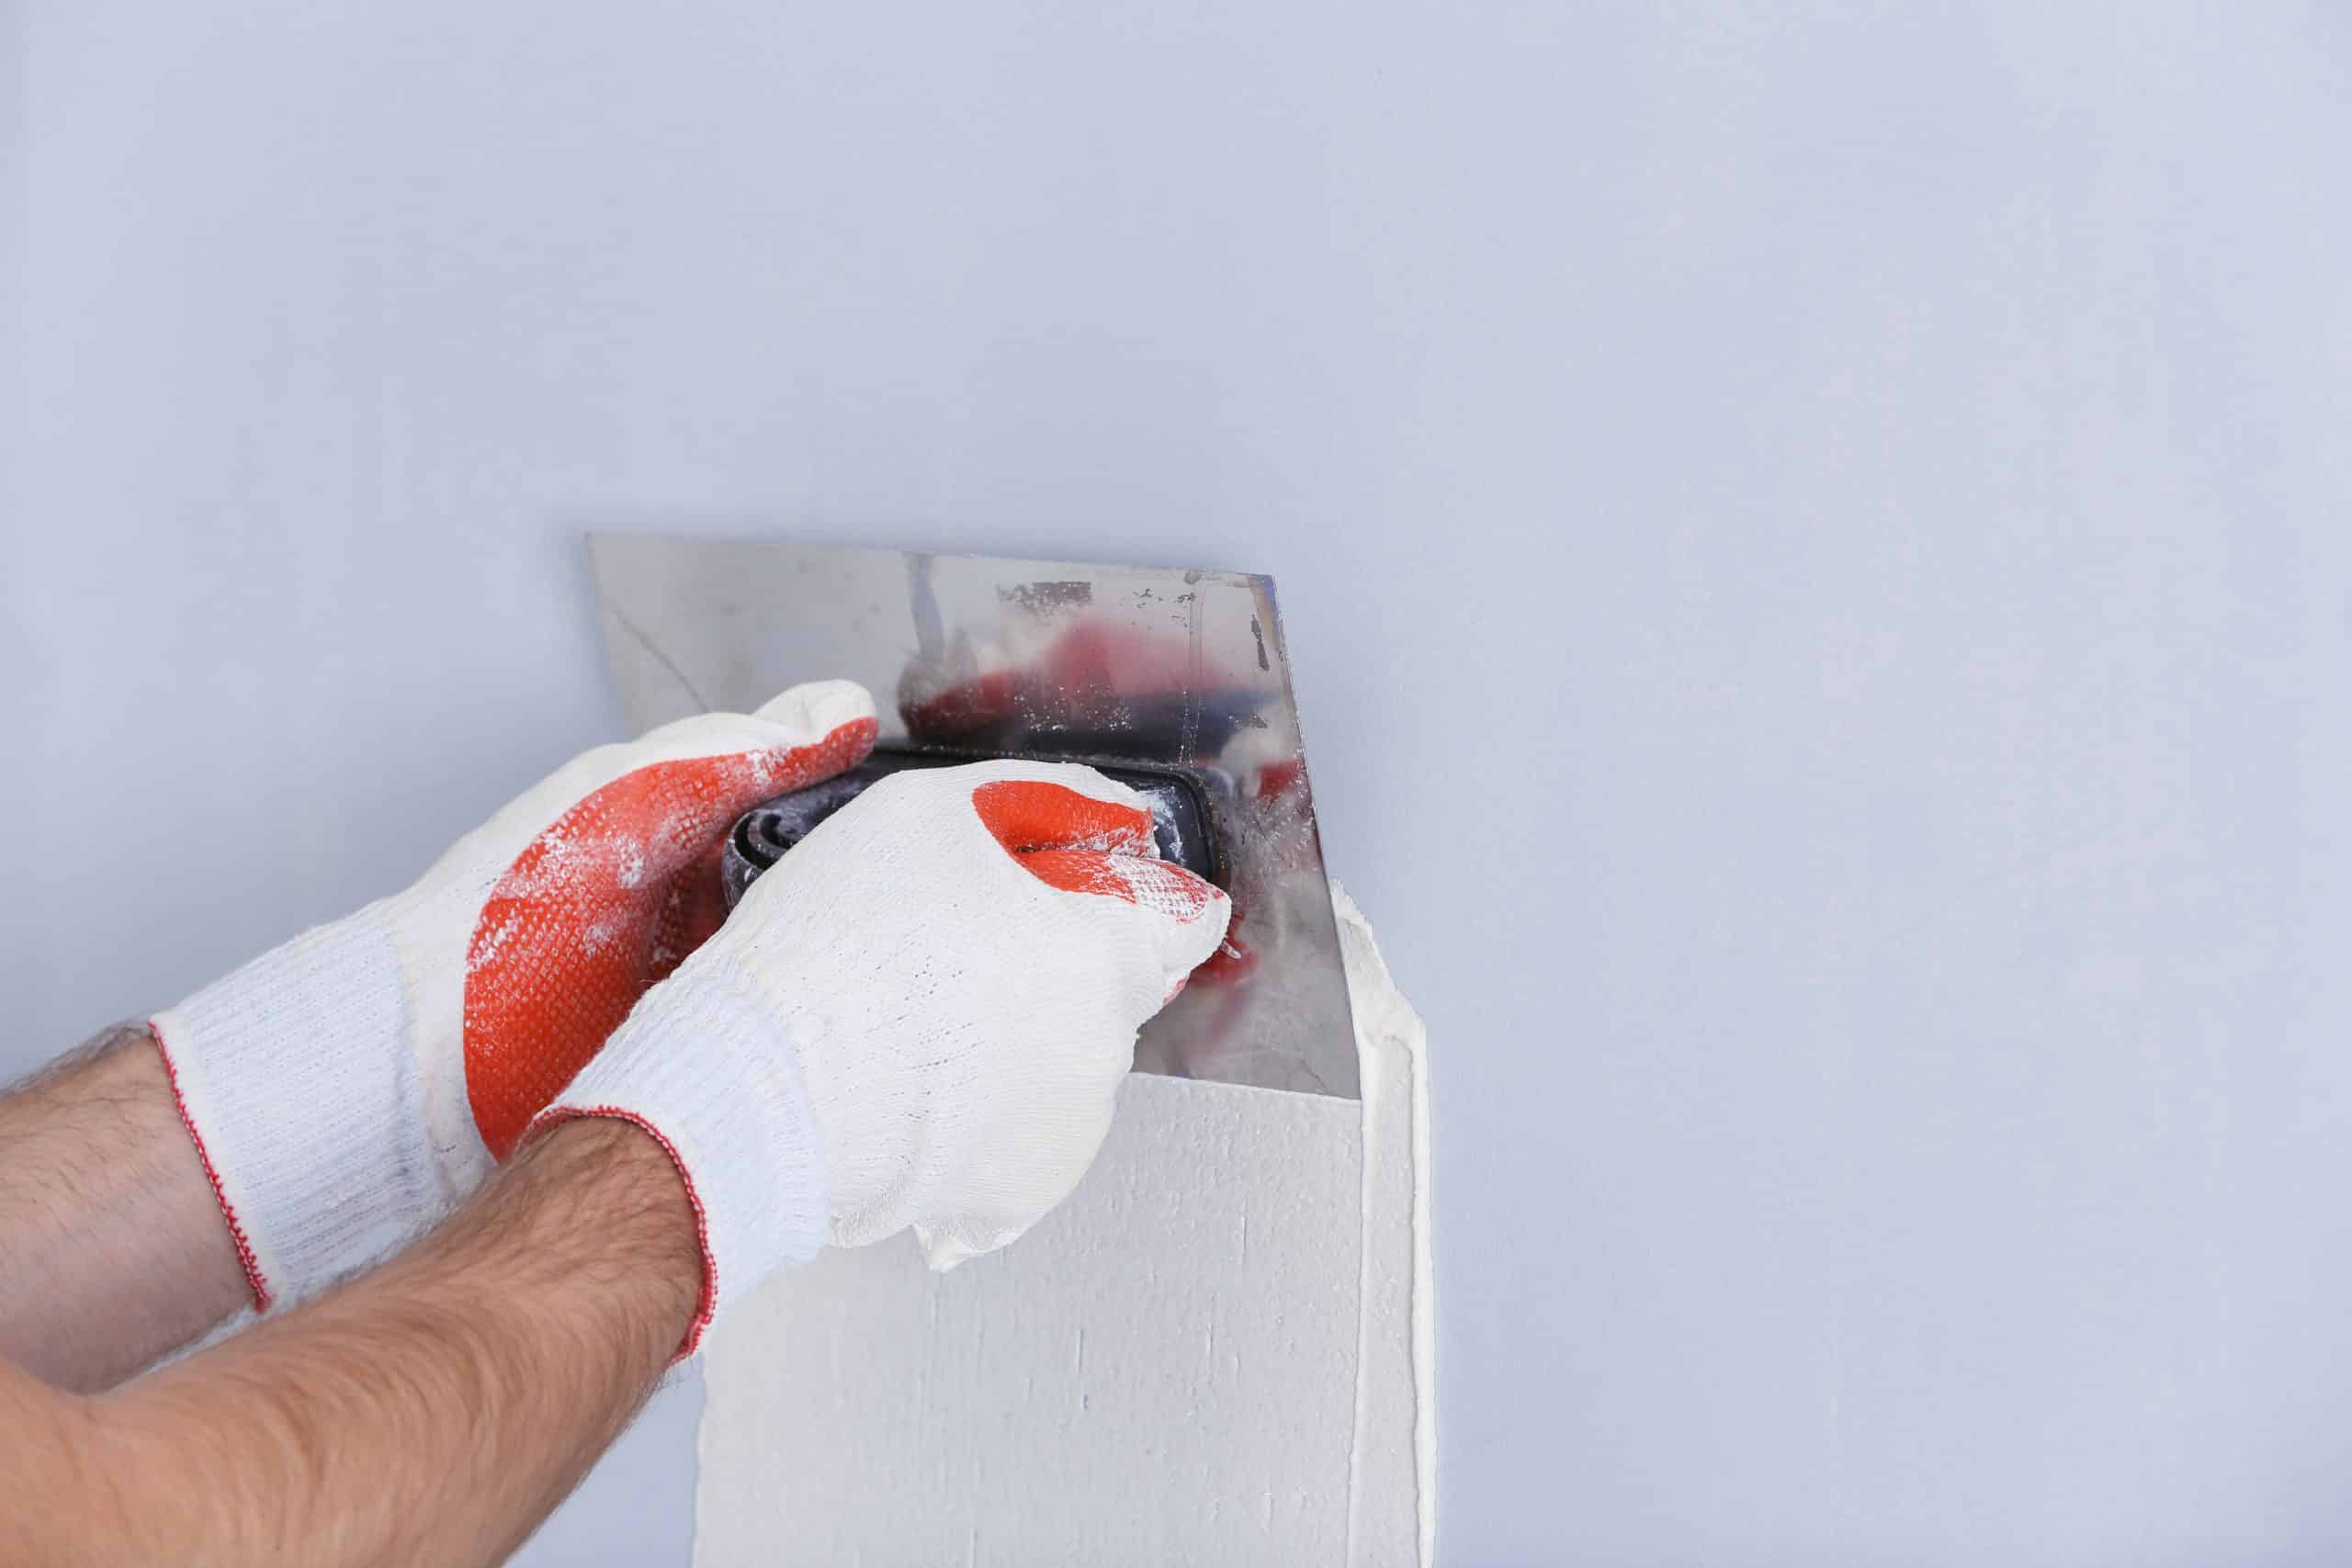
Hold the knife close to flat against the wall and draw it across the dent in one pass, leaving a thin skim that sits flush or very slightly above the surrounding surface. Compound shrinks a little as it dries; a hair proud is recoverable with sanding, a hair sunken usually isn’t without a second coat.
Let it dry fully
Lightweight spackle is usually dry in 15 to 30 minutes for a shallow fill. Standard joint compound needs roughly 12 to 24 hours per coat at room temperature. Don’t rush this by sanding a still-soft center. The edges can look dry while the middle is still workable, and sanding into wet compound tears it instead of smoothing it.
Apply a second coat if the dent was medium or deeper
Feather a second, wider coat 2 to 3 inches past the edge of the first, using a 6-inch knife held at a shallower angle than you used for the base coat. This is the coat that actually disappears the repair — the first coat’s job was structural, this one’s job is invisible.
Sand with a light hand
Once fully dry, knock down any ridge with a fine-grit sanding sponge, working in small circles rather than one direction. You’re chasing a smooth transition into the surrounding wall, not trying to remove material. A flat hand run across the spot should feel like one continuous surface.
Prime before you paint
A coat of drywall primer or PVA sealer over the patch, feathered a couple of inches onto the surrounding paint, evens out how the two surfaces absorb the finish coat. Skip it and the patch dries to a slightly different sheen than the paint around it, which shows under a lamp even when the surface itself is perfectly flat.
Why a repaired dent reappears a few weeks later
A patch that looked perfect on day one and shows up again a month later almost never failed because of the paint. It failed underneath it, and the cause is nearly always one of two things.
- Overfilling in one thick pass is the most common cause. Spackle and joint compound are both built to shrink slightly as the water in them evaporates. A thin coat shrinks evenly and you never notice. A thick coat crammed into a deep dent in one pass shrinks unevenly from the outside in, pulling the center down into a shallow dish days after it looked dry and flat. That dish is often too subtle to see in flat daylight and shows up the moment a lamp throws light across the wall at an angle. The fix isn’t more compound over the dish. It’s stripping back to solid material and rebuilding it in two genuinely thin coats instead of one thick one.
- The second cause is filling over paper that’s crushed but never actually bonded back down. A dent with a papered surface that’s separated slightly from the gypsum underneath, even without an obvious tear, gives compound nothing solid to grip in the exact center of the repair. It holds for a few weeks under its own weight, then lets go the first time the wall gets bumped again, or simply as the compound’s own shrinkage tugs at a bond that was never really there. Pressing a fingernail firmly into the bottom of a cleaned-out dent before you fill it is worth the five seconds: if the paper flexes or feels hollow instead of solid, trim it back to gypsum that doesn’t move.
Stop the next one before it happens
If the dent came from a doorknob hitting the wall, the actual fix is a five-dollar door stop, not a better patch. Every dent you fix without addressing the door that caused it is a dent you’ll likely be back to fix again within a year. It’s the single most common repeat call in this category, and the cheapest prevention on this entire site.
Dents on textured walls and ceilings
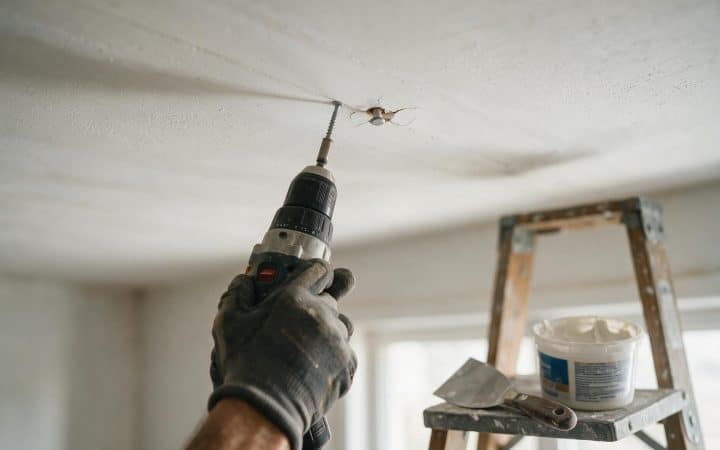
A dent on a flat, painted wall disappears the moment the patch is sanded smooth and painted to match. A dent on a textured wall or ceiling is a different job the moment you sand it flat, because now there’s a smooth island sitting in the middle of a textured field, and that reads as more visible than the dent ever was. Fill and sand the dent exactly as described above, but stop before texturing it yourself unless you already know which texture you’re matching. Orange peel, knockdown, and skip trowel all read completely differently under the same lamp, and guessing wrong means redoing the patch twice instead of once. Our drywall texture types guide covers identifying what’s actually on your wall and the spray settings or hand technique for each one.
Textured ceiling in a house built before 1980? Test before you sand
Sprayed and troweled textures applied before the 1977–78 US restrictions can contain asbestos, and a dent repair that requires sanding into old texture around the patch is exactly the kind of small job people skip testing for. A lab sample runs about $40. Our popcorn ceiling asbestos guide walks through how that testing works, and our disclaimer covers the rest.
How to repair a dent in drywall on plaster instead of drywall
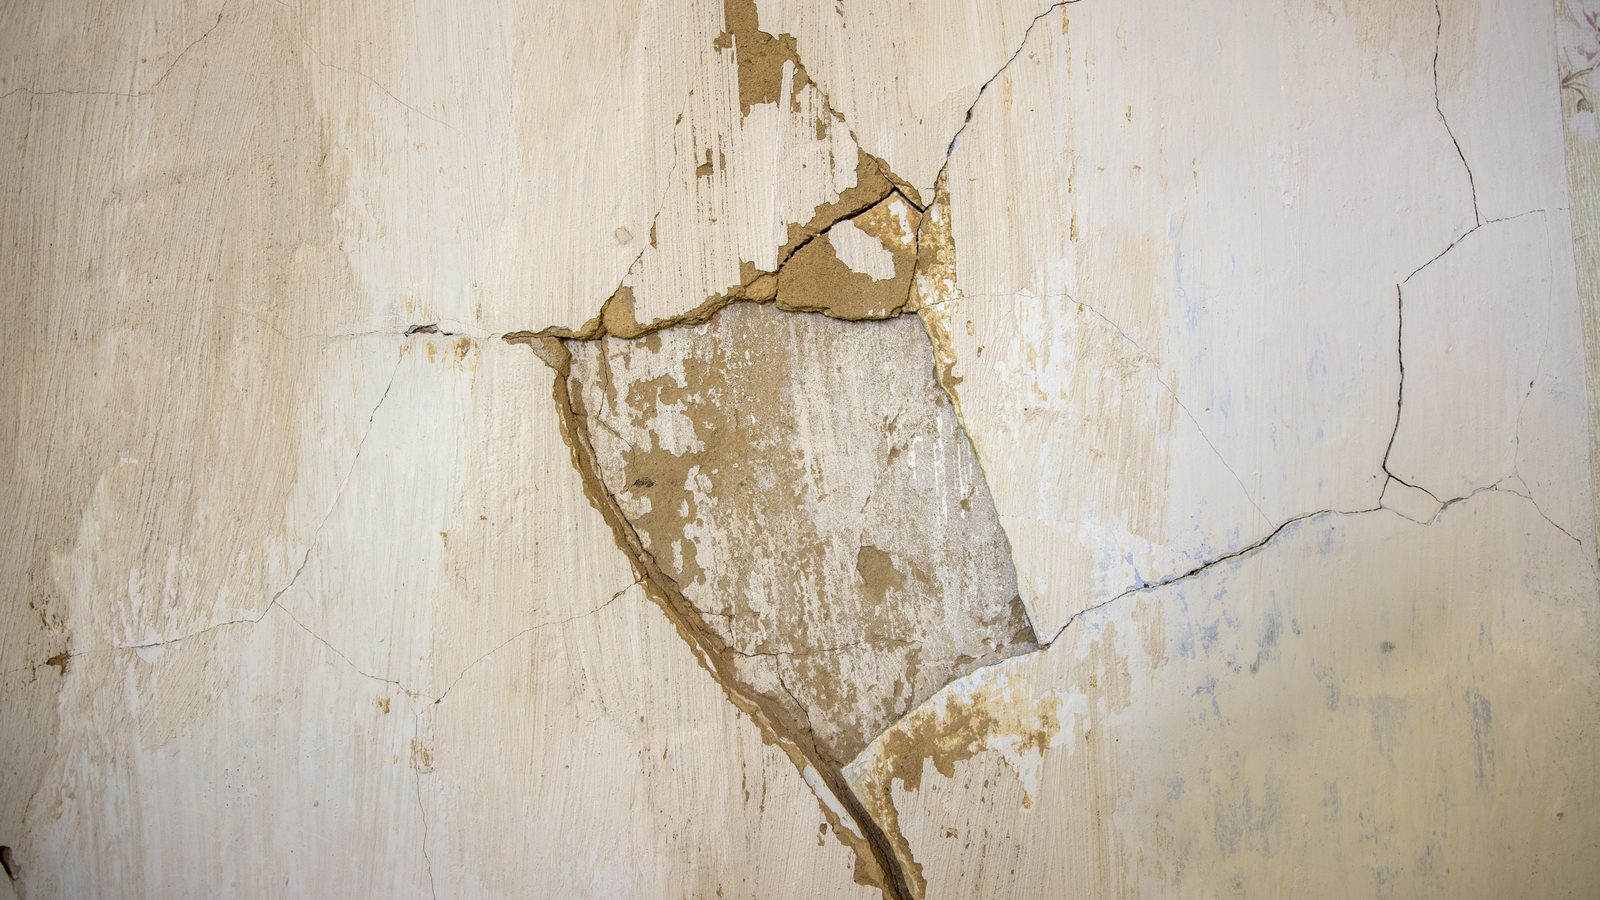
Everything above assumes drywall: a gypsum core behind a paper face. Older homes, especially anything built before the 1950s, are more likely to have plaster over wood or metal lath instead, and a dent behaves differently in it. Plaster doesn’t have a paper face to stretch and absorb an impact the way drywall does; it’s a rigid, brittle skim coat, so what looks like a shallow dent in plaster is more often a shallow crater with fine cracks radiating from it, or a spot where the plaster has actually separated from the lath behind it and flexes slightly when you press on it. Filling a flexing spot the way you’d fill a stable drywall dent just gives you a patch sitting on a loose foundation. Press near it and you can sometimes feel the whole area move slightly, which is your answer before you open any compound.
For a genuinely stable plaster dent with no flex and no radiating cracks, the same lightweight spackle or joint compound approach above works, though plaster’s harder surface means a bit more scuffing with sandpaper first so the new material has something to grip. For a dent that flexes, or one surrounded by a spray of hairline cracks, treat it as a plaster attachment problem rather than a fill. Our wall crack guide covers reading plaster cracks specifically, and a wall with more than one or two of these spots is often better served by skim coating the whole surface than by chasing individual dents across an already-fragile plane.
What this costs in 2026
A dent is the cheapest line item most drywall contractors quote, and the price barely moves whether it’s one dent or a dozen in the same visit. You’re paying mostly for the trip, not the material.
| DIY materials | Pro, a handful in one visit | |
|---|---|---|
| Typical cost | $8–$25 | $125–$275 |
That pro range holds for anywhere from one dent to a dozen scattered around the same room, for the same reason a nail pop or a hairline crack repair barely moves in price with quantity. The visit costs more than the material either way. If what you’re actually looking at turns out to be a hole once you clean it out, or a cluster of popped fasteners rather than blunt-impact dents, price it against those guides instead; our drywall repair cost guide breaks down the full range across every job type this site covers, from a single dent to a full-sheet replacement.
DIY it or call it in
One or two dents on a flat, painted wall you’re touching up anyway is a fifteen-minute job, start to finish, for anyone willing to wait out the drying time between coats. Call it in when the wall is heavily textured and matching it well is the part you don’t want to learn on a visible wall, when several dents cluster in the same spot and keep coming back no matter what you fill them with (that’s usually a fastener or framing issue wearing a dent-shaped disguise), when you find flex or hollowness under a dent in plaster, or when what looked like a simple dent turns out to have torn paper, a soft spot, or a smell once you clean it out. None of those are a five-minute fill anymore. They’re a different job that happens to look like one from across the room.
Questions I get on site
How long does it take for a filled dent to dry before painting?
Lightweight spackle on a shallow dent is usually paintable within an hour once it’s dry to the touch and lightly sanded. A medium dent filled with two coats of joint compound needs roughly 24 hours per coat, so plan on 1 to 2 days before you prime and paint.
Can I use spackle for every dent, or do I need joint compound?
Spackle is built for exactly this: small, shallow, non-structural fills. It’s the right choice for anything the straightedge test reads as shallow. Once a dent is deep enough to need a real second coat to build it level, standard joint compound feathers and blends into a painted wall better than a thick single pass of spackle does, which tends to stay slightly domed or shrink unevenly at that depth.
Why does my patched dent still show up under certain lighting?
Almost always one of two things: the patch wasn’t primed before painting, so it absorbed the finish coat at a different rate than the surrounding wall and dried a slightly different sheen, or the feathering was too narrow and left a ridge you can’t see in flat light but can see the instant a lamp rakes across it at an angle. Both are fixable without stripping the whole patch. Sand the edge wider and always prime before the finish coat.
Is a dent in drywall a sign of a bigger problem?
On its own, no. A dent is a one-time impact mark, not an ongoing structural issue. Unlike a nail pop or a crack, it doesn’t usually come back once it’s filled correctly, unless whatever caused it in the first place is still hitting the same spot. The only exception is a dent that flexes or feels hollow when you press it, which points to a loose board edge or, on plaster, separation from the lath behind it.
Do I need to prime a small spackle patch, or is that overkill?
Prime it. A patch that’s genuinely tiny might get away without it under flat, matte paint in good light, but the moment the wall has any sheen to it (eggshell, satin, or better), an unprimed patch reads as a slightly duller or glossier spot the instant light hits it at an angle. It takes two minutes with a small brush, and it’s the difference between a repair you can see if you look for it and one you can’t find at all.
What’s the difference between a dent and a nail pop?
A dent comes from a blunt impact against the face of the wall and has nothing behind it but compressed gypsum. A nail pop comes from a fastener working loose inside the wall and pushing the compound over its head outward from behind. Press on each: a dent stays put, while a nail pop often has a slight give or spring to it, because there’s metal, not solid gypsum, right under the surface. Our nail pop guide covers the fastener version and why hammering it flat again doesn’t fix it.
Can I fix a dent without sanding at all?
For a very shallow dent filled with lightweight spackle, a careful application wiped nearly flush with a damp finger or a barely loaded knife can get close enough that a light pass with a damp sponge, rather than sandpaper, finishes it. Anything deeper than that reads as uneven without at least a quick pass of fine-grit sanding. There’s no real shortcut once a second coat is involved.
How big can a dent be before it’s actually a hole?
The distinction isn’t about width, it’s about whether the paper face broke. A 3-inch dent with intact paper is still a fill-and-feather job. A half-inch mark with torn paper and a visible gap into the wall cavity behind it is a hole, sized and patched by the methods in our large hole guide instead. When in doubt, press gently at the lowest point: solid resistance means dent, give or daylight means hole.
Will homeowners insurance cover dent repair?
Essentially never, and it’s not worth filing a claim over. Ordinary dents from daily living (furniture, doors, moving boxes) are treated as normal wear rather than a covered loss on almost every policy, and the deductible on a typical policy is many times what it costs to fix yourself.
Does paint sheen affect how visible a patch is?
Sheen matters far more than color. Flat and matte paint scatter light in every direction and hide a slightly uneven patch well. Eggshell, satin, and anything glossier reflect light more directly, which is exactly what makes an unprimed or poorly feathered patch visible from across the room. If you’re repainting the whole wall anyway, that’s the moment to also fix any old dents nearby. Matching sheen across a full wall hides far more than touching up one spot ever will.
Guides on this site are for general information about routine home maintenance. Suspected asbestos, mold over 10 sq ft, or structural water damage should be assessed by a licensed professional in your state.