I got called to a hallway last spring because a flat-painted wall had a shiny stripe at hip height and the homeowner was sure the paint was failing. It wasn’t. She had gone after the same scuff four times in two months with a melamine sponge, and every pass polished the surface smoother. The scuff was gone. What replaced it was worse, because a dull mark on a flat wall reads as dirt, and a glossy patch reads as damage. That’s the part most cleaning guides skip. On a flat finish, washing doesn’t only take dirt off the surface, it takes a thin layer of paint along with it. So the useful question is never really how to clean flat paint walls, it’s how far you can go before the cleaned area becomes more visible than the stain you were chasing. This guide is built around that threshold. If you’re here because the wall is getting repainted anyway, the sequence in our guide to painting walls and avoiding roller marks matters more than anything below.
Why flat paint collects dirt and hangs onto it
Sheen isn’t decoration. It’s a readout of how much resin binder is in the can. Higher-sheen paints carry more binder relative to pigment, and that binder cures into a continuous, closed film. Flat paint sits at the other end: a high pigment load, comparatively little binder, and a dried surface that behaves less like a film and more like a very fine crust of pigment particles held loosely together. Under magnification it looks closer to a packed gravel bed than to a sealed skin.
Two things follow from that, and between them they explain everything below. First, that open surface gives dirt somewhere to go. Kitchen grease aerosol, hand oils, wood smoke, and ordinary household dust don’t sit on top of a flat wall waiting to be wiped off. They settle into the pore structure and stay. Sherwin-Williams describes exactly this in its own guidance on washability: paints with low sheen don’t clean easily because the surface is more porous and less able to release soil. Second, that same low-binder surface has almost nothing holding the top layer of pigment in place mechanically. Rub it and pigment comes off.
Flat gets specified anyway because that porous surface scatters light in every direction instead of reflecting it, which is why it hides a bad drywall seam, a sanded patch, or a wall that was never quite level. Every eggshell or satin wall I’ve painted over an unlevel surface announced the flaw the moment sunlight hit it at an angle. That’s a trade somebody made deliberately, and cleaning is the bill.
Texture compounds it. A wall with orange peel, knockdown, or a skip trowel finish under flat paint has far more surface area than a smooth one, and all the low points in that texture are places a cloth can’t physically reach while the high points take all the pressure. If you don’t know what you’re working with, our breakdown of drywall texture types will tell you quickly, and it changes how aggressively you should approach a mark.
Check the sheen before you decide anything
Hold a flashlight against the wall and shine it down the surface at a shallow angle. A flat or matte wall stays uniformly dull. An eggshell or satin wall throws back a soft band of light, and if that’s what you have, you can use a damp cloth with real pressure without much risk.
Burnishing is the failure you’re actually risking
Burnishing is the trade term for an unwanted increase in gloss caused by friction. Sherwin-Williams and Benjamin Moore both list it as a defined paint defect, not a cosmetic complaint, and both name the same causes: repeated rubbing or scrubbing, abrasive cleaners, and objects dragging against the wall. Both note it shows up most readily on flat paint, which has the least scrub resistance of any interior sheen.
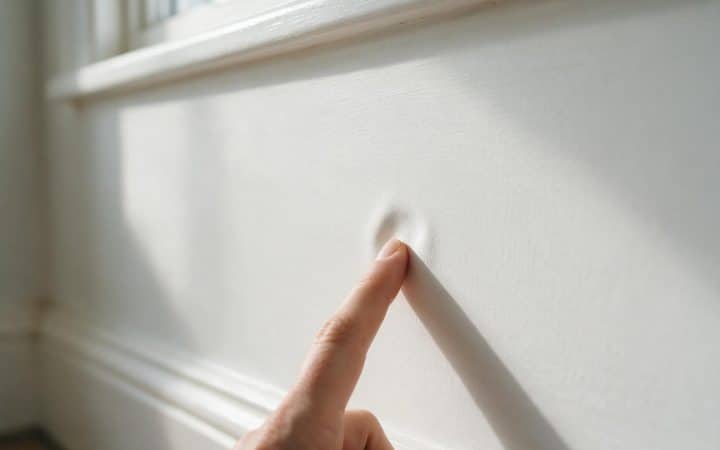
The mechanism is simple. Friction knocks down the high points of that pigment crust and smooths the surface, and a smoother surface reflects more light in one direction. The rubbed area now looks glossier than the wall around it even though the color underneath hasn’t changed. Push harder and you take off enough pigment that the color lightens too. On a dark flat wall you can reach primer without much effort.
Here’s why this matters more than the stain does. A dirt mark on a wall has a soft edge and a color that just looks like grime. Human eyes are forgiving of it. A burnished patch has a hard edge exactly where your cloth stopped, and it changes brightness depending on where you stand in the room, which is precisely what draws the eye. I’ve watched clients walk past a coffee splash for a year and then notice a cleaned circle from across the room the day after it was scrubbed. It’s the same reason flashing on a fresh paint job is so irritating: the problem is uneven light behavior, not uneven color.
Fresh paint is more vulnerable than most people expect. Latex paint reaches full cure over weeks, not hours, and Sherwin-Williams tells homeowners to wait about two weeks after painting before washing that surface at all. The industry scrub-resistance test, ASTM D2486, conditions its sample films for seven days at controlled temperature and humidity before it even starts running a bristle brush across them, which gives a sense of how long a latex film needs before it’s fair to judge its durability. If your wall was painted in the last month, a mark on it is not a cleaning problem yet. Leave it.
Melamine foam is sandpaper with a friendly name
Melamine foam sponges, sold as magic erasers, are not chemical cleaners. They are micro-abrasives. The cured resin forms a cell structure with extremely hard, extremely fine walls, and wet it removes material at roughly the aggressiveness of 3000-grit sandpaper. That’s why it takes marks off gloss trim so well, and why on flat paint it lifts the paint along with the mark. If someone has already used one on your wall, skip to the touch-up section, because you’re past cleaning.
Finding the threshold before you cross it
Nobody sets out to burnish a wall. It happens because the feedback arrives late. You’re eighteen inches from the surface, looking straight at it, and from that position a burnished spot is nearly invisible. It shows up when you step back and the light comes in at an angle. So build the check into the process instead of discovering it at the end.
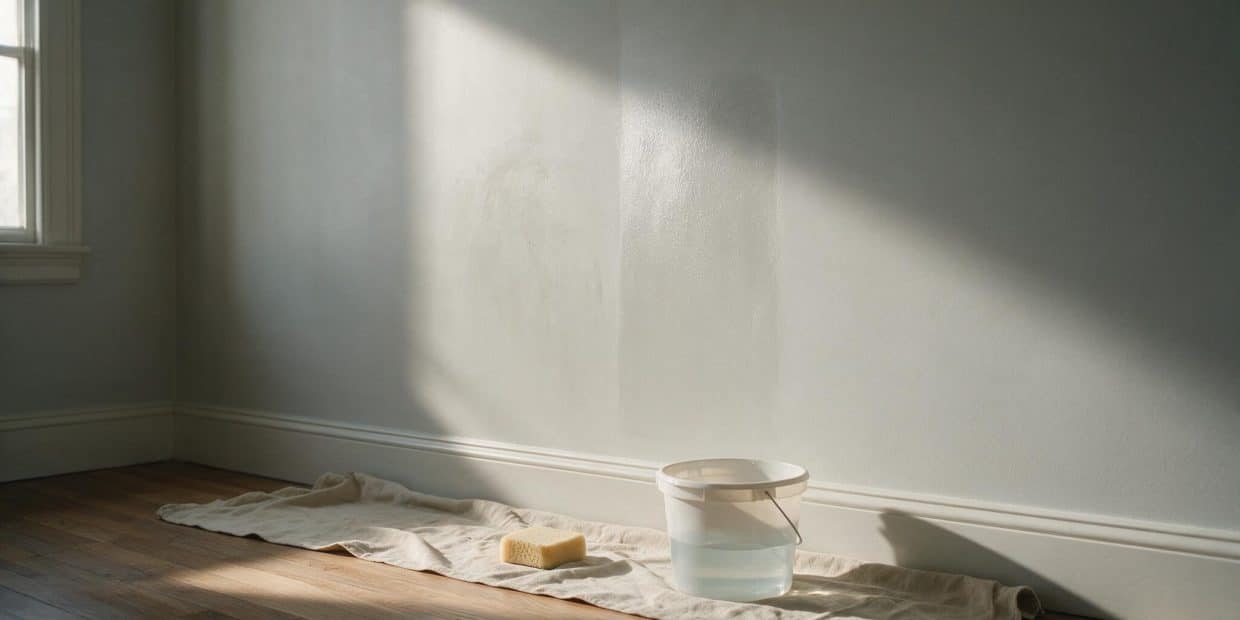
What I do on site is simple. Every few passes I stop, step back, and look at the area from a low angle with whatever raking light is available: a side window, a lamp on the floor, or a work light aimed along the wall rather than at it. Straight-on light will lie to you. Angled light will not.
The early signs come in order. First the cleaned area looks slightly wetter than the wall around it even after it’s dry, a faint sheen difference you only catch at an angle. Then the boundary of your cleaning shows as a soft outline. Then the area looks lighter, which means you’re removing pigment, not soil. Once you can see any of those, the wall has changed and more scrubbing only widens it. Stopping is not giving up. It’s the correct move.
The practical version took me years to accept. If a mark hasn’t lifted after two gentle attempts with a mild solution and a soft cloth, a third attempt won’t lift it either. It will burnish the wall. Two passes, then pick a different tool, which usually means paint.
What to clean flat paint with, and at what strength
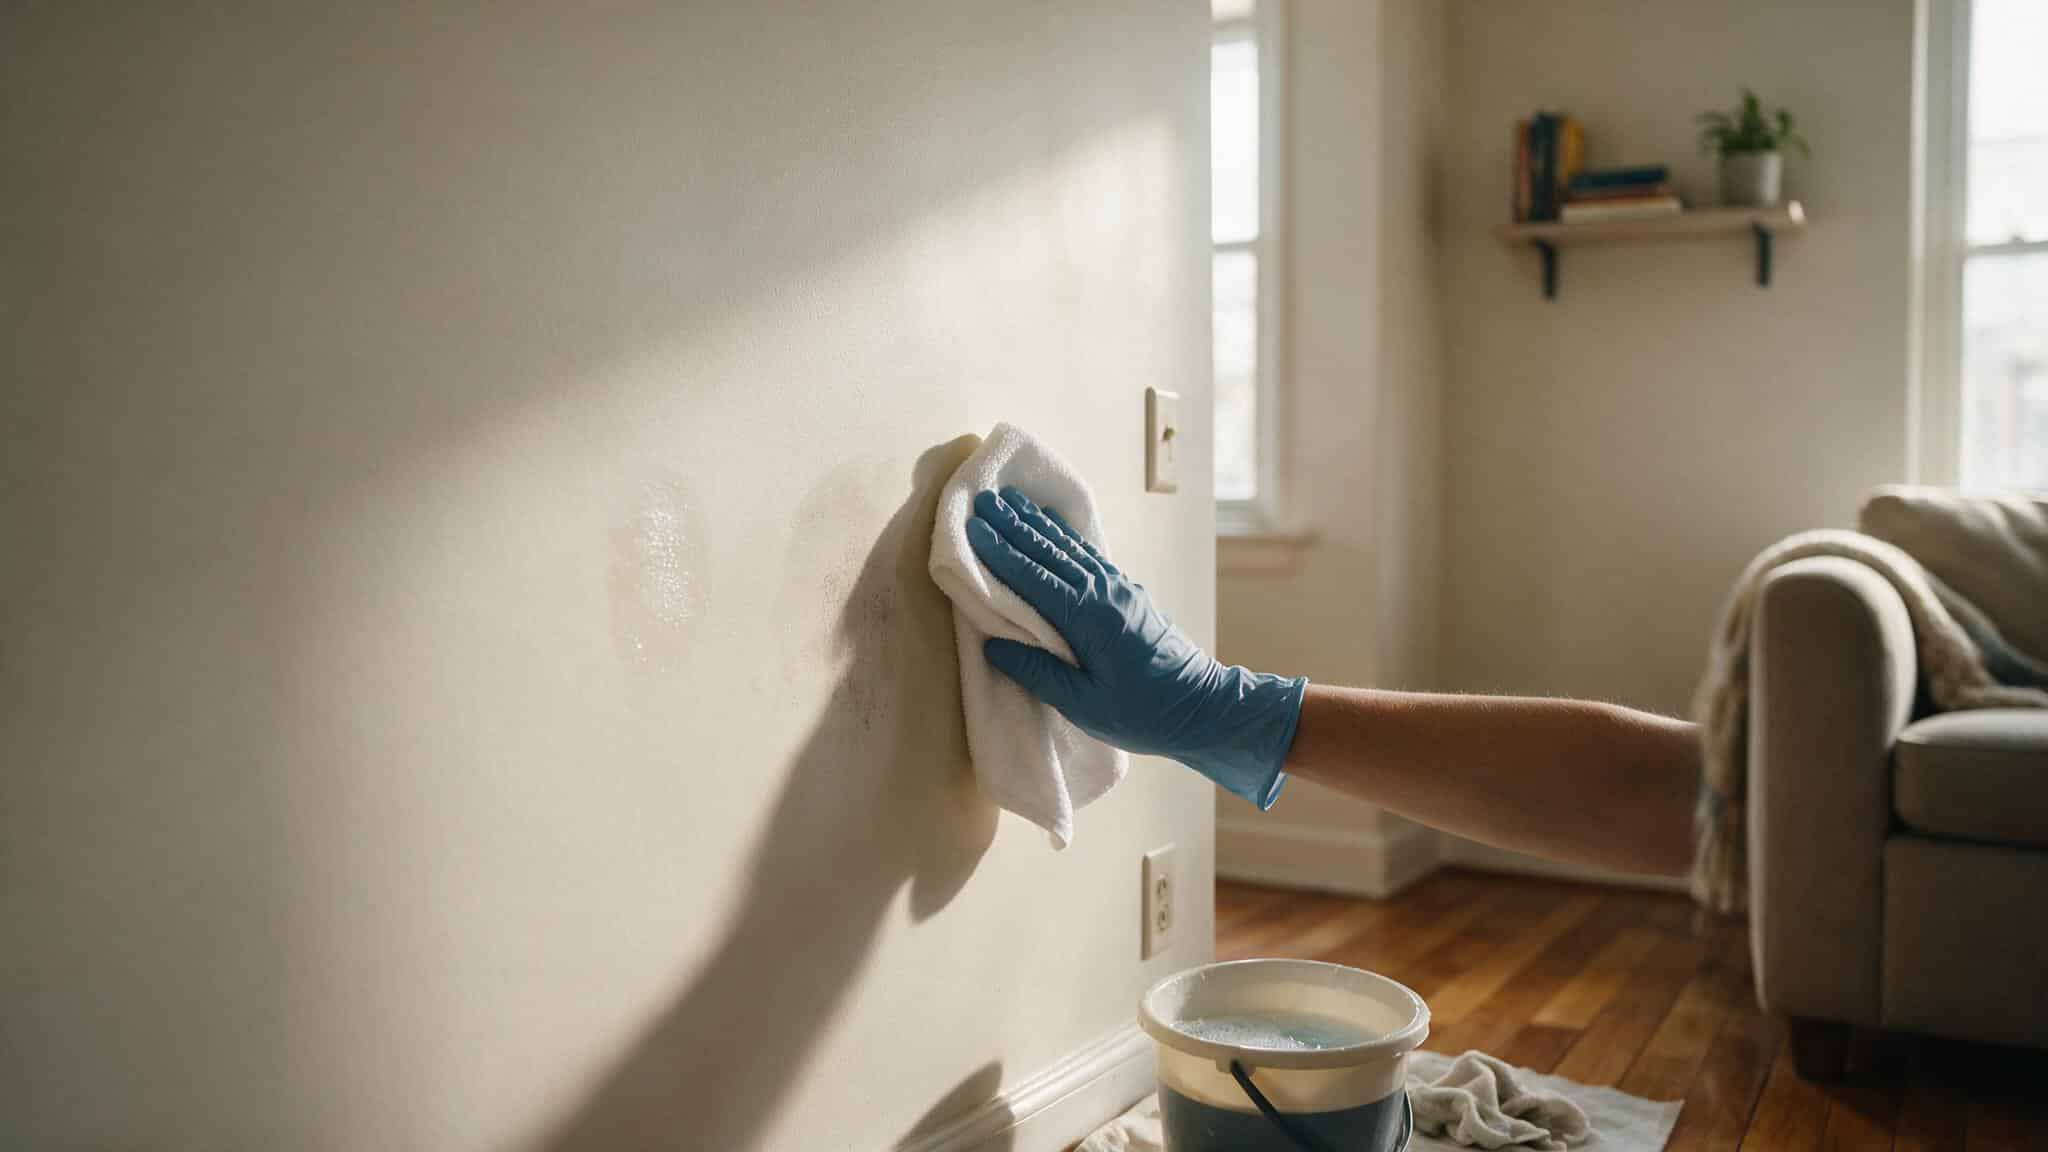
Almost everything that works on flat paint is dilute. You want a solution weak enough to leave in contact with the mark for thirty seconds, so the chemistry does the work your hand would otherwise do. Strong solutions tempt you to hurry, and hurrying is how pressure gets applied.
Plain warm water handles more than people expect, particularly fresh fingerprints and light dust film. Start there. If it isn’t enough, a teaspoon of clear, dye-free dish soap in a gallon of warm water is the standard next step and covers most household marks. You’ll see an ounce per gallon recommended too. On flat paint I stay at the low end and accept a slower result, because surfactant residue left in a porous surface attracts dirt faster than the original soil did and streaks when it dries.
Distilled white vinegar is the common addition for anything with a greasy or smoky component, typically half a cup per gallon of warm water, sometimes combined with the same teaspoon of dish soap. Vinegar is a mild acid, and it will slowly attack an alkaline surface, so it belongs on cured latex over drywall and not on uncoated joint compound, fresh skim coat, or bare plaster.
Baking soda in a thin paste is the one mildly abrasive option I’ll use on flat, and only on a single isolated stain: dab it on, let it sit, lift it with a damp cloth. Over a broad area or with real pressure it does what melamine foam does, just slower.
Trisodium phosphate comes up constantly and is almost always the wrong tool here. TSP is a heavy-duty alkaline degreaser, mixed at about a quarter cup per gallon for general cleaning and half a cup for heavy grease. It strips grease, soot, and chalked paint, and it’s a standard prep step before repainting. That’s the point: TSP is a pre-paint product. It dulls the finish, it needs a full rinse, and phosphate formulations are restricted for residential sale in a number of states, which is why phosphate-free versions built on sodium carbonate or sodium metasilicate now dominate the shelf. Reaching for either one means you’ve already decided the wall is getting repainted.
| Solution | Mix | Use it on | Risk on flat paint |
|---|---|---|---|
| Warm water only | Nothing added | Dust film, fresh fingerprints, light smudges | Lowest, but pressure still burnishes |
| Clear dish soap | 1 tsp per gallon warm water | General household soil, hand marks, food splashes | Residue streaks if not rinsed |
| Dish soap + white vinegar | 1 tsp soap + 1/2 cup vinegar per gallon | Kitchen grease film, light smoke haze | Acid attacks bare compound and plaster |
| Baking soda paste | Thick paste with water, dabbed on | One isolated stain, never a whole wall | Mildly abrasive, burnishes if rubbed |
| TSP or phosphate-free TSP | 1/4 cup per gallon general, 1/2 cup heavy grease | Pre-paint prep only | Dulls and etches the finish, needs rinsing |
What not to bring near a flat wall is a shorter list: melamine foam sponges, scouring pads of any grit, powdered cleansers, bleach at household strength, and spray-on degreaser aimed straight at the surface. Bleach deserves its own note. People reach for it on dark spotting they assume is mold, and on a flat wall it bleaches the pigment as readily as it kills spores. For actual growth, our guides on getting rid of mold on walls and detecting mold inside walls cover why the visible spot is usually the smaller half of the problem.
The sequence that keeps you under the threshold
Dry-dust the whole wall first
Run a dry microfiber cloth on a pole or a vacuum brush attachment over the surface before any liquid touches it. Wetting a dusty flat wall turns loose dust into mud that you then grind into a porous surface, and that mud is what people are actually fighting when they say a wall got worse after cleaning.
Spot-test somewhere nobody looks
Behind a door, low in a closet, or under a piece of furniture. Apply your solution, wait, blot, let it dry completely, then look at it from an angle. A test that you evaluate while it’s still wet tells you nothing, because everything looks fine wet.
Wring the cloth out until it barely dampens your palm
Two buckets, one with solution and one with clean rinse water. A dripping cloth sends runs down the wall, and those runs pick up dust as they go and leave streaks that are hard to remove.
Work bottom to top
This one gets argued about, and the argument resolves in favor of bottom to top for one reason: a drip that runs onto an already-cleaned, still-damp section rinses off, while a drip that runs onto a dry dusty section below leaves a streak that sets. Rinse and dry top-down at the end if you like, but clean upward.
Blot and lift, never scrub in circles
Press the damp cloth against the mark, hold it for twenty or thirty seconds to let the solution soften the soil, then lift straight off. Circular scrubbing is the single most reliable way to burnish flat paint, because it concentrates friction on one spot from every direction.
Rinse the area with clean water
A second cloth, water only, same blotting motion. Skipping this leaves surfactant in the pores, and that residue both attracts new dirt and dries to a visible film on a matte surface.
Blot dry with a soft towel
Don’t let a flat wall air-dry after washing. Standing moisture in a porous film leaves watermarks, and the drying edge is where streaks form. Pat, don’t wipe.
Step back, use raking light, and decide
Look at the area from several feet away with light coming across the wall. If the mark is gone and the sheen is unchanged, you’re done. If the mark is fading but the sheen is starting to shift, stop now and treat it as a touch-up job.
One addition to that sequence: if a whole wall needs cleaning, do it corner to corner in one session. Cleaning half a wall leaves a visible boundary between two areas with slightly different surfaces, the same problem as touching up half a wall. Uniformly slightly-cleaned beats perfectly-clean-in-one-rectangle.
Marks that are never coming out of flat paint
Part of staying under the threshold is knowing which stains have already won. On a porous, low-binder film, anything that soaked in rather than sitting on top is no longer a surface problem, and no cleaner reaches it without taking the paint too.
Permanent marker, ballpoint pen, and crayon wax are in that category. The solvents that dissolve them soften a latex film too. Old grease has migrated into the pore structure and leaves a shadow even after the surface looks clean. Nicotine and wood smoke are usually sealed with a stain-blocking primer rather than cleaned.
Then there’s the category people misdiagnose as dirt. A brownish or yellowish ring with a defined edge that reappears after you clean it is not a stain on the paint, it’s something coming through from behind. On a ceiling that’s a leak, and our guides to a water stain on a ceiling and to a ceiling that leaks when it rains both cover finding the source before touching the surface. On a wall it can be a leak, tannin bleed from wood behind the drywall, or old adhesive if the room used to have wallpaper, in which case removing wallpaper properly and sealing what’s left is the repair. Cleaning any of these is wasted effort, and at worst you burnish a wall that’s about to be primed anyway.
Cracking, hairline splits, or a soft spongy feel under the cloth is a different signal again, and it means you’ve moved from a paint question to a substrate question. Our guide to fixing cracks in walls covers what the crack pattern tells you, and if the surface has gone soft, stop cleaning entirely and look for moisture.
When a touch-up beats another round of cleaning
This is the part that turns the whole job around. Flat paint is the hardest sheen to clean and the easiest to touch up, and those are the same fact. The low reflectivity that makes dirt cling also hides a slight color or film-thickness difference between the touch-up and the original coat. On satin, a touch-up flashes because the sheen difference catches the light. On flat there’s barely any sheen to differ.
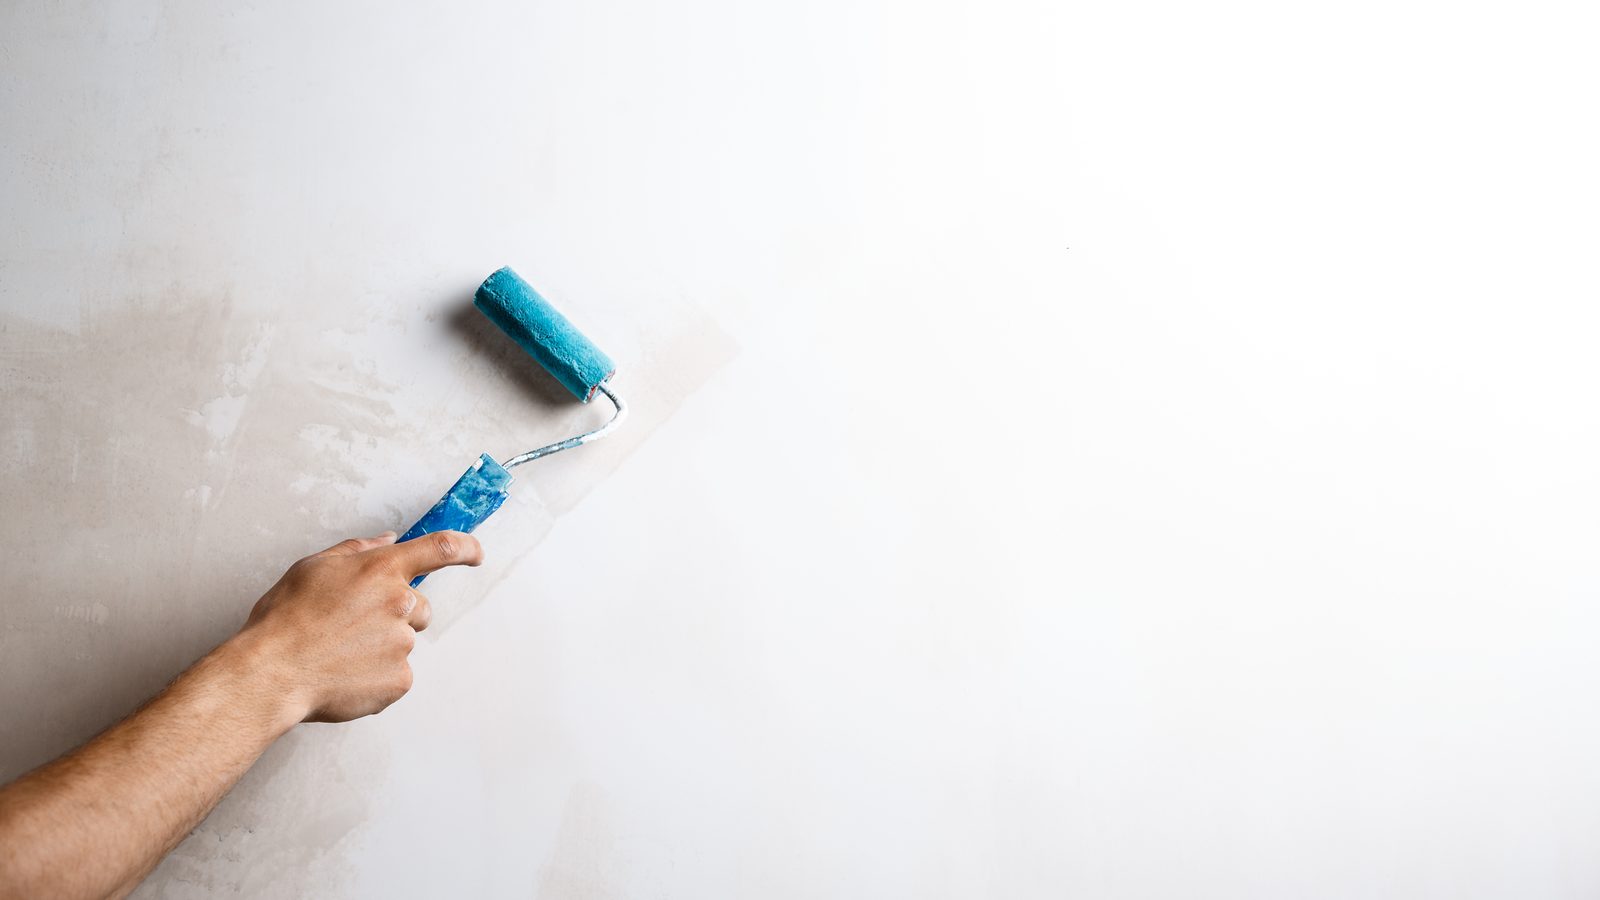
So the calculation isn’t “clean it, and paint only if cleaning fails.” For a single scuff where you still have the original paint in the garage, dabbing paint on is often faster and lower-risk from the start. Five minutes with a small roller against thirty minutes of careful blotting that might still end in a shiny patch is not a close call.
Touch-ups on flat still have rules. Paint on the wall has aged, oxidized, and picked up a light film of dirt, so even the leftover can from the original job won’t be an exact match, and a fresh can is a different batch anyway. Feathering the edge with a brush leaves a visible halo where the stroke thinned out, so use a small foam or synthetic mini-roller instead: it lays down a texture matching roller-applied wall paint and blends the edge without a hard line. Roll in the same direction the wall was originally rolled, keep it small, and let it dry fully before judging it.
Past a certain density of marks, touching up stops being worth it. Sherwin-Williams says it plainly in its own touch-up guidance: once a surface needs an excessive number of touch-ups, repaint the wall corner to corner. Corner to corner is the operative phrase: architectural breaks are where the eye accepts a boundary, and stopping mid-wall never looks right no matter how good the color match is. On a textured wall a touch-up has to match texture as well as color, and matching knockdown or orange peel by hand is its own skill. The same texture identification guide will tell you what you’re up against.
What each route actually costs
Cleaning supplies for a whole house run under $20: dish soap, white vinegar, microfiber cloths, two buckets. A quart of matching interior latex for touch-ups is $18 to $30 and covers years of scuffs. Repainting one average bedroom yourself is $100 to $300 in materials, and hiring it out runs $300 to $850 per room. Cleaning until the wall burnishes doesn’t save the repaint. It just adds the burnished area to what the repaint has to cover.
One more variable belongs in that comparison. If the wall needs patching as well as painting, the repair drives the schedule and the cost, not the paint. Our breakdown of drywall repair costs in 2026 covers where those numbers land, and if the damage is a real hole rather than a scuff, patching a large hole in drywall comes first and cleaning becomes irrelevant. Ceilings have their own economics, covered in water damage ceiling repair cost.
Flat ceilings are a separate problem
Nearly every interior ceiling in a US home is flat white, for the same reason walls sometimes are: it hides seams and finishing nobody was going to see from twelve feet below. That makes ceilings the most burnish-prone surface in the house, and the worst place to be working overhead with a wet cloth.
Dry dusting a ceiling is worth doing, with a microfiber pad on an extension pole. Wet cleaning almost never is. Ceiling paint gets repainted so rarely that a burnished patch stays visible for a decade.
Textured ceilings are off limits for wet cleaning. A popcorn ceiling has an aggregate surface bonded with very little adhesive, and a wet cloth pulls it off in patches. Ceiling texture applied before the early 1980s can also contain asbestos. Our guides to popcorn ceiling asbestos and popcorn ceiling removal cost cover testing and options if that’s what’s over your head.
Questions I get on site
Can I use a magic eraser on flat paint walls at all?
No. Melamine foam works by abrasion at roughly 3000-grit fineness, and flat paint has the least material to spare of any interior sheen. It removes the mark and a layer of paint together. Keep it for gloss trim, tile, and painted doors, where there’s a hard resin film to work against.
Why did my wall get shinier after I cleaned it?
That’s burnishing. Friction flattened the microscopic roughness that makes flat paint scatter light, so the rubbed area now reflects light more directly than the wall around it. It isn’t reversible by cleaning further, and further scrubbing only widens the affected area. The fix is paint: touch up with a mini-roller if the patch is small, or repaint the wall corner to corner if it isn’t.
How soon after painting can I wash a flat wall?
Give it two weeks minimum, and a month is better if the room is cool or humid. Latex paint is dry to the touch in an hour and nowhere near fully cured for weeks, and washing during that window removes paint far more readily than washing a cured film does. The dry time table in our guide to painting walls shows how much conditions stretch that schedule.
Should I wash walls from the top down or the bottom up?
Bottom up for the wash, top down for the final rinse. A drip onto a dry, dusty section picks up dirt on the way and leaves a streak that’s harder to remove than the original soil.
Does vinegar damage flat paint?
Diluted at about half a cup per gallon on a fully cured latex film, no. Undiluted, on fresh paint, or on bare joint compound and plaster, yes, because it’s a mild acid against an alkaline surface. Rinse either way, since acid residue in a porous film keeps working after you’ve put the bucket away.
Is TSP a good idea for cleaning flat walls?
Only if you’re about to repaint. TSP and its phosphate-free substitutes are pre-paint degreasers, mixed at a quarter cup per gallon for general work and half a cup for heavy grease. They strip grease and soot effectively and dull the finish while doing it. That’s acceptable when primer is going on next and a problem when it isn’t.
My cleaned spot is now lighter than the rest of the wall. What happened?
You removed pigment, not just soil, which happens sooner than people expect on a low-binder flat film, especially in mid-tone and dark colors. The surrounding wall has also darkened with age and dirt, so a touch-up in the original color may not match. Repainting corner to corner is the reliable answer.
Dark spots keep coming back after I clean them. Why?
Something is feeding them from behind the paint. That’s moisture, a leak, tannin bleed, or mold, and cleaning the surface treats none of them. Find the source first. A returning stain on a ceiling almost always means water, covered in our guide to a water stain on a ceiling, and dark speckling in a bathroom or an exterior wall corner usually means moisture behind the drywall.
The rule I actually work by
Flat paint asks you to accept a wall that shows dirt in exchange for a wall that hides everything else. That bargain only breaks when you clean a flat wall the way you’d clean a satin one. Two gentle passes, a step back into raking light, an honest look. If the mark is gone, good. If it’s fading but the wall is starting to shine where you worked, put the cloth down and pick up a mini-roller. Treating that as a cleaning job is how a small scuff turns into a wall repainted end to end.
Sherwin-Williams keeps a plain-language write-up of burnishing and shiny areas in its homeowner problem solver if you want the manufacturer’s own description of the defect and its causes.
Guides on this site are for general information about routine home maintenance. Suspected asbestos, mold over 10 sq ft, or structural water damage should be assessed by a licensed professional in your state. See our disclaimer for details.