You picked the paper. Maybe it took three sample rolls taped to the wall and two weeks of walking past them before you were sure. Now it’s sitting in the corner of the room in its plastic wrap, and the real question starts: how to hang wallpaper so the wall actually looks like the sample did, not like a job that needs redoing three weeks in.
Here’s what most guides don’t lead with. The pasting itself is the forgiving part — wet, smooth paper is hard to ruin outright, and a smoothing tool covers a lot of small mistakes. What actually decides whether the seams disappear or telegraph across the room happens earlier: the math on how much paper you need, the plumb line you strike instead of trusting a corner, and the temperature and humidity while that paste cures. Skip any of the three and the wall can look finished on install day, then show gaps, bubbles, or a pattern that’s crept out of true by the third strip.
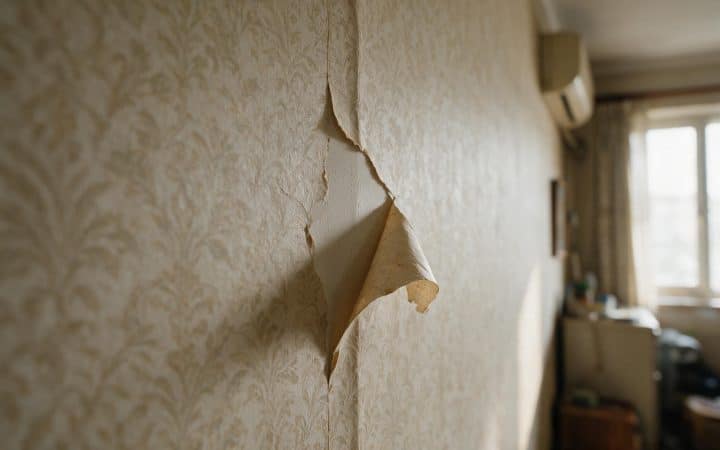
If there’s a previous layer of paper already up, deal with that first. Our wallpaper removal guide covers getting it off without tearing the drywall face underneath, because hanging new paper over old paper traps both layers’ seams and whatever moisture is left under the new job. And if you’re only half-committed to wallpaper in the first place, we’ve covered when painting over what’s already there is a legitimate shortcut instead of papering — worth a read before you spend money on rolls.
Start here: what you’re hanging it on, and what you’re hanging
Two decisions come before any tool touches the wall: the wall’s condition, and which wallpaper format you’re using. Both change the steps below enough to be worth ten minutes.
| What’s on the wall now | What it needs | Why |
|---|---|---|
| Bare drywall, never painted or papered | A full coat of primer, ideally a dedicated wallpaper size over it | Raw gypsum paper face pulls water out of the paste before it can bond |
| Previously painted, sound and clean | A light scuff-sand plus a coat of wallpaper size or clear primer | Paint alone doesn’t grip paste as reliably as a sized surface does |
| Already wallpapered | Strip the old layer completely before anything new goes up | Two layers of seams and adhesive under a third is how bubbles start within months |
| Textured (orange peel, knockdown, or similar) | Skim the wall smooth first, or see our skim coat guide | Wallpaper is thin — it reveals whatever is underneath it instead of hiding it |
| Type | How it’s hung | Best for |
|---|---|---|
| Traditional paste-the-paper | Paste goes on the paper, folded paste-to-paste (“booked”) for several minutes to relax and expand before hanging | Classic and specialty papers, widest style selection |
| Paste-the-wall (non-woven) | Paste goes on the wall; the dry paper is hung straight on top, no booking, no expansion | Most modern designer wallpaper lines; the easiest method for a first attempt |
| Peel-and-stick (removable) | Backing peeled away in sections; paper pressed on dry and repositionable until fully set | Rentals, accent walls, anyone not ready to commit paste to a wall |
Tools and materials
Only one paste row applies, depending on which type you picked above.
| Method | You’ll need | Rough cost |
|---|---|---|
| Traditional paste-the-paper | Wallpaper paste (wheat or cellulose based), a paste brush or roller, a booking table or clean floor space, a bucket and sponge | $25-$45 |
| Paste-the-wall (non-woven) | Ready-mixed or powder adhesive made for paste-the-wall paper, a paint roller and tray, a bucket and sponge | $25-$45 |
| Peel-and-stick | No paste — a smoothing tool and a sharp utility knife do most of the work | $15-$25 |
| Every method | Smoothing brush, seam roller, 4 ft level, tape measure, sharp utility knife, straightedge, drop cloths, step ladder | $40-$80 from zero |
Add primer or wallpaper size if the wall needs it — $20-$40 for an average room — and budget for a moisture meter if you don’t own one. They run under $50 and answer in ten seconds a question guessing gets wrong.
The room’s climate decides more than your technique
Wallpaper paste is water based, and that single fact explains most of the failures that show up after installation day rather than during it. Get the room’s temperature and humidity wrong and no amount of careful smoothing saves the seam.
Angi’s installation guidance and wallpaper adhesive manufacturers both put the safe hanging range at 60°F to 80°F. Below 40°F, paste can struggle to grip the wall at all — pressing harder doesn’t fix a room that’s too cold, because the adhesive simply isn’t curing. Above 90°F, the paper can expand while you’re hanging it, then shrink as it cools, opening the exact hairline gaps at the seams that show up a few days later and get blamed on bad technique.
Humidity matters just as much. Keep the room between 30% and 50% relative humidity; above 60%, moisture can get trapped behind the paper long enough for mold to start on its back, invisible until something else goes wrong. Check the wall itself too — a moisture meter should read under about 4% before you hang anything on it. Higher than that, find out why before you paste over it.
Unroll the paper — or at least bring the sealed rolls into the room — 24 to 48 hours before you hang it, at least 3 feet from any heating or cooling vent. Wallpaper expands and contracts with the room it’s in, and paper that’s still adjusting to the temperature when you paste it keeps moving after it’s on the wall.
Cold doesn’t just slow the job down
A room below 40°F isn’t a “give it more time” problem. The paste may never fully grip the wall, and no amount of extra pressure fixes an adhesive that isn’t curing. Warm the room and wait, rather than hang and hope.
The part almost nobody mentions: keep conditions stable for a few days after the last strip goes up, not only while you’re working. A room that’s carefully conditioned during installation, then left to swing hot, cold, or humid overnight, is exactly how loose seams show up on day three instead of day one.
Do the pattern math before you buy a single roll
This is the step that has nothing to do with pasting and decides more of the final look than anything else on this page.
A pattern repeat is the vertical distance between one point in the design and the next identical point below it. A 24-inch repeat means the motif restarts every 24 inches down the roll; a large-scale floral might repeat every 36 inches or more. Every strip has to line up with the one beside it at that same interval, so you’re not just buying enough paper to cover the wall — you’re buying enough to keep cutting until the pattern matches strip after strip.
The bigger the repeat, the more you throw away. On a 9-foot wall, a 24-inch repeat needs each panel rounded up to 120 inches to keep the match; a 36-inch repeat needs 144-inch panels. That extra two feet of trimmed pattern per panel is why a large-scale print eats through rolls faster than the square footage suggests — worse again on a half-drop pattern, where alternating strips shift by half the repeat and waste runs higher than on a straight match.
As a baseline, HomeGuide recommends buying about 20% more wallpaper than the bare square footage of the wall to cover trimming and matching waste. Lean toward the higher end of that, or above it, if your repeat is large or the pattern is a half-drop rather than a straight match.
Buy every roll from the same run, on the first order
Every roll carries a run or dye lot number on its label, and two rolls from different runs can be different enough in color to show as a faint line down the wall where they meet. Confirm all your rolls share one run number before you leave the store or place the order, and buy one or two spares up front — a reorder weeks later has no guarantee of matching the batch you already hung.
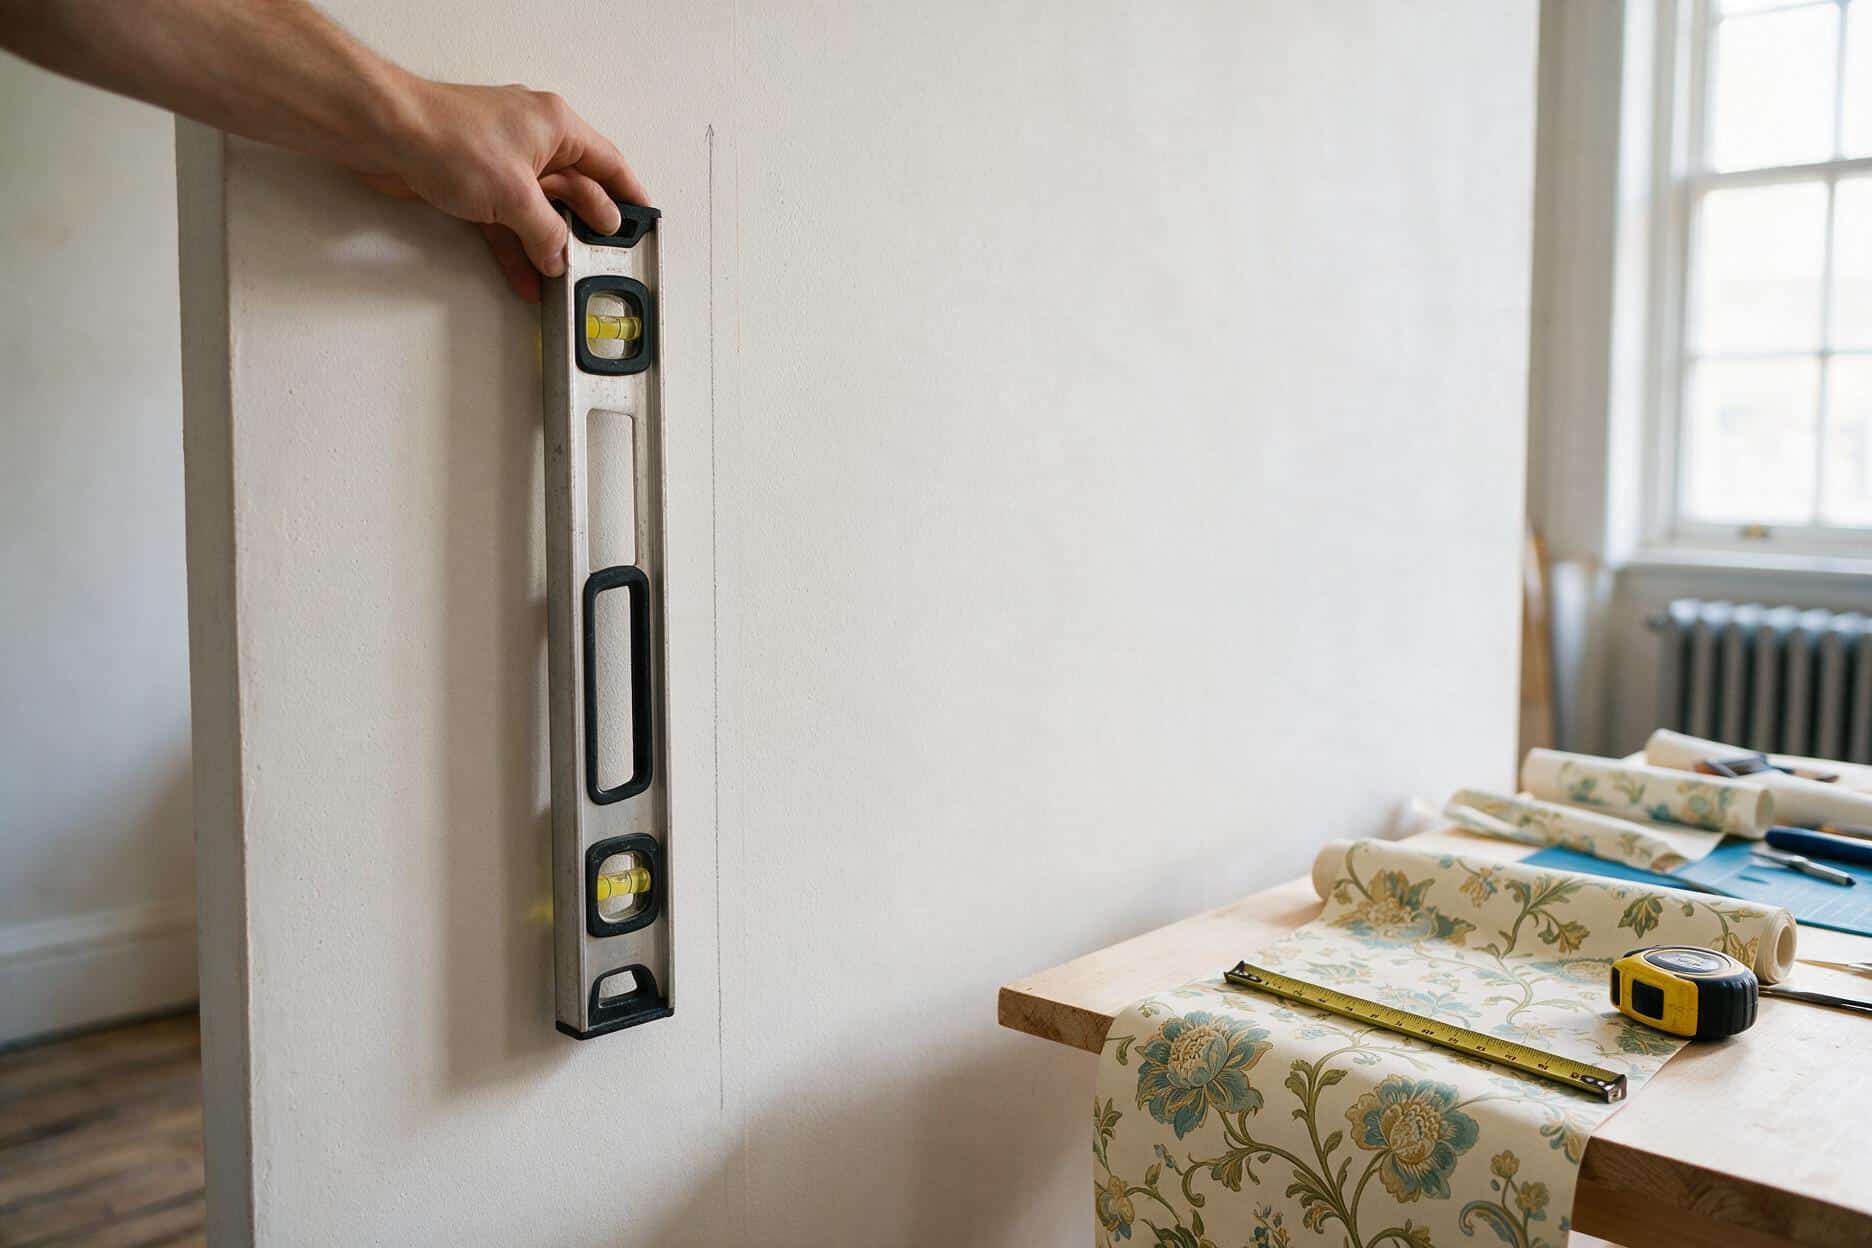
The other math that matters happens with a level, not a calculator. Measure one wallpaper-width from your starting corner and strike a true vertical line with a level or plumb bob, then hang your first strip against that pencil line — not the corner itself. Corners and the walls running into them drift out of true over a room’s height more than they appear to at eye level, and a first strip hung dead against a corner carries that lean into every strip after it. By the fourth or fifth strip, a pattern that started level can be visibly climbing or dropping.
The corner lies more than the level does
Trust the plumb line every time, even when the corner looks square. A strip a half-degree off at the start can be an inch out of level halfway around a room.
Prime and size the wall — the step that decides how it comes off, too
This is the same lesson our wallpaper removal guide keeps coming back to, just from the other end of the job: skipping the primer now is what turns a future removal into a fight with the drywall’s own paper face.
Wallpaper paste is water based specifically so it can be reactivated and stripped later. On a wall that was never primed or sized, that same water soaks straight into the paper face of the drywall — the thin sheet glued to the gypsum core that gives drywall a surface worth papering. The paste and the wall become the same material, and it comes off in shredded strips years from now, taking the drywall’s surface with it.
A coat of primer or a purpose-made wallpaper size breaks that bond before it forms, sealing the paper face so the paste has something consistent to grip instead of the gypsum itself — and it’s what lets a future owner strip the paper back off without a skim coat afterward. Plaster walls need sizing close to always; primed drywall in good shape can often take a wallpaper size instead of a full primer, but check the paste manufacturer’s instructions before skipping a step to save an afternoon.
Let it dry fully before you hang anything — check the label, but plan on a few hours minimum and overnight if the room is cool or humid. A primer still curing behaves like a wet wall, and paste over it fails the same way paste on bare gypsum does.
Hanging it, strip by strip
Cut your strips
Measure the wall height and add 4 to 6 inches total for trimming top and bottom. Cut two or three strips at a time rather than the whole roll, checking the pattern lines up between them before you commit to cutting the rest.
Paste it, book it, or peel it, depending on your type
Traditional paper: apply paste evenly, fold both ends in on themselves paste-to-paste (“booking”), and let it relax 5 to 10 minutes. Paste-the-wall: roll adhesive directly onto the wall section you’re covering and hang the dry paper straight onto it. Peel-and-stick: pull back 6 to 12 inches of backing at a time as you go, rather than stripping it all off at once.
Hang the first strip against your plumb line
Align one edge to the pencil line you struck earlier, not to the corner, and let about 2 inches lap onto the ceiling and baseboard for trimming. Everything else in the room keys off this first strip.
Smooth from the center out
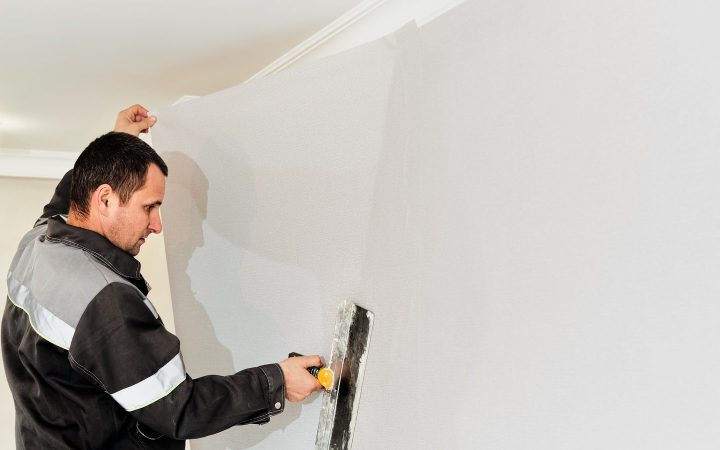
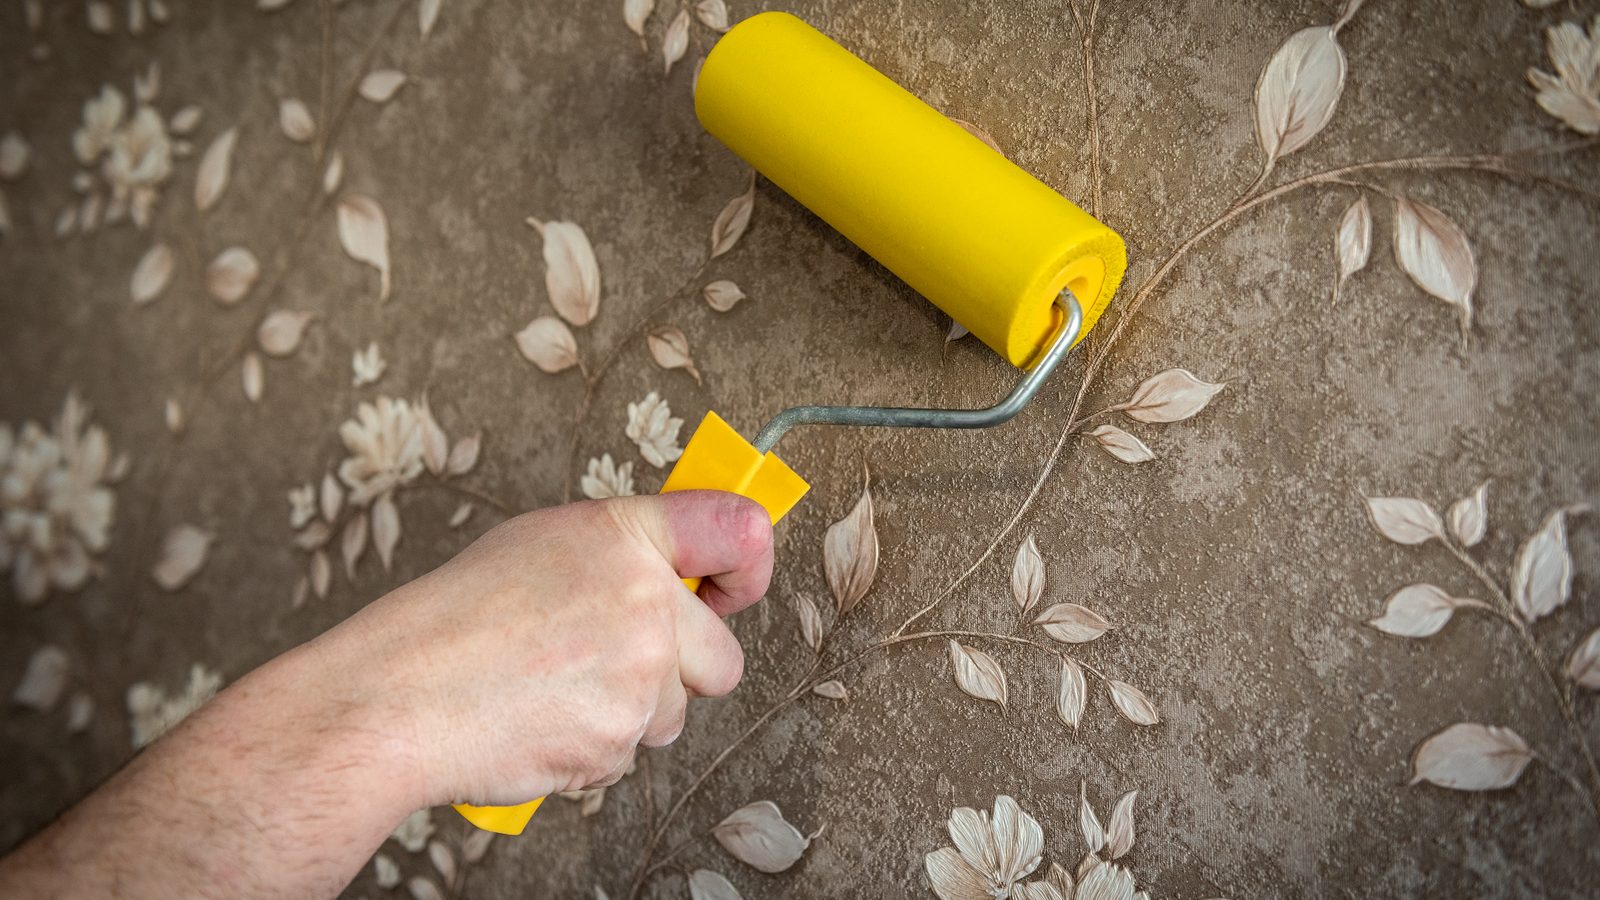
Work a smoothing brush or plastic tool from the middle of the strip toward each edge, top to bottom, pushing air and excess paste ahead of it rather than trapping it. Wipe paste off the ceiling and baseboard line as you go, before it sets.
Match the next strip at the seam, not on the wall
Line up the pattern against the hung strip before you press the new one down, butting the edges together without overlapping. Small shifts are still possible in the first minute; once it’s smoothed, it’s committed.
Roll the seam once it’s set, not before
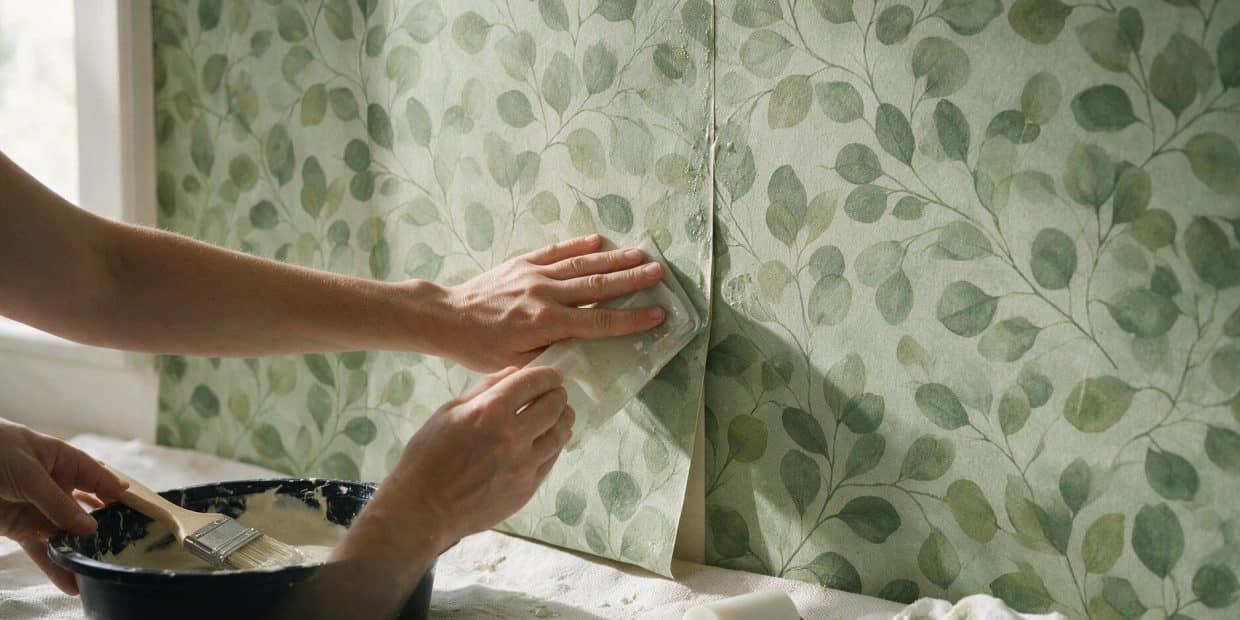
Give the paste a few minutes to grab, then run a seam roller down each join with light, even pressure. Too soon and you squeeze paste out from underneath; too late and the seam never fully bonds.
Trim last, with a sharp blade
Cut the ceiling and baseboard overlap with a straightedge and a fresh blade, changing it every strip or two. A dull blade drags and tears the paper instead of cutting it, and that torn edge is the first place a seam starts to lift.
Peel-and-stick changes a few of these steps, not the math
Peel-and-stick wallpaper has moved well past the dorm-room reputation it had a decade ago, and the numbers back that up. Independent market-research estimates put the global removable wallpaper market at roughly $2.3 to $2.4 billion in 2025 and 2026, with continued growth forecast into the early 2030s.
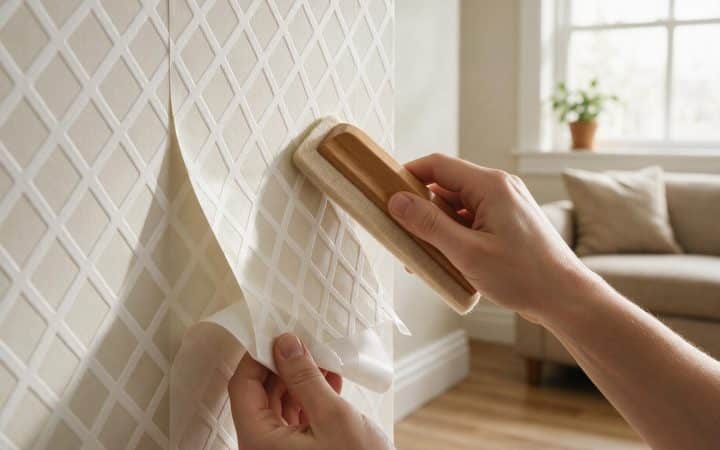
What’s actually different: there’s no paste to mix, no booking time, and you can lift and reposition a strip several times before it’s fully pressed down, forgiving small pattern-matching mistakes traditional paste doesn’t. Work the backing off in 6 to 12 inch sections as you smooth, rather than peeling the whole sheet at once.
What doesn’t change: the plumb line, the pattern math, and the wall prep. Peel-and-stick adhesive grips a clean, smooth, primed surface the same way any adhesive does, and grabs dust and grease just as readily. Bare, unprimed drywall still risks the same early adhesion failure. And with no paste to hide a slightly-off seam, a skipped plumb line shows up faster on peel-and-stick, not slower.
The trade-off worth knowing before you buy: ordinary pasted wallpaper is generally treated as a 10-to-15-year surface when installed well. Peel-and-stick is newer, and most manufacturers back it for a shorter lifespan, so treat it as a multi-year refresh rather than a permanent finish, especially somewhere that gets bumped or sits in direct sun.
What this costs in 2026
Materials scale with the type of paper you pick; labor is where hiring it out adds the most.
| DIY materials | Professional, installed | |
|---|---|---|
| Average 100 sq ft room | $100-$300 | $400-$1,000 |
| Per square foot | $1-$3 | $4-$10 |
| If the wall needs priming or sizing first | $20-$40 | often bundled into the quote |
Roll prices vary by type more than anything else. HomeGuide’s 2026 data puts peel-and-stick and standard printed paper at roughly $20-$50 per single roll, pre-pasted at $20-$75, and textured or embossed paper at $50-$140 and up. A single roll covers 28 to 30 square feet, so a small bedroom can need 6 to 10 rolls once the 20% waste allowance is factored in.
Professional installation runs about $4 to $10 per square foot including materials, or roughly $325 to $1,000 for an average room, per both HomeGuide and Angi’s 2026 data. Complex patterns, high ceilings, and heavy wall prep push toward the top of that range; a simple accent wall on an already-primed surface sits at the bottom.
What you’ll see if one of these got skipped
| What you see | Likely cause | What to do |
|---|---|---|
| A gap opens at a seam a few days after hanging | The paper wasn’t acclimated, or the room ran warmer than 80°F while the paste cured, shrinking the paper slightly after it had already bonded | A small gap can sometimes be re-adhered with seam adhesive and a thin blade; a wide gap on a strong pattern usually means redoing that strip |
| A bubble shows up after everything looked flat | Air got trapped before the paste set, or humidity swung afterward | Slit it gently, work a little seam adhesive in with a syringe or thin applicator, and press it flat with a smoothing tool |
| The pattern is visibly off by the far wall | The first strip was hung against a corner instead of a plumb line | Nothing fixes it retroactively — re-strike a plumb line and restart the layout before the drift compounds further |
| An edge curls or lifts near a window or heat vent | Localized heat or dry air is pulling moisture out of the paste faster than the rest of the wall does | Reseat the edge with seam adhesive, and keep new wallpaper at least 3 feet from vents next time |
| A whole strip won’t stay stuck no matter how hard you press | The wall wasn’t primed or sized, or the room was too cold for the paste to cure | Strip it and start over on a properly primed wall — there’s no shortcut once the bond has failed this broadly |
Questions I get on site
Do I need to prime or size the wall even if it already looks fine?
Yes, regardless of how the surface looks. A wall can look smooth and still pull water out of the paste unevenly, causing patchy adhesion you won’t notice until a corner lifts weeks later. Priming and sizing take an afternoon; redoing a wall that failed for lack of it takes far longer.
Can I hang new wallpaper over old wallpaper instead of stripping it first?
It’s not a shortcut worth taking. Wallpapering over wallpaper stacks two layers of adhesive and seams that don’t line up, and traps whatever moisture is between them — a common recipe for bubbling that shows up months later, not on day one. Strip the old layer first; our wallpaper removal guide covers doing that without tearing the drywall face underneath.
Should I paste the wall or paste the paper?
Paste-the-wall, if the wallpaper you bought is rated for it — check the label, since not all paper is. It skips the booking and relaxing time, doesn’t expand the way traditional paper does, and stays repositionable a little longer while you align the seam. Traditional paste-the-paper is still what most heavier or specialty papers require — not harder, just slower.
Wouldn’t it just be easier to paint instead of papering?
Sometimes — it depends on what’s already on the wall and what condition it’s in. We’ve covered the three checks that decide whether painting over existing wallpaper holds up, versus when it just delays a removal you’ll do anyway. Starting from a bare or already-stripped wall, though, that question doesn’t apply — you’re choosing between paint and paper on equal footing, and this guide is for the paper side.
How long does the paste need to dry before I can trust the seams?
Most wallpaper paste sets within an hour or so, but full cure takes longer, and that’s the window where fluctuating conditions do the most damage. Keep the room’s temperature and humidity steady — no space heaters, no wide-open windows, no AC blasting the wall directly — for at least 24 to 48 hours after the last strip goes up, not just while you work.
Is peel-and-stick actually durable, or is it just for renters?
It’s genuinely more durable than it used to be, and the market has grown well past its rental-only reputation, but it’s still not a like-for-like swap with pasted paper on lifespan. Treat ordinary pasted wallpaper as a 10-to-15-year finish and peel-and-stick as a multi-year one — the mistake is expecting it to outlast paste it isn’t built to outlast.
The rule I work by
The wall doesn’t care how carefully you smoothed a seam if the room was 45°F while you worked, or if strip fourteen came from a different run than strip one. Do the math on how much paper you need, check the room’s temperature and humidity before you mix any paste, and strike a plumb line instead of trusting a corner. Get those three right and the pasting becomes the easy part everyone assumed it already was.
None of that changes whether you’re using a $20 roll of peel-and-stick or a $140 embossed grasscloth. The material only changes how forgiving the install is. Whether the room still looks right in a year comes down to the prep, every time.
Guides on this site are for general information about routine home maintenance. Suspected asbestos, mold over 10 sq ft, or structural water damage should be assessed by a licensed professional in your state. See our disclaimer for details.