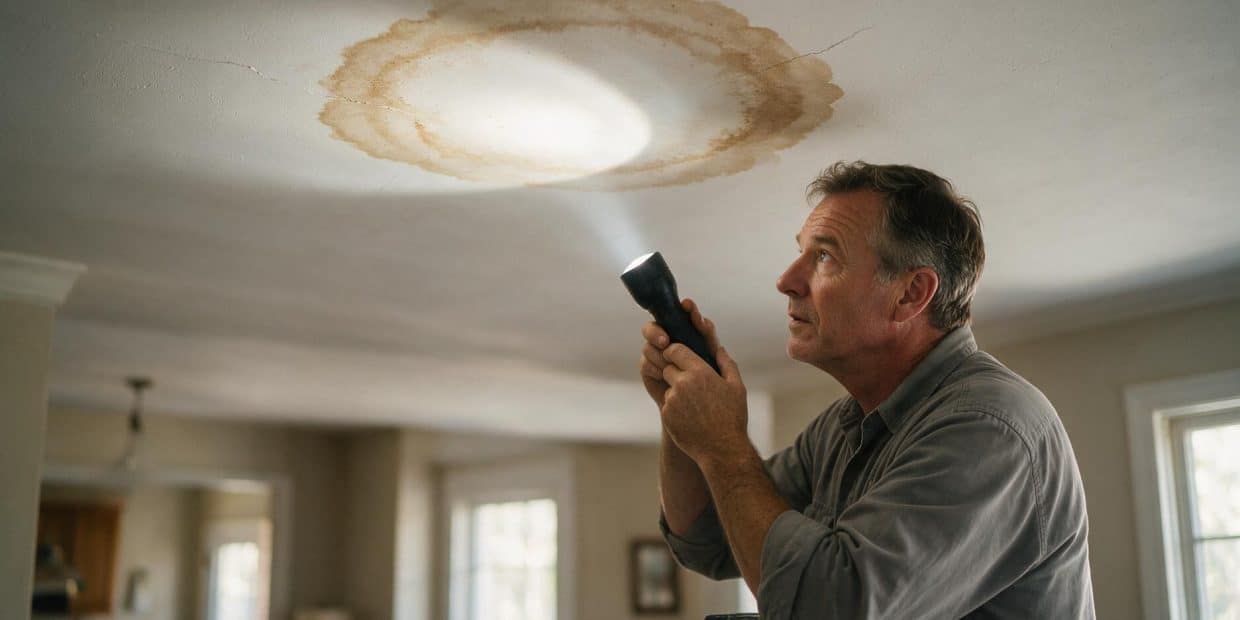
Water damage ceiling repair cost is the question everyone leads with, and stain size is the number they think decides it. It doesn’t. What decides it is three things: whether the water is still coming in, how long the board sat wet before anyone noticed, and whether it’s still firm under a thumb. Those three answers move the price by a factor of ten. The width of the ring on the paint barely moves it at all.
That surprises most people, because a bigger stain looks like a bigger job. It often is not. A dinner-plate stain from a supply line that let go once and got shut off the same afternoon can cost less to fix than a saucer-sized stain that has been slowly fed by a roof flashing leak for two winters. The stain on the paint is a receipt for what already happened. It is not a quote for what happens next.
I have priced ceiling and drywall repairs since 1997, and the 2026 ranges below are what I am actually writing on quotes right now, DIY and pro, broken out by what really drives the number. If you have not worked out where your water is coming from yet, read water stain on ceiling first, it walks through finding the source and reading the stain. This article picks up once you know roughly what happened, and prices out what to do about it.
Why the size of the stain isn’t the number that matters
Three things set the price of a water-damaged ceiling repair, and stain diameter is not one of them.
- Whether the source of the water is stopped, or still active
- Whether the ceiling assembly has actually finished drying, not just the painted surface
- Whether the board kept its structural integrity, or went soft and lost it for good
Is the source stopped. A stain from a leak that got fixed last month is a cosmetic job: seal, maybe patch, repaint. A stain from a leak nobody has traced yet is not a repair, it is a guess, and guesses on a ceiling come back. I price the second one higher, or decline to quote it at all until the source is confirmed dead, because reopening a finished ceiling for round two costs more than doing it once.
Has it actually dried, not just dried on the surface. Paint film seals the face of the drywall and slows evaporation from the gypsum core behind it. A ceiling can look and feel bone dry to the touch while the board an inch behind the paint still reads wet on a meter. Patch or prime over that and the moisture has nowhere to go, so it either bleeds the stain straight back through the new paint within days, or it keeps feeding the exact conditions mold needs. Either way, someone is back on a ladder within a season, and that second visit is rarely cheaper than doing it right the first time.
Did the board keep its strength. Gypsum wallboard that gets soaked and then dries does not automatically go back to being structurally sound. The paper facing can delaminate from the gypsum core, and the core itself can lose the rigidity that lets it hold screws and resist sagging between joists, even after it reads dry on a meter. A board can be dry and still be finished. Firmness under thumb pressure is the test, not how the surface looks.
Put those three together and you get why two stains the same size can carry quotes $1,000 apart. The bigger driver of your bill is not what you can see. It is what happened in the weeks before you called anyone, and whether the drywall got a real chance to dry before somebody reached for a paintbrush.
What’s actually sending water into your ceiling
The repair path, and the price, depend on which of these four is feeding your stain. All four show up in a water-damaged ceiling. They do not show up the same way.
Roof and flashing leaks
Top-floor stains that grow or reappear after rain point at the roof, almost always at a penetration rather than the open field of shingles: a vent boot with a cracked collar, chimney counterflashing, a valley, or a nail that worked loose. Water tracks along the underside of the roof deck or a rafter before it drops, so the leak is often several feet uphill of the stain, not directly above it. This is a roofing repair before it is a drywall repair. Patching the ceiling first just buys a repeat visit.
Plumbing
Any stain under a bathroom, kitchen, or laundry room is a plumbing suspect first. Supply lines, a shower pan, a toilet flange, a washing machine or dishwasher line are the usual sources. A wax ring or a shower pan seam often only leaks under load, while someone is standing in the shower, or during the few seconds a toilet flushes, which is exactly why it hides from a dry-floor inspection.
HVAC condensate
A stain that shows up in the first hot week of the year, with an air handler or ductwork above it, is usually a clogged condensate line. The primary drain backs up, the secondary pan overflows, and the ceiling below the unit takes the water. This one is seasonal and mechanical, not structural, and it is usually the cheapest of the four causes to fix at the source.
Ice dams and attic condensation
In cold climates, warm air leaking from the living space into an under-insulated attic melts the underside of the roof snowpack. That meltwater runs down to the cold eaves, refreezes, and builds a ridge of ice that backs water up under the shingles and into the ceiling below, an ice dam. The same warm, moist air migrating into a cold attic also condenses directly on the underside of the roof deck without any snow involved, which is why some winter stains have no obvious leak at all. Both trace back to the same fix: air-sealing the attic floor and getting insulation up to the level the climate calls for, which is a job for an insulation contractor, not a roofer.
| Cause | Typical tell | Who fixes the source |
|---|---|---|
| Roof or flashing | Grows or reappears with rain, top floor only | Roofer |
| Plumbing | Under a bath, kitchen, or laundry room; worse under load | Plumber |
| HVAC condensate | Appears with the first hot week, equipment overhead | HVAC technician |
| Ice dam or attic condensation | Winter only, along the eaves, or diffuse with no clear point source | Roofer or insulation contractor |
Repaint, patch, or replace: the decision that sets your budget
Once the board is confirmed dry and the source is dead, this decision takes about ten seconds on site, and it is the single biggest swing factor in your final number.
| Condition of the board | What it needs |
|---|---|
| Stained, firm, flat, paper intact, single episode | Stain-blocking primer and repaint. The board is fine |
| Stained, firm, but this is the second or third time in the same spot | Same repair, but budget for the source fix to actually hold this time; repeat staining means the last fix did not |
| Soft under thumb pressure, or paper lifting | Cut out back to the nearest joists and patch |
| Sagging between joists, even after drying | Cut out. Lost strength does not come back |
| Visible growth on the face, or a musty smell at the ceiling | Cut out, and follow the mold threshold below on who does the removal |
| Large area, or a texture that must match a whole room | Often cheaper per square foot to replace the full ceiling than to patch and blend |
Size matters here, but only once you’re already choosing between patch and replace, and even then the deciding factor is the practical math of blending a patch, not the stain itself. A patch smaller than about 2 to 3 square feet blends fairly easily under two coats of ceiling paint. Past that, or on a textured ceiling, the labor to feather, sand, and texture-match a patch invisibly starts to close in on the cost of just replacing the panel edge to edge, especially once a painter has to redo the whole ceiling anyway so a spot repaint doesn’t flash under the light. For a hole from impact damage rather than water, our guide to patching a large hole in drywall covers the cut-and-float method in more detail; the technique is the same once a water-damaged section is cut out.
Repeated episodes in the same spot are their own threshold. One stain that got sealed and never came back is a closed file. A ceiling that has stained, been painted over, and stained again in the same place has almost always had a board that never fully dried the first time, or a source that was never actually fixed, just quieted. At that point, replacing the section is usually the cheaper long-run choice over a third round of primer.
Confirm the source is dead and the board is dry: the step that gets skipped
Homeowners, and honestly some painting crews, skip straight from “the leak seems to have stopped” to priming. That gap between seems stopped and has actually stopped is where callbacks come from, and it’s the single biggest reason a quote turns into two invoices instead of one.
Two things prove it, not one. First, time and weather: mark the stain’s edge in pencil with the date, and watch it through a full rain cycle if the cause was roof-related, or run the fixture deliberately, shower on with the door shut for fifteen minutes, someone standing in the tub, a dozen flushes, if the cause was plumbing. If the pencil line moves, the source is not dead yet, and nothing past this point should happen.
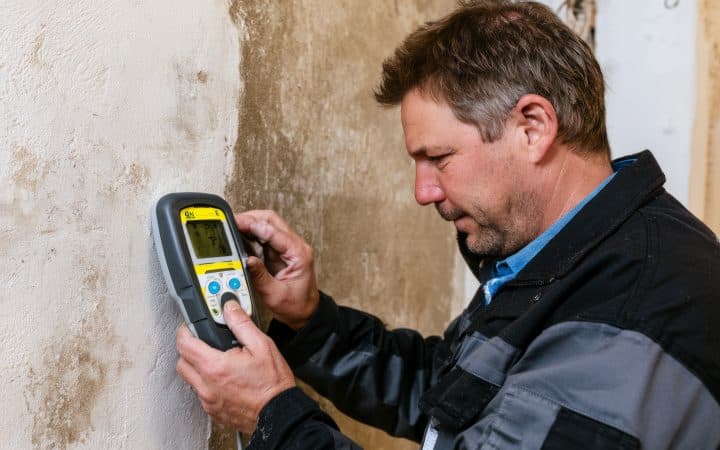
Second, a moisture reading, not a guess. A pin-style meter costs $25 to $40 and it is the only tool that tells you what’s happening behind the paint film rather than on top of it. On gypsum board, under about 12 percent moisture content is dry enough to work. Above roughly 16 to 17 percent, something is still feeding it, even if the surface feels cool and dry to the back of your hand.
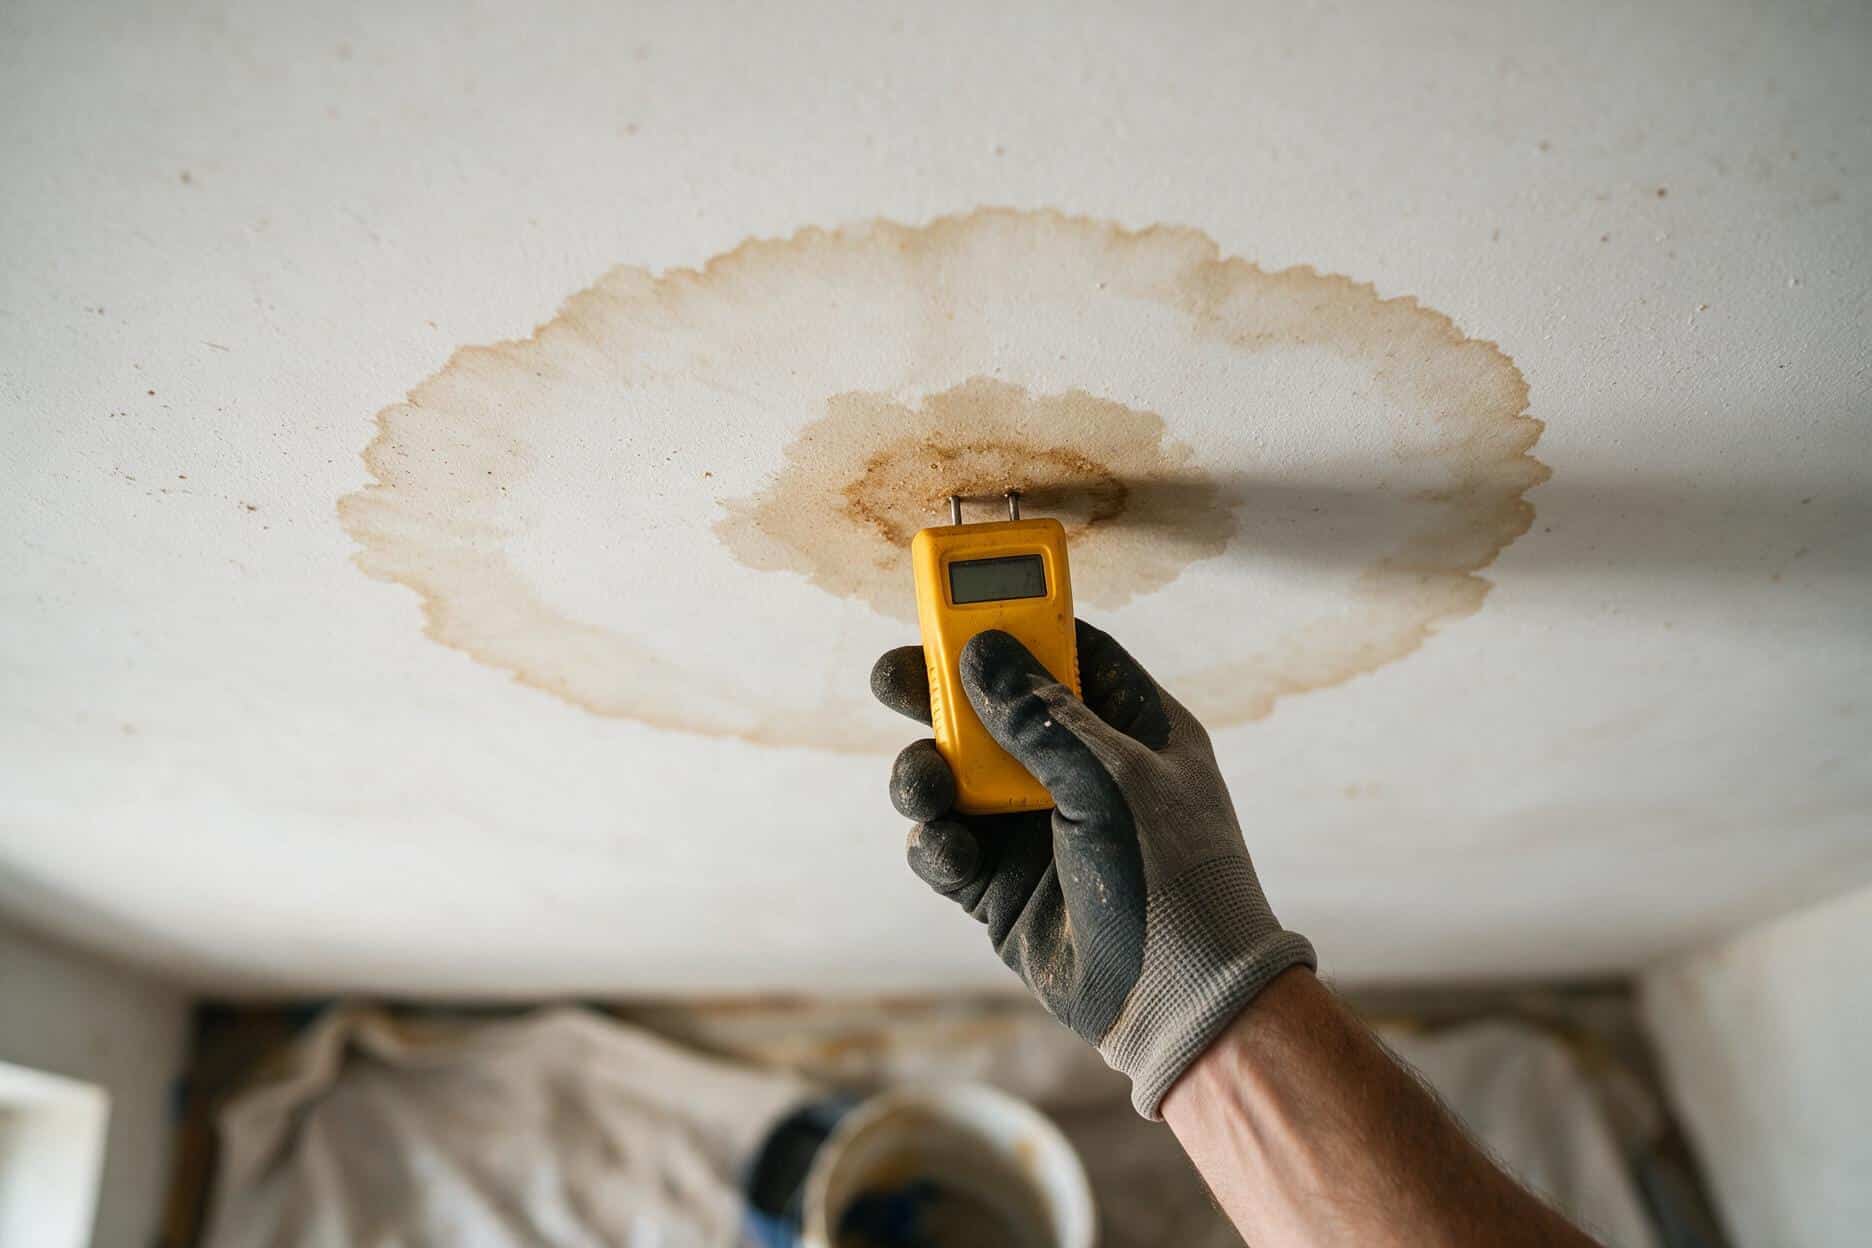
Drying itself takes longer than most people budget for. The IICRC S500 standard that restoration companies train to puts a full structural dry-out for a clean-water loss at three to five days with air movers and dehumidification running, and that’s for a contained, actively managed job. A box fan and an open window in a single room usually needs the longer end of that, sometimes a full week if the insulation above the ceiling stayed wet and packed against the board. Pull soaked insulation back, or bag and replace it; wet fiberglass does not dry in place, and it holds water against the drywall for as long as it stays there.
Paint or patch before that meter reads dry and one of two things happens: the water-soluble stain bleeds straight back through the new paint within days, or the trapped moisture keeps working on a board that already lost some of its strength, and it fails again later, except now there’s fresh paint and joint compound on it too, which is money spent twice on the same square foot. That double-charge is the single biggest reason a “small” water stain repair ends up costing what a full replacement would have.
What water damage ceiling repair costs in 2026
US ranges as of August 2026, ceiling work only. If the leak itself needs a roofer, plumber, or HVAC technician, that’s a separate bill on top of these numbers.
| Job | DIY materials | Typical pro quote |
|---|---|---|
| Seal and repaint one stain, board sound | $25–$45 | $150–$350 |
| Seal and repaint the full ceiling | $60–$130 | $250–$650 |
| Cut out and patch a small section (under 4 sq ft), finished | $50–$90 | $350–$800 |
| Patch a larger section with texture match | $80–$150 | $600–$1,600 |
| Full ceiling replaced, average bedroom or living room | — | $1,200–$3,500 |
| Ceiling replaced with joist or structural repair | — | $2,500–$6,000+ |
| Mold remediation add-on, per sq ft with containment | — | $10–$30 |
| Lab test for asbestos on a pre-1980 texture | — | $30–$60 |
| Component | Typical range per sq ft |
|---|---|
| Drywall materials only (board, tape, compound, screws) | $0.75–$1.50 |
| Professional labor, installed and finished | $1.50–$3.50 |
| Full pro installed price, ceiling drywall | $2–$6.50 |
| Texture match add-on | $0.50–$1.50 |
These per-square-foot numbers are for the drywall and finish work alone. For a broader look at drywall repair pricing outside of water damage, nail pops, small holes, corner bead, our drywall repair cost guide breaks down labor, materials, and the trip charge the same way.
What moves a job from the bottom of these ranges to the top is almost never the square footage. It’s whether the board came out or stayed, whether the insulation above it needed replacing, whether a painter has to redo an entire ceiling to avoid a flash line under a light fixture (the same wet-edge technique that keeps wall paint from flashing applies overhead, just with gravity working against you), and whether a texture has to be matched by hand rather than left flat. If you’re not sure which pattern is on your ceiling, our drywall texture types guide identifies it before you buy the wrong aerosol can. Two three-foot stains can land $300 apart on the actual invoice for exactly these reasons.
The cheap version and the expensive version are usually the same leak, caught at different times
A stain sealed the week the leak is fixed is a quart of primer and an afternoon. The same leak, ignored through a second winter, has soaked a joist bay, ruined the insulation, and grown enough mold to need containment. Nothing on this page costs less than acting on it early.
Textured ceiling built before 1980? Test before you touch it
If the water-damaged area is a sprayed or troweled texture, the finish most people call popcorn or cottage cheese, and the house was built or last had that ceiling applied before 1980, stop before scraping, sanding, or cutting into it to assess the damage. Textures manufactured through the late 1970s commonly used asbestos for fire resistance and texture, and remaining stock kept getting installed into the mid-1980s in some markets. Nothing about how the texture looks tells you whether it’s one of those batches.
A lab sample runs about $30 to $60, and it decides which repair you’re pricing: an ordinary popcorn scrape at roughly $1 to $3 per square foot, or an asbestos-abatement job in the $5 to $12 per square foot range once containment and licensed disposal are involved. The full breakdown of the testing process and what a positive result means for your options is in our guide to popcorn ceiling asbestos; the cost split between the two scenarios is in popcorn ceiling removal cost. Both are worth reading before a water stain on a textured ceiling turns into a bigger project than the leak itself.
Will homeowners insurance pay for it
The word that decides most claims is sudden. A standard US homeowners policy typically covers water damage that is sudden and accidental: a supply line that bursts, a washing machine hose that fails, a storm that strips shingles and lets rain in the same week. What most policies exclude is damage from continuous or repeated seepage, a slow leak that ran for weeks or months before anyone noticed, which an adjuster will treat as a maintenance issue rather than a covered loss.
That distinction matters more for ceiling stains than for almost any other kind of water claim, because a stain is often the visible evidence that water arrived gradually. An adjuster investigating the cause is looking for exactly that: a single dateable event with a clear mechanical failure reads as sudden; a stain that grew slowly over an unknown number of weeks reads as gradual, even if the underlying pipe failure was itself sudden. Photograph the pencil outline with its date, the source once you find it, and the damage before any repair starts. That record does more for a claim than anything said on the phone with an adjuster.
Report promptly. Most policies expect notice within a reasonable window and require the homeowner to take reasonable steps to prevent further damage once discovered, and a delayed report is a common reason a claim gets reduced rather than denied outright. Coverage details vary by carrier and by state, so read your actual policy rather than a summary of someone else’s, this one included.
Where mold changes the job
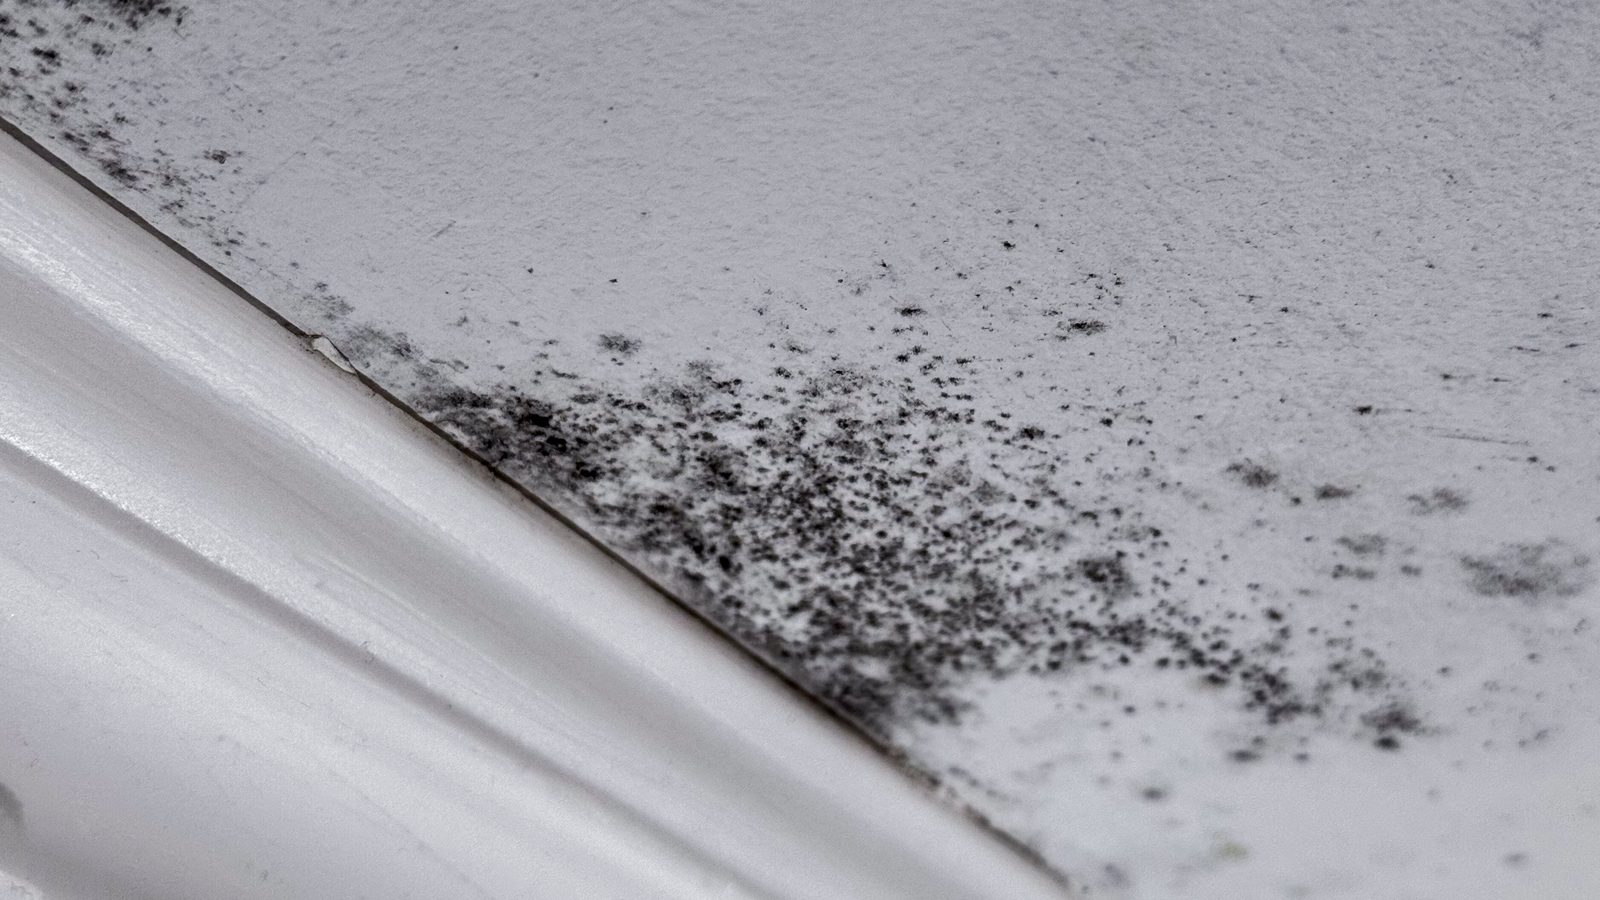
Wet drywall paper is a food source, and mold can establish on it within roughly 24 to 72 hours of the material staying wet, which means a stain that sat unnoticed for a month has almost certainly had the opportunity, whether or not anything is visible on the painted face. What shows on the surface is the smallest part of it; growth on the paper backing or inside the cavity can be well ahead of anything you can see from the room.
The threshold worth knowing is the EPA’s rule of thumb: roughly 10 square feet of visible growth, about a 3-foot by 3-foot patch. Below that, a homeowner can generally handle cleanup with basic protection. At or above it, or anywhere growth is inside an HVAC system, or the water source was never identified, the guidance shifts to a certified remediation professional with proper containment. We don’t cover the health side of mold exposure on this site, that’s outside our editorial scope and not something a cost guide should summarize secondhand. What we can tell you is the building-cost side: remediation with containment runs $10 to $30 per square foot, which is a large part of why a slow leak found late costs multiples of the same leak caught early.
If you’re dealing with mold on a wall rather than a ceiling, or want the full removal process, how to get rid of mold on walls covers the line between a homeowner job and a professional one in more detail, and how to detect mold inside walls covers the non-destructive way to check a cavity before opening it. Our disclaimer page also covers exactly where our advice stops on mold, asbestos, and structural questions.
Who to call first, and why the order matters
The most common expensive mistake is calling a drywall or painting contractor first, because the ceiling is what’s visible. I still get those calls regularly, and the visit is wasted the moment I ask whether the leak is fixed and get a shrug.
- Ceiling actively dripping, bulging, or sagging: a water restoration company, the same day. They extract, dry, and document for the insurer.
- Stain tracks with rain, top floor: a roofer, specifically for a flashing and penetration inspection rather than a full replacement quote.
- Stain under a bathroom, kitchen, or laundry room: a plumber, and mention which fixture you already tested.
- Stain that appeared with the first hot week, equipment overhead: an HVAC technician for the condensate line and secondary pan.
- Growth over about 10 sq ft, or a musty smell with no visible source: a mold remediation professional, before anyone opens the ceiling.
- Winter-only stains along the eaves, or a diffuse stain with no clear point source: a roofer or insulation contractor for attic air-sealing.
- Source confirmed dead, board confirmed dry: now it’s a drywall and paint job, the cheapest and simplest call on this list.
Questions I get on site
How much does it cost to fix a water-damaged ceiling on average?
Most jobs I write land between $500 and $2,500 once the plumber, roofer, or HVAC tech is included alongside the ceiling work. A simple seal-and-paint on a small, sound stain can be under $350. A full ceiling replacement with mold remediation can clear $4,000. The size of the visible stain does not predict where in that range you land; the cause and the condition of the board do.
Is water damage ceiling repair covered by homeowners insurance?
Only if the cause is sudden and accidental, like a burst pipe or a storm, not a slow leak that ran for weeks before anyone noticed. Read the insurance section above and your own policy before assuming either way.
Can I just paint over a water stain instead of cutting out the drywall?
Yes, if the board is confirmed dry and firm and the source is confirmed dead, but only with a stain-blocking primer, never a standard latex or PVA primer, which will let the stain bleed straight back through. Paint over a board that is still wet and you trap the moisture instead of solving anything.
How long should a ceiling dry before I repair it?
Three to five days minimum with air movement and dehumidification running, once the source is actually fixed, and longer if insulation above stayed packed and wet. A moisture meter reading under about 12 percent on the gypsum is the real answer; the calendar is just an estimate.
Does a bigger water stain always mean a more expensive repair?
No. A small stain from a leak that ran undetected for months can cost more than a large stain from a one-time event that got fixed and dried out fast. Source and drying time matter more than diameter.
What’s the real difference between DIY and professional cost here?
Materials for a DIY seal-and-paint or small patch run $25 to $150. The same jobs quoted by a contractor run $150 to $800, and the difference is mostly labor, insurance, and a matched finish, a pro ceiling shouldn’t show where the patch is once painted. Full tear-out and replacement is where DIY savings shrink fastest, because it needs ladder work, disposal, and often a texture match that’s hard to blend without practice.
Do I need to replace insulation above a water-damaged ceiling?
If it got wet, yes. Soaked fiberglass mats down, loses most of its insulating value permanently, and holds water against the back of the drywall for days or weeks, which slows drying and raises the odds the board fails structurally. It’s inexpensive to replace and it’s the step people forget most often.
Is a popcorn ceiling water stain a different job?
It can be, and not because of the water, because of the testing step. If the texture predates 1980, get it lab tested before any scraping, sanding, or cutting, since a positive result changes both the method and the price significantly. See the popcorn ceiling section above for the cost split.
Figures on this page are ranges pulled from US supplier listings and contractor quotes current as of August 2026. They are not a quote for your job, and your zip code, ceiling access, and a contractor’s schedule all move them. Nothing here replaces an in-person inspection by a licensed roofer, plumber, or restoration contractor once the situation calls for one. If a number is off in your market, tell me and I’ll correct it.