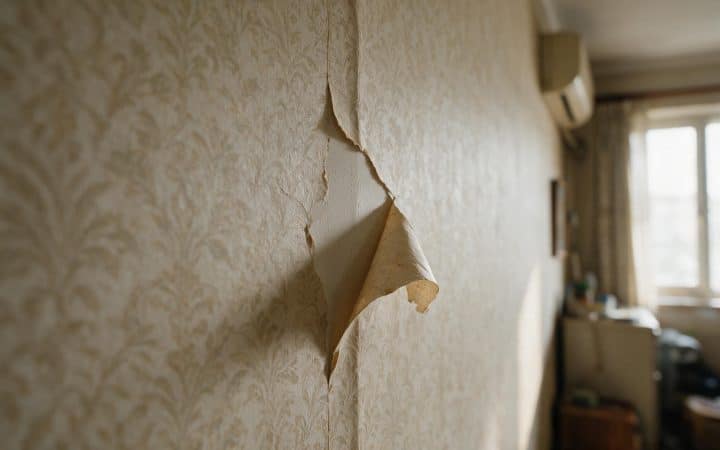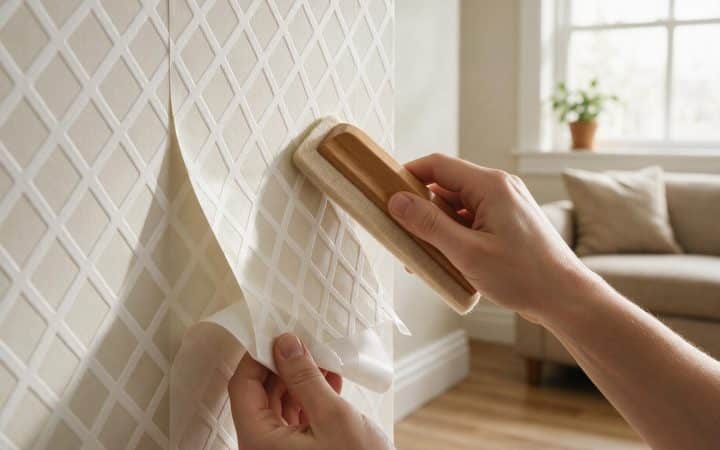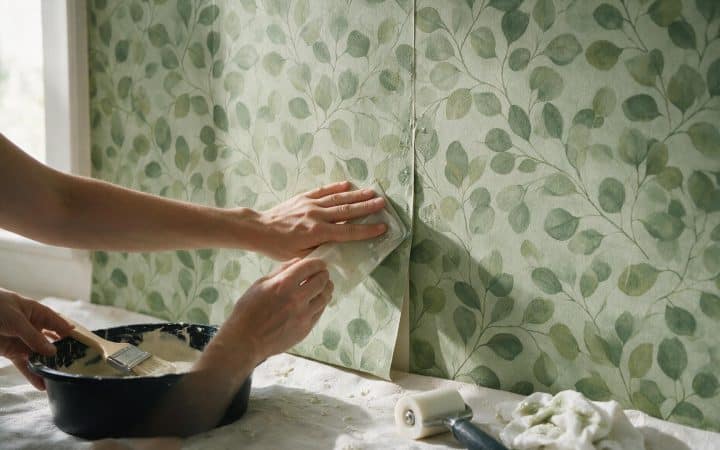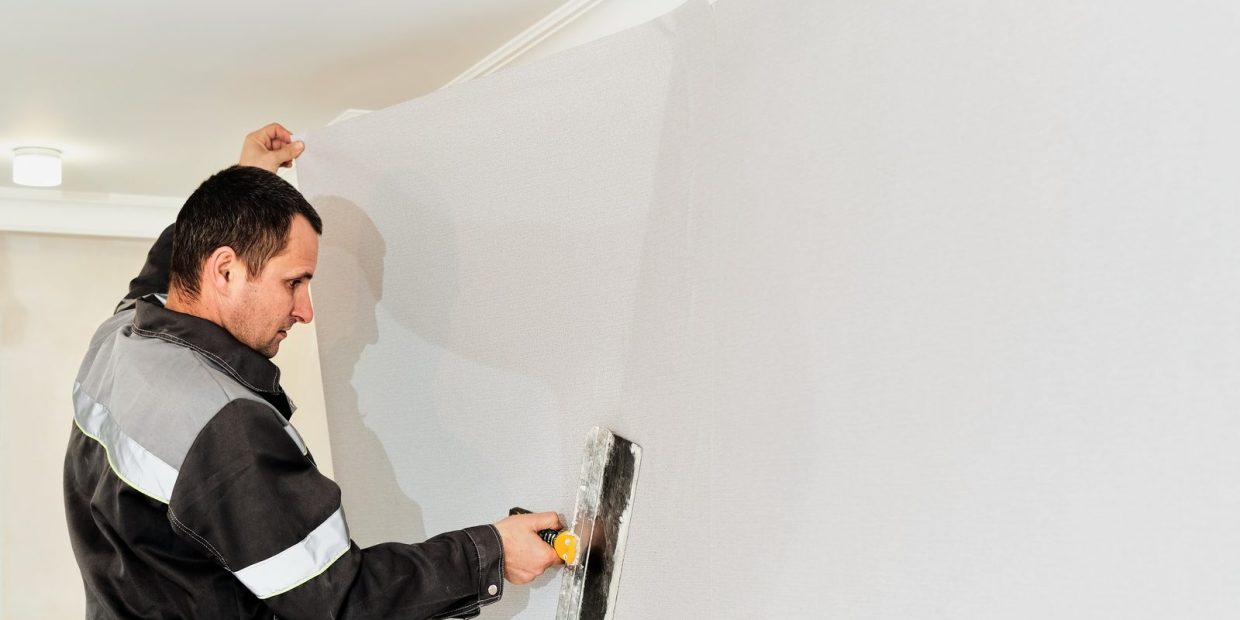
The wall you want to paper has orange peel on it, or knockdown, or the sandy finish a builder sprayed across every surface in the house in 1994. The sample roll is taped up and it looks right. Then you run a flat hand across the wall and feel the bumps. So, can you put wallpaper on textured walls? Yes. I have done it on dozens of them. I have also been called back to walls where somebody else did it, and the answer on those was the same word with a different ending: yes, and it came down in eight months.
What separates the two is not the brand of paper or how carefully it was smoothed. It is whether anyone measured the texture before choosing a method. Every guide on this question says the same things: the texture may show through, use a thick paper, or smooth the wall first. None of them say where the line sits between a wall you can paper straight away and one that needs a liner or a skim coat. That line is measurable with a straightedge and a penny, and it takes two minutes.
This article is about the decision, not the hanging. The hanging itself, the pattern math, the plumb line, the room climate, is in our guide to hanging wallpaper without the seams showing later, and it applies here without changes once the wall is ready. What follows is how to get the wall ready, and how to pick which of three routes to take before you buy a single roll.
Can you put wallpaper on textured walls? Two separate failures
Texture breaks a wallpaper job in two different ways, and they do not show up at the same time. Most guides blur them together as “the texture may show through,” which is why people fix one and get surprised by the other.
The first is adhesion. Paste holds paper to a wall by contact area. On a smooth primed wall, the whole back of the strip touches the whole face of the wall. On orange peel, the back of the strip touches the tops of the bumps and bridges over everything between them. Wet paste partly rescues this, because it flows into the shallow valleys and sets there, so a pasted paper on light texture usually ends up bonded over most of its area. A pressure-sensitive adhesive, the kind on the back of peel-and-stick, does not flow anywhere. It sits on the peaks, which can be a small fraction of the surface, and the strip is held up by dots. That is the entire reason peel-and-stick fails on texture while pasted paper often survives, and our peel and stick guide explains why priming a textured wall does not change it.
The second is telegraphing. Paper is thin, and once it is wet with paste it goes limp and drapes. It follows whatever is under it. Every bump on the wall becomes a bump in the paper, smaller and softer but still there, and when light comes across the wall from a window or a lamp, every one of them casts a shadow. This is the failure that looks fine on install day. Straight-on light hides relief. Raking light finds it, and the first low afternoon sun after the furniture goes back is when people notice the wall looks like it has a rash under the pattern.
Adhesion depends on how deep the valleys are. Telegraphing depends on how tall the peaks are and how thin and how pale the paper is. A heavy, dark, busy paper can hide a lot of telegraphing while still being badly bonded. A thin, pale, smooth paper can be stuck perfectly to a light texture and still show every bump. You fix the two problems differently, and choosing a route starts with finding out how deep the texture actually is.
Measure the texture before you decide anything
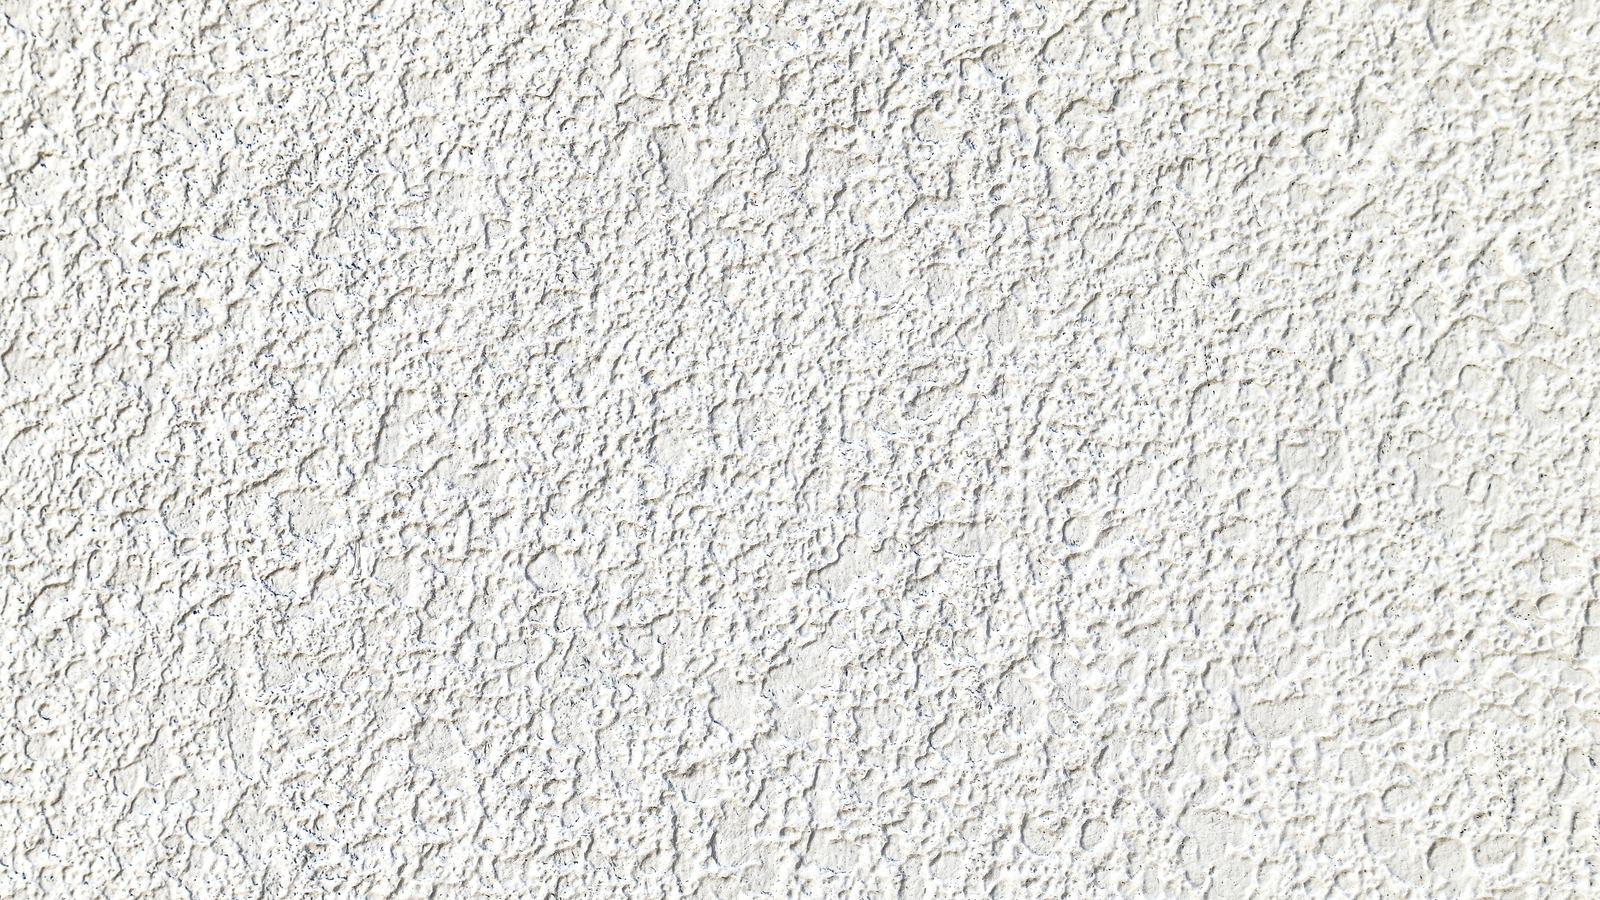
The texture on an American wall is almost always one of a handful of finishes, and they are nowhere near equally deep. Our guide to drywall texture types covers how to identify each one by the tool that made it. What matters for wallpaper is profile, the distance between the top of the highest bump and the bottom of the valley beside it, and you can measure it with things already in your pocket.
Lay a straightedge flat on the wall, a 12-inch ruler or a 4-foot level on its edge. It rests on the peaks. Now slide things under it. A credit card is about a thirty-second of an inch thick. A penny is about a sixteenth. Two pennies stacked are close to an eighth. Whichever one slides freely under the straightedge across most of the wall, not just in one spot, is your profile. Check three or four places, including near a corner, because sprayed texture almost always builds heavier where the gun slowed down, and the number you want is the worst case, not the average.
| Texture | Typical profile | What slides under the straightedge | What it does to wallpaper |
|---|---|---|---|
| Fine orange peel (light sprayed splatter) | Under 1/32 in | A credit card barely fits | Telegraphs under raking light; bonds acceptably with paste |
| Heavy orange peel | 1/32 to 1/16 in | Credit card slides, penny catches | Telegraphs clearly; seam edges sit on peaks |
| Knockdown (flat-topped islands) | 1/16 to 1/8 in | A penny slides | Deep valleys between flat islands; paste cannot fill them |
| Skip trowel, Spanish lace, hand textures | 1/8 in and up, uneven | Two pennies slide in places | Ridges show through anything; paper bridges air |
| Sand finish, popcorn on a wall | Varies, sharp grit | Inconsistent | Sharp points poke through; test pre-1980 texture before touching it |
Do the second test with the room lights off. Hold a flashlight flat against the wall and look along the surface instead of at it. What you see is what the wallpaper will show you in a year, minus whatever the pattern hides. Our guide to cutting in paint leans on the same trick for a different reason: light across a surface reveals relief that light onto a surface hides, and the wall will be lit from the side eventually, whether by a window, a sconce, or a lamp in the corner.
Measure where the texture is worst, not where it is easiest to reach
Sprayed texture builds up near inside corners, above doors, and wherever the installer started and stopped. A wall that measures credit card in the middle and penny in the corners is a penny wall. The corner is where the seams land, and the corner is where the paper lifts first.
The decision table: hang direct, line it, or skim it
Three routes. The profile number picks between them, and the paper you have already fallen for can push you one step toward the more thorough option.
| Route | When the profile says yes | Paper that works | Reversible? | Extra cost, 100 sq ft wall | Extra time |
|---|---|---|---|---|---|
| Heavy paper straight on | Credit card or less; fine orange peel | Heavyweight non-woven, paste-the-wall; busy or dark pattern; matte | Fully, the wall is unchanged | $0 to $20 in extra paste | None |
| Lining paper first | Credit card to penny; heavy orange peel, light knockdown | Almost anything mid-weight or heavier | Yes, the liner strips with the paper and the texture survives | $60 to $110 | One extra day |
| Skim coat | Penny and up; knockdown, skip trowel, sand | Anything, including thin, pale, metallic, grasscloth | No, the texture is gone for good | $40 to $90 DIY, $190 to $340 pro | Two to three extra days |
Two things move you down the table even when the profile says you could stop higher. One is the paper. A pale, smooth, lightweight paper, anything with a sheen or metallic ink, or a plain field that gives the eye nothing else to look at, shows telegraphing that a heavy printed paper would hide. Treat those as one step more demanding than the profile alone suggests. The other is light. A wall that gets window light across it, a hallway with a fixture at one end, a wall with a sconce mounted on it, shows relief that a wall lit from the middle of the room never will.
The reversibility column is the one I ask people to read twice. Skim coating is a one-way door. The texture is gone, and if the wallpaper comes off in ten years the wall behind it is a smooth wall in a room full of textured ones, which our texture guide explains is harder to re-match than it sounds. A liner is a two-way door: it strips off with the paper, or it stays as a smooth surface to paint, and the original texture is intact underneath either way. For a rental, or for a house you might sell with the texture expected to match room to room, that column is the whole decision.
Route one: heavy paper straight onto light texture
This is the route for fine orange peel, the kind where a credit card barely fits under the straightedge. It works because the valleys are shallow enough for wet paste to fill them and the peaks are low enough for a heavy paper to sit over them without draping much.
Knock the sharp tips off the peaks
A pole sander with 120 grit, light pressure, two passes over the whole wall. You are not removing the texture. You are taking the points off the tallest bumps so they cannot poke through the paper as pinpricks. Wipe the dust off with a damp sponge. Our guide on what grit to sand drywall covers why you stop at 120 here and do not chase it with anything finer.
Prime, then size
An acrylic wallcovering primer, then a coat of wallpaper size. Texture drinks paste unevenly, the peaks dry fast and the valleys stay wet, and priming evens that out so the paste sets at one rate across the strip. It is the same prep step as for a smooth wall, covered in the hanging guide. It just matters more here.
Pick the paper for the wall, not the room
Heavyweight non-woven, paste-the-wall type, matte finish, with a pattern that has some business to it, a dark ground, or a surface texture of its own. Read the roll label. If the paper describes itself as lightweight or thin, or it is a pale plain field, it is the wrong paper for this route, no matter how good the sample looked.
Paste the wall heavier than the label assumes
Use a 1/2-inch nap roller instead of the 3/8 the instructions picture, and work the paste into the texture with the roller rather than laying it on top. The valleys need to be full before the paper touches them. Let it tack up for the time the adhesive maker specifies, then hang.
Roll every seam twice
Seam edges sit on peaks with air under them. Roll each seam when you hang the strip, then again after 15 to 20 minutes once the paste has started to grab. A seam that lifts on a textured wall lifts because there was nothing under the edge holding it.
Check with raking light before you trim the last strip
Flashlight flat against the wall, lights off. What shows now is what you will live with. If it is more than you can accept, stop. The liner route below still works over the wall as long as you strip what you hung while the paste is wet.
Peel-and-stick does not belong on any of these routes
The adhesive on a peel-and-stick product cannot flow into valleys, so it grips the peaks only, and the manufacturers say so in their own installation notes. If you want peel-and-stick on a textured wall, line it or skim it first and hang on the new surface, and even then read our peel and stick guide for the inside corner problem that shows up weeks later.
Route two: lining paper that bridges the texture
Lining paper, sold in the US as wall liner or bridging liner, is a thick blank paper hung under the finish wallpaper. In Britain and most of Europe it goes on nearly every wall as a matter of course. In the US it is treated as a specialty product, which is backwards, given that most American walls have texture and most European walls do not.
It does two jobs. It bridges the valleys, so the finish paper sits on a continuous surface instead of on peaks, and it gives the finish paste something even to bond to. It handles the heavy orange peel and light knockdown band, roughly credit card to penny. Above that the liner itself drapes into the valleys once it is wet, and you have moved the telegraphing down one layer instead of removing it.
Buy a heavy liner, not a light one
Liner comes in weights. The light ones exist to cover hairline cracks on smooth plaster. For texture you want the heaviest bridging liner on the shelf, usually sold as heavy-duty or blankstock. Non-woven liner does not expand when wet and does not need booking; paper liner does both. Either works. Non-woven is easier to hang straight.
Prime the texture first
The same primer as route one. Roman, which makes the liners most US stores carry, tells you to clean the wall with a TSP substitute and prime with an acrylic wallcovering primer before the liner goes up. Skip the primer and the liner bonds to the peaks only, which is the exact problem you bought it to fix.
Hang the liner horizontally
Railroading, in the trade. The liner runs across the wall and the finish paper runs up and down, so no liner seam ever lands under a finish seam. A finish seam over a liner seam is a ridge that shows and a weak point that opens. Butt the liner seams, never overlap them, and leave a hair under 1/16 inch at the ceiling and the baseboard rather than cutting it tight, so the finish paper is not bridging a double thickness at the trim.
Paste heavy and roll it in
The 1/2-inch nap again, paste worked down into the valleys, the same as route one. A liner only bridges what the paste underneath has already filled.
Give it a full day
At least 24 hours before the finish paper goes on, and that is the liner maker talking, not me being cautious. A liner that is still damp moves when the finish paste wets it, the two layers shift against each other, and seams open in both. In a humid room, give it two days.
Sand the liner seams flat and spot prime
A light pass with 150 grit over each seam, the dust wiped off, a stripe of primer over the sanded line. Then hang the finish paper exactly as you would on a smooth wall, plumb line and all.
A liner is also a painting surface
If the wallpaper idea falls through, a heavy liner over orange peel, primed and painted flat, is the cheapest way to get a smooth-looking wall without a skim coat, and it peels off later. A fair share of the people searching how to wallpaper textured walls actually want a smooth painted wall, and a liner gets them there for under $100 a wall.
Route three: skim coat the texture flat
Anything a penny slides under, any knockdown with real depth, skip trowel, sand finish, and any wall that is getting a thin, pale, or reflective paper, gets skimmed. This is also the only route if the texture is loose, flaking, or has been painted over so many times the peaks have gone soft.
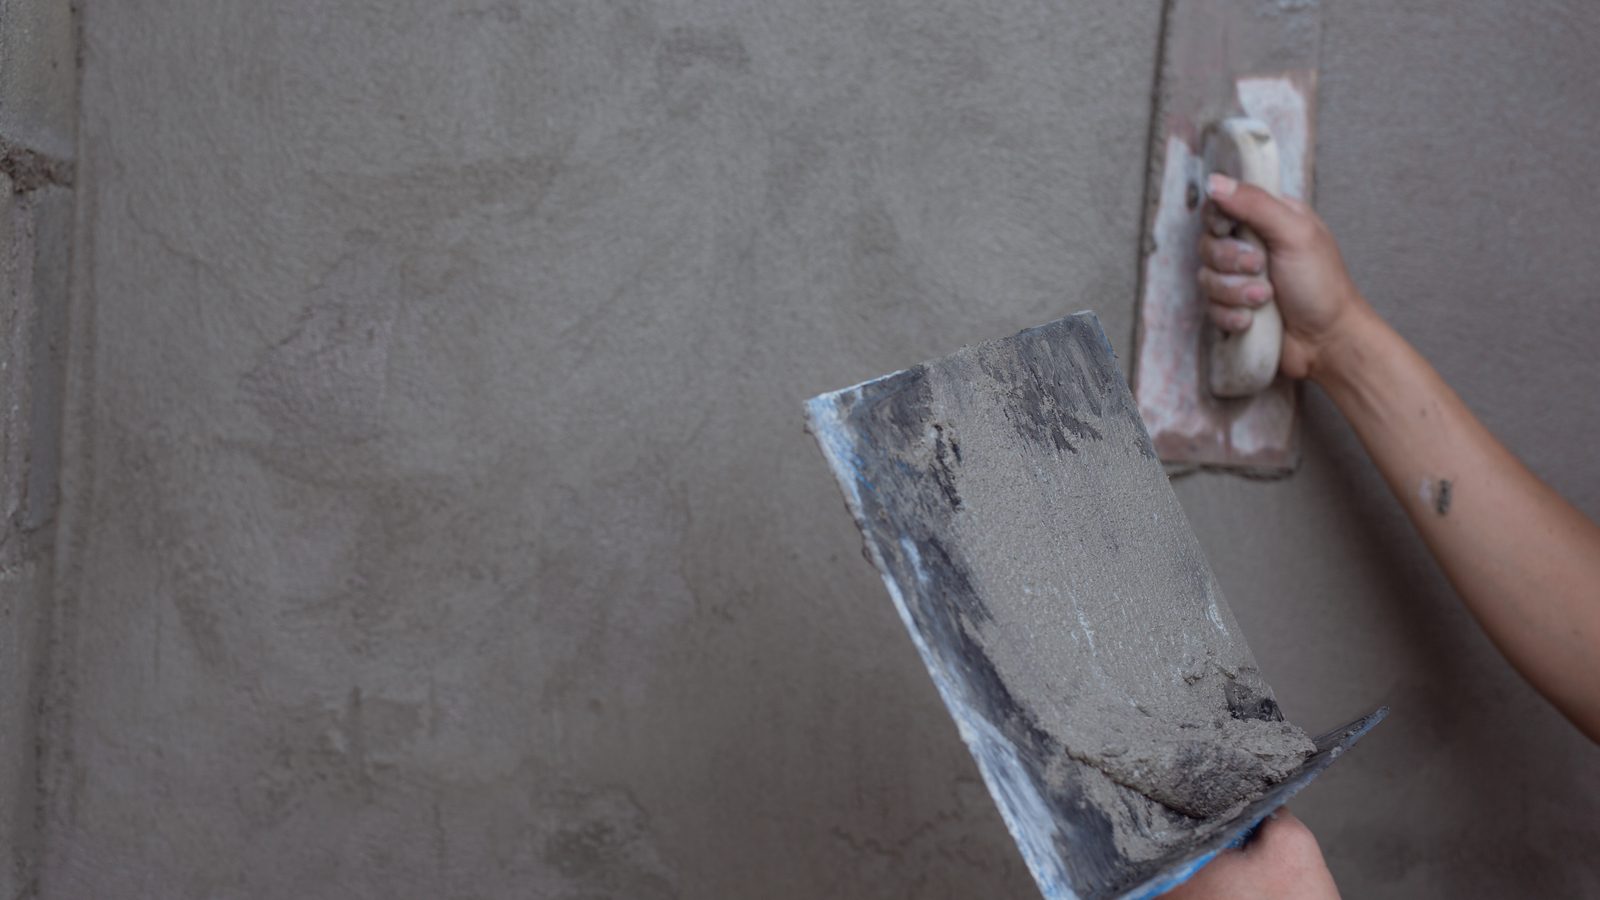
A skim coat is joint compound spread thin over the whole wall and sanded flat. Our skim coat guide covers the finish levels and the technique in full, and it is worth reading before you open a bucket, because a skim coat over texture is a different job from a skim coat over a flat wall. The first coat is not a skim at all. It is a fill.
Knock the peaks down with a wide knife, not sandpaper
Dry, a 10 or 12-inch taping knife held low to the wall scrapes the tips off knockdown and heavy orange peel. On hand textures it takes off more than you expect. Do this before any compound goes on, with a mask on and the door shut, because it is dust.
Fill with setting-type compound first
The valleys are deep and the first coat is thick in places. All-purpose compound shrinks as it dries and cracks where it is thick. Setting-type compound sets by chemistry instead of by drying, barely shrinks, and lets you put the next coat on in a couple of hours. Our setting type joint compound guide covers the working-time clock that catches people out. Spread it tight across the texture with a 12-inch knife, filling the valleys, not coating the peaks.
Two skim coats with all-purpose or topping compound
Now you are skimming: thin coats, each one knocked down with the knife as it sets up, each one sanded lightly with 120 before the next. Our guide on joint compound versus spackle covers which tub belongs at this stage and why spackle does not.
Sand to 150, then check with the flashlight
Raking light, the same test as before. A skim that looks flat in room light can carry knife ridges that show under paper nearly as badly as the texture did. Sand the ridges, not the field, and stop before you go through to the texture underneath.
Prime with a sealer, then size
Fresh compound is chalky and absorbs paste unevenly. A primer-sealer made for new drywall and damaged surfaces, Gardz or an equivalent, then a wallpaper size, then hang. The full prep sequence is in the hanging guide.
The finish levels the drywall trade works to matter here. The Gypsum Association’s GA-214 standard, summarized by National Gypsum, calls Level 4 the target for a wall that will receive wallcovering, and Level 5 the target for gloss paint, dark paint, or critical lighting. A skimmed textured wall under a heavy opaque paper needs Level 4 behavior: flat, no ridges, sealed. Under a metallic, a grasscloth with a thin backing, or a pale paper in a room with window light running along the wall, you are effectively at Level 5, a full skim with no thin spots anywhere, or the texture ghosts through as faint islands you can only see at four in the afternoon.
If the texture went on before 1980, test it before you sand it
Sprayed and hand-applied texture finishes from before about 1980 can contain asbestos, and sanding or dry scraping them puts it in the air. If the house is that old and the texture is original, have a sample tested before you knock down a single peak. Our popcorn ceiling asbestos guide covers what triggers a test and what the lab report means, and the EPA’s guidance is the same for a wall as for a ceiling: do not disturb it until you know. See our disclaimer for where this site’s advice stops.
What it costs in 2026
The prep is the variable. The paper and the hanging cost what they would on a smooth wall, and the routes add to that in very different amounts depending on who does the work.
| Route | DIY materials, one 100 sq ft wall | Pro, prep only, one wall | Whole 12 by 12 bedroom, prep only |
|---|---|---|---|
| Heavy paper direct | $0 to $20 (extra paste, primer) | None; hangs at the normal rate | None |
| Lining paper | $60 to $110 (2 double rolls, paste, primer) | $100 to $250 | $200 to $450 DIY; $350 to $900 pro |
| Skim coat | $40 to $90 (setting-type, all-purpose, sanding, sealer) | $190 to $340 | $120 to $250 DIY; $665 to $1,360 pro |
Those prep costs sit on top of the paper and the labor to hang it. Our hanging guide puts 2026 professional installation at $4 to $10 per square foot including the paper, so on a 100-square-foot wall the prep lands somewhere between nothing and roughly a third of the whole bill. The full per-job drywall rates are in our drywall repair cost guide, and the rest of the neighboring numbers live in the costs section.
The skim coat is the cheapest route and the most expensive one
Done yourself, skimming is the least expensive option in materials: a bag of setting-type, a bucket of all-purpose, sandpaper and a quart of sealer, under $100 for a wall. Hired out, it is the most expensive, because it is skilled labor across two or three days with drying time between coats. The split job from our wallpaper removal cost guide works the same way here: knock the peaks down and do the fill coat yourself, then pay a finisher for the skim and the sanding, which is the part that needs the hands.
Can you put wallpaper on textured walls in a bathroom or a rental?
These are the two versions of the question I get most often, and the answer is different for each.
Bathrooms first. Texture, wallpaper, and steam are three things that each make the other two worse. The valleys under the paper hold air, the air holds moisture from the room, the paste never fully dries out, and the paper lets go at the seams before anything else. On a textured bathroom wall I skim every time, then seal, then hang a vinyl or a coated non-woven rated for humidity, and I make sure the exhaust fan actually moves air. A liner is the wrong call in a wet room because it adds a second paper layer that holds water. Look hard at the wall before anything goes on it, too. Texture hides the dark speckling that our guide to mold on walls describes, and papering over it just moves the problem behind a fresh surface.
Rentals are about whether the wall can go back to how it was. Route one is reversible if you use a strippable paper over a primed wall, and our guide to removing wallpaper covers getting it off without tearing the paper face of the drywall. Route two is reversible: the liner comes down with the paper and the texture underneath is untouched. Route three is not. A skimmed wall is a changed wall, and a landlord who expects orange peel to match the rest of the room is entitled to ask for it back, which costs real money to reproduce. For a rental, the profile number decides whether wallpaper is possible at all: credit card or penny, yes, with a liner. Deeper than that, the honest answer is a painted liner or nothing. And if what you really want is a different color rather than a pattern, our guide on painting over existing wallpaper and the painting walls guide are cheaper roads to the same room.
What you will see if one of these got skipped
| What you see | Likely cause | What to do |
|---|---|---|
| The texture pattern is visible through the paper under window light | Paper too thin or pale for the profile; route one used where route two was needed | Nothing fixes it from the front. Strip it while the paste is wet if you can, then line the wall |
| Seams lift within weeks while the field stays stuck | Edges sat on peaks with no paste under them, or seams were rolled once | Work seam adhesive under the edge with a knife tip, roll it, and roll again after 20 minutes |
| A whole strip bubbles and sags within an hour | Wall not primed; the texture drank the paste unevenly | Strip it wet, prime, let it dry, start again |
| A ridge runs across the finish paper every 20 inches or so | Liner seams landed under finish seams, or the liner was overlapped instead of butted | Slit the ridge, sand it, spot prime, patch the finish paper; next time railroad the liner |
| The liner itself shows the texture a day after hanging | Liner too light for the profile, or hung over unprimed texture | Skim over the liner with two thin coats, or strip it and skim the wall |
| Knife lines show through the paper on a skimmed wall | Ridges were never sanded; the wall was checked in room light, not raking light | Same as the first row. The fix is before the paper goes on, never after |
Questions I get on site
What kind of wallpaper sticks to textured walls?
Pasted paper, and the heavier the better. Non-woven paste-the-wall papers in a heavy weight, vinyl-coated papers, and anything sold as contract or commercial weight will bond to light texture because wet paste flows into the valleys and sets there. Peel-and-stick does not, on any texture, because its adhesive sits on the peaks only. Pattern matters for hiding, not for sticking: a dark, busy print disguises telegraphing, it does nothing for the bond.
Do you have to remove texture before wallpaper?
Only when it is deep. Fine orange peel, where a credit card barely fits under a straightedge, takes heavy paper directly. Heavier orange peel and light knockdown take a bridging liner first. Knockdown you can slide a penny under, skip trowel, and sand finishes need a skim coat, which does not remove the texture so much as bury it. Actually scraping texture off a wall, the soak-and-scrape method from our popcorn ceiling removal guide, is rarely worth it on a wall when a skim gets you the same surface with less mess and no risk to the paper face.
Will the texture show through the wallpaper?
On anything deeper than fine orange peel, yes, unless you line or skim. Even on fine orange peel it shows under raking light with a thin or pale paper. The flashlight test before you buy the paper tells you exactly what you are going to see, and the rule I use is that a wall lit from the side needs one more step of prep than a wall lit from the room.
Can I just sand the orange peel off instead of skim coating?
You can sand the peaks off, and you should on routes one and two. You cannot sand the valleys up. Sanding orange peel flat means sanding down to the bottom of every valley, which on drywall takes you through the paper face and into the gypsum over most of the wall, and that is a worse surface than the one you started with. Knock the tips off with 120 grit, then fill. Flat comes from adding material, not removing it.
Is lining paper the same as primer or sizing?
No, and you need the primer under the liner. Primer seals the wall so the paste bonds at one rate and the paper strips cleanly later. Size is a thin coat that gives the paste slip and grab. Lining paper is a physical layer that bridges texture. On a textured wall the order is primer, liner, then size on the liner if the finish paper’s maker asks for it, then the paper.
What about grasscloth or metallic wallpaper on a textured wall?
Skim it. Grasscloth has a thin paper backing that drapes into every valley, and metallic and mica papers throw light in a way that makes a bump the size of a grain of rice visible from across the room. Those papers want a wall that behaves like Level 5, a full skim with no thin spots, and they cost enough per roll that finding out on the wall is an expensive way to learn it.
The paper is up and the seams are opening on my textured wall. Can it be saved?
Usually, if the field is still stuck. Seams open on texture because the edge sat on a peak with air under it. Lift the edge with a putty knife, work seam adhesive underneath with the tip, press it down, roll it, wipe the squeeze-out, then roll it again in twenty minutes once the adhesive grabs. If strips are loose across the field and not just at the edges, the wall was not primed or the paste never filled the valleys, and that is a strip-and-restart, not a repair.
The rule I work by
Measure first. A straightedge and a penny tell you in two minutes what a roll of paper tells you in two months. Credit card or less: heavy paper straight on, peaks knocked down, seams rolled twice. Credit card to penny: a heavy liner railroaded across the wall and given a full day. Penny and up, or any paper that is pale, thin, or shiny: skim it, and accept that the texture is gone.
Then hang it the way you would hang anything else. How to hang wallpaper without the seams showing later picks up from the primed wall, and the rest of our wallpaper guides and surface prep guides cover what comes before and after. If the numbers in the cost table do not match a quote you were given, send it through the contact page with the texture type and a photo taken under a flashlight held flat to the wall. I will tell you which route the quote is actually pricing.
Guides on this site are for general information about routine home maintenance. Suspected asbestos, mold over 10 sq ft, or structural water damage should be assessed by a licensed professional in your state. See our disclaimer for details.