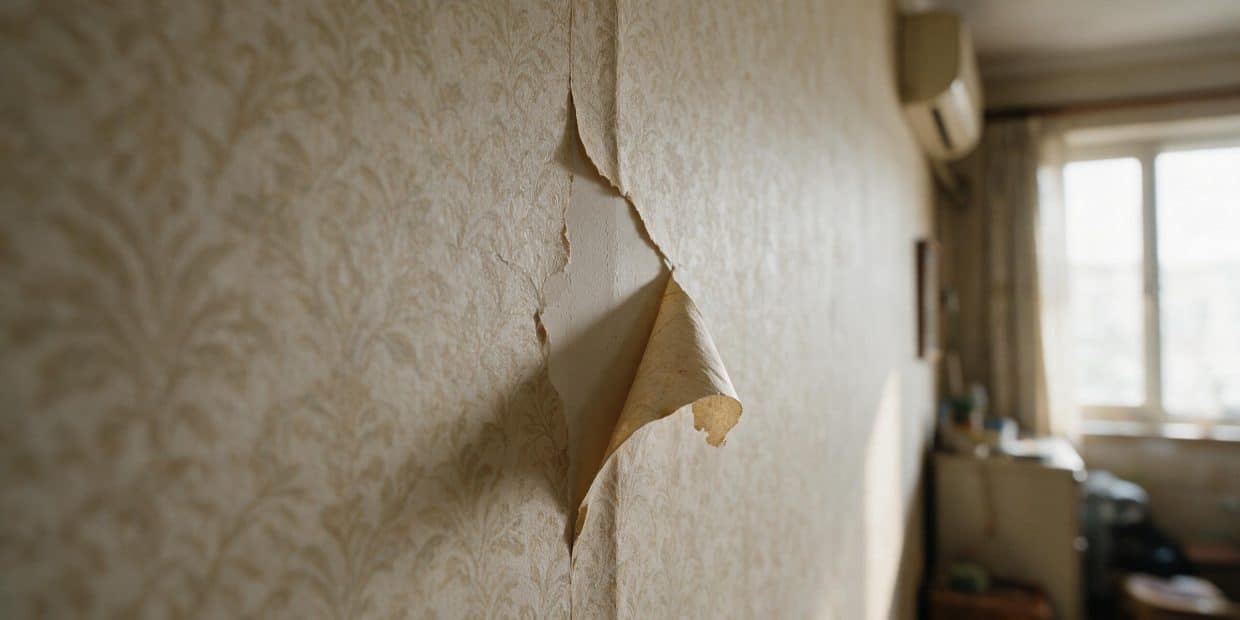
A lifted seam and a bubbling sheet look like the same problem from across the room. They are not. One is old paste letting go, fixed in under a minute with a tube of seam adhesive and a roller. The other is the wall behind the paper doing something it shouldn’t, and regluing over it just hides the evidence until the same spot lifts again in a few months, usually bigger.
This guide covers traditional pasted wallpaper and peel-and-stick, and the point where peeling stops being a wallpaper problem at all. If what you’re looking at is paint bubbling and cracking rather than an actual sheet of paper, that’s a different failure with its own guide — see paint peeling off the wall.
What’s actually peeling decides the fix
Three things cause wallpaper to lift, and they don’t share a fix. Seam and edge peeling on traditional paper is almost always the paste drying out or never being fully applied at that spot — a small, mechanical failure. Peel-and-stick lifting is usually a wall-prep problem: dust, uncured paint, or humidity kept the pressure-sensitive backing from ever gripping properly, and the fix is cleaning, not gluing. A bubble or a whole panel sagging away from the wall, especially if the area feels cool or faintly damp, means moisture is getting behind the paper — and no amount of adhesive fixes that until the moisture source is found.
| What you see | Usual cause | Fix path |
|---|---|---|
| A seam or edge curling up, wallpaper otherwise flat and dry | Paste dried out or was under-applied at that spot during hanging | Reglue with seam adhesive — below |
| Peel-and-stick lifting at edges or corners, especially in a bathroom or kitchen | Dust, uncured paint, or humidity stopped the pressure-sensitive backing from bonding | Clean and reset, or replace the strip — peel-and-stick section |
| A bubble that wasn’t there when the paper was hung, growing over weeks | Trapped air or debris from installation | Syringe injection — bubble section |
| Sheet lifting over a wide area, wall feels cool, damp, or smells musty | Moisture behind the paper | Stop and diagnose the wall first — moisture section |
The ten-second press test
Press the lifted section flat against the wall and hold it for ten seconds. If it stays down on its own once you let go, the paper is fine and the paste just needs reactivating — that’s a reglue job. If it springs back up immediately, or the wall underneath feels cool or slightly soft, don’t reglue yet. Read the moisture section below first.
Tools and materials
Only one row of this applies to your wall. The traditional-paper row is what most homes need; skip to peel-and-stick or bubbles if that’s what you’ve got.
| Situation | You’ll need | Rough cost |
|---|---|---|
| Traditional pasted wallpaper, seam or edge | Clear vinyl-to-vinyl seam adhesive, small artist’s brush, seam roller, damp sponge and cloth | $8–$15 |
| Peel-and-stick, lifted edge or corner | 70% isopropyl alcohol, spray bottle, lint-free cloth, seam roller | $5–$10 |
| Air bubble, no debris underneath | Adhesive-filled syringe or fine-tip applicator, seam roller, damp cloth | $6–$12 |
| Bubble with dirt or debris trapped inside | Sharp craft knife, tweezers, seam adhesive, seam roller | $8–$15 |
Skip anything sold as an all-purpose craft glue or super glue. Both dry harder and faster than wallpaper paste, which means they either wrinkle the paper as they cure or bond so aggressively that the next repair — or an eventual removal — tears the wall underneath instead of releasing cleanly.
Fixing a lifted seam or edge (traditional pasted wallpaper)
This is the repair that covers most peeling wallpaper calls. It takes longer to read than to do.
Lift and clean
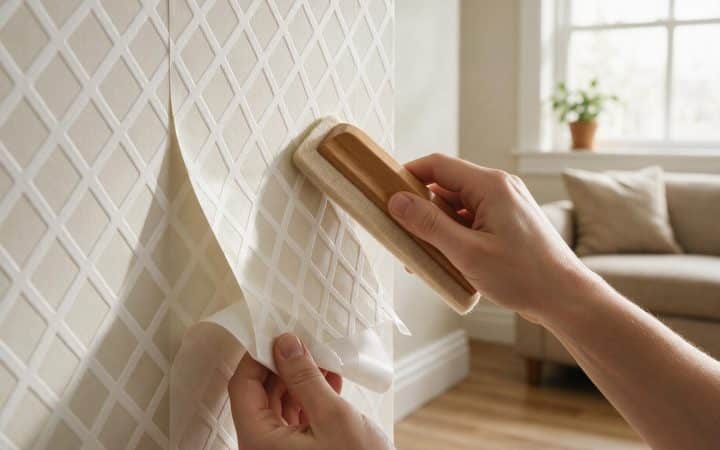
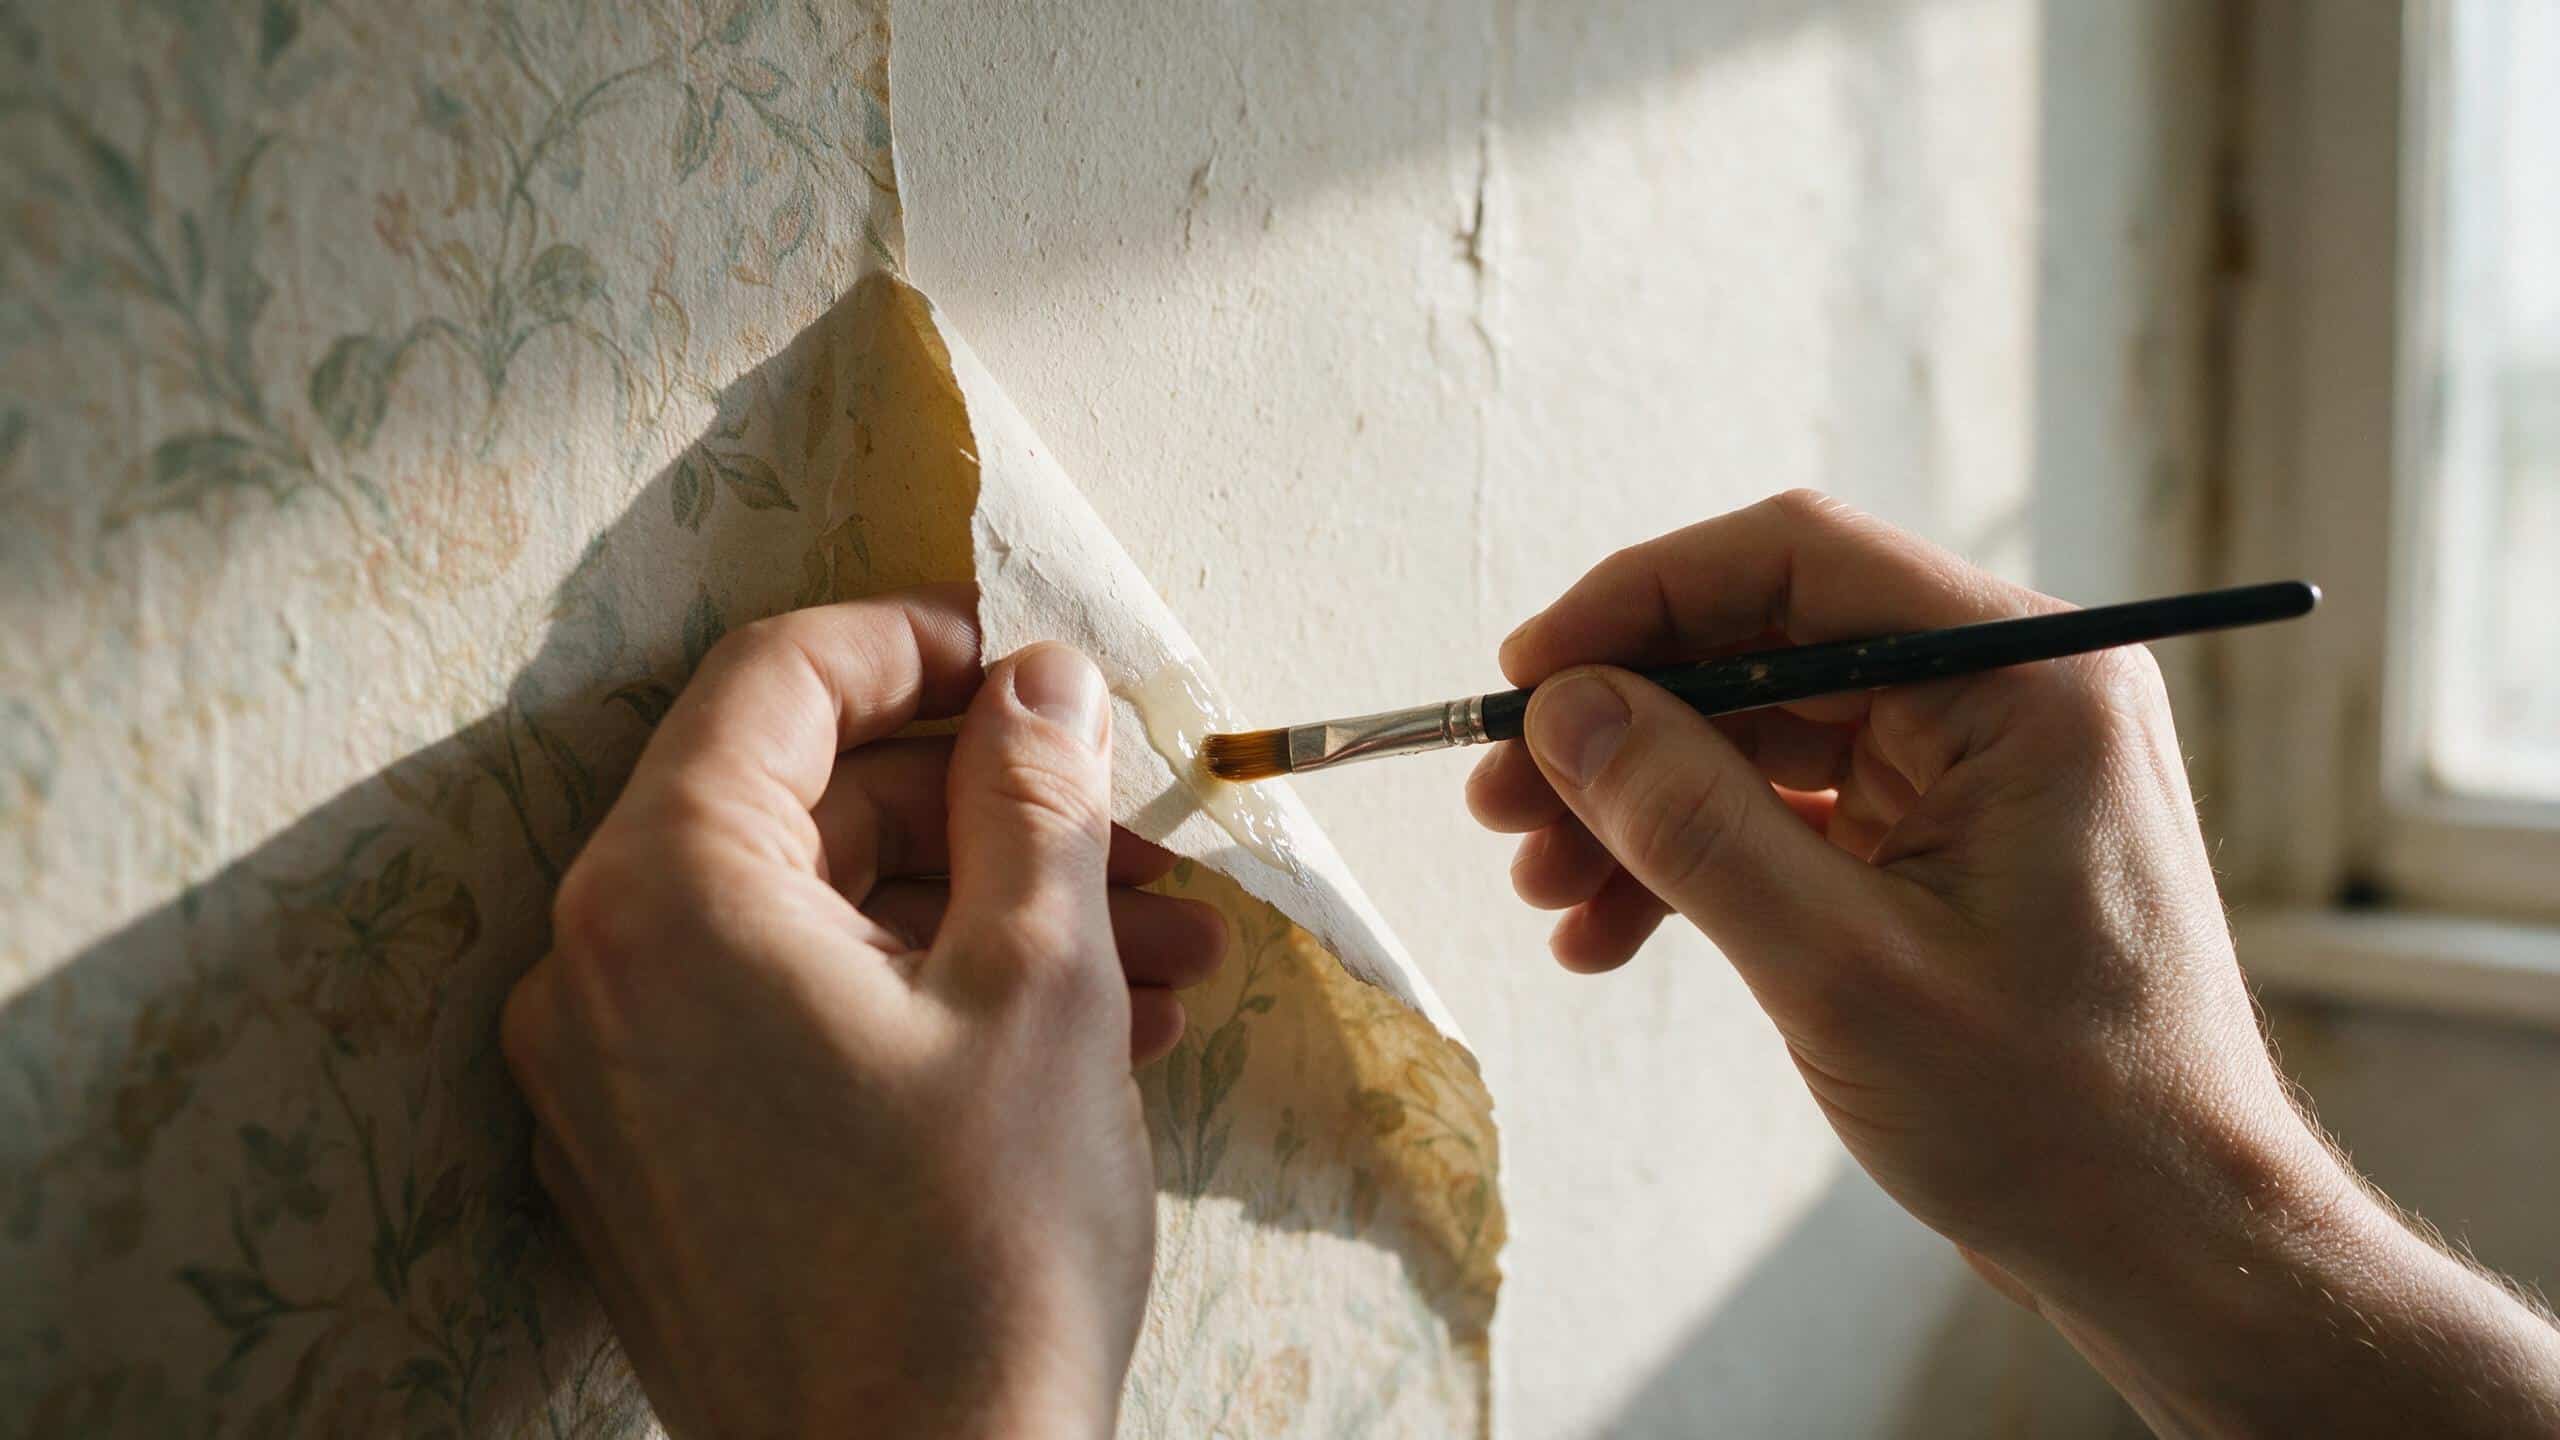
Gently pull the loose section back just far enough to work — don’t force it past where it naturally separates, or you risk tearing the paper. Wipe any old, crusty dried paste off both the wall and the back of the paper with a damp sponge, then let it sit a few minutes to dry slightly.
Soften a stiff edge
If the paper has curled and gone stiff from age, dab it with a wet (not soaked) sponge and wait three to five minutes. This relaxes the fibers so the edge lies flat instead of fighting the new adhesive.
Apply adhesive to both surfaces
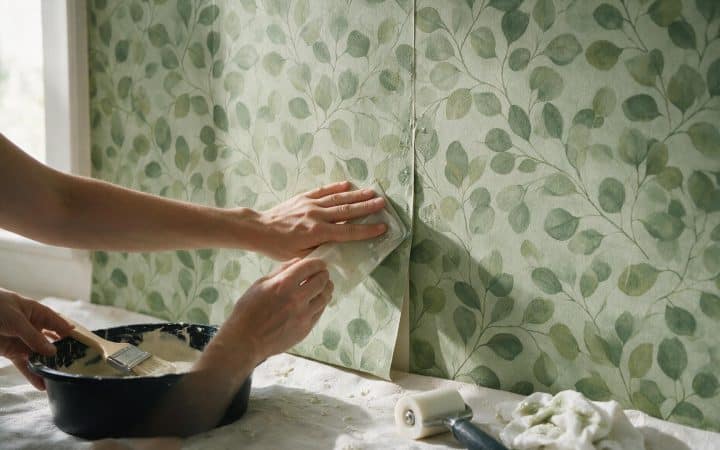
Using the small brush, spread a thin, even layer of seam adhesive on the wall and on the back of the loose paper. Thin is the operative word — a heavy layer squeezes out the edges and takes longer to grab.
Press back into its original position
Lay the paper down exactly where it was hung, matching the pattern if there is one. Smooth outward from the center toward the edge to push air out ahead of the adhesive, not trap it underneath.
Roll the seam
Run the seam roller firmly along the repaired edge to set the bond. Don’t roll printed or embossed wallpaper too hard — enough pressure to seat the seam, not enough to flatten the pattern.
Wipe and let it cure
Clean off any adhesive that squeezed out immediately with a damp cloth — dried excess is far harder to remove without lifting the seam again. Leave it undisturbed for a few hours before touching or cleaning that area.
Fixing an air bubble or a small tear
A bubble is a smaller, faster version of the same job — you’re getting adhesive behind the paper without lifting a whole edge.
If it’s just trapped air, confirm that first: press the bubble and listen and feel for grit, which means debris rather than air. For a clean air bubble, fill a fine-tip syringe or applicator with seam adhesive, pierce the center of the bubble at a low angle, inject a small amount, then roll from the outside edges of the bubble inward to spread the adhesive and push any remaining air out through the same pinhole. Wipe immediately.
If there’s debris — a bit of dust or grit trapped during the original hanging — cut a small X over the bubble with a sharp craft knife, fold back the four flaps, lift out the debris with tweezers, apply adhesive underneath, press the flaps back down in their original position, and roll. Done carefully, the X is nearly invisible once the paper is flat again; done with a dull blade or too large a cut, it isn’t, so a fresh blade matters more than it sounds like it should.
A small tear gets the same adhesive-and-roll treatment as a seam. A larger tear or a hole is a patch job, not a repair — the double-cut method (cutting a matching patch and the damaged section together so the seam is invisible) is the standard fix, but it means cutting into the existing wallcovering. On a home built before 1978, treat that the same as any other cut into old wallcovering: if there’s painted trim or a painted-over layer nearby, work wet and avoid sanding — see our disclaimer for where DIY should stop.
Peel-and-stick wallpaper: why the fix is different
Peel-and-stick doesn’t use paste at all — it’s a pressure-sensitive adhesive, the same family as packing tape, bonded to the back of the panel at the factory. That’s the whole reason it’s marketed as beginner-friendly, and it’s also why the traditional reglue method above doesn’t apply to it. Seam adhesive is made to bond with wallpaper paste chemistry. It doesn’t reliably restick a pressure-sensitive backing, and you can’t add more of the original adhesive the way you can with paste.
When peel-and-stick lifts, the cause is almost always what was on the wall before it went up, not a defect in the product. The short list: dust or residue the installer didn’t fully clean off, paint that looked dry but was still off-gassing (fresh paint needs roughly four weeks before peel-and-stick will bond to it reliably), high humidity softening the adhesive over time, and textured walls that never let the backing make full contact in the first place. Bathrooms and kitchens see this the most for the humidity reason alone.
To reset a lifted edge: clean both the wall and the back of the panel with a cloth dampened in a 70% isopropyl alcohol solution, let it dry fully — a couple of minutes is usually enough — and press the panel back into place, rolling from the center out. This restores a bondable surface; it doesn’t add new adhesive. If the backing itself has lost its tack after months on the wall, cleaning won’t bring it back, and the honest fix is replacing that strip rather than fighting it repeatedly. Our guide to hanging peel-and-stick without corner bubbles covers the wall prep that prevents this the next time around.
When it’s not a wallpaper problem — it’s a wall problem
This is the case the press test above is meant to catch. If a section springs back up the moment you let go, or the wall feels cool, soft, or faintly damp when you touch it, moisture is getting between the wallpaper and the wall. Paste and pressure-sensitive adhesive both lose their grip when the surface underneath is wet, and no product reglues over that permanently — it lifts again as soon as the adhesive dries out, and now there’s fresh glue sealed in with whatever moisture caused the problem.
Don’t reglue over a damp wall
Sealing moisture behind freshly glued wallpaper gives it nowhere to go but into the wall material itself. If the area smells musty, shows dark speckling once the paper is pulled back, or keeps lifting in the same spot no matter how many times you reglue it, stop and find the moisture source before touching adhesive again. Start with our mold on walls guide if you can see growth, or how to detect mold inside walls if you can smell it but can’t see it yet.
Common sources behind wallpaper specifically: a bathroom or kitchen without enough ventilation, an exterior wall with a small roof or plumbing leak upstream, or a below-grade wall taking on ground moisture. Fix the source first. Once the wall has dried out completely — give it several days with the area exposed, not sealed back up — the seam or edge repair steps above work exactly the same as they would on any other wall.
What this actually costs
Materials for a DIY repair are genuinely cheap — a tube of seam adhesive, a small roller, and a cloth cover one spot with plenty left over for the next one. Most handyman and painting companies don’t quote a single peeling seam as its own job; you’re either doing the ten-minute fix yourself, or it gets folded into a larger visit and billed at whatever that company’s minimum service call runs, typically in the $50–$100 range for a small, quick task like this one.
If what you’re really looking at is peeling across most of a wall, multiple layers, or wallpaper you’d honestly rather be rid of than keep patching, repair stops being the economical choice. Our wallpaper removal cost guide breaks down what that runs instead, and how to remove wallpaper without wrecking the wall underneath covers the method.
DIY it or call it in
One or two lifted seams, a bubble, or a peel-and-stick corner — that’s a fifteen-minute fix with a five-dollar tube of adhesive, no reason to call anyone. Call it in when peeling shows up in several places at once (a sign the whole installation may be failing, not just one spot), when you’ve found moisture or mold and need it assessed before you touch the wall again, or when a tear is large enough to need the double-cut patch method and you’d rather not risk the visible seam a first attempt sometimes leaves behind.
Mistakes that make it worse
| What happens | Usual cause | Fix |
|---|---|---|
| Seam lifts again within weeks of regluing | Adhesive applied to only the wall or only the paper, not both | Redo it with a thin coat on both surfaces before pressing back down |
| Paper wrinkles or discolors right where you glued it | Super glue or all-purpose craft glue used instead of wallpaper seam adhesive | Peel back if it hasn’t fully cured, clean off, redo with the right product |
| Peel-and-stick edge won’t restick no matter how many times you press it | Wall or panel back wasn’t actually cleaned — surface dust is invisible until you feel for it | Wipe both surfaces with isopropyl alcohol solution, let dry fully, then press |
| Same spot keeps lifting every few months regardless of repair | Moisture behind the paper, never addressed | Stop repairing and diagnose the wall — see the moisture section above |
Questions I get on site
What’s the best glue to restick wallpaper?
A clear vinyl-to-vinyl wallpaper seam adhesive, sold specifically for this and usually packaged in a small tube with a brush or fine-tip applicator built in. It’s formulated to bond with wallpaper paste chemistry and stays flexible once cured, which regular craft glue and super glue don’t.
Why does wallpaper start peeling in the first place?
Most often it’s the paste — either it was never fully applied at that spot during the original hanging, or it’s simply dried out with age. Humidity and heat both accelerate that. The less common but more serious cause is moisture getting behind the paper from a leak, condensation, or poor ventilation, which is why the press test earlier in this guide matters before you reglue anything.
Can peeling wallpaper always be repaired, or does it need replacing?
A lifted seam, edge, or bubble on paper that’s otherwise in good shape is almost always repairable in place. Wallpaper that’s peeling in many spots at once, badly faded or torn, or sitting over a wall with an unresolved moisture problem usually isn’t worth continuing to patch — that’s a removal-and-rehang situation rather than a repair one.
Why is my wallpaper peeling only in the bathroom or kitchen?
Both rooms run higher humidity than the rest of the house, and repeated humidity swings are hard on both wallpaper paste and pressure-sensitive peel-and-stick backing. If it’s happening in one specific spot — near a shower, a stove, or a window — check that spot for an active leak or condensation source before assuming it’s just ambient humidity.
How long does wallpaper normally last before it needs this kind of repair?
Well-hung wallpaper in normal room conditions typically runs 10 to 15 years, sometimes longer, before age-related seam peeling shows up. Bathrooms, kitchens, and rooms with humidity swings see it sooner. A few lifted seams after a decade is normal wear, not a sign anything was done wrong originally.
Can I just paint over wallpaper that’s starting to peel instead of fixing it?
Painting over a lifted seam almost never works — the seam telegraphs through the paint and often lifts further under the added weight and moisture of wet paint. Fix the peeling first, let it cure, and then decide whether to paint over the wallpaper or not. Our guide on whether you can paint over wallpaper covers the checks that decide that question for wallpaper that isn’t peeling.
Is a bit of peeling a sign I should just remove the wallpaper?
Not on its own. One or two spots on paper you otherwise like are a fifteen-minute repair, not a reason to strip a whole room. Widespread peeling, wallpaper you’ve wanted gone anyway, or a moisture problem that keeps causing repeat peeling are the real signals — at that point, see how to remove wallpaper without wrecking the wall underneath.
Guides on this site are for general information about routine home maintenance. Suspected asbestos, mold over 10 sq ft, or structural water damage should be assessed by a licensed professional in your state.