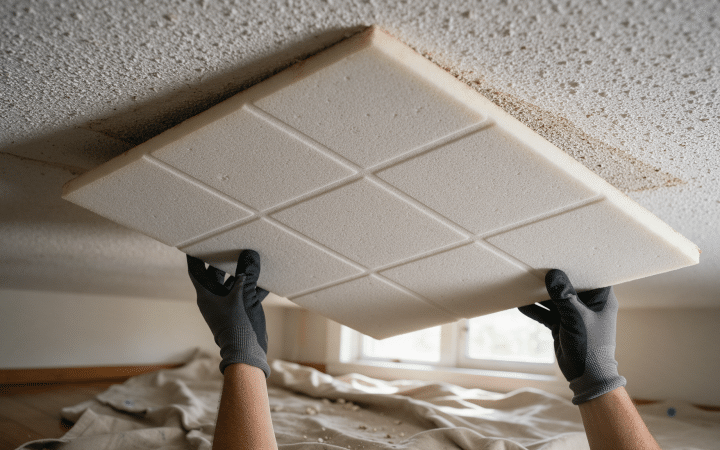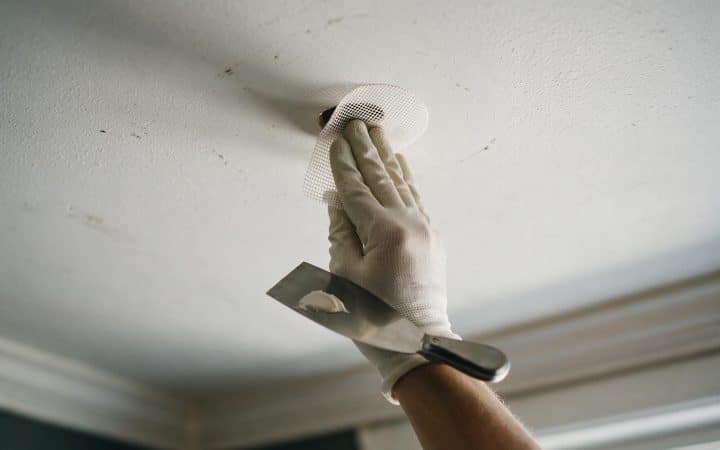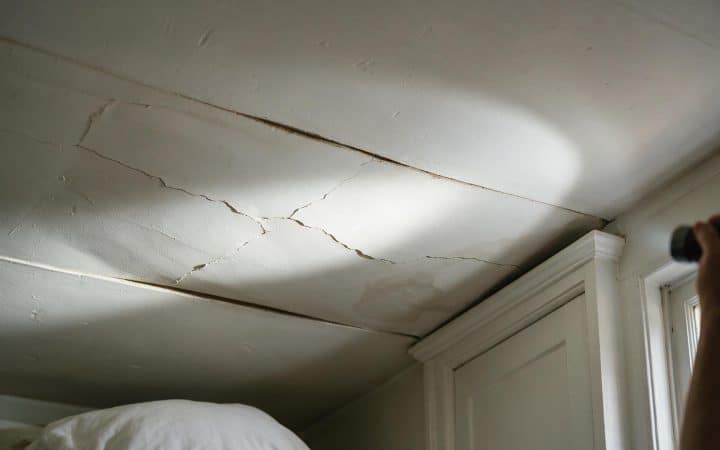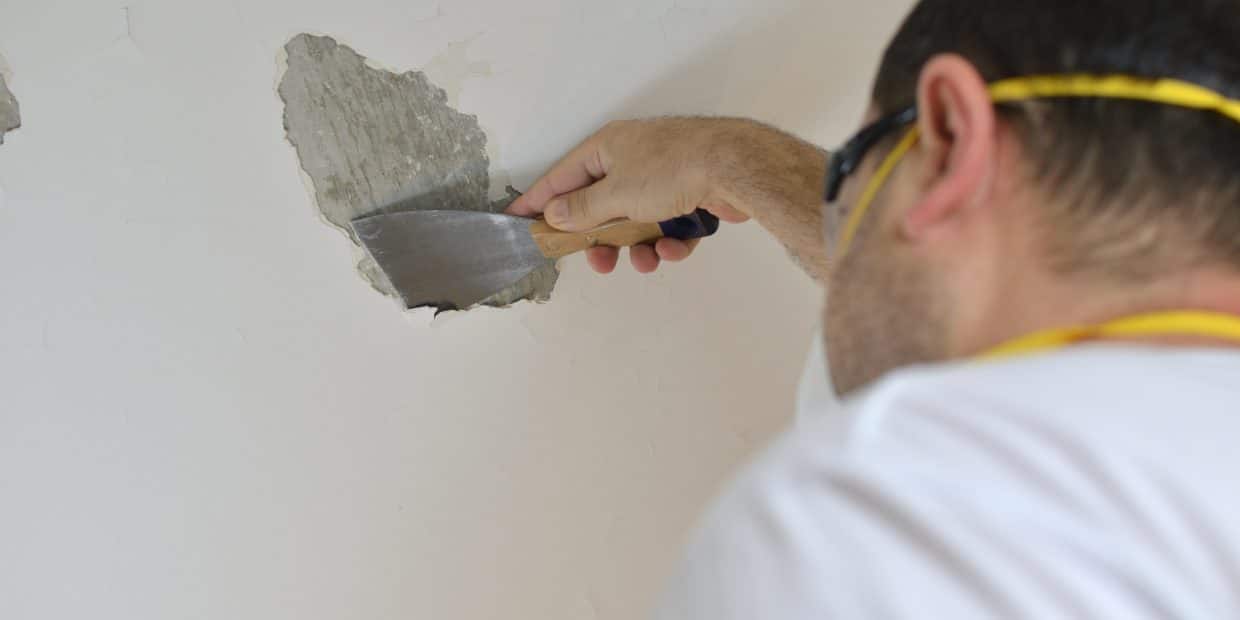
Every video makes this look like fifteen minutes and a trash bag. Mist it, scrape it, done, on to the next room. That version is real, but it is only the version that happens on a clean, unpainted, drywall ceiling in a house built after 1990. The minute one of those three things is not true, the fifteen-minute method either does nothing or takes half the paper face of your drywall with it, and almost nothing written about this job says so up front.
I have scraped enough of these ceilings since 1997 to know the water-and-scraper method is correct. What is missing from most guides is what changes it: paint on the texture, plaster instead of drywall underneath, and the difference between a scrape that leaves you a paintable ceiling and one that leaves you a ceiling you now have to skim coat from scratch. That is what this guide covers, in the order I actually work through it on site.
One thing this guide is not: instructions for a ceiling that has tested positive for asbestos. If your house predates 1980, or the texture’s age is unknown, that question comes before any of the steps below. Popcorn ceiling asbestos covers what triggers a test, what a lab report says, and the legal options if it comes back positive.
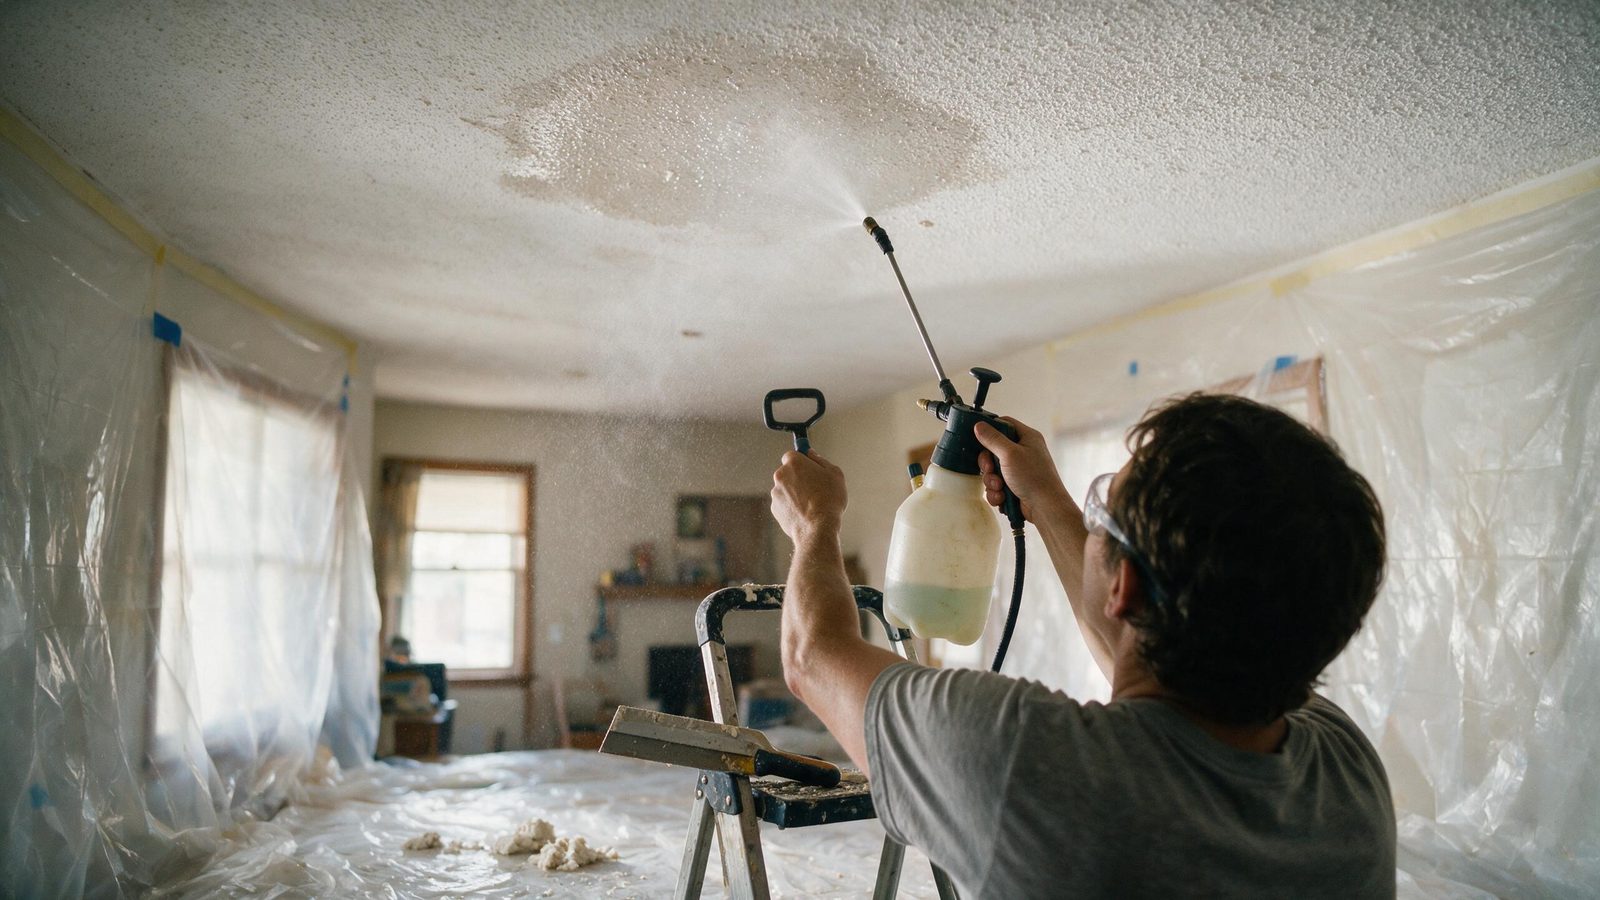
What’s actually softening the texture
Popcorn and acoustic ceiling texture is not paint and it is not plaster in the traditional sense. It is a sprayed compound, usually a gypsum or vermiculite base mixed into something close to a joint compound binder, shot onto the ceiling wet and left to dry hard. That binder is the whole reason the wet-scrape method works at all: dried joint compound rehydrates when water gets into it, the same way a dried-out mud pan softens if you leave a wet sponge on it overnight.
Misting the ceiling is not about making it wet on the surface. It is about giving the water enough time sitting against that binder to actually reach in and break the bond between the compound and the paper facing underneath. Rush that step, and you are not scraping softened texture anymore, you are gouging dry compound off with a metal blade, which is exactly how the paper face tears.
That single mechanism, water reaching the binder, is also why paint changes everything and why plaster changes everything. Both of them are, in different ways, about stopping water from getting where it needs to go. More on each below, but keep that idea in mind through the whole guide: every step here is really just asking whether the water actually reached the compound, or whether something stopped it.
Test before you touch anything
I put this second on purpose, not buried at the bottom. If your ceiling texture could predate the mid-1980s, a lab sample costs $30 to $60 and takes five to ten days, and every step past this point assumes the answer came back clean. Scraping first and asking later is how a $300 weekend job turns into a five-figure abatement bill and a contaminated house.
Nothing below this line applies to a ceiling that tested positive
Everything in this guide assumes a negative test or a house built well after the mid-1980s. If your lab result came back positive, stop here and read popcorn ceiling asbestos for the three legal paths forward. Wet scraping does not make asbestos-containing texture safe to remove yourself. See our disclaimer.
If the texture is definitely modern, an addition built in the last twenty years or a documented remodel, you can skip straight to the removal steps. Everyone else, including me on a house I do not know the history of, tests first.
Tools and materials
You do not need most of what a big-box aisle tries to sell you for this job. Here is what actually earns its place.
| Item | Use | Rough cost |
|---|---|---|
| Pump garden sprayer, 1-2 gallon | Wets the texture evenly without soaking the drywall behind it | $15-$25 |
| Wide ceiling scraper with a bag or catch attachment | Scrapes softened texture straight into a bag instead of onto the floor | $15-$35 |
| 10-12 in drywall taping knife, flexible | Backup scraper for corners and edges the bagged tool can’t reach | $10-$18 |
| Heavy plastic sheeting and painter’s tape | Floor and wall protection. Buy more than you think you need | $20-$40 |
| N95 or better respirator, safety glasses | Minimum protection even on a tested-clean ceiling. The dust from dry patches is still not something to breathe | $10-$25 |
| All-purpose joint compound, small tub | Fills gouges and gaps left after scraping | $12-$20 |
| Stain-blocking primer | Seals the bare, more porous compound before paint. See the section below on why this step isn’t optional | $18-$30/gallon |
If the texture is painted, add either a dedicated texture stripper (roughly $25-$40 a gallon) or a cheap wallpaper scoring tool, both covered in the painted-ceiling section below. Skip the vinegar. I will get to why.
How to remove popcorn ceiling, step by step
This is the sequence for a clean, unpainted, drywall ceiling that has tested negative or is confirmed modern. If yours is painted or the house is old enough to have plaster instead of drywall, read those two sections as well before you start, since they change steps 4 and 5.
-
Clear and protect the room
Furniture out, or grouped in the center and covered. Plastic sheeting taped to the walls at the ceiling line and running down over the floor, overlapped at the seams. Wet popcorn texture is heavier and messier than it looks, and it stains carpet if it sits.
-
Kill the power to the room
Shut off the breaker for any light fixture, fan, or smoke detector in the ceiling, not just the wall switch. Pull the fixtures or fan blades down and cap the wires with the power off. Water and a live ceiling box do not mix, and you will be spraying directly at it.
-
Mist a 3-to-4-foot section
Warm water, not cold, in the pump sprayer. Soak one section heavily enough that it darkens visibly, then move to the next section while the first one sits. Do not spray the whole ceiling at once. By the time you get back to the last section, the first one will have gone dry again.
-
Let it sit for 10 to 15 minutes
This is the step every sped-up video hides. The water needs time to travel through the texture to the binder, not just wet the surface. Press a fingertip into a test spot. If it’s still stiff, give it another five minutes rather than fighting it with the scraper.
-
Scrape at a shallow angle
Hold the blade close to flat against the ceiling, 20 to 30 degrees, and push rather than dig. A shallow angle pushes softened texture off in sheets. A steep angle catches the corner of the blade in the paper face and tears it, which turns a scrape into a drywall repair.
-
Re-wet anything that fights back
A spot that’s scraping dry and chalky instead of coming off in a sheet didn’t get enough water. Mist it again rather than forcing the blade through it. Forcing it is the single most common way people gouge their own ceiling.
-
Let the bare board dry fully before patching
Roughly 24 hours with air moving, longer in a humid room. Patching a still-damp ceiling traps moisture under the compound and the patch fails within weeks.
Damp, not dripping
Oversaturating does two things wrong at once: it can soak through to the paper facing and soften the drywall itself, not just the texture, and it makes a heavier mess without scraping any easier. You’re aiming for the texture dark and heavy, not water running down the wall.
How to remove popcorn ceiling that’s already been painted
This is the case almost every guide treats as a footnote, and it is one of the two most common reasons people give up on scraping halfway through. If someone painted over the texture at any point, you are not just fighting dried compound anymore, you are fighting a plastic film sitting on top of it.
Paint, especially modern acrylic latex, is designed to be a water barrier. That is the entire job of a paint film: keep water out. So when you mist a painted popcorn ceiling exactly the way you would an unpainted one, the water beads up and runs off the surface instead of soaking into the compound underneath. Fifteen minutes of sitting time does nothing, because the water never got where it needed to go. This is also why the vinegar-and-water trick that circulates constantly online rarely does much on a modern latex-painted ceiling: dilute acetic acid is mildly effective at softening some old, chalky, oil-based paints, but it does not meaningfully break down a sealed acrylic film, and most of what you are scraping through today is acrylic.
Two things actually get water past the paint film instead of fighting it. The first is scoring the film before the sprayer ever comes out: a cheap wallpaper scoring tool or a stiff wire brush, dragged across the surface, punches through the paint at hundreds of small points without gouging the texture underneath. Water gets in through those holes instead of beading up and running off. It’s slower than a straight scrape, but it works with hand tools you probably already own.
The second is a stripper made specifically for painted popcorn. These cling to an overhead surface and get a real dwell time, usually 20 to 30 minutes under plastic sheeting to slow evaporation, instead of the 10 to 15 minutes plain water needs on texture that was never painted. They break the film down chemically instead of hoping water finds a way through it on its own.
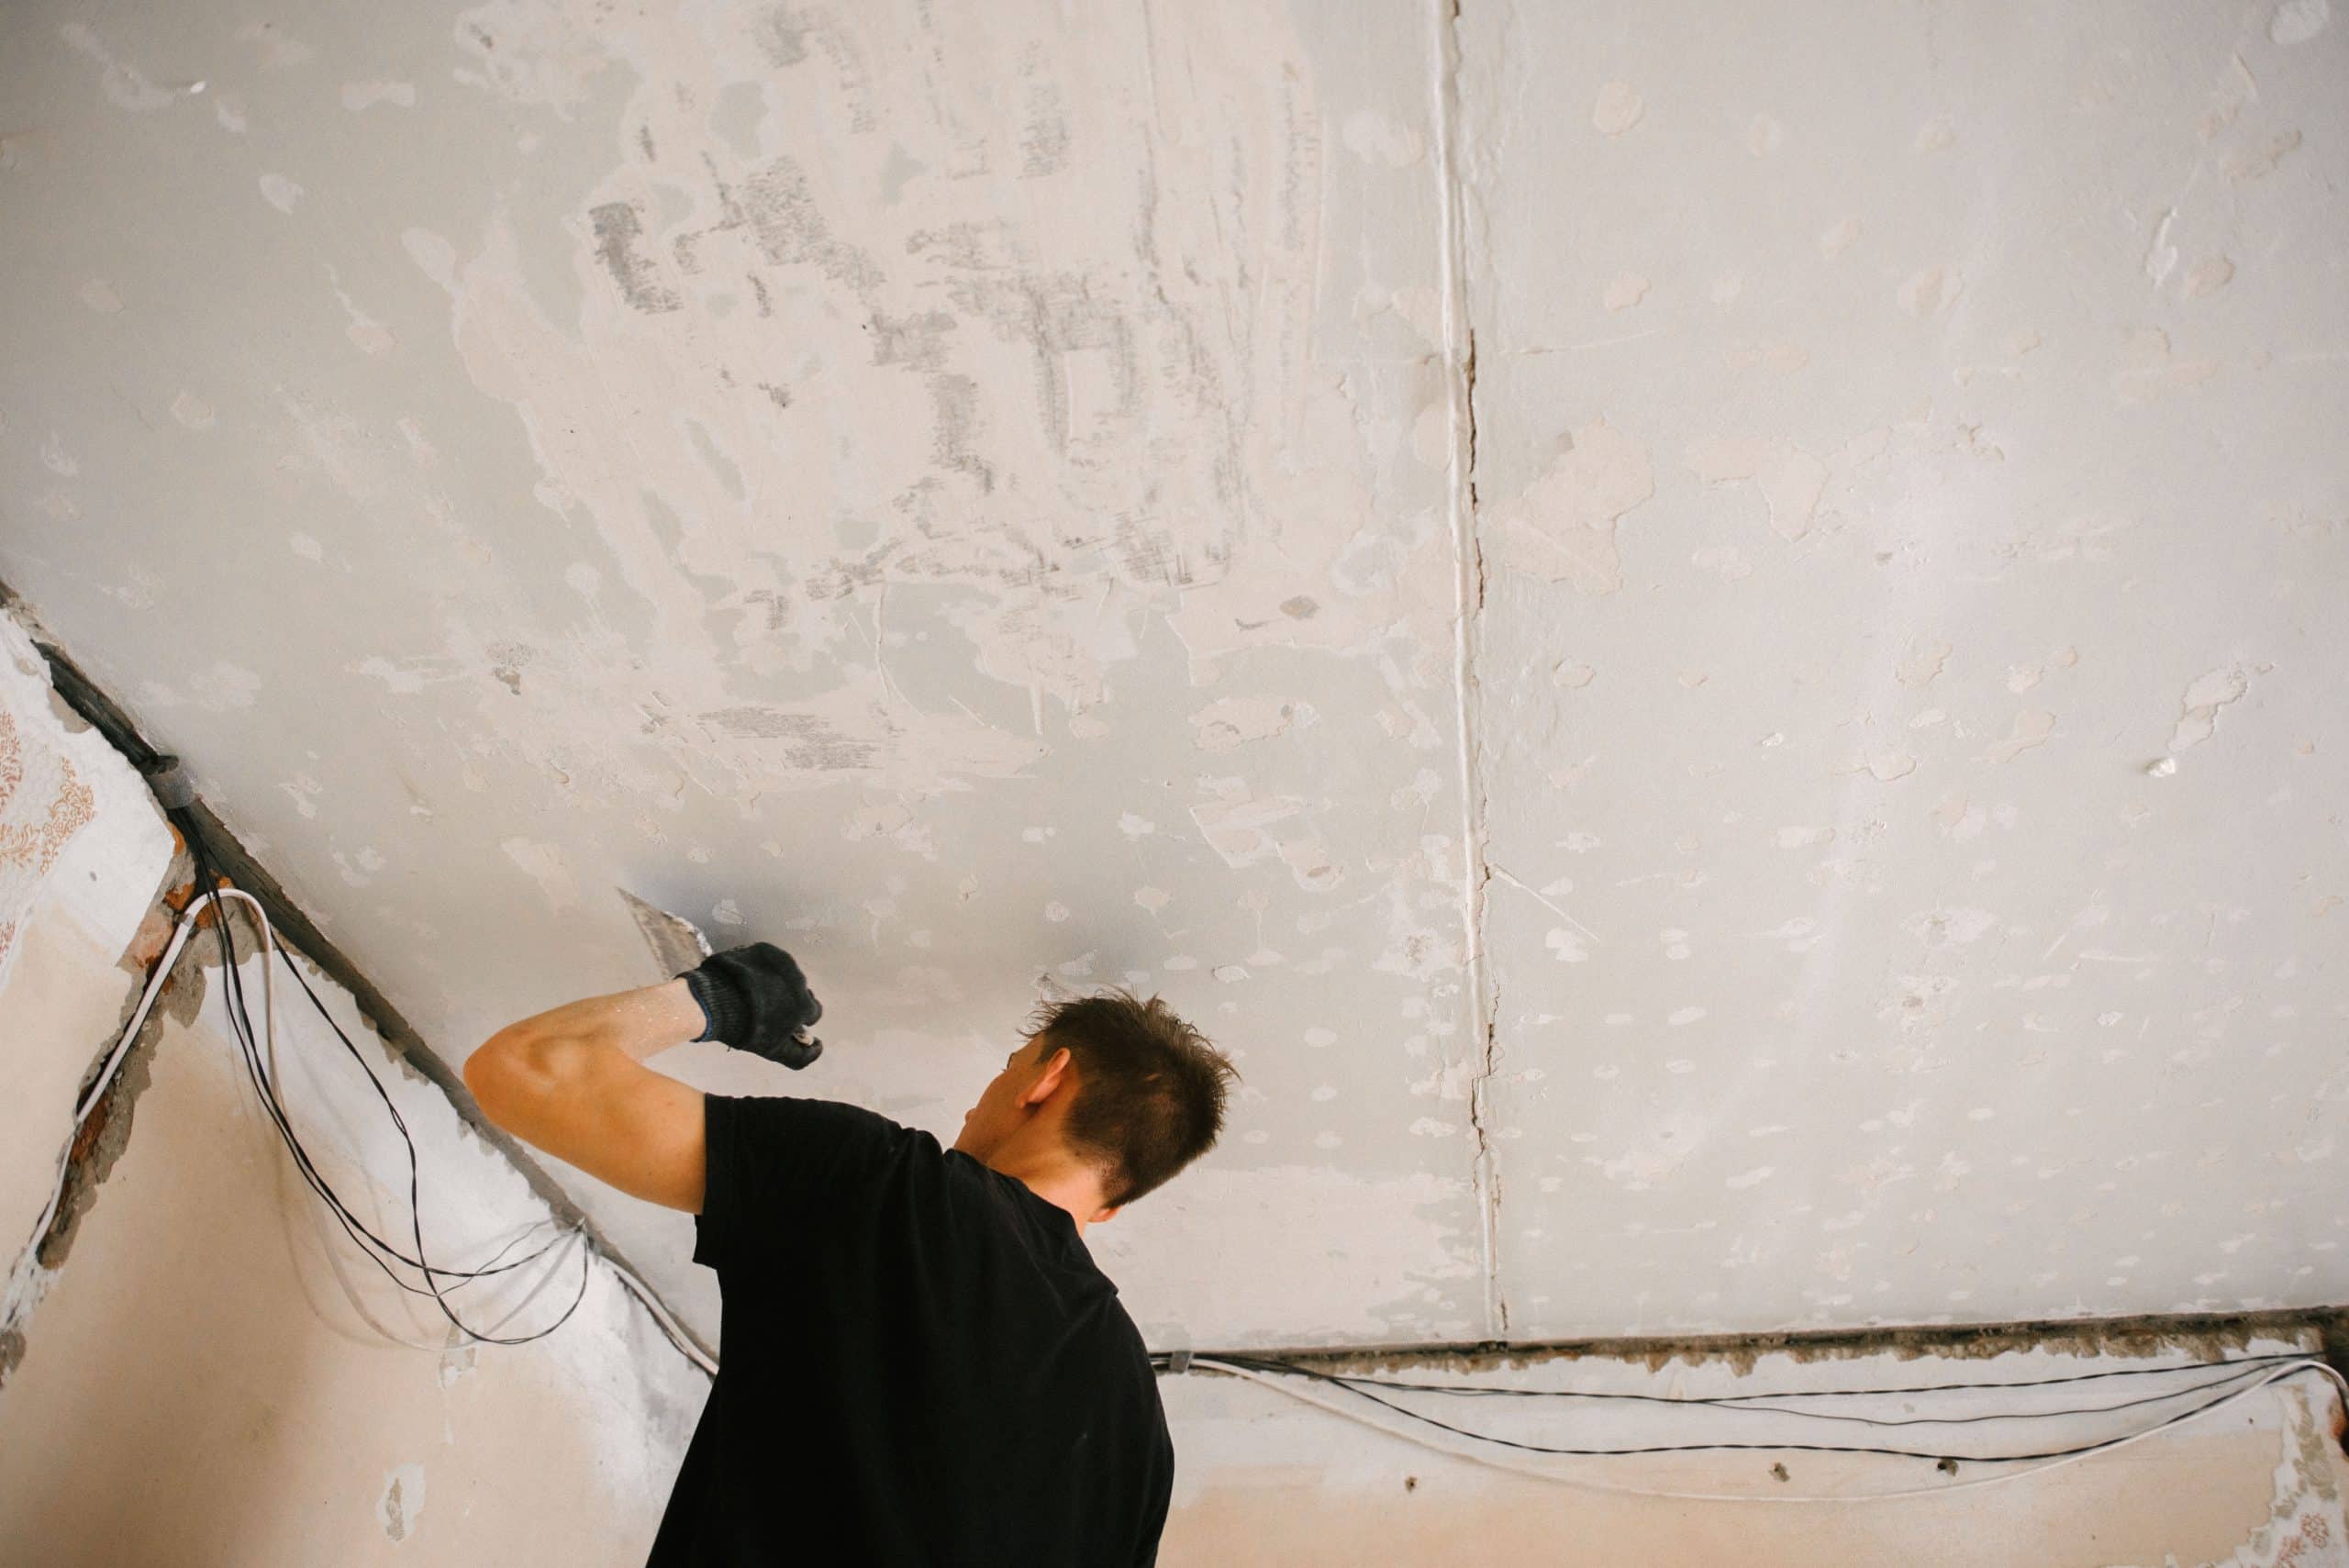
Either way, expect the scrape itself to go slower and produce more dry dust than a clean unpainted ceiling, even once the water or stripper has had time to work. That is normal. It is also the point where I tell most homeowners to reconsider the goal: if a ceiling has multiple coats of paint over the texture and the texture is otherwise sound, scraping it off to get a flat ceiling is often more labor than skim-coating directly over the existing texture to bury it instead. Skim coat walls covers the finish levels involved, and the same GA-214 logic applies overhead.
One more thing worth knowing before you start: once popcorn texture is painted, wet scraping is the only realistic removal method left. Popcorn ceiling removal cost covers why painting a ceiling you intend to remove later is one of the more expensive mistakes homeowners make on this job, since it roughly doubles the labor on the scrape.
Plaster ceiling instead of drywall? Here’s what changes
If the house predates the 1950s, what’s under that texture may not be drywall at all. A lot of older homes got a popcorn or acoustic texture coat sprayed directly onto the original lath-and-plaster ceiling during a mid-century remodel, instead of having the plaster torn out first. The texture on top looks and behaves identically to the drywall version at a glance, which is exactly why people are surprised when the standard method doesn’t work the same way.
Two things are different here, and both come back to the same water-reaches-the-binder idea from earlier in this guide.
First, plaster is denser and less absorbent than the paper facing on drywall, so a 3-to-4-foot misted section that would be ready to scrape in 15 minutes on drywall can take noticeably longer to soften on plaster, or may never fully soften if the texture coat was applied with a harder, more cement-like binder than the vermiculite-and-gypsum mix common on drywall ceilings. Test a small patch before committing to the whole room. If it isn’t scraping cleanly after 20 minutes, longer soak times or a stripper made for the job will do more good than more pressure on the blade.
Second, and this is the one that actually causes damage: old plaster is held to the wood lath behind it by thousands of small mechanical “keys,” fingers of plaster that squeezed through the gaps between lath strips and hardened. Those keys get brittle with age. Heavy, repeated soaking and firm scraping pressure, the exact technique that works fine on drywall, can shake enough of those keys loose to start a section of the ceiling sagging or cracking, sometimes weeks after the work rather than that same day. How to fix a sagging ceiling covers how a plaster ceiling that’s lost too many keys behaves differently from a drywall one, and the re-securing options if that happens.
The practical difference in technique: lighter scraper pressure, more patience with soak time rather than more force, and stopping to check for flex or a hollow give in the ceiling itself, not just the texture, as you work. Texture coming off in stubborn dry flakes is a scraping problem. The whole ceiling flexing under light pressure from the pole or scraper is a plaster problem, and it means stop and reassess rather than keep scraping.
Tell plaster from drywall before you start
Tap the ceiling in an inconspicuous spot. A hollow, even sound at regular intervals usually means drywall over joists. A denser, duller sound that doesn’t line up with a regular framing pattern often means plaster is still doing structural work back there, whether the texture on top tells you that or not.
Patching and getting to a paintable finish
Once the ceiling is scraped and fully dry, you’re looking at a bare, fairly rough surface, not a finished one. Popcorn texture hid every seam, screw head, and butt joint on that ceiling for decades, and all of it is visible now.
For a small room or a light-traffic space like a closet ceiling, filling visible gouges with joint compound, sanding them flush, and priming is often enough. For anything under a window or a strong overhead fixture, where light rakes across the surface at a shallow angle, that bare scraped surface will show every seam and screw dimple once it’s painted. That’s a full skim coat, not a patch, and it’s genuinely the most labor-intensive part of this entire project. I cover the finish levels and what a skim coat actually involves in skim coat walls, and the real cost breakdown between a scrape-only ceiling and a scraped-and-skimmed one is in popcorn ceiling removal cost, since that gap is usually the biggest line item people underestimate.
Whichever route you take, prime with a proper stain-blocking or PVA-style primer before painting, not straight ceiling paint. The scraped surface is more porous and less uniform than an unpainted wall, and skipping the primer shows up as blotchy sheen once the paint goes on. How to paint a ceiling with a roller covers the technique for getting an even finish across a ceiling without lap marks once you’re at that stage.
The scrape is roughly a third of the finished job
On a typical bedroom ceiling finished to a paintable Level 5, the scraping itself is usually about 20-30% of the total labor. The skim coat, sanding, priming, and painting make up the rest. Budget the time accordingly, especially if this is your first ceiling.
Mistakes that turn a Saturday job into a bigger one
- Scraping before testing. This is the one with no cheap way back from it once it’s done.
- Misting the whole ceiling at once instead of one section at a time. By the time you scrape the last section, the first one has dried out again and you’re fighting it twice.
- Forcing a dry scrape instead of re-wetting. If the blade is skipping or catching instead of pushing texture off in a sheet, that section needs more water, not more arm.
- Treating painted texture like unpainted texture. The same mist-and-wait method mostly just makes a wet mess on top of an intact paint film, so score it or strip it first.
- Skipping the primer before paint. A scraped ceiling is more porous than it looks, and ceiling paint alone over bare compound flashes unevenly under any real light.
- Leaving the fixtures live. Water and an energized ceiling box isn’t a risk worth the two minutes it takes to flip a breaker.
- Skipping the floor protection. Wet texture stains carpet and can dull a hardwood finish if it sits, and plastic sheeting is the cheapest insurance on this whole job.
What it costs to do this yourself vs hire it out
Rough numbers for a single average bedroom ceiling, around 144 sq ft, clean and unpainted. The full breakdown by room size, painted texture, and asbestos scenarios is in popcorn ceiling removal cost; this table is just the two options for one typical room.
| Route | What it covers | Typical cost |
|---|---|---|
| DIY, scrape only | Materials from the table above, your own labor | $45-$120 |
| DIY, scraped and finished | Above, plus compound, primer and paint for a full paintable finish | $90-$220 |
| Pro, scrape only | Labor and disposal, bare ceiling left behind | $350-$600 |
| Pro, scraped and finished | Scrape, skim coat, prime, and paint, ready to live under | $450-$1,000 |
The split job is usually the best value if you’re willing to do the messy, low-skill part yourself: scrape it on a weekend, then hire a finisher for the skim coat and paint. You keep the labor that needs no particular skill and pay for the labor that does.
Questions I get on site
How long does it actually take to remove a popcorn ceiling?
For one average bedroom, clean and unpainted, plan on 3 to 5 hours of scraping. A whole house runs several full days. Add real time for a painted ceiling or a room you’re doing for the first time; both go slower than the estimate in your head.
Can I remove a popcorn ceiling without wetting it first?
Dry scraping is possible but it produces far more airborne dust, gouges the paper face more easily since the compound has nothing softening it, and is a bad idea on any ceiling that hasn’t been confirmed asbestos-free, since dry disturbance is exactly what you don’t want on a material you’re unsure about. Wet scraping is slower but it’s the safer and cleaner method on a tested-clean ceiling.
What if the texture won’t soften even after soaking?
Two likely causes: it’s painted and the water isn’t reaching the compound, covered above, or it’s a harder, more cement-like texture common on some plaster ceilings that simply needs a longer soak or a dedicated stripper rather than more scraping pressure. Forcing a blade through texture that hasn’t softened is how the drywall paper or the plaster keys underneath get damaged.
Do I need to prime before I paint the scraped ceiling?
Yes. A scraped ceiling is more porous and less even than a normal painted surface, and ceiling paint alone over bare compound dries with a blotchy, uneven sheen. A stain-blocking or PVA primer evens out the porosity first.
Is a popcorn ceiling removal tool worth buying?
A scraper with a bag or catch attachment is worth the $15 to $35 for a whole house’s worth of ceilings, mostly for the cleanup it saves you, not because it scrapes any faster than a plain wide knife. For a single room, a good flexible taping knife you may already own does the same job.
Can I do this if I’m renting?
Talk to your landlord before you start, in writing. Removing a ceiling finish is a permanent alteration, and depending on your lease it may be the kind of change that needs sign-off regardless of how reversible you think it is. That’s a lease question, not a technique one, and it’s worth the conversation before you buy a sprayer.
Figures on this page are US ranges as of August 2026, not a quote for your ceiling, and your zip code, ceiling height, and whether the texture is painted will move them, sometimes by half. Nothing here is a work method for a ceiling that has tested positive for asbestos. If a number is off in your market, tell me and I’ll correct it.