You bought peel-and-stick because it promised to skip the hard part. No paste to mix, no booking time, no learning curve — just peel, press, and you’re done before lunch. That promise is mostly true, which is exactly why the guide that comes with the roll undersells what actually goes wrong.
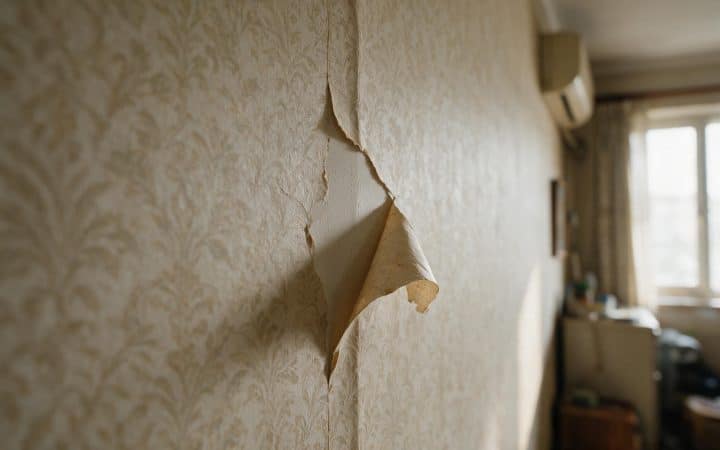
The failures that show up on peel-and-stick jobs aren’t paste failures, because there’s no paste. They’re the inside corner that puckers no matter how carefully you smooth it. The satin-painted wall that looks primed and clean but won’t grip the adhesive the way bare drywall does. The seam you butted edge-to-edge the way you’d have done with real wallpaper, which opened a hairline gap two weeks later because the material shrank a fraction after it went up. And the strip you pulled straight off the wall to reposition it, which took a layer of paint with it.
This is how to hang peel and stick wallpaper around those four points specifically, not a rehash of "peel, stick, smooth" steps that assume a flat wall with no corners and a wall finish that was never a variable in the first place. If you’re deciding between peel-and-stick and pasted paper in the first place, or you want the full pattern-math and climate rundown that applies to both, our main wallpaper hanging guide covers that ground. This one assumes you already have the roll and starts from there.
What actually changes with peel-and-stick, and what doesn’t
Peel-and-stick wallpaper — also sold as removable, self-adhesive, or repositionable wallpaper — swaps wet paste for a pressure-sensitive adhesive already on the back of the material. That one change removes an entire category of mistakes (mixed-too-thick paste, booking too long, paste drying on your hands before the strip goes up) and replaces it with a different set that most guides treat as an afterthought.
| Pasted wallpaper | Peel-and-stick | |
|---|---|---|
| Adhesive | Applied wet, sets over hours, cures over days | Pre-applied dry adhesive, grips on contact |
| Repositioning | A few minutes before it sets | Multiple times, as long as you don’t stretch the material |
| Wall prep | Primer or wallpaper size, always | Primer recommended, paint sheen and cure time matter more |
| Corners | Forgiving — paste fills small gaps as you smooth | Unforgiving — the adhesive doesn’t fill anything, it just grips or doesn’t |
| Removal | Requires water, a scraper, sometimes a steamer | Peels off by hand, but the angle and speed decide whether paint comes with it |
| Typical lifespan | 10-15 years, installed well | A few years to about a decade, brand-dependent |
Two things stay exactly the same regardless of which type you’re hanging. The wall still has to be clean, sound, and reasonably smooth — peel-and-stick doesn’t hide texture any better than pasted paper does, and a wall with heavy orange-peel or knockdown texture needs to be skim coated smooth first or the adhesive will only be gripping the high points. And the pattern math — buying enough rolls from the same dye lot, accounting for repeat waste — doesn’t change just because there’s no paste.
What’s genuinely different is where the risk sits. Pasted wallpaper mostly fails during the first hour, while the paste is still wet and forgiving mistakes are still fixable. Peel-and-stick mostly fails in the first two weeks, after you’ve moved on to the next room and stopped checking the corners.
Tools and materials
| You’ll need | Rough cost |
|---|---|
| Felt-edged smoothing tool or a plastic squeegee (not a hard-edged wallpaper brush) | $8-$15 |
| Sharp utility knife with extra blades | $6-$12 |
| 4 ft level or laser level | $15-$40 |
| Tape measure and pencil | $5-$10 |
| Sewing needle or pin, for bubble fixes | Already in the house |
| Hair dryer or heat gun on low, for corners and removal | Already in the house |
| Painter’s tape, to test wall adhesion before you commit a whole roll | $5-$8 |
That’s the whole list. No paste, no roller tray, no booking table — the cost difference versus a traditional install is mostly in what you don’t have to buy, not in anything special the peel-and-stick method requires.
The wall test most peel-and-stick guides skip
Peel-and-stick adhesive is pressure-sensitive, which means it bonds by contact and pressure rather than by soaking into a surface the way wet paste does. That’s convenient on bare, primed drywall. It’s a real problem on two kinds of walls that show up constantly in American homes: freshly painted walls, and walls finished in a higher-gloss sheen.
Freshly painted walls need real time, not "dry to the touch." Paint feels dry within a few hours, but curing — the chemical process that fully hardens the film and lets the last of the solvents and moisture escape — takes weeks, not hours. Apply an adhesive strip over paint that’s still curing and the wallpaper traps that outgassing against the wall, which is exactly the setup for bubbles and edges lifting a few weeks in rather than on day one. Wait a full 30 days after painting before hanging anything with adhesive against the wall — that’s the number wallpaper installers actually use, not the three-to-seven days that feels like plenty of time for paint to "dry."
Paint sheen decides how well the adhesive can grip at all. Flat and matte paint have a porous, low-sheen surface that a pressure-sensitive adhesive struggles to key into — the same reason flat paint marks and burnishes so easily under a cleaning sponge. Eggshell, satin, and semi-gloss give the adhesive a tighter, more consistent surface to grip, which is part of why so many peel-and-stick brands quietly recommend those sheens over flat in their own installation notes. If your walls are flat paint and you’re not repainting first, don’t skip the test below.
The tape test, before you cut a single strip
Press a strip of painter’s tape firmly onto the wall where you plan to hang paper, rub it down hard, then peel it off after a minute. If it lifts any paint or leaves the wall feeling chalky or dusty, the surface likely won’t hold peel-and-stick adhesive reliably either. A light coat of primer solves it in an afternoon; skipping the test doesn’t make the underlying problem go away, it just delays when you find out about it.
Textured walls fail for a related but different reason — not adhesion strength, but contact area. Orange-peel or knockdown texture only lets the adhesive touch the high points of the texture, so the strip is essentially resting on a series of small dots instead of a continuous surface. Skim coating the wall smooth first fixes this the same way it would for pasted paper — there’s no texture-friendly version of peel-and-stick that changes this rule.
Do the pattern math, then buy one extra roll
Pattern repeat, dye lots, and the waste allowance work the same way on peel-and-stick as they do on pasted paper — the full method, with the plumb-line layout that keeps a pattern from drifting across a room, is in our main wallpaper hanging guide. One thing is specific to peel-and-stick worth flagging here: roll width varies more by brand than it does with traditional paper, with some running a standard 20.5 inches and others closer to 24 or 28. Don’t carry over a panel count from a traditional-paper job — recalculate it from the actual roll width printed on your specific product.
Buy every roll in one order, from the same dye lot number on the label, the same as you would for pasted paper. Peel-and-stick adhesive backing doesn’t change this risk at all — a late reorder still has no guarantee of matching the run you already hung, and the seam between two dye lots is just as visible without paste as it is with it.
Hanging it, panel by panel
-
Start with a plumb line, not the corner
Measure one panel-width out from your starting point and strike a true vertical line with a level, the same as for pasted paper. Corners drift out of true over a wall’s height more than they look, and the first panel hung against a crooked corner carries that lean into every panel after it.
-
Peel a few inches, not the whole sheet
Pull back 6 to 12 inches of backing paper at the top, align that section to your plumb line and the ceiling line, and press it down before peeling more. Stripping the entire backing off at once means fighting a curling, self-sticking sheet while you’re also trying to keep it straight — that’s where most alignment mistakes happen, not in the smoothing itself.
-
Smooth from the center out, with a soft edge
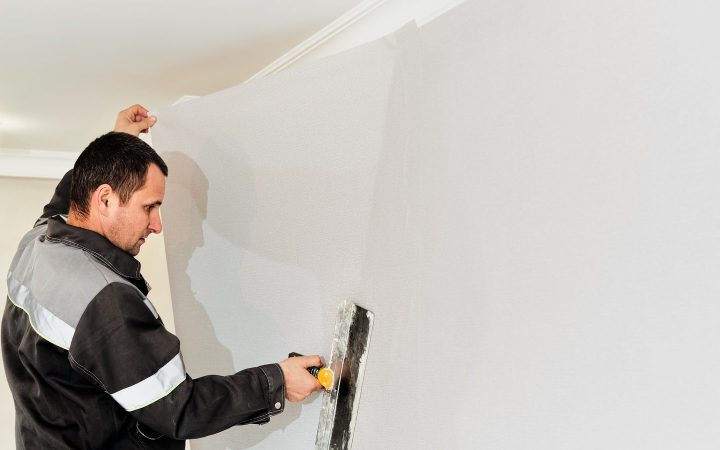
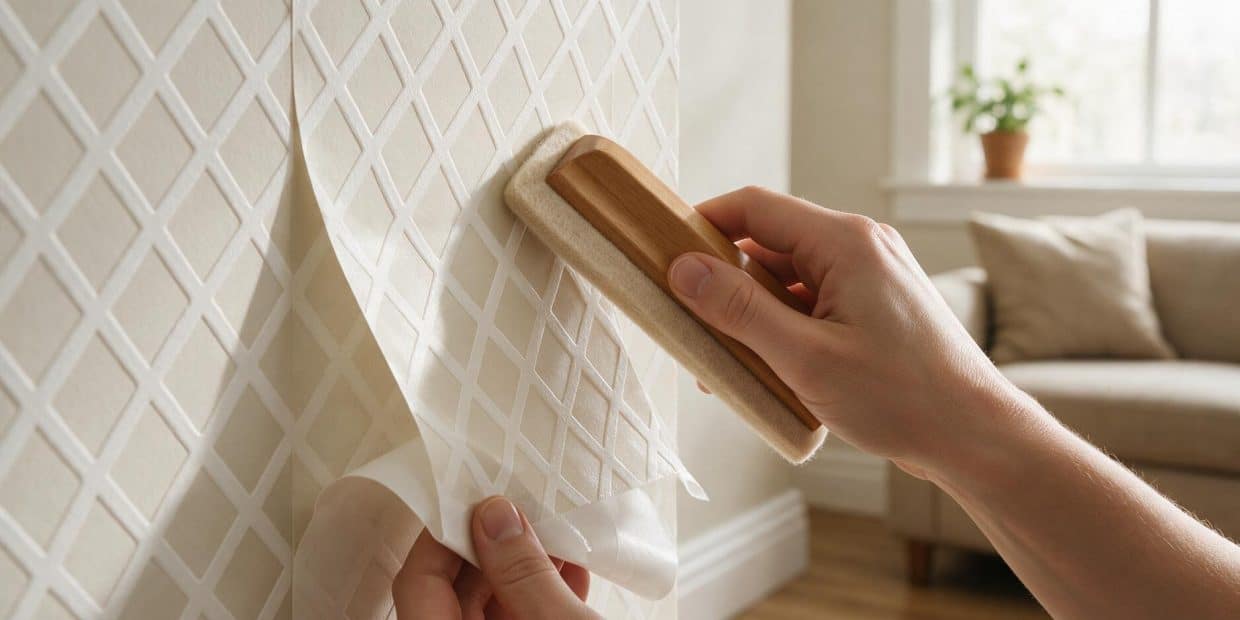
Work a felt-edged squeegee or plastic smoothing tool from the middle of the panel toward each side, top to bottom, pushing air ahead of it rather than trapping it. A hard-edged tool made for pasted paper can crease or score peel-and-stick material, which is thinner than most traditional stock.
-
Decide the seam before you commit to a butt joint
Check your specific product’s instructions before assuming a tight butt seam like pasted wallpaper. Many peel-and-stick brands spec a slight overlap — often around 1/16 to 1/8 inch — because the material can shrink a hair as the adhesive fully sets, and a butted seam with no give opens a visible gap over the following days. Not every brand does this, which is exactly why it’s worth the thirty seconds to check rather than assume.
-
Trim last, with a fresh blade
Cut the ceiling and baseboard overlap with a straightedge, changing the blade every panel or two. A dull blade drags and tears the material rather than cutting it, and peel-and-stick’s thinner stock tears more readily than heavier traditional paper does.
Corners are where peel-and-stick actually fails
Every generic peel-and-stick tutorial photographs a flat, uninterrupted wall, because flat walls are where the product behaves exactly like the marketing promises. Corners are where the promise runs out, and it’s not a minor gap in the coverage — inside and outside corners are the single most common place a peel-and-stick job starts lifting, weeks after the rest of the wall looks fine.
Inside corners: don’t wrap a full panel around one. A wall corner is rarely a true 90 degrees, and peel-and-stick material has enough stretch memory that forcing a full panel to bend around an out-of-square corner leaves it under tension. That tension doesn’t show up on day one — it shows up as a slow pucker or lift right at the fold, days or weeks later, once the adhesive has had time to relax. The fix is to treat the corner as a break point, not a bend: run one panel to within about half an inch of the corner, then start a fresh panel on the other wall with a small overlap into the corner itself, rather than wrapping one continuous sheet around the fold — a technique wallpaper retailers spell out specifically for peel-and-stick corners.
Outside corners: wrap a little, not a lot. An outside corner can take a modest wrap — roughly half an inch to an inch past the edge — without the same tension problem, because the material is bending away from itself instead of being forced into a tight inward fold. Wrapping much more than that on an outside corner risks the edge catching and lifting the first time someone brushes past it, which happens a lot on outside corners near doorways and hallways.
Relief cuts save a corner that’s fighting you. If a panel is puckering as you work it into a corner, a small relief cut — a shallow vertical slit right at the fold, no more than the depth of the corner itself — lets the material lie flat without stretching. It sounds like it should show, but a clean relief cut tucked into the actual corner line is far less visible than the pucker it prevents.
Outlets and switches get the power cut first, then an X. Turn off the breaker for that room before cutting anywhere near a switch or outlet — treat this as non-negotiable, not a shortcut for a quick job. With the power off, hang the panel over the plate opening as normal, then cut a diagonal X across the opening with a sharp blade, fold the four triangles back, trim them flush to the inside edge of the box, and replace the cover plate. The X keeps the cut controlled; cutting a single straight slit first is how the material tears past where you meant to stop.
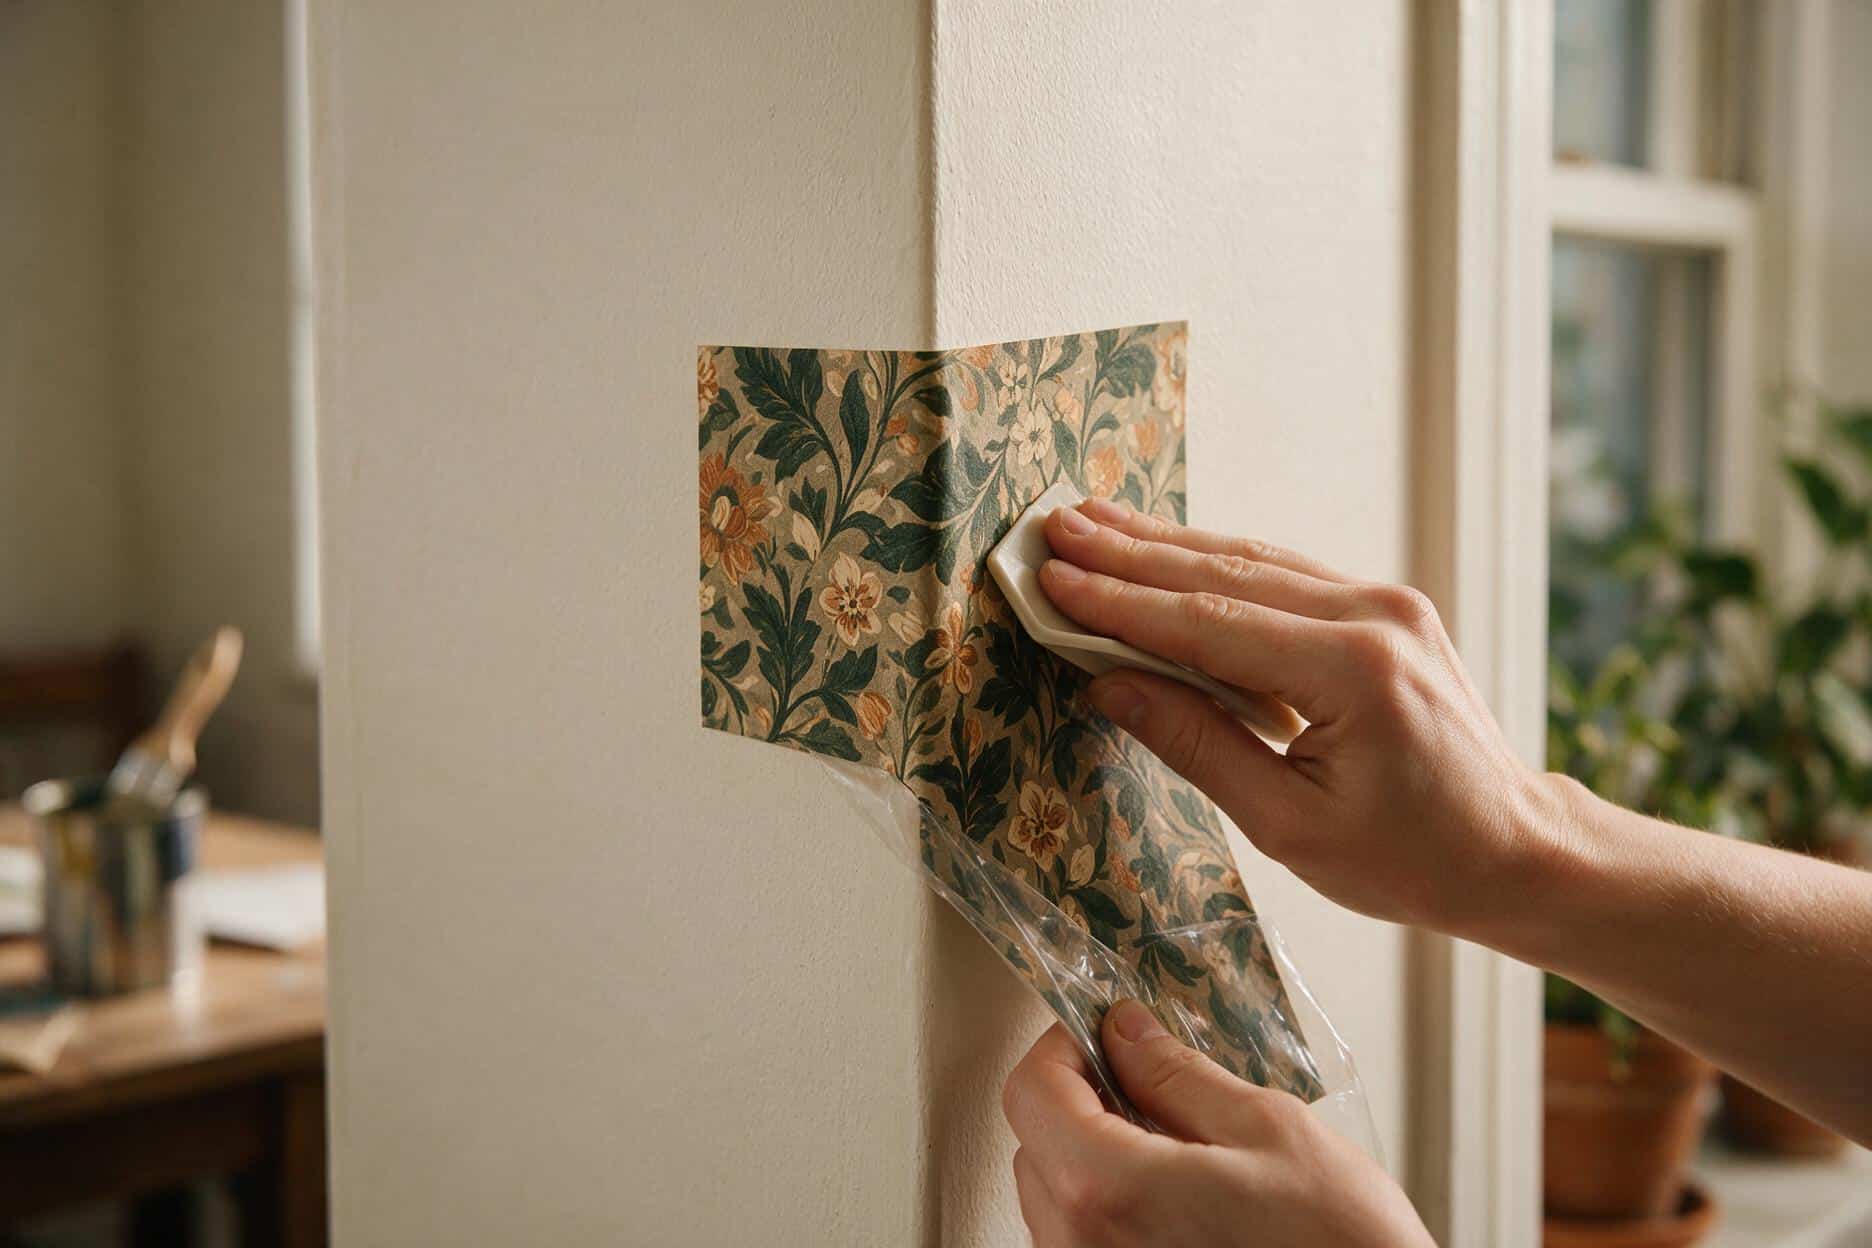
Inside corners take a break in the panel, not a wrap — forcing one sheet around the fold is what causes the slow pucker that shows up weeks later.
Fixing bubbles and misalignment without starting the panel over
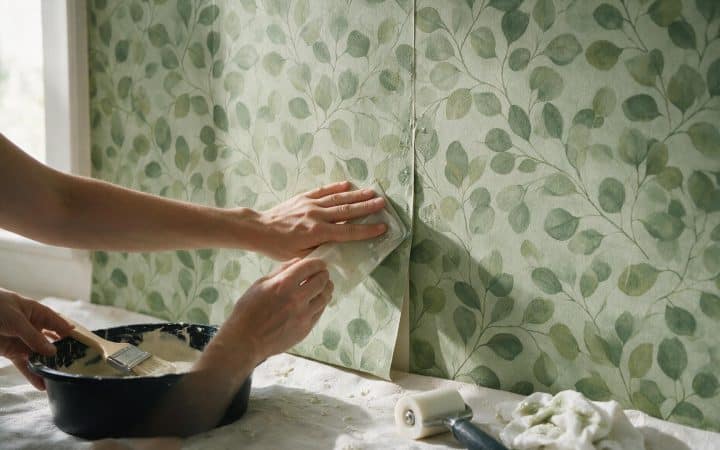
Small bubbles are a five-minute fix, not a redo. If a bubble shows up after a panel already looked flat, push a sewing needle or pin into the center of it at a shallow angle, press the trapped air out toward the pinhole with a fingertip or the edge of your smoothing tool, and flatten the spot. The hole is smaller than the head of the pin and disappears into most patterns completely.
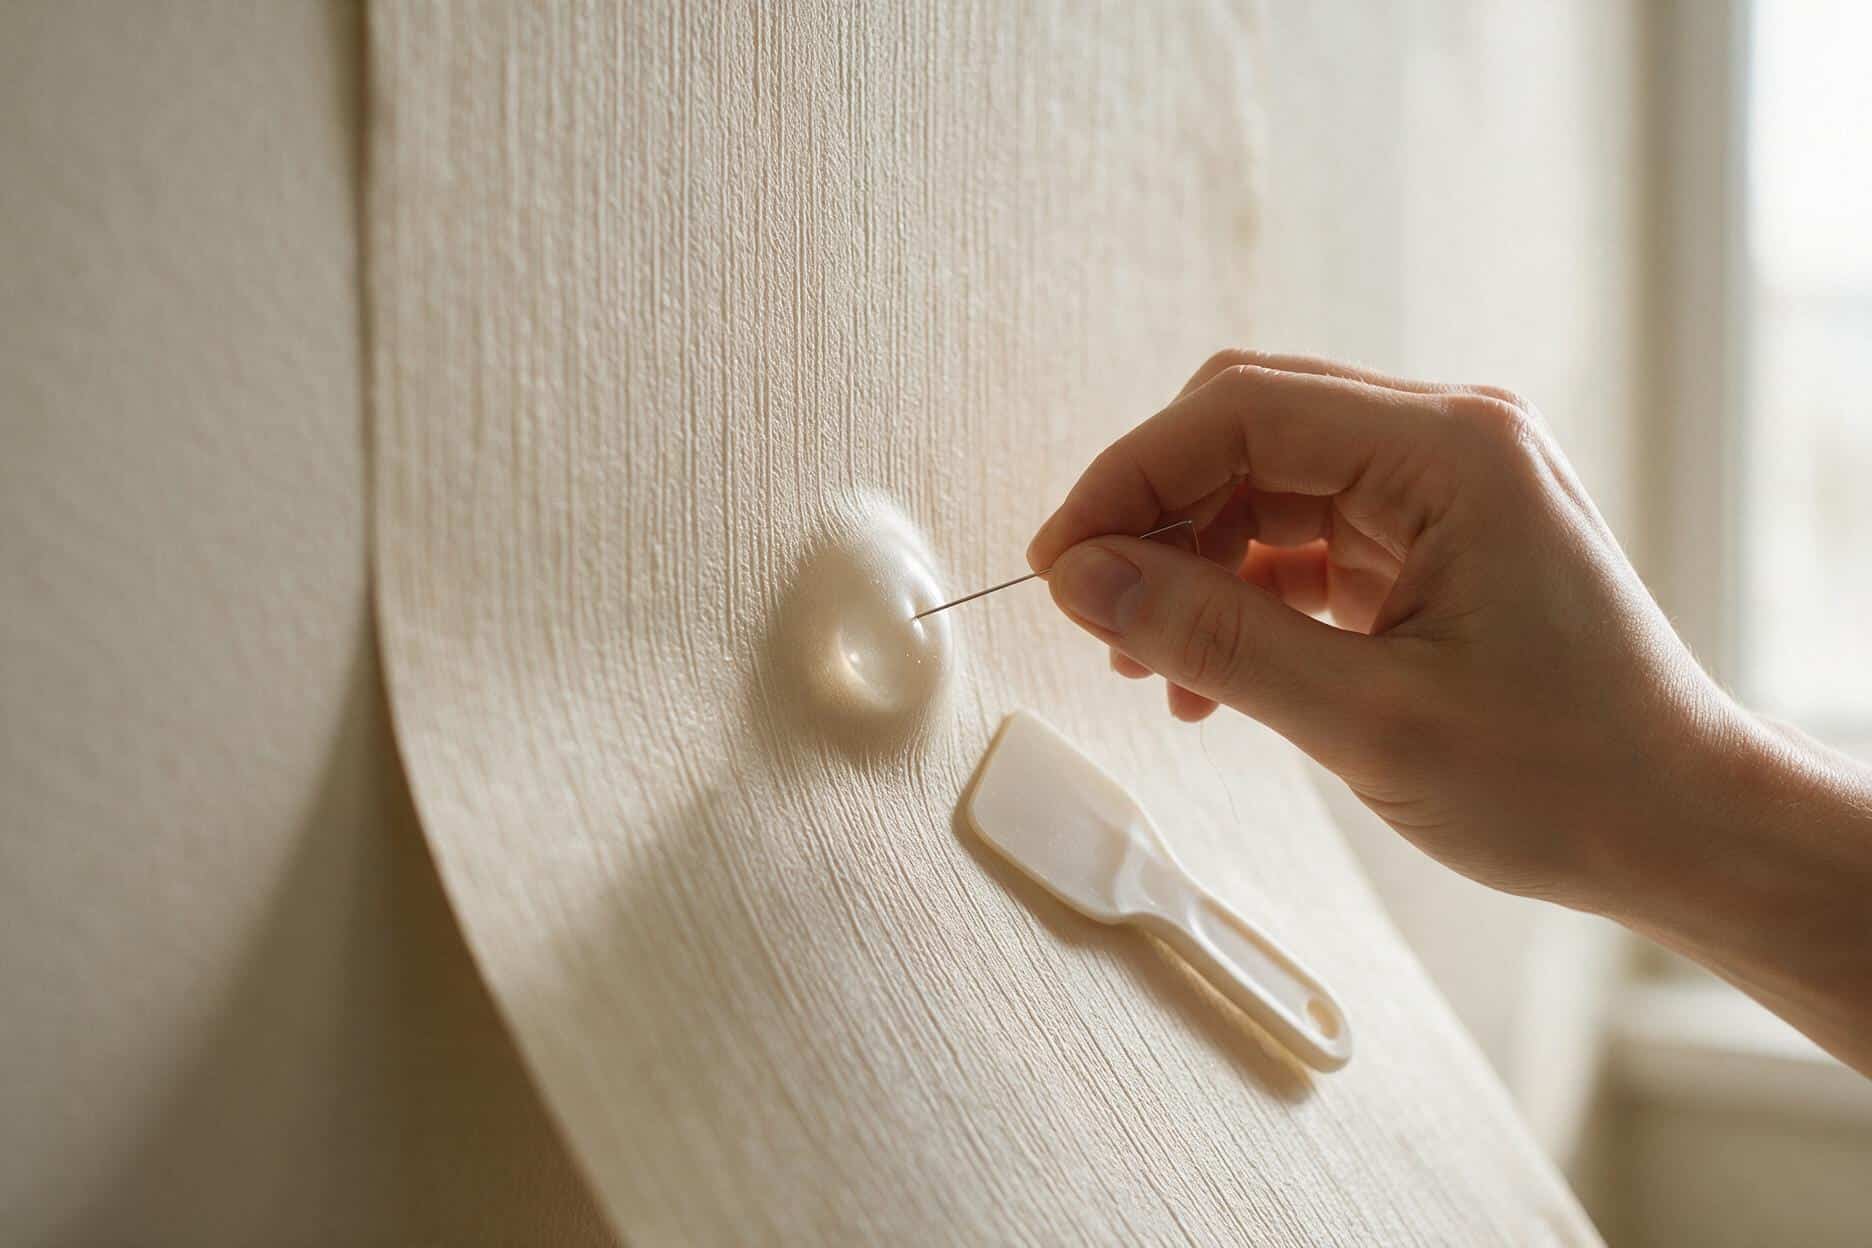
A pinhole at a shallow angle lets the air out without leaving a mark bigger than the needle itself.
Bigger misalignment means peeling back, not fighting it flat. If the pattern is visibly off where two panels meet, or a whole section went up crooked, lift the panel from one edge and peel it back slowly rather than yanking it — peel-and-stick adhesive is designed to release and reset, but only if you give it a low, gradual angle instead of pulling straight out from the wall. Realign, and press it back down working from the center out again.
Know when to stop repositioning. Every peel-and-stick material has a practical limit on how many times it can be lifted and reset before the adhesive itself starts to weaken or the material stretches slightly out of shape. Two or three repositions on the same panel is normal and expected. Beyond that, you’re more likely to introduce a new problem — a slightly stretched panel that no longer matches its neighbor’s pattern — than to fix the original one. If a panel is that far off after three tries, it’s faster to cut a fresh one than to keep working the same piece.
What it costs in 2026
| DIY materials | Hired out | |
|---|---|---|
| Per roll | $20-$45 | — |
| Per square foot | $1-$6, depending on brand and finish | $3-$6 per sq ft, all-in |
| Average accent wall (60 sq ft) | $60-$180 | $180-$360 |
| Average small room (100 sq ft) | $100-$300 | $300-$600 |
Peel-and-stick sits in an unusual spot in the wallpaper cost conversation: it’s one of the few wallpaper types where hiring a professional costs more relative to the job than it saves you, since the entire selling point of the product is that it skips the paste-and-booking skill set a pro is charging for. Most installers will still hang it for you, but the DIY-versus-pro gap is wider here than on any other wallpaper type, which is part of why it dominates rental and accent-wall projects specifically.
If the wall needs priming or a skim coat first, add $20-$60 in materials for a single wall — cheap relative to redoing an entire panel that failed to grip a flat-painted or textured surface.
Taking it down later without pulling paint off with it
The entire pitch of peel-and-stick is that it comes back off cleanly, and that promise depends almost entirely on how you pull it, not how long it’s been up.
Pull low and slow, ideally warm. Start at a top corner and pull the material back on itself at a shallow angle — close to parallel with the wall rather than straight out from it — working slowly rather than in one motion. A hair dryer on low heat aimed at the section just ahead of where you’re pulling softens the adhesive and makes it release from the paint instead of taking the paint with it. Cold rooms make this worse: adhesive that’s stiff from a cold wall is more likely to grab the paint film than release from it cleanly.
Dwell time matters more than the marketing suggests. Most peel-and-stick products are rated removable for a year or more, but the honest version is that the longer it stays up — especially anywhere that gets direct sun or a lot of heat — the more the adhesive can bond into the paint film rather than sitting on top of it. A wall that’s had peel-and-stick up for two years in a sunny room is a different removal job than the same product pulled after three months.
Leftover residue comes off with heat and mild solvent, not scraping. If adhesive residue stays on the wall after the paper’s off, warm it again with a hair dryer and wipe with a cloth dampened in warm soapy water or a bit of rubbing alcohol. Scraping a sticky residue with a putty knife is how a clean removal turns into a wall that needs to be patched and repainted instead of just wiped down.
This is also the point where peel-and-stick and pasted wallpaper diverge completely — pasted paper generally needs water, time, and a scraper to come off, while peel-and-stick was designed to skip all three. That only holds true if the pull technique is right; done wrong, a "removable" product can leave the wall in worse shape than paste would have.
What you’ll see if one of these got skipped
| What you see | Likely cause | What to do |
|---|---|---|
| A panel won’t grip at all, no matter how hard you press | Wall is flat/matte paint, textured, or freshly painted | Stop, run the tape test, prime or wait out the cure time before continuing |
| A corner lifts a few weeks after everything looked fine | A full panel was wrapped around an inside corner instead of broken there | Peel back slowly, add a relief cut, and reset with a break at the corner instead of a wrap |
| A seam opens into a visible gap after a few days | Panels were butted tight with no overlap on a brand that needs one | Check the product’s seam instructions; a thin bead of seam adhesive can close a small gap |
| A bubble appears after the panel looked flat | Air got trapped, or the wall had dust or texture under the panel | Pin-prick and press flat; if it keeps happening, the wall likely needs cleaning or skim coating first |
| Paint comes off with the paper during removal | The panel was pulled straight out and fast instead of low and slow | Warm the next section before pulling, and keep the angle shallow |
| The pattern drifts visibly by the far wall | The first panel was hung against the corner instead of a plumb line | Nothing fixes it after the fact — re-strike a plumb line and restart the run |
Questions I get on site
Can I put peel-and-stick wallpaper over a textured wall?
Not successfully, no. The adhesive only contacts the high points of textures like orange peel or knockdown, which is a fraction of the surface area it needs to grip. Skim coat the wall smooth first — the same fix as for pasted paper, and there’s no peel-and-stick shortcut around it.
Does peel-and-stick work over painted walls, or does it need bare drywall?
Painted walls are fine, and actually more common than bare drywall for this product, as long as two things check out: the paint has fully cured (about 30 days if it’s fresh) and the sheen isn’t flat or matte. Run the tape test from the wall-prep section above before you commit a whole roll to a wall you’re unsure about.
How long can peel-and-stick wallpaper stay up before it’s hard to remove?
Most brands are rated removable for a year or more without issue, but heat and direct sun shorten that window by letting the adhesive bond further into the paint film over time. A wall in a sunny room that’s had paper up for two-plus years should be treated as a slower, more careful removal than a three-month accent wall, even on the same product.
Can I reuse peel-and-stick wallpaper after taking it down?
Some products are reusable if removed carefully and the backing is preserved, but most lose enough tack after one full removal that a second application won’t hold reliably long-term. Treat any reuse as temporary rather than planning around it.
Is peel-and-stick durable enough for a kitchen or bathroom?
For a backsplash-adjacent wall away from direct water contact, generally yes, provided the product is rated moisture-resistant — check the listing, since not all peel-and-stick is. Direct water exposure, like inside a shower surround, is a different situation and not what most peel-and-stick wallpaper is built for regardless of what the listing photos suggest.
What’s the real difference in seam technique between this and pasted wallpaper?
Pasted paper is almost always butted edge to edge, with wet paste filling any tiny gap as you smooth it. Peel-and-stick has no paste to fill a gap, and many brands actually want a slight overlap instead of a butt seam to account for minor shrinkage as the adhesive fully sets. Check your specific product’s instructions rather than assuming either method carries over from the other.
The rule I work by
Peel-and-stick earns its reputation for being foolproof on every wall except the ones that actually get tested — an inside corner, a wall painted three weeks ago, a seam on a brand that wanted an overlap instead of a butt joint. None of those show up in the five-minute demo video that sells the product, and all of them show up in the two weeks after installation, which is exactly when most people have already put the furniture back and stopped paying attention.
I treat the corner and the paint sheen as the two checks that decide whether a peel-and-stick job is still flat in a month, not just on install day. Run the tape test before you cut the first panel, break the run at inside corners instead of wrapping them, and check the seam instructions for your specific product instead of assuming it works like paste. The material genuinely is easier than pasted wallpaper. It just isn’t easier at the three points where people assume "no paste" means "no technique."