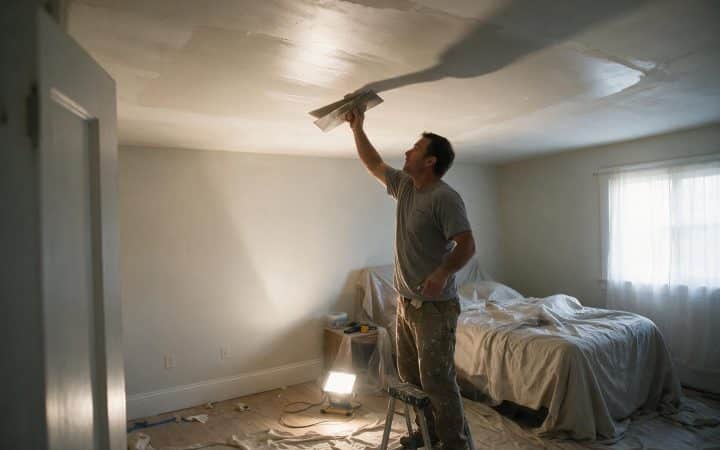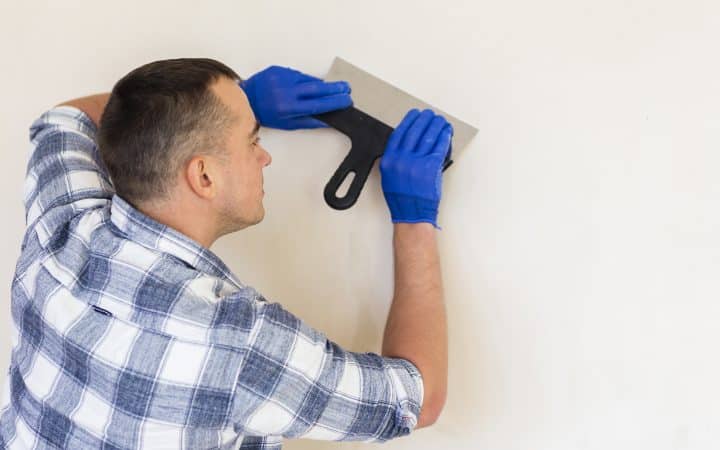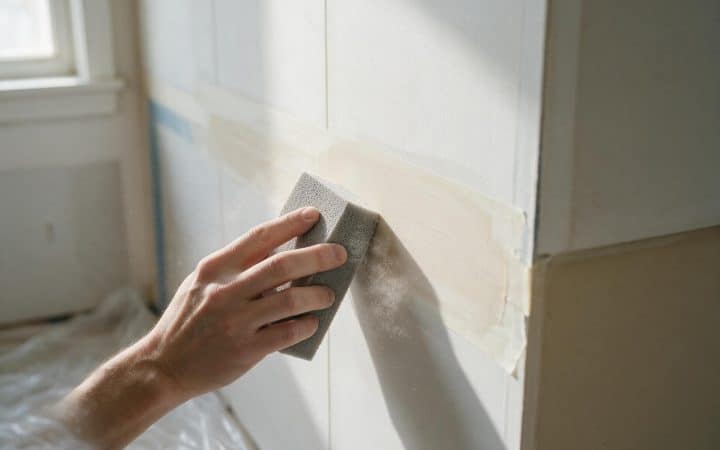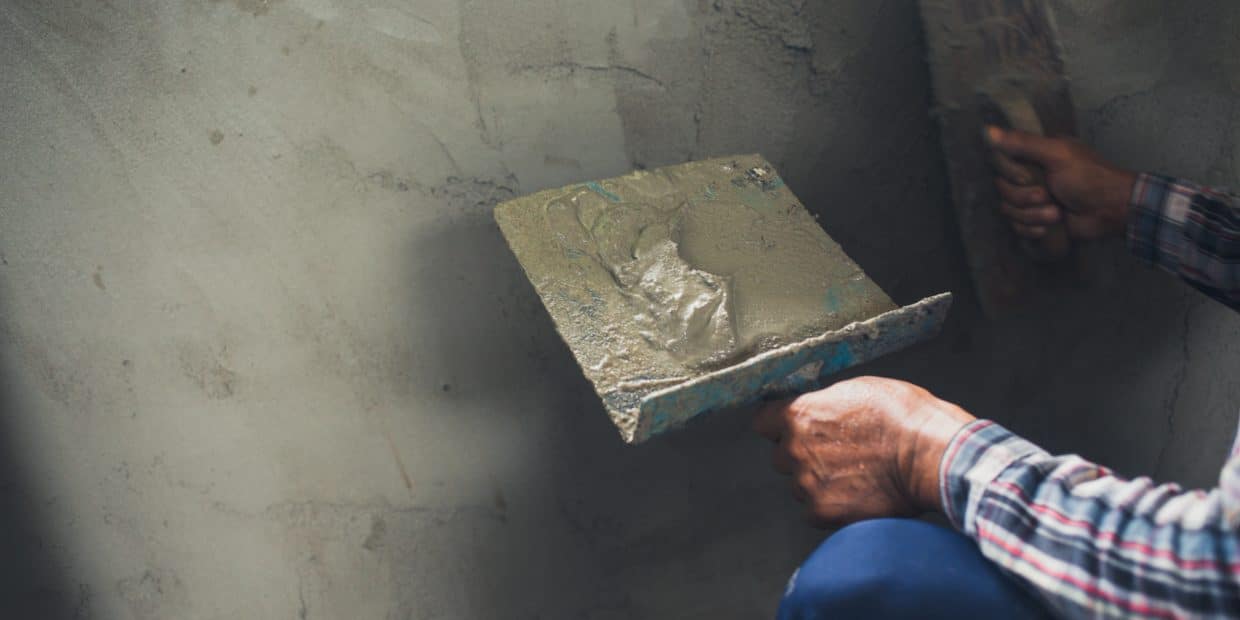
Most guides to setting type joint compound stop at the definition: it’s the bagged powder finishers call hot mud, it hardens by chemical reaction instead of drying out, and it comes in numbers like 20, 45 and 90. That part is easy, and if all you needed was the difference between it and premixed compound, the three-way comparison I wrote already covers it.
What that comparison doesn’t have room for is the part that actually decides whether your repair looks right: the batch you mix at 2pm on a hot day behaves nothing like the same bag mixed at 8am in a cool basement, and the number printed on the paper is a starting point, not a promise. I’ve watched a “45” set in under twenty minutes and a “20” stay workable for half an hour, on the same job, an hour apart. This is the part that turns a good repair into a fight against the clock, and it’s the part nobody puts on the bag.
What’s actually happening when setting type joint compound sets
Premixed joint compound hardens by evaporation. Water leaves the bucket into the air, and however humid the room is, that’s how long you wait. Setting type joint compound hardens by a chemical reaction: the calcined gypsum powder rehydrates back into a solid crystal structure, the same reaction that hardens plaster. That reaction runs on its own clock. It doesn’t care about the room’s humidity, and it doesn’t stop for you.
Two things follow from that, and both of them are the reason this material has a reputation for being harder to use than premixed mud, even though the tools and the motion are identical.
First, the reaction is exothermic. It gives off heat as it runs, and a bigger, thicker batch traps more of that heat than a thin, small one. That’s why a full bucket of “45” sets meaningfully faster than a half-mixed cup of the same bag: the batch itself is speeding up its own reaction. Second, the reaction speeds up with ambient temperature the same way most chemical reactions do. A rough rule I use on site: for every 18°F above the 70°F the bag is rated at, figure the working time drops by close to half. Go the other direction into a cold garage and it stretches out, sometimes past what’s convenient. Neither of those effects is on the label, and both of them matter more than which brand you buy.
Setting type joint compound working times, and why the number is a starting point
The number on the bag is minutes of working time at 70°F, measured from when water hits the powder. It is not drying time, it is not sanding time, and it is not how long the room needs before you can paint. It’s the window you have to mix, apply and tool the batch before it stops moving.
| Bag number | Working time at 70°F | What it’s actually for |
|---|---|---|
| 5 | About 5 minutes | Rare outside commercial finishing crews running multiple hands on one wall. Too fast for a solo repair. |
| 20 | 15–20 minutes | Small deep fills, embedding tape on a short seam, anywhere you want the next coat within the hour. |
| 45 | 35–45 minutes | The one most homeowners should buy. Long enough to mix, spread and feather a patch without rushing, short enough for two or three coats in a day. |
| 90 | 75–90 minutes | Bigger repairs, hot rooms, or a first attempt where you want the extra margin to learn the feel of it. |
| 210 | About 3–3.5 hours | Large areas, cold rooms, or when the batch has to stay open long enough for one person to cover a full wall. |
My working rule for picking the number: match it to how much surface one person can realistically spread and feather, not to how long you’d like to have. A “90” feels safer the first time you use setting-type compound, but a “45” that you actually finish before it kicks beats a “90” that skins over while you’re still deciding how wide to feather the edge. If you’re patching one hole, buy 45s. If you’re doing a whole ceiling solo, buy 90s or 210s and accept that you’ll be sanding tomorrow instead of tonight.
Buy two numbers, not one
I keep 20s and 45s on the truck for almost everything, and reach for a 90 only on hot days or big pours. A three-pack of small bags in different numbers costs less than guessing wrong and wasting a full one.
Mixing setting type joint compound without wasting half the bag
The consistency you want is closer to natural peanut butter than the pancake-batter mix you’d thin premixed compound to for spraying texture. Too much water and you lose strength and get more shrinkage than the material is supposed to have. Too little and it won’t spread, and you’ll be fighting drag marks the whole time.
- Start with cool, clean water in a clean mixing container. Warm water accelerates the set before you’ve even applied it, and any dried compound left in the bucket from last time acts as a seed crystal that speeds the whole batch up unpredictably.
- Sprinkle the powder into the water, not the other way around. Adding water on top of a pile of powder leaves dry pockets in the middle that never fully hydrate, and those pockets are where a patch crumbles later.
- Mix with a margin trowel or a slow-speed paddle mixer until it’s uniform and lump-free, then stop. Over-mixing introduces air and can shorten the working time by agitating the reaction, the opposite of what a rushed mix is trying to buy you.
- Mix only what you can place and tool before the clock runs out. This is the single most common mistake I see: someone mixes the whole bag’s worth for a nail-hole-sized repair, then races a five-gallon bucket of hot mud that’s setting up faster than they can use two tablespoons of it.
Exact water ratios vary by brand and by the specific product’s formulation, so follow what’s printed on your bag rather than a fixed number here. What doesn’t vary is the sequence: water first, powder sprinkled in, mix to a uniform paste, and never add water back into a batch that’s started to stiffen. That last one doesn’t reset the clock, it just gives you a weaker patch that still sets on schedule.
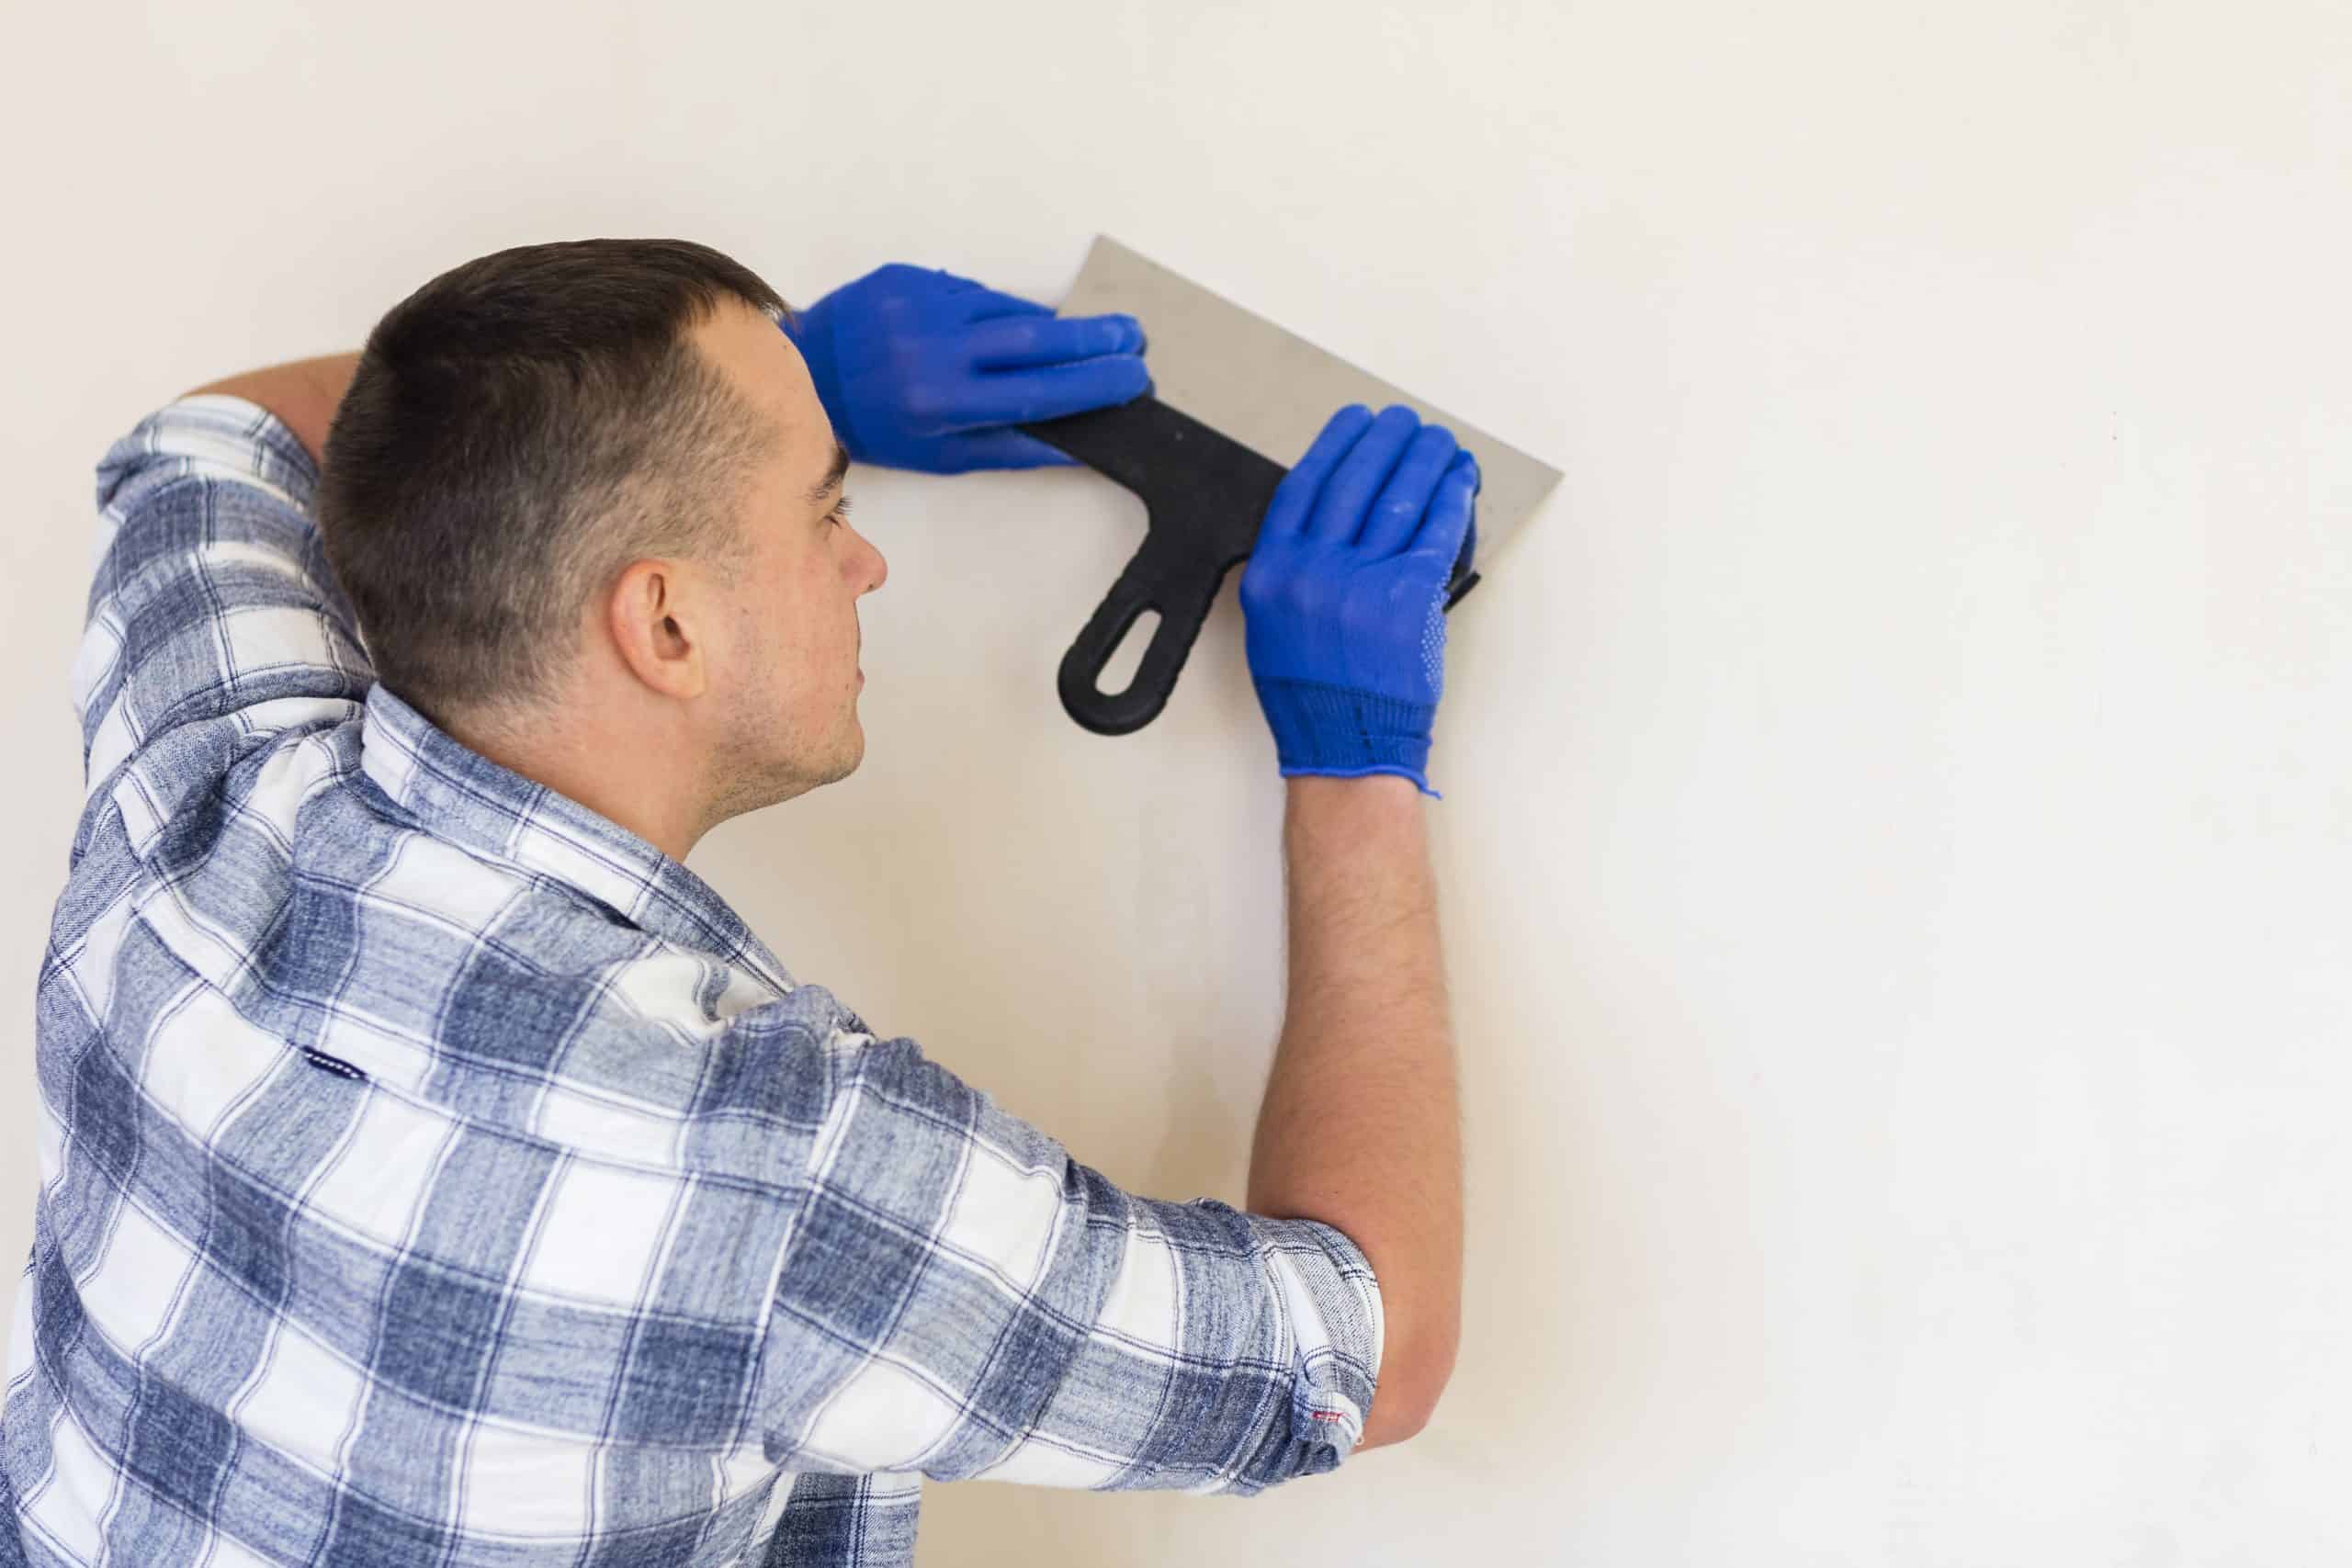
The window to trowel and feather it flat
Setting type joint compound stays workable right up until it doesn’t, and the transition is faster than premixed compound’s slow stiffening. There’s a short stretch near the end of the working time where the material is still spreadable but starting to drag, and that’s actually the best moment to do your final feathering pass, because the surface tension that’s building is what lets an edge disappear instead of leaving a trowel line.
Past that point it goes from workable to unworkable in a couple of minutes, not the slow fade you’d get from premixed mud losing water. If you’re still trying to smooth it once it’s grabbed, you’re not finishing the coat, you’re tearing the surface of a material that’s already decided it’s done. The fix at that point isn’t more trowel pressure, it’s stopping, letting it fully harden, and taking the high spots off dry rather than trying to wet-feather them.
For deep fills, past about a quarter inch, apply setting-type compound in layers rather than one thick pour even though it shrinks far less than premixed compound. A single deep pour can crack as it sets if the surface skins before the center firms up. Two passes inside the same working-time window, letting the first firm up for a few minutes before the second, gives you the depth without the crack.
Sanding setting type joint compound: catch it green, not after it’s rock hard
This is the step most first-time users get backwards, because everything they know about drywall mud comes from premixed compound, which stays soft and sandable for as long as you leave it. Setting-type compound does the opposite. It’s easiest to knock down in the first hour or two after it sets, while it’s still what finishers call green: hard enough to hold a shape, soft enough that a taping knife or a rasp shaves it rather than fighting it. Wait until the next day and the same ridge that would have taken thirty seconds with a knife now needs real sanding effort, because the material keeps gaining hardness for hours after the working time is over.
My sequence: once the batch has fully set, run a taping knife at a shallow angle over any high ridges before you leave the room, while it’s still green. That knocks off the worst of it with almost no dust. Come back later, once it’s fully hardened, for actual sanding with the grit progression I lay out in what grit to sand drywall, which was written for premixed compound but applies the same way here, just with more resistance under the paper.
Setting-type compound also sands harder and dustier than premixed mud in general, which is one more reason most finishers don’t use it for the final coat. The usual sequence is setting-type for the base fill or the first taping coat, where speed and strength matter, then a final skim in lightweight or topping premixed compound for the coat you actually sand smooth. I go through which premixed grade does that job, and how many coats a wall needs to get there, in skim coat walls.
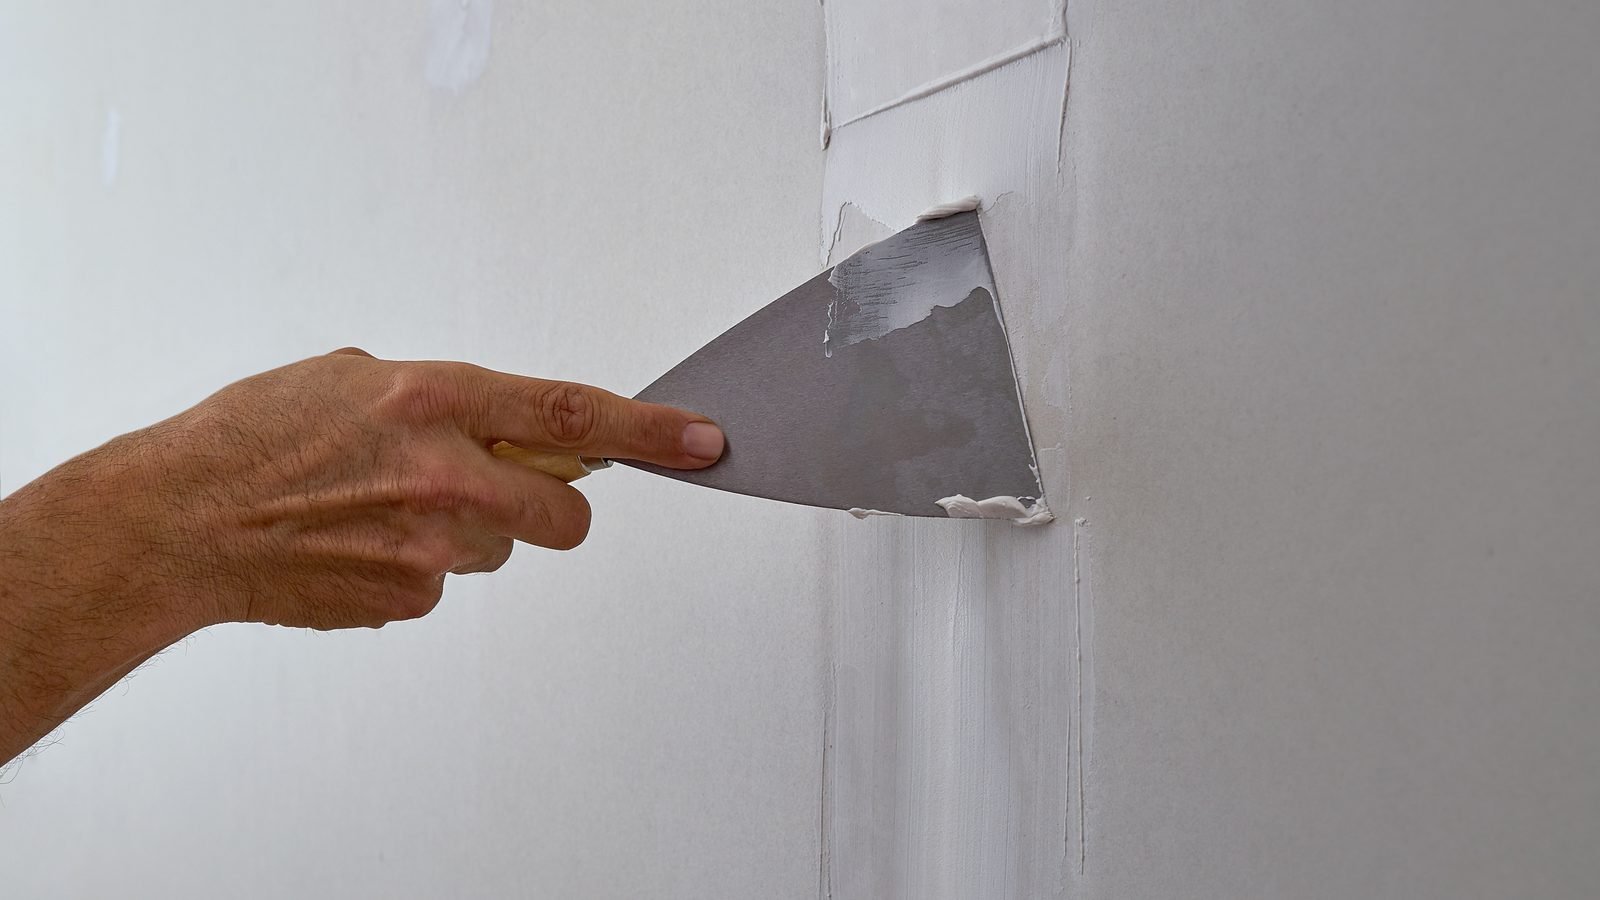
Running two or three coats in one day
This is the whole reason setting-type compound exists on a truck. A weekend DIYer working in premixed compound plans a coat a day, three days for three coats, because each one has to dry. A finisher running 45s can put three coats on a wall between breakfast and the evening news, because each one only has to set, not dry.
| Job | Bag number | Realistic same-day coats |
|---|---|---|
| One taped seam, patch repair | 20 or 45 | 2–3, first thing in the morning through early afternoon |
| Deep fill, hole with backing | 20 for the fill, 45 for the coats over it | Fill plus 1–2 finish coats |
| Full wall or ceiling, solo | 90 or 210 | 1–2, since coverage takes longer than a small patch |
| Whole room, two people | 45 or 90 | 2–3, with one person mixing while the other spreads |
The practical limit isn’t the material, it’s you. Mixing, applying, cleaning tools and waiting out a 45-minute set, three times, is a full afternoon of attention. Most homeowners get more consistent results planning two coats in a day and a third the next morning than trying to cram three into one sitting and rushing the last one.
Where setting type joint compound actually earns its place
It isn’t the right choice for every repair, and using it on a single nail hole is more mixing and cleanup than the job needs. It earns its keep on four kinds of work.
Deep fills are the clearest case. Anything past about a quarter inch is where premixed compound needs two or three passes just to stop shrinking back into a dip, and where setting-type fills it once. The dent-repair method in how to repair a dent in drywall and the backed-hole method in how to patch a large hole in drywall both lean on this.
Taping a seam or a crack the same day you cut it open is another. If the repair in how to fix cracks in walls or drywall seam crack needs new tape, setting-type gets you a hard first coat within the hour instead of tomorrow.
Overhead work is a third. A compound that stops moving on a schedule, rather than whenever the room’s humidity allows, is worth the extra step of mixing it yourself when you’re working above your head. It’s stiffer than thinned premixed mud too, so it sags less while you’re troweling it flat on a ceiling repair.
And then there’s anything time-sensitive: a rental turnover, a repair before guests arrive, or just not wanting a patch left open on the wall for a week. Same-day multi-coat work is what setting-type compound was built for.
For a scattered handful of nail pops or one small anchor hole, skip it entirely. Spackle or a small dab of premixed compound closes those out with no mixing and no clock to watch, which is the whole case I lay out in joint compound vs spackle.
The mistakes that make it crumble or crater
| What you see | What actually happened | Fix |
|---|---|---|
| Patch crumbles or stays soft in spots | Powder didn’t fully hydrate, usually from dumping water onto a pile of powder instead of powder into water | Chip it out and remix properly. There’s no saving a batch with dry pockets. |
| Surface cratered or pitted after it hardened | Air got trapped during mixing, or the batch was worked after it had already started to skin | Prevent by mixing at a slower speed and stopping the moment the color is uniform. A cratered patch needs a thin setting-type or premixed skim over the top. |
| Set much faster than the bag said it should | Warm water, a warm room, a big batch, or old compound left in the mixing bucket seeding the reaction | Mix smaller batches, use cool water, and clean the bucket to bare plastic between mixes. |
| Cracked across a deep fill | One thick pour instead of two thinner passes; the surface set before the center did | Chip out and refill in two passes inside one working-time window. |
| Won’t sand smooth the next day | Missed the green window and let it fully harden with ridges still standing proud | Nothing to do but sand it properly now. Catch the next one within the first hour or two after it sets. |
Never rinse mixed setting-type compound down a drain
This is the mistake that costs the most, and it has nothing to do with the wall. Premixed compound is a bad idea to rinse down a sink too, but setting-type compound will actively harden inside your pipes the same way it hardens on the wall, because the chemical reaction doesn’t care what’s holding it. Scrape mixing buckets and tools into the trash while the compound is still wet, then rinse what’s left with a rag before it touches running water. A clogged drain trap full of set gypsum is a plumber’s call, not a DIY fix.
Sanding it on a pre-1978 wall is a different question
Setting-type compound itself isn’t a hazard to mix or sand. What’s already on the wall might be. If the paint underneath predates 1978, dry sanding disturbs lead dust, and if the texture or plaster predates the mid-1980s, it can contain asbestos. Wet-sand or scrape with a wet rag instead of a dry pad on older walls, or test first. Where my advice on this stops is set out in the disclaimer.
What setting type joint compound costs in 2026
| Item | Typical size | Retail price, 2026 |
|---|---|---|
| Small bag (20, 45) | 3–5 lb | $8–$14 |
| Standard bag (20, 45, 90) | 18 lb | $14–$25 |
| 210, large bag | 25 lb | $20–$30 |
| Added labor when a pro uses it over premixed | Per sq ft | +$0.50–$1.20 |
The material itself is cheap relative to the time it saves. An 18 lb bag runs less than a bucket of premixed compound and covers a comparable area for taping and fills, so the cost case for using it is almost never about the bag price. It’s about whether the job is worth mixing your own compound for. A contractor’s bill barely moves either way, since a finisher is billing for the visit, not the ten dollars of powder. The drywall repair cost breakdown and the wider costs section have the full labor-versus-material picture if you’re deciding whether to hire the job out.
Questions I get on site
Is setting type joint compound the same as hot mud?
Yes, hot mud is the job-site name for it. Both refer to the bagged powder that hardens by chemical reaction rather than by drying, sold under numbers like 20, 45 and 90 for its working time in minutes.
Can I use setting type joint compound for the final coat before paint?
You can, but most finishers don’t, because it sands harder and dustier than premixed mud. The common sequence is setting-type for the base fill or taping coat, then a final thin skim in lightweight or topping premixed compound for the coat you actually sand flush.
Why did my setting type joint compound set faster than the number on the bag?
Almost always one of three things: warm water, a warm room, or a bigger batch than the number was tested on. The reaction gives off its own heat, so a full bucket sets meaningfully faster than a small test scoop of the same bag.
Can I add water to setting type joint compound once it starts to stiffen?
Don’t. Adding water back into a batch that has started to set doesn’t restart the clock, it just gives you a weaker, less reliable patch that still hardens on roughly the original schedule. Mix a fresh, smaller batch instead.
How long before I can paint over setting type joint compound?
Once it’s fully hardened and sanded, it’s ready for primer the same day for a thin coat, though a deep fill benefits from sitting overnight to make sure the center is as hard as the surface. Always prime before paint. Compound is more porous than the surrounding wall and unprimed patches flash, or show as a duller sheen, once the topcoat goes on.
Does setting type joint compound shrink?
Very little, which is its main advantage over premixed compound on deep fills. It hardens by a chemical reaction rather than by losing water, so what you trowel in is close to what stays, even in a single fill deeper than premixed mud could handle without shrinking back.
What number should a beginner buy?
45. It gives you enough time to mix, spread and feather without rushing, but it still sets fast enough that you’ll get a second coat done the same day. Save the 90 or 210 for hot rooms or bigger areas once you know how the material feels.
Setting-type compound chemistry and working-time guidance follow manufacturer technical data from National Gypsum and USG, cross-checked against GA-214 as published by the Gypsum Association. Prices are US ranges checked against retail listings in August 2026 and are not a quote. Everything about how this material actually behaves on site comes off my own jobs since 1997; if something here doesn’t match what you’re seeing in your own bag, tell me and I will look into it. More on choosing the right compound before you start is under surface prep, and how this fits into a full repair budget lives in the costs section. How I put these numbers together is on the about page.