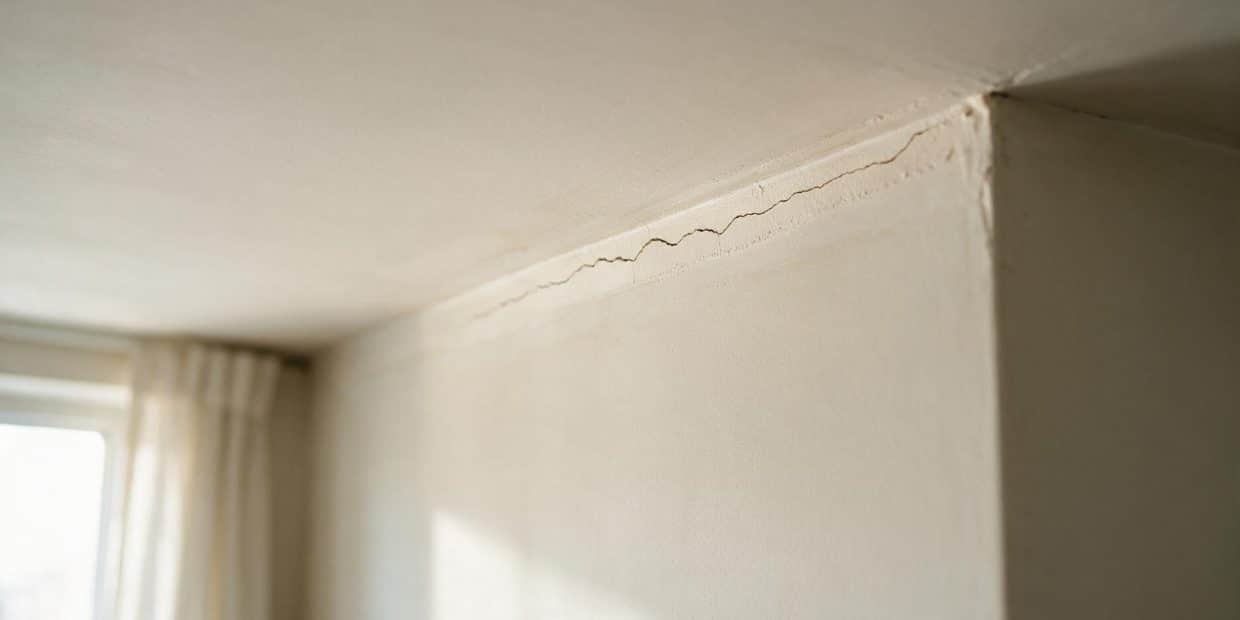
A crack that runs dead straight along a single line, and nowhere else on the wall or ceiling around it, isn’t behaving like most of what’s covered in our guide to fixing cracks in walls. It’s tracking a seam — the taped joint between two sheets of drywall — and that changes both the diagnosis and the fix. Skim a thin coat of compound over it, the way almost everyone does the first time, and it reopens in the same spot within a year, sometimes within a season. The compound was never the problem. What failed underneath it — tape that lost its bond, a board edge with nothing holding it flat, or a butt joint fighting a shape it was never given — is still there, waiting under the new coat. Twenty-nine years of getting called back to the same seam taught me to stop treating a drywall seam crack like any other crack, and start reading what kind of joint it actually is before touching it with a knife.
What a drywall seam crack actually is: tapered edge vs. butt joint
Every sheet of drywall has two kinds of edges, and they behave completely differently once they’re taped. The long edges — the ones running the 8- or 12-foot length of the panel — come from the factory with a shallow taper, a recess maybe a sixteenth of an inch deep that runs a few inches in from the edge. Butt two tapered edges together and you get a built-in channel: tape and compound sink into that recess and finish flush with the surrounding surface, which is why a well-taped tapered seam all but disappears under paint. The short ends of a sheet, where it’s been cut to fit a wall or ceiling, have no taper at all. Butt two cut ends together — a butt joint — and there’s no channel to sink into. The tape and compound sit on top of a flat, square edge, so the finished seam is always slightly proud of the wall no matter how well it’s finished, and the whole repair is a thinner, weaker cross-section bridging two square edges instead of settling into a built-in recess.
| Joint type | How to spot it | Crack behavior |
|---|---|---|
| Tapered edge (long factory edge) | Runs the long way across a wall or ceiling, usually with a shallow flat band a few inches wide on either side of the line | Cracks less often; usually points to humidity cycling or a loose board edge rather than the joint design itself |
| Butt joint (cut factory or field end) | Runs the short way, often mid-wall or mid-ceiling with no visible flat band, sometimes a slight hump you can feel with a flat hand | Cracks and ridges far more often — the joint design itself works against a flat finish |
That difference is why the same house can have some seams that never crack and others that fail again and again in the same spot. If your crack sits on a long factory edge with a slight flat band a few inches wide on either side, you’re dealing with the more forgiving joint. If it sits mid-wall or mid-ceiling with no flat band — often where two sheets were cut to meet over a joist or stud — you’re on a butt joint, and it’s worth reading the section on feathering further down before you start, because the technique that fixes a tapered seam undersells what a butt joint actually needs.
Why the crack keeps coming back
Drywall and the wood framing behind it don’t move at the same rate when humidity and temperature swing through the seasons. Every cycle — summer humidity pushing past 80 percent in some climates, winter indoor air dropping under 30 percent with the heat running — expands and contracts the panel slightly against framing that’s expanding and contracting on its own schedule. That mismatch puts shear stress directly on the joint between two sheets, and the tape is the first thing built to absorb it. Enough cycles, or one severe enough, and the bond lets go. None of that is a defect in your house. It’s what happens at the weakest point in a system built from two different materials moving at two different rates, and the seam is that point.
- Humidity and temperature cycling — the drywall and the framing behind it expand and contract at different rates, and every swing works the joint like a hinge until the tape’s bond gives out.
- A loose board edge — if the drywall itself has pulled slightly away from the framing at that seam, no amount of tape holds a joint that isn’t screwed down flat first.
- The wrong tape for a joint under stress — mesh handles corners and light-duty seams fine, but its stretch works against it on a seam that’s already proven it wants to move (more on this below).
- Skipping the demolition step — re-coating over tape that’s already cracked just buries the same failure under fresh mud instead of fixing it.
- Real structural movement — settling, truss uplift, or a foundation issue can crack a seam too, and that’s a different diagnosis than what this guide covers. Our guide to fixing cracks in walls has the direction-and-width checklist that tells the two apart.
The mistake that guarantees a repeat
Re-mudding over tape that’s already cracked, without removing it first, is why so many seam cracks come back in exactly the same spot — sometimes within the same year. The old tape is still not bonded underneath the new coat. Fresh compound over a failed bond just delays the reveal.
Paper tape or mesh tape: which one actually holds
Paper tape cures into a stiff, non-elastic laminate once it’s embedded in compound, and that rigidity is exactly what locks two panel edges together and keeps them from moving independently. Self-adhesive mesh tape is easier for a first-timer to place straight and doesn’t need a bedding coat to stay put while you work, but its fiberglass strands stretch slightly under stress — and stretch is exactly what a moving seam does to whatever is spanning it. Over an active seam crack, mesh tends to telegraph the same line back through paint faster than paper does, unless it’s bedded in setting-type compound to make up for the flex. Bedded in ordinary all-purpose mud, mesh over a seam that’s already proven it wants to move is the weaker pairing of the two.
| Tape | Best for | Needs |
|---|---|---|
| Paper tape | A straight seam that has already cracked once, and inside corners | A crisp center fold and a bit more practice bedding it without trapping air bubbles |
| Mesh (fiberglass) tape | Fast, forgiving application on corners and seams that have never failed before | Setting-type (“hot mud”) compound underneath — never plain all-purpose — on anything that’s already cracked once |
For a seam that’s already failed once, paper tape bedded in setting-type compound is the combination I reach for. It’s fighting both the joint’s shape and whatever caused the original crack, and that’s not the spot to save five minutes with the easier tape.
Read the crack before you reach for the mud
- Does it run dead straight along one line, or does it wander, branch, or run diagonally? A straight line tracking a seam is what this guide covers; a diagonal or stair-step crack is a different diagnosis — see our guide to fixing cracks in walls.
- Is it on a butt joint or a tapered edge? Use the table above — it decides how much feathering the repair actually needs.
- Does the board flex or feel loose when you press near the crack? That’s a fastening problem, not just a taping one, and it needs screws before it needs tape.
- Has this exact spot been patched before? A seam that’s cracked twice in the same place almost always still has the original failed tape sitting under the last patch, not fresh tape.
- Is there a brown stain, a musty smell, or soft drywall along the crack? Stop here — that’s water or mold, not a seam problem. See our guides to a water stain on ceiling and how to detect mold inside walls instead.
Scraping old tape or sanding a seam on a wall painted before 1978?
US homes built before 1978 may have lead-based paint under later coats, and dry-scraping or dry-sanding it releases dust. A homeowner working on their own house isn’t bound by the EPA’s RRP rule the way a paid contractor is, but the same precautions are worth following: work the area damp, use a HEPA vacuum instead of a dry brush, and never dry-sand down to bare gypsum on an old painted seam. See our disclaimer for the full rundown.
Tools and materials
You won’t need every row — only the ones for the tape and compound combination your seam actually calls for.
| Item | Use | Rough cost |
|---|---|---|
| Utility knife or 5-in-1 tool | Score both sides of the crack and pull the old, failed tape | $8–$15 |
| Paper drywall tape | Re-tape a seam that has already cracked once | $5–$10 |
| Mesh (fiberglass) tape | Alternative for a seam that has never failed before | $5–$10 |
| Setting-type (“hot mud”) compound | Bedding coat — rigid, low-shrinkage, resists the same stress that cracked the seam | $15–$25 |
| All-purpose joint compound | Fill and finish coats | $12–$20/gallon |
| Drywall screws, 1¼–1⅝ inch | Re-secure a loose board edge into the framing before taping | $5–$8 for a box of 100 |
| Stud finder | Confirm where the framing actually is before driving screws | $15–$30 |
| 6-inch and 10–12-inch taping knives | Bed the tape and feather each coat | $12–$25 |
| 220-grit sanding sponge | Smooth between and after coats | $5–$8 |
| Drywall primer or PVA sealer | Even out porosity before paint | $18–$30/gallon |
How to fix a cracking drywall seam, step by step
Open the crack fully
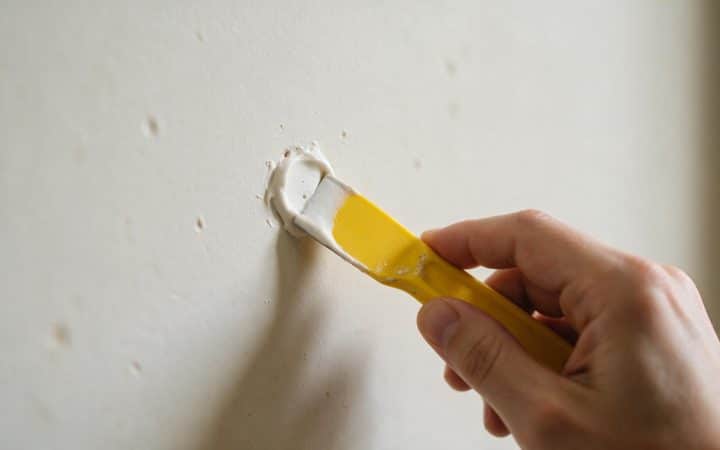
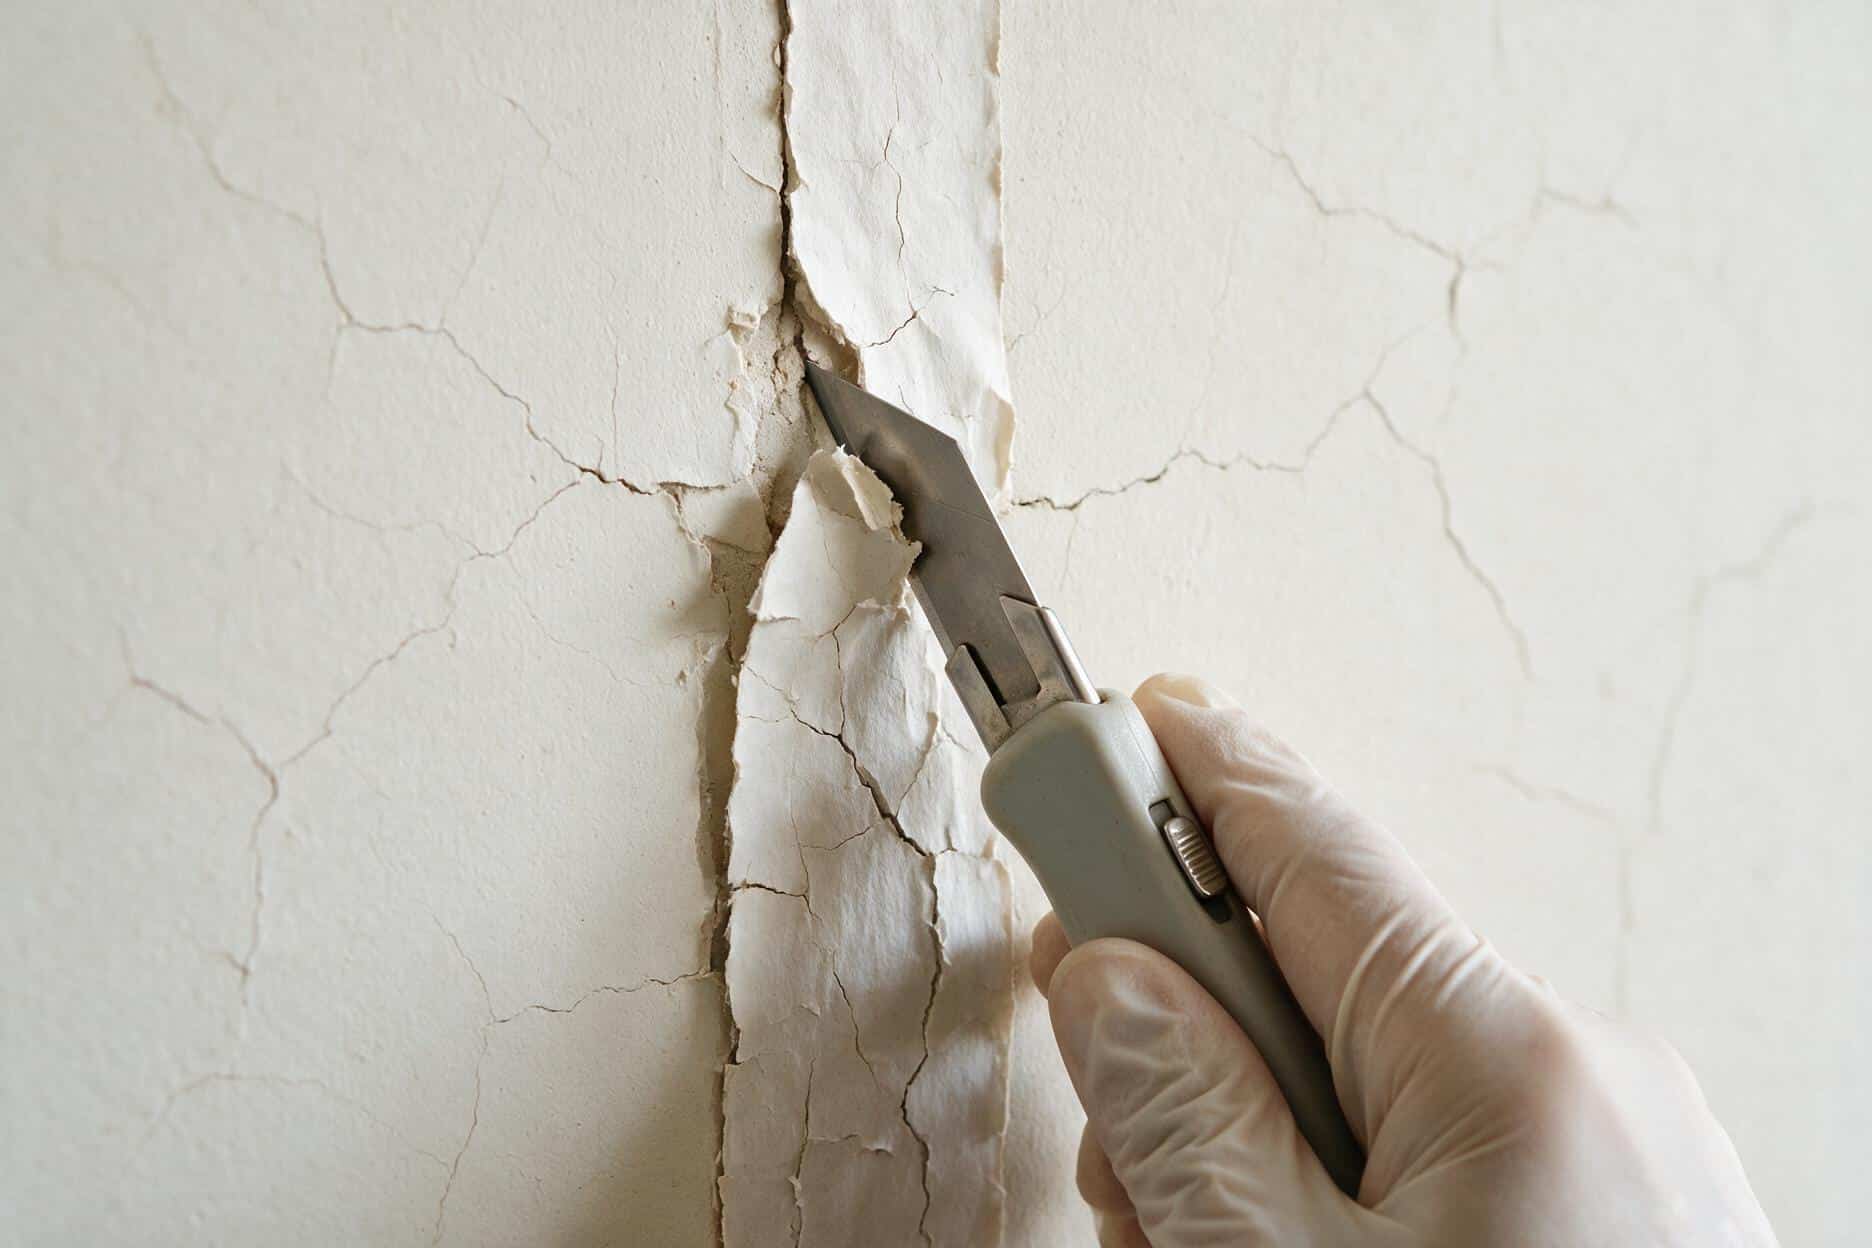
Score both sides of the line with a utility knife and pull out every inch of loose or cracked tape, not just the section that looks obviously bad. Feel along the edges for where it’s still actually bonded — that usually means going a few inches past where the visible crack stops.
Check the board edges
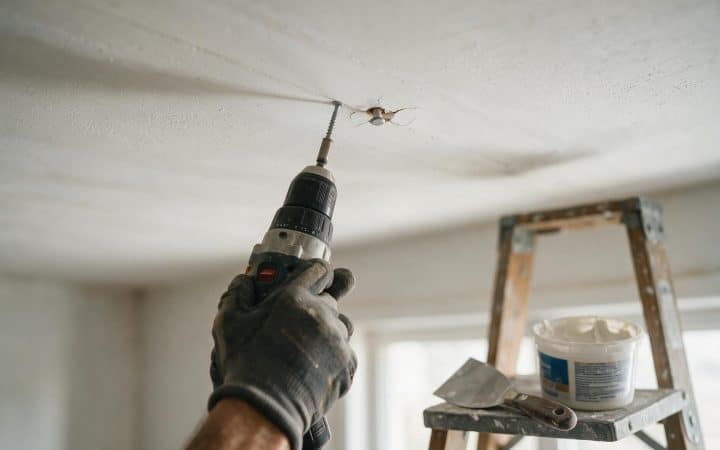
Press along the exposed seam on both sides. If either edge moves or feels hollow under your fingers, drive a drywall screw every 6 to 8 inches into the framing behind it, dimpled just below the paper without breaking it.
Clean the channel
Vacuum or brush out dust and old compound crumbs. New tape bonds to solid material, not to loose debris sitting in the groove, and this is the step behind most repairs that fail early.
Bed new tape in setting-type compound
Press paper tape into a thin layer of hot mud, working out air bubbles toward the edges with a 6-inch knife. On a butt joint, keep this coat as thin as you can while still fully covering the tape — you’re not trying to fill the hump yet.
Let it set, then apply the fill coat
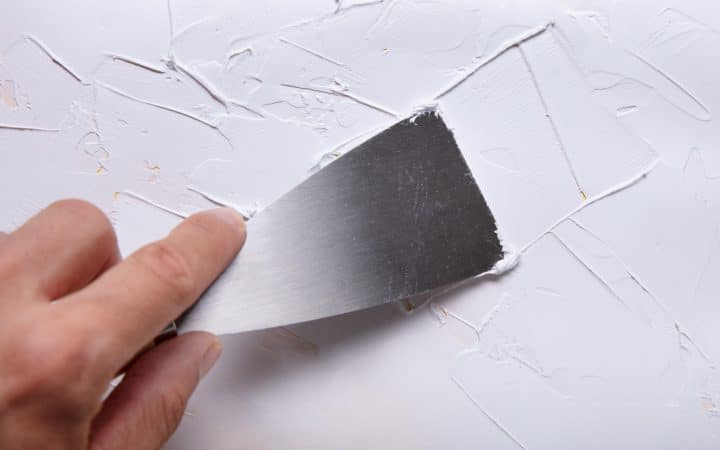
Once the bedding coat has hardened, apply a wider second coat with a 10 to 12-inch knife. Feather it several inches past the first coat on a tapered seam, and considerably wider — 10 to 12 inches per side — on a butt joint, since there’s no factory recess to hide the transition.
Apply the finish coat
A thin, wide final coat that erases the edge of the fill coat into the surrounding wall. This coat is about disappearing, not building thickness.
Sand, prime, and match texture if needed
Fine-grit sand once fully dry, then prime before paint — compound is more porous than the surrounding wall and will flash a different sheen without it. If the surface is textured, see our drywall texture types guide before you call the repair finished.
Butt joints need extra feathering, not extra mud
Since a butt joint has no factory taper to sink into, piling on more compound to bury the hump only makes it more visible under side light — you’re just building a wider, thicker ridge instead of a narrower one. New construction gets around this with a technique called back-blocking or a buttboard, which pulls the panel edges back slightly at the framing to fake a shallow taper before the tape ever goes on. A repair doesn’t have that option, since the board is already fastened and finished around it. The only lever left is feathering wider than feels reasonable — 12 inches or more per side on a butt joint is normal, not overkill, and it’s the difference between a patch that disappears and one that reads as a faint shadow every time the light rakes across it.

Ceiling seams vs. wall seams
The repair is the same sequence overhead, but gravity works against every coat, so a thinner setting-type first coat matters even more on a ceiling seam than on a wall one — a heavy coat of all-purpose compound wants to sag before it dries. A second set of hands holding a light at a raking angle while the coat is still workable catches a bad feather before it sets, and that’s worth having for anything past a couple of feet of ceiling seam, especially above a stairwell or anywhere that means real ladder work. If the seam crack is showing up alongside popped nails or screws along the same line, that’s a related but separate fix — see our guide to fixing nail pops in drywall for why ceilings are the harder half of almost any drywall repair.
When it isn’t just a seam crack
- A horizontal crack anywhere, whether it’s on a seam or not, belongs in the structural category — see the full red-flag checklist in our guide to fixing cracks in walls.
- A crack wider than 1/4 inch, or one where you can feel a lip on one side with a fingernail, is worth a professional opinion before you patch it.
- A brown stain, musty smell, or soft drywall along the seam means water or mold, not a taping failure. Check our water stain on ceiling and mold detection guides first.
- Several butt joints failing across a whole ceiling at once can mean the sheets were hung with too little fastening or too much gap between them — a hanging problem, not a taping one, and worth a second opinion before you re-tape the whole room yourself.
- If the crack sits in old sprayed or troweled texture on a house built before 1980, don’t sand or scrape it on a guess — see our popcorn ceiling asbestos guide for how that testing works before you touch it.
What a drywall seam crack repair costs in 2026
Materials for a DIY repair — tape, setting-type and all-purpose compound, primer — run about $15 to $40 for a single seam. A professional charges more for this than for a simple hairline crack, because a seam crack that’s already failed once needs the old tape removed before anything new goes on, and that demolition step is real labor most quotes for a plain crack don’t include. Expect $150 to $350 for a single seam repaired properly, in line with what a seam or corner crack runs elsewhere in our drywall repair cost guide. Handyman rates for this kind of work run $50 to $100 an hour, with many contractors carrying a minimum job fee in the $350 to $650 range regardless of how small the actual repair is.
| DIY materials | Pro, single seam, properly re-taped | |
|---|---|---|
| Typical cost | $15–$40 | $150–$350 |
The number that catches people off guard is a repeat visit. If the first “fix” was a quick skim over the old tape rather than a real re-tape, the second visit costs about the same as the first would have if it had been done right — you’re paying for the demolition step twice instead of once.
Mistakes that bring the crack right back
| What you did | Why it failed |
|---|---|
| Re-mudded over the old, cracked tape | Nothing new is bonded to the board; the same failed tape is still sitting under the fresh compound |
| Used mesh tape with all-purpose mud on a joint that already cracked once | Mesh stretches under the same stress that broke the joint the first time; without hot mud’s rigidity, it telegraphs again |
| One thin coat with no real feathering | A ridge that narrow shows under any raking light, even once it’s fully dry |
| Skipped screws on a loose board edge | The seam still has nothing physically holding the two edges level with each other |
| Painted over a patch that wasn’t fully cured | Trapped moisture in the compound shrinks unevenly and can crack the fresh patch on its own |
DIY it or call it in
A single seam crack on a flat wall or ceiling, with no texture to match, is a Saturday project once you know to remove the old tape first instead of skimming over it. Call it in when the seam is a butt joint running across a whole ceiling — feathering that far overhead solo is realistically a two-person job — when the board feels loose along more than a couple of feet, when the crack has already come back after two of your own attempts, or when texture matching is the part you don’t want to learn on this wall. None of those are a taping problem anymore. They’re a different job that happens to be wearing a crack.
Questions I get on site
Is a cracking drywall seam a sign of a structural problem?
Usually not. Most seam cracks trace back to humidity cycling, a loose board edge, or the wrong tape for the joint, not the house’s structure. It’s worth a second look if the crack is wider than 1/4 inch, runs horizontally, or shows up alongside sticking doors or a sloped floor — see our wall crack guide for that full checklist.
Can I just skim a thin coat of compound over the old crack instead of removing the tape?
You can, and it will look fine for a few months. The old tape still isn’t bonded underneath, so the same crack telegraphs back through the new coat almost every time — often faster than it took to crack the first time, since the fresh compound has even less to grip.
Mesh or paper tape for a seam that’s already cracked once?
Paper, bedded in setting-type compound. Paper cures into a rigid laminate that resists stretching, while mesh flexes under the same stress that broke the joint the first time, unless it’s set in hot mud specifically to compensate for that stretch.
Is there an actual standard for how a seam should be taped?
Yes — the Gypsum Association’s GA-214 standard defines the levels of finish that professional taping is measured against, and it requires tape to be fully embedded in wet compound before any additional coat goes on. A quick skim over dry, already-cracked tape doesn’t meet that standard, which is exactly why it doesn’t hold either.
How long before I can paint over a repaired seam crack?
With all-purpose compound at two to three coats roughly 24 hours apart, plan on 2 to 4 days before priming. A setting-type base coat can get the same repair primed and paint-ready in a single day.
Why does the crack keep coming back in the exact same spot?
Because whatever caused it the first time is almost always still there — old tape that was never actually removed, a board edge that was never screwed down, or seasonal movement that hasn’t stopped. Fixing the visible line without addressing one of those three just resets the clock on the same failure.
Is a seam crack on the ceiling different from one on a wall?
The cause can be identical, but the repair is harder overhead — compound sags instead of just sitting, so a thinner setting-type first coat and a wider feather matter more on a ceiling. See our nail pop guide for more on why ceilings are the tougher half of any drywall repair.
Can I use caulk instead of tape and compound on a hairline seam crack?
Not on a real seam. Paintable caulk has a place on a truss-uplift gap at a ceiling corner, where the joint is designed to keep moving every year. A taped seam needs the rigid bond that tape and compound provide together — caulk alone doesn’t reattach anything or bridge a joint the way embedded tape does.
Is it normal for a brand-new house to develop seam cracks in the first year or two?
Yes. New framing lumber keeps drying out and shrinking through the first one or two heating seasons, and that movement finds the weakest point on a wall, which is almost always a seam. It’s worth waiting through a first winter before committing to a permanent repair, since a second, smaller round of cracking can still show up the following year.
Does homeowners insurance cover a cracking drywall seam?
Almost never for ordinary cycling or settling — most policies treat that as gradual wear. Sudden damage from a covered event, like a roof leak that soaked the ceiling and cracked the seam as it dried, is a different conversation. Check your policy or ask your agent rather than assuming either way.
Guides on this site are for general information about routine home maintenance. Suspected asbestos, mold over 10 sq ft, or structural water damage should be assessed by a licensed professional in your state.