A plaster crack that opens back up a few months after you patched it is telling you something specific: the plaster let go of the wood lath behind it, and no amount of compound on the surface will hold a crack shut if the layer underneath is already loose. How to fix cracks in plaster walls for good starts with reattaching the plaster to the lath, not with filling the line you can see.
Plaster and drywall fail differently, and the usual drywall crack repair of tape and compound alone will not hold on a wall where the plaster itself has pulled away from its backing. This guide covers why plaster cracks in the first place, how to tell a cosmetic hairline from one where the plaster is already loose, and the plaster-washer method that reattaches it before anything gets filled.
How to fix cracks in plaster walls that keep coming back
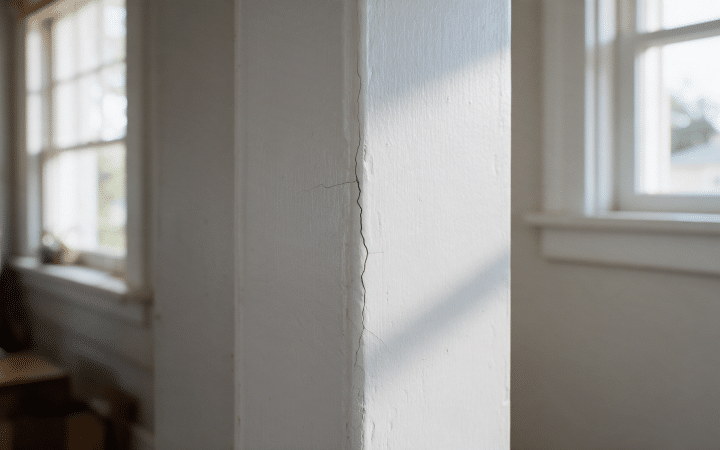
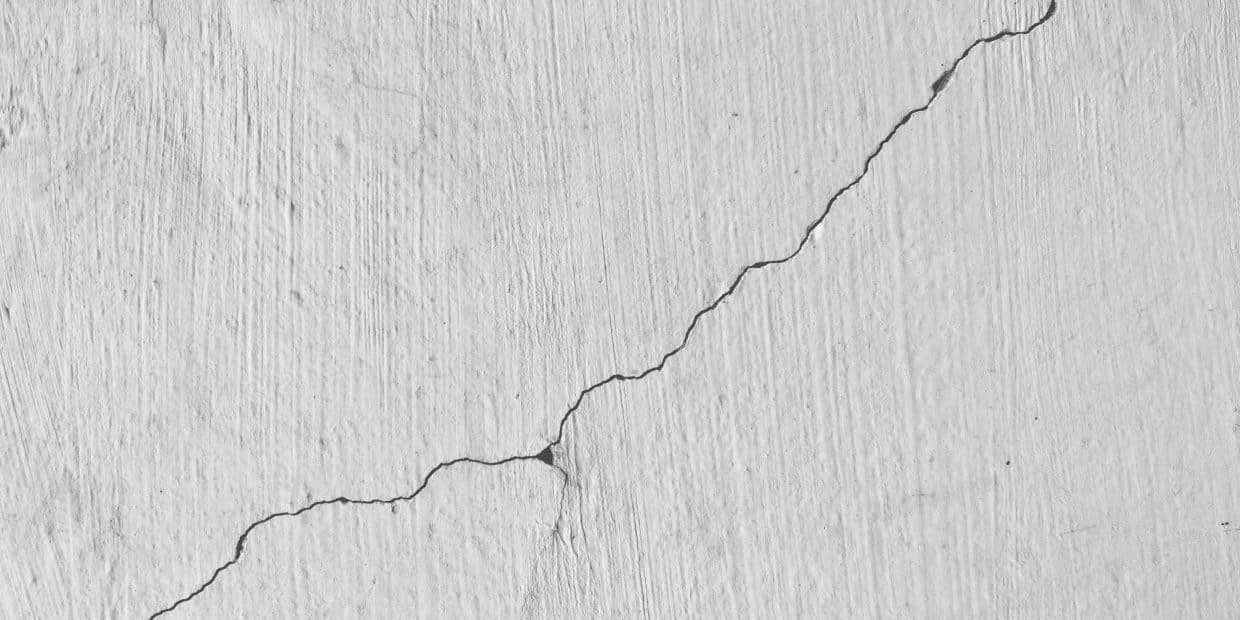
If you have already patched the same crack once or twice and it keeps reopening along the same line, the compound was never the problem. Plaster is a rigid, three-coat system troweled over strips of wood lath (or, in newer construction, over a metal or gypsum lath). It bonds to that lath mechanically, through “keys” of plaster that squeezed between the lath strips while it was still wet and then hardened. When the house moves, when the lath dries out and shrinks, or when those keys simply age and break, the plaster separates from the lath across a section of wall. The crack you see is the plaster flexing at the edge of that loose area. Skim over it with joint compound and the loose section keeps moving underneath the patch, so the line reappears.
The fix for that kind of crack is to pull the plaster back against the lath before anything gets filled. Plaster washers, thin perforated discs driven through the plaster and into the lath with a drywall screw, do exactly that. This Old House and other restoration guides treat them as the standard repair for a separating crack, and they are the method this guide walks through below.
Why plaster cracks in the first place
Three things drive most plaster cracking, and they rarely act alone.
Wood lath moves with humidity. It swells in a damp summer and shrinks back in a dry winter, and that small seasonal motion works on the plaster keys year after year until some of them snap. Framing lumber does something similar on a longer timescale: a house settles unevenly over its first years, and later on, temperature swings in an attic or a crawl space flex the framing enough to crack a brittle plaster surface that has no give in it. None of that makes the house unsound. It makes the plaster, which was never a flexible material, show the strain before anything structural does.
The third driver is moisture, and it is the one worth checking for before you repair anything. A leak above a crack, condensation inside an exterior wall, or a damp basement wicking up into the plaster will keep reopening a patch no matter how well it is done, because the water is still breaking the bond between coats. If the wall feels soft, smells musty, or the crack runs along a water stain, read that problem first.
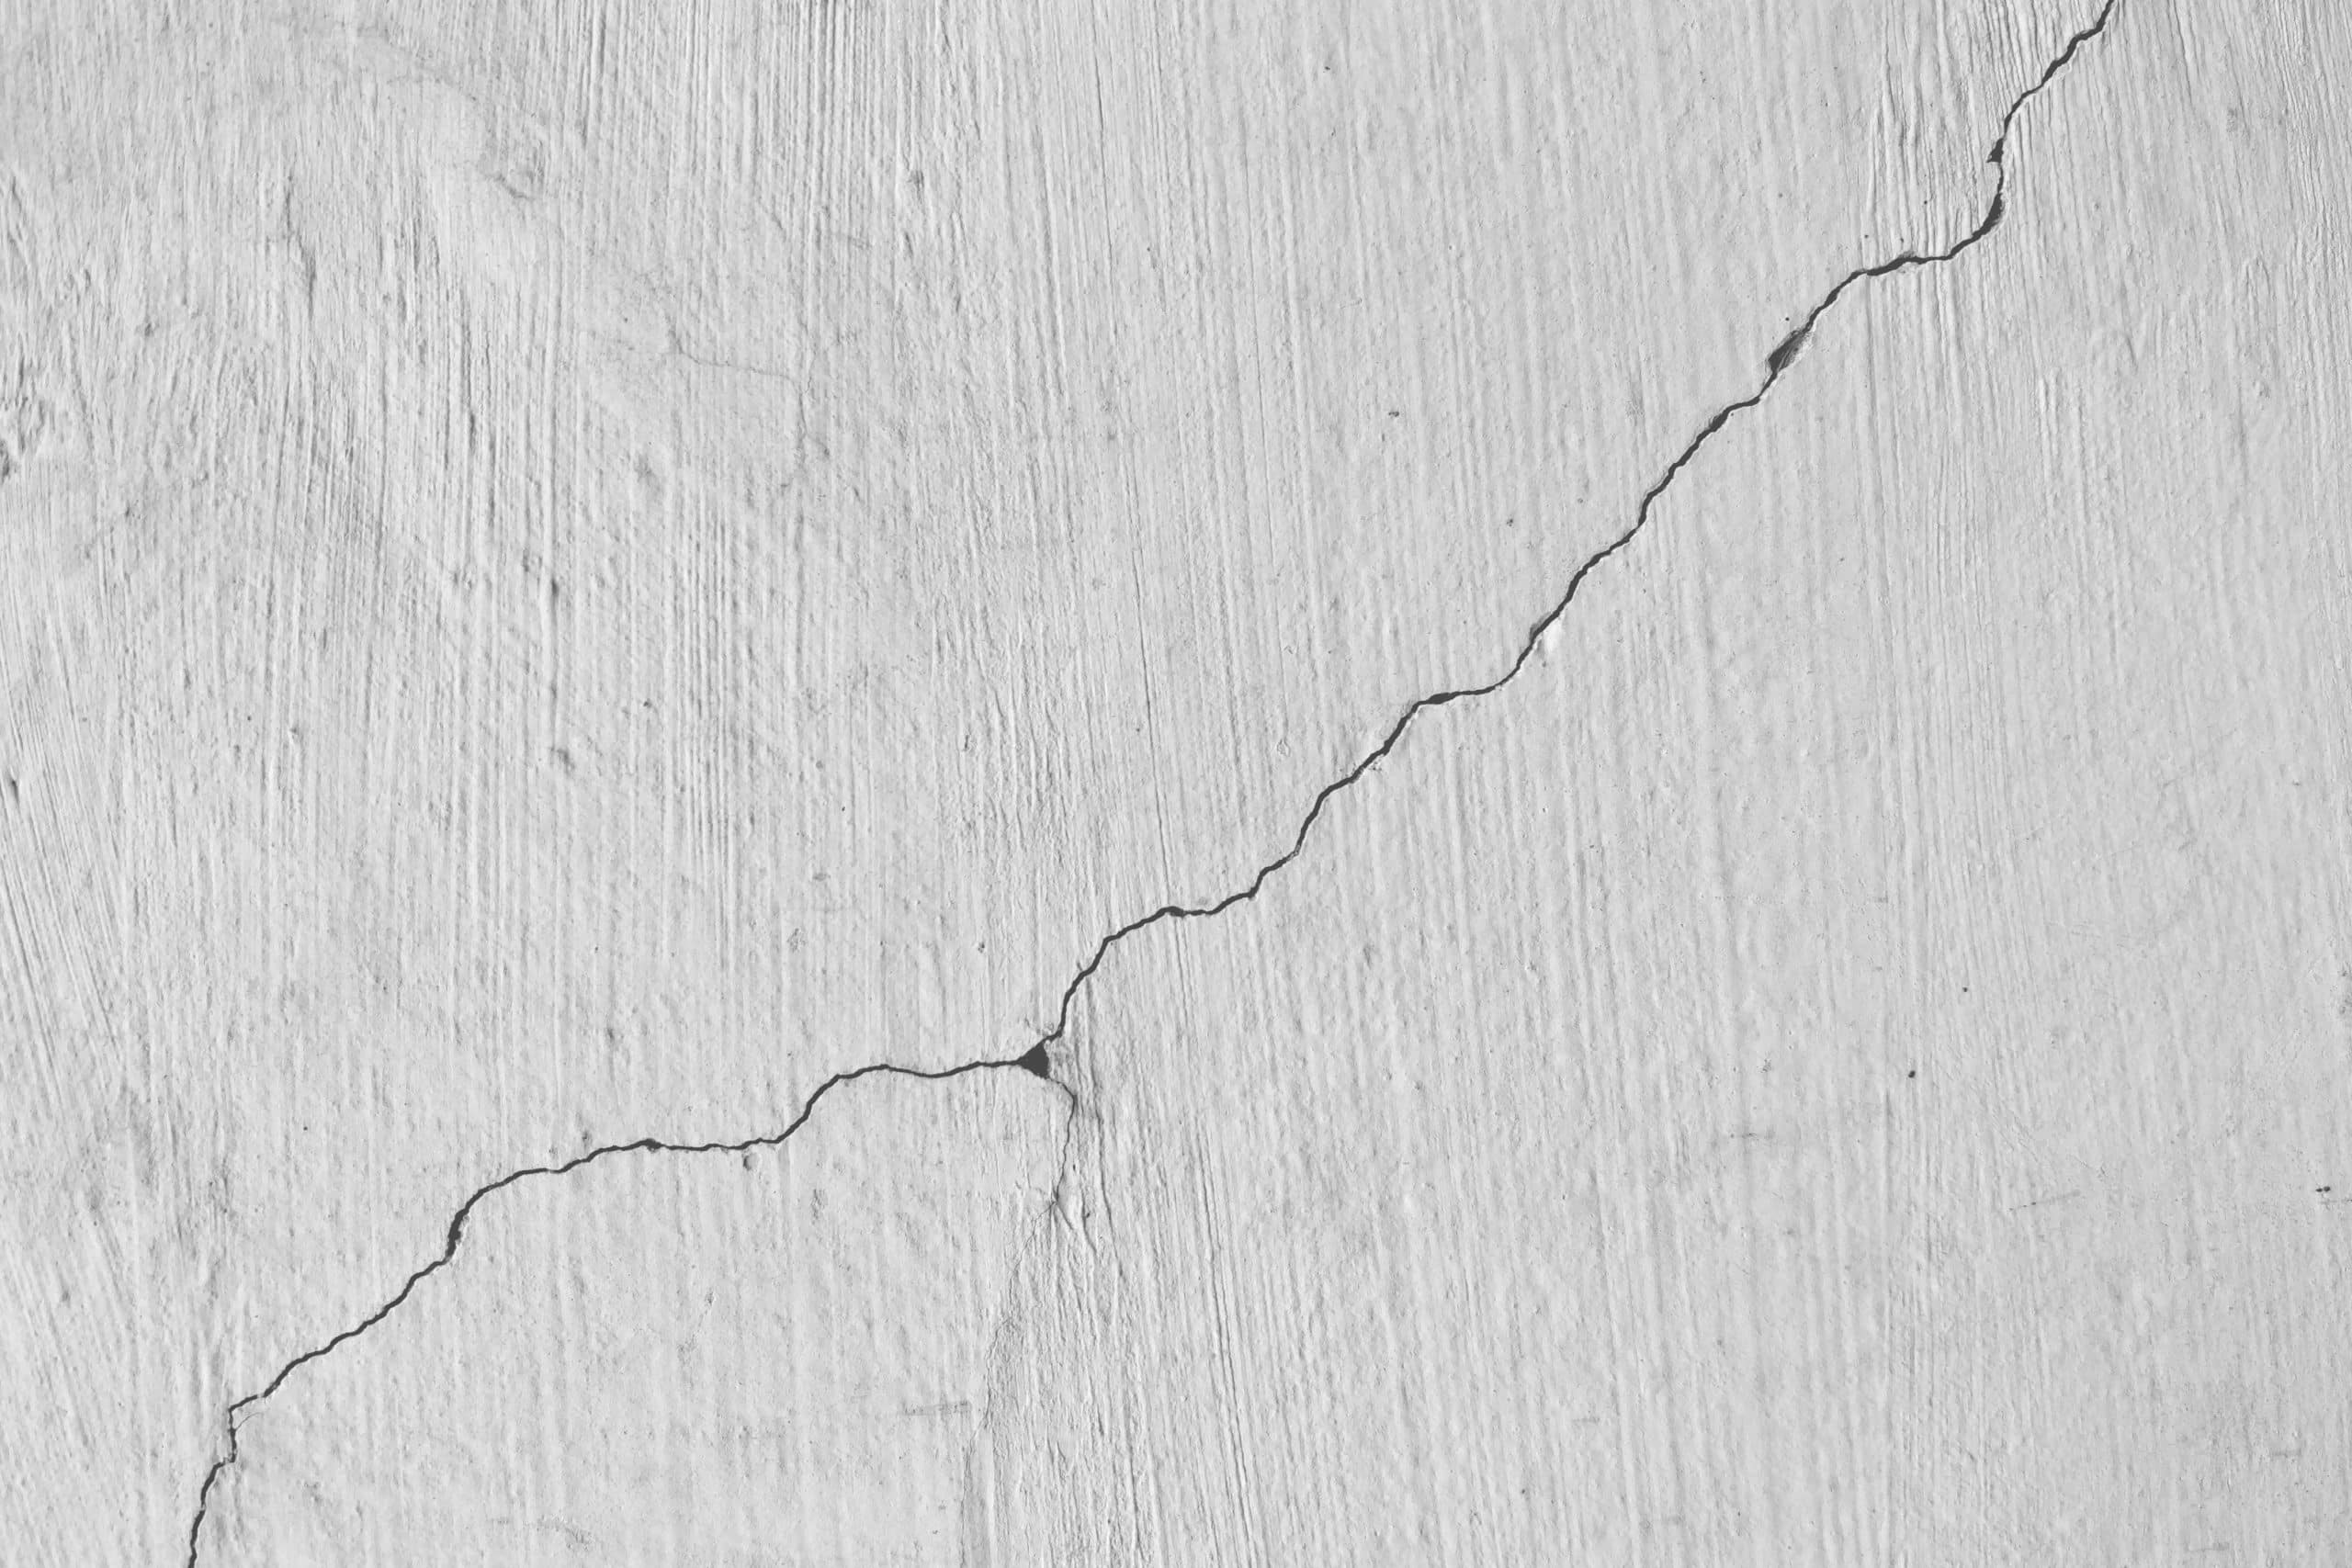
Read the crack before you touch it
A plaster crack does not announce how serious it is from across the room. Two tests, both free, tell you more than the width of the line does.
Press gently on the plaster on either side of the crack with your palm. Solid, unmoving plaster that just happens to have a thin line in it is a surface crack, and it gets filled without washers. Plaster that gives slightly, flexes, or feels springy under light pressure has already separated from the lath, even if the crack itself looks narrow. Tap near the crack with a knuckle, too. A dull, hollow sound means an air gap has opened between the plaster and the lath; a solid knock means the two layers are still in contact.
| What you find | What it means | What to do |
|---|---|---|
| Hairline, wall feels solid, knocks solid | Surface crack in the finish coat only | Tape and compound, no washers needed |
| Plaster flexes or feels springy near the crack | Plaster has partly separated from the lath | Plaster washers before filling |
| Hollow sound over a wider area, crack has grown | A larger section has let go of the lath | Washers across the whole loose area, spaced about 3 inches apart |
| Crack is horizontal, or one side sits higher than the other | Possible structural movement, not ordinary plaster aging | Stop patching, see the warning below |
What a tube of caulk or a swipe of compound misses
Caulk and compound both do one job: they fill a gap. Neither one reattaches anything. Run a bead of caulk down a crack where the plaster has separated from the lath, and the caulk bridges the gap for a while, then splits again the next time the wall flexes, because the loose section behind it is still loose. The same is true of compound troweled straight over the line without tape or washers underneath it. It looks finished for a few weeks and then telegraphs the crack straight back through as the plaster keeps moving against whatever is (or isn’t) holding it.
That is the entire case for plaster washers over a faster fix: they address the mechanical problem, a layer of plaster no longer attached to its lath, instead of covering it. On a true surface crack, where the plaster is still solidly keyed to the lath, washers are not needed and compound alone is the right call. The test in the section above is what decides which one you are dealing with.
Don’t reach for construction adhesive as a first try
Injecting adhesive behind the plaster to re-bond it to the lath is an alternative some plasterers use, but it depends on getting adhesive into a gap you can’t see the size or shape of. Washers are more forgiving for a DIY repair: you can see exactly where each one is pulling the plaster back against the lath.
The plaster washer method, step by step
This is the repair for a crack that failed the press-and-knock test above, where the plaster has separated from the lath along some or all of its length.
-
Mark the loose area
Using the press-and-knock test, trace the full extent of the section that feels springy or sounds hollow, not just the visible crack line. Washers only help where you place them.
-
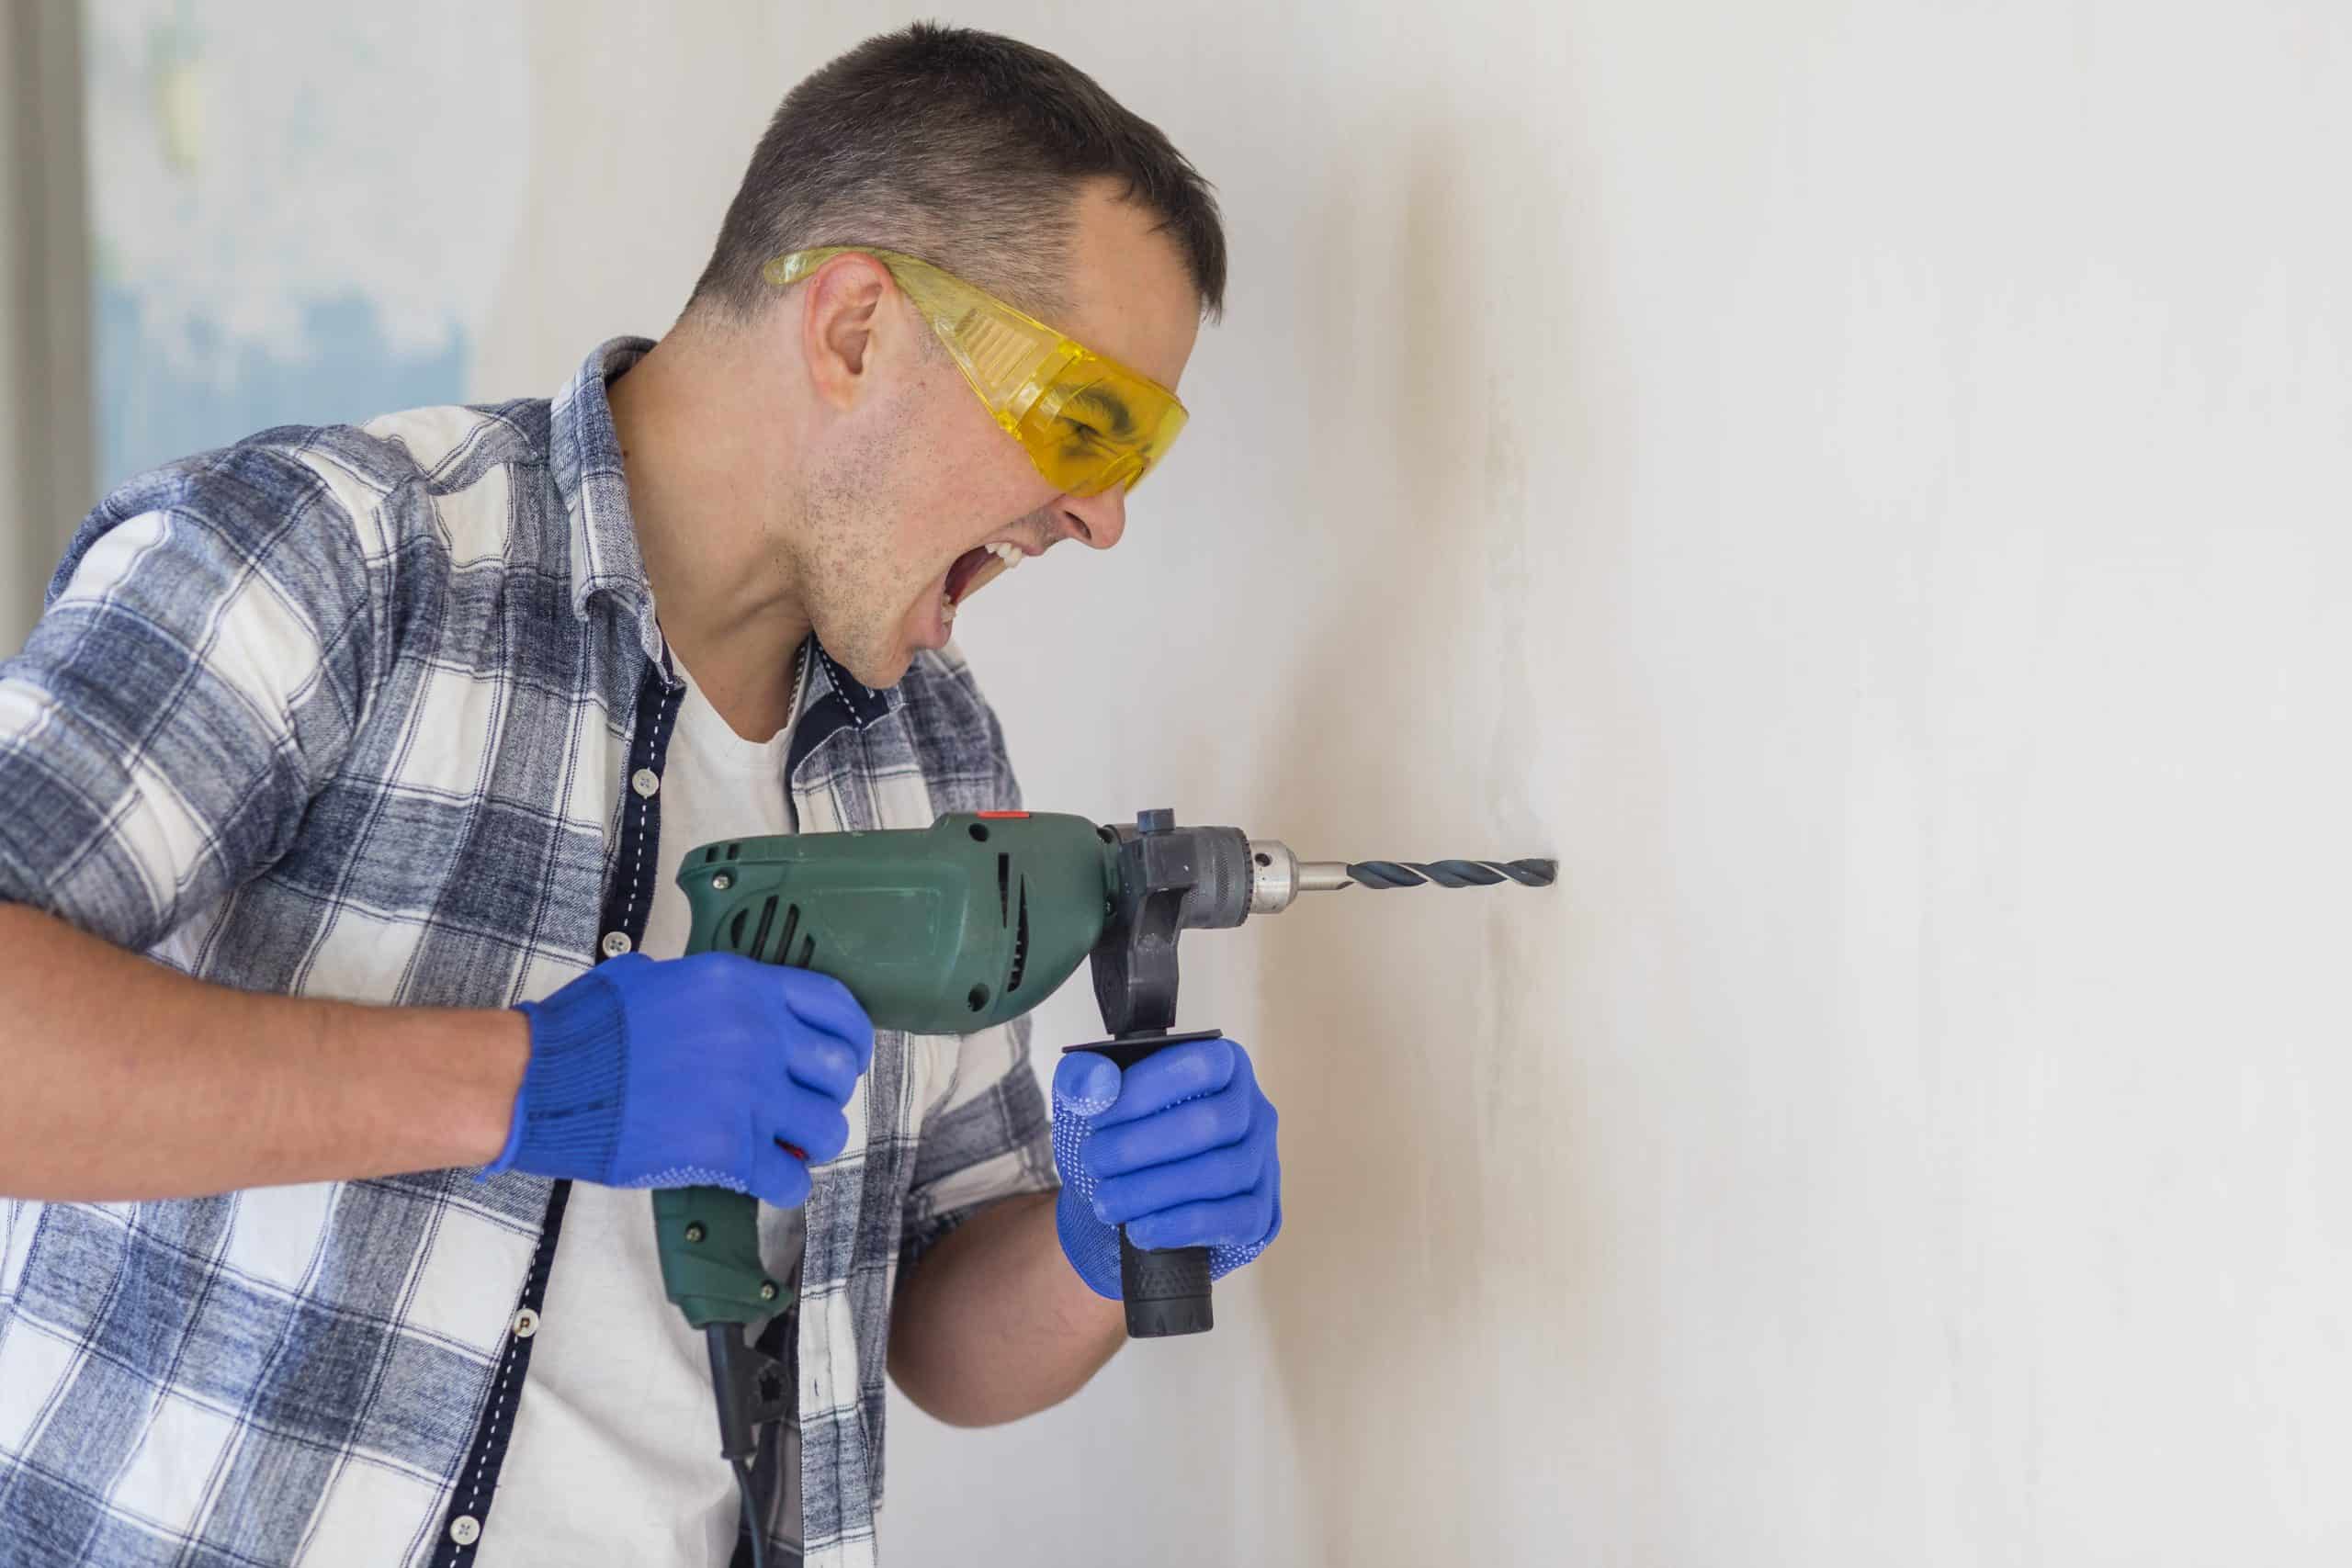
Drill pilot holes along both sides of the crack
Space them roughly 3 inches apart, staggered on either side of the line. Drill slowly. Old lath splits easily if you push too hard, and a split lath strip gives a screw nothing to hold onto.
-
Drive a screw and washer into each hole
A standard 1 5/8-inch drywall screw through a perforated plaster washer, driven just far enough to seat the washer flush and snug the plaster back against the lath. Stop as soon as it’s snug. Overdriving cracks the plaster around the washer instead of holding it.
-
Check as you go
Press on the plaster between washers every few holes. If it still flexes, you need another washer closer to that spot, not a tighter screw on the ones already in.
-
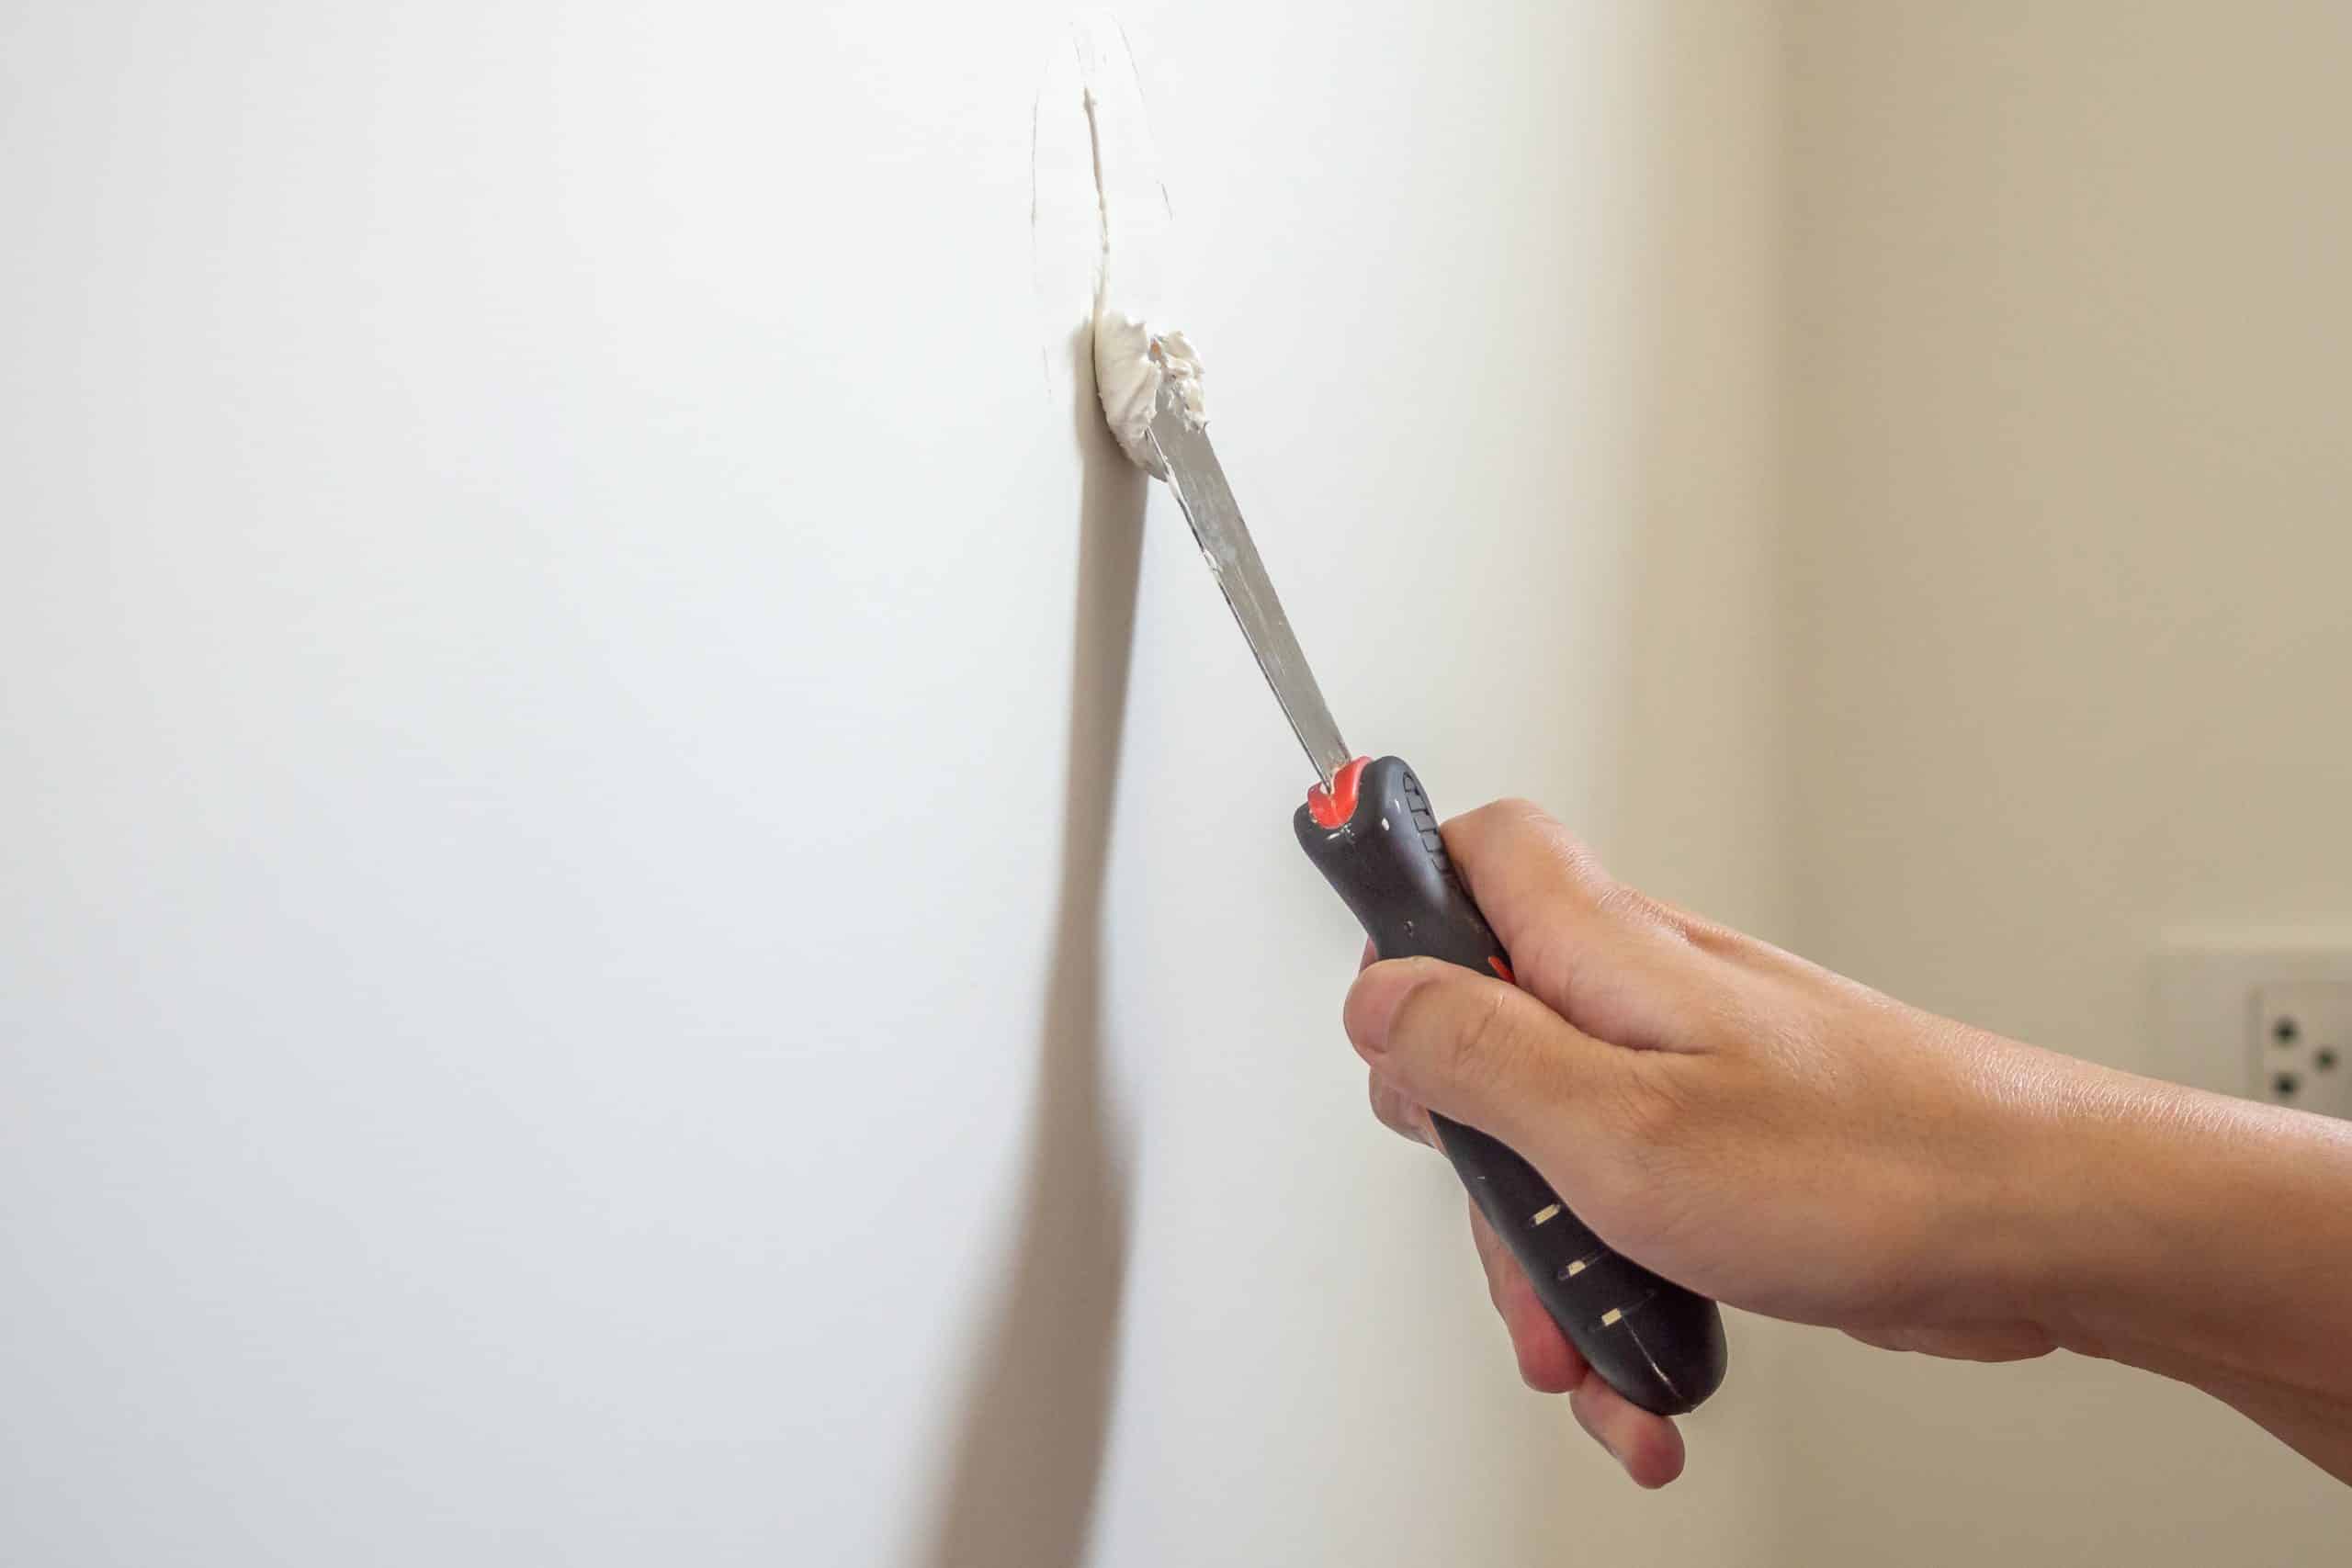
Tape and skim over the washers
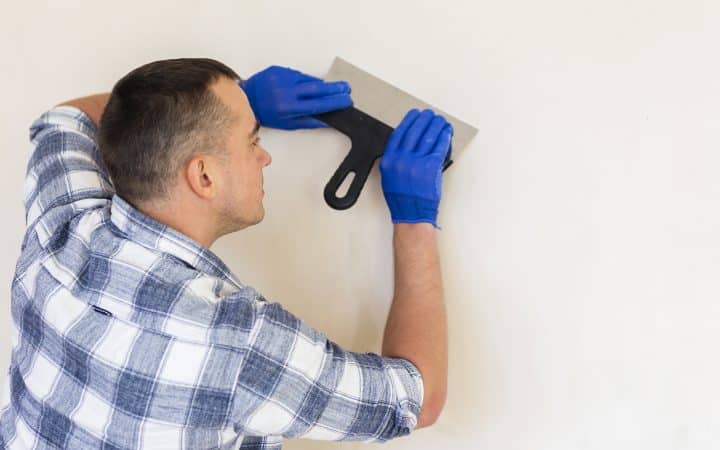
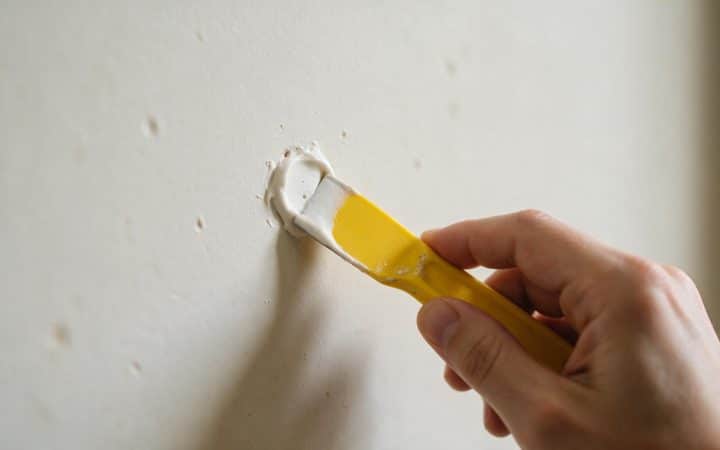
Once the whole area feels solid, bed paper or mesh tape over the crack itself, then skim coat over the tape and every washer head with joint compound. The washers disappear completely under two or three feathered coats. The taping itself follows the same logic as a drywall seam that keeps splitting open: the tape is what keeps the filled line from cracking again, not the compound on its own.
-
Sand, prime, and paint
Fine-grit sanding once the final coat is fully dry, then prime before paint. Compound is more porous than the surrounding plaster and will flash a different sheen through the topcoat without it.
For a crack that turns out to be a true surface line, no washers, no separation when you press on it, skip straight to taping and skimming. Forcing washers into solidly bonded plaster just adds holes you didn’t need.
Tools and materials
You won’t need every row below. The first three apply only to a crack that needs washers.
| Item | Use |
|---|---|
| Plaster washers | Perforated discs that pull separated plaster back against the lath |
| 1 5/8-inch drywall screws | Driven through each washer into the lath |
| Cordless drill with a pilot bit and a screwdriver bit | Pilot holes, then driving the washer screws |
| Paper or mesh drywall tape | Bridges the crack itself before skimming |
| All-purpose joint compound | Skims over the tape and every washer head |
| 6-inch taping knife | Applying and feathering each coat |
| 150 to 220-grit sanding sponge | Smoothing between and after coats |
| Primer | Evens out porosity before paint so the patch doesn’t flash under light |
When a plaster crack means more than a patch
Most plaster cracking is ordinary aging. A smaller share points at something that needs more than a washer and some compound, and the signs are worth slowing down for: a horizontal crack at any width, a crack where one side of the wall sits visibly higher or further out than the other, a stair-step crack following the mortar joints on a block or brick wall, or a wide map of cracking that covers most of a wall rather than one isolated line. Any of those is worth a call to a structural engineer rather than a repeat trip to the hardware store. A crack that starts right at an inside corner, rather than out across the open wall, often has its own cause, covered separately in our guide to drywall corner cracks. A wall with cracks everywhere, rather than one or two isolated lines, is also often cheaper to skim coat entirely than to chase crack by crack.
Drilling or sanding plaster painted before 1978
Most houses with original plaster are old enough that an early coat of paint may contain lead. Drilling pilot holes disturbs very little of it, but sanding the dried compound around the washers can create dust. A homeowner working on their own house isn’t bound by the EPA’s RRP rule the way a paid contractor is, but the same precautions are worth following: keep the area damp while you sand, use a HEPA vacuum rather than a dry brush, and see the EPA’s renovation, repair and painting guidance for the full picture.
Common questions
Is it normal for plaster to crack as an old house settles?
Yes. Even a house that has stood for decades keeps moving slightly with the seasons, and plaster has no flexibility to absorb that motion the way drywall and its taped seams do. A scatter of hairline cracks over the years is ordinary. A crack that is new, growing, or paired with a door that suddenly sticks is the kind worth watching more closely.
Can I just use spackle or caulk instead of plaster washers?
Only on a true surface crack where the plaster is still solidly attached to the lath. If the plaster has separated, spackle and caulk fill the gap you can see without fixing the gap you can’t, and the crack reopens.
Why does the crack keep coming back after I’ve patched it twice already?
That pattern, same line, keeps reopening after a clean patch, is close to a guarantee that the plaster is separated from the lath and nobody has reattached it yet. Run the press-and-knock test from the section above before you patch it a third time the same way.
Do I need washers on every crack, even small hairlines?
No. A hairline that doesn’t flex or sound hollow when you press and knock on it is a surface crack, and tape with compound is the right repair on its own.
Is a crack in plaster more serious than a crack in drywall?
Not inherently, but it behaves differently. Drywall cracks mostly at the taped seams; the board itself rarely separates from the framing. Plaster can separate from its lath across a wide, unpredictable area, which is why the press-and-knock test matters more here than it would on a drywall crack.
Can I paint over the repair the same day?
Not with all-purpose compound, which needs roughly 24 hours between coats and two to three days before priming. A setting-type (“hot mud”) compound for the base coat hardens by chemical reaction instead of air-drying, which can get you to paint sooner if the timeline matters.
When does a plaster wall need replacing instead of repairing?
When the cracking covers most of the wall rather than one or two lines, or when large sections sound hollow over a wide area, washer by washer repair stops being practical. A full skim coat, or in the worst cases replacing the plaster with drywall, usually costs less than chasing dozens of individual cracks by hand.
How to fix cracks in plaster walls, the short version
The press-and-knock test is the decision that matters here. Solid plaster with a hairline in it gets tape and compound. Plaster that flexes or sounds hollow needs washers first, compound second, in that order, or the same crack is back within a year. For the material underneath a crack like this, our guide to drywall texture types helps identify what you’re matching once the repair is done, and if the damage runs wider than a line or two, skim coating the wall is usually the faster fix.