A nail pop looks like nothing. A dime-sized ring under the paint, maybe a pinprick of gray where the fastener head broke the surface. Tap it back down, dab on some spackle, and it disappears for a season. Then it’s back. Sometimes in the same spot, sometimes with two or three new neighbors that weren’t there last year. The reason has nothing to do with how hard you tapped it down. It’s about what’s happening inside the framing behind the drywall, and most guides skip straight past that part to the spackle. Twenty-nine years of finding the same “fixed” pop back under a lamp taught me to read the pattern before I touch it — which pops are normal house aging, which ones are the first sign of something bigger, and the two-screw technique that actually keeps a patched pop from coming back instead of hiding it for a few months.
What a nail pop actually is
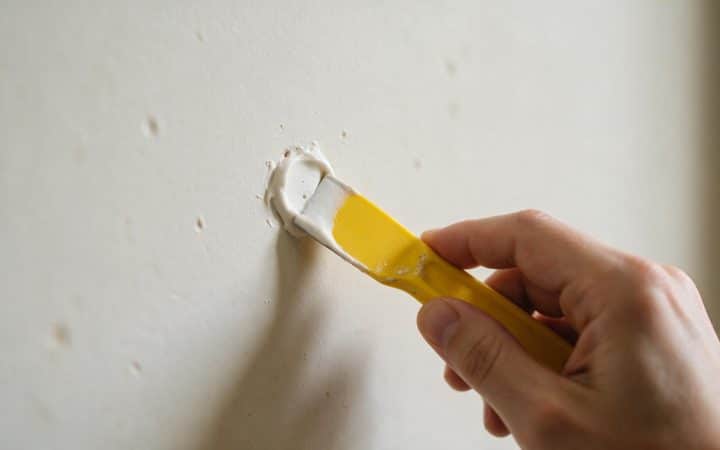
A nail pop isn’t damage to the drywall itself — it’s a fastener working its way proud of the surface, pushing the compound covering it up into a small ring or dome. When drywall goes up, the nail or screw is driven flush, the head gets a dab of compound, and once that’s sanded flat and painted, the fastener disappears into the wall. When that same fastener moves even a sixteenth of an inch out of the framing behind it, the compound over the head can’t stretch to follow. It cracks in a circle and telegraphs straight through the paint. What you’re looking at is really two problems stacked on top of each other: a fastener that lost its grip, and a compound patch over it that was never built to move.
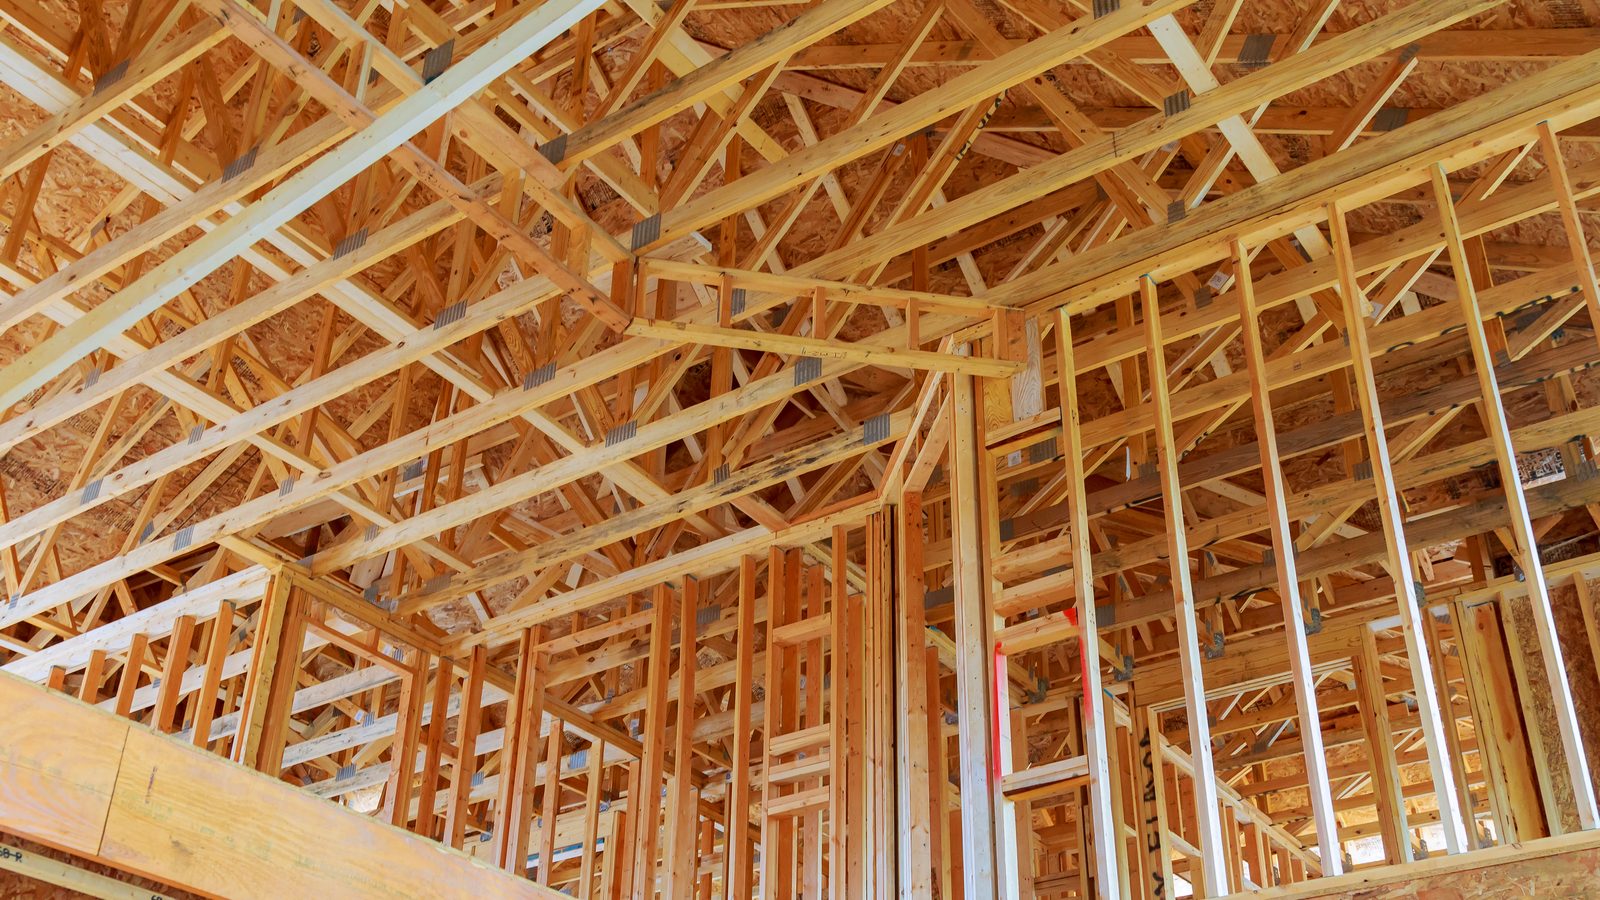
Why nail pops happen — it isn’t the nail’s fault
Framing lumber shows up to a job site wet. Studs are typically delivered around 19 percent moisture content, and a heated, lived-in home settles closer to 10 percent. That gap doesn’t close in a week. It closes over the first year or two the house is occupied and heated, and as the wood dries, it shrinks — mostly across its width and thickness, not along its length. A nail driven into the face of that stud doesn’t shrink with it. The wood face effectively slides back along the immobile shank while the nail stays exactly where it was driven, and the head that used to sit flush ends up standing proud behind the drywall. None of that is a defect in the framing or the fastener. It’s wood doing what wood does on its way to equilibrium, and a heating season speeds it along by pulling more moisture out of the lumber than a mild fall does.
That’s the most common cause, but it isn’t the only one, and knowing which one you’re looking at changes what you do about it.
| Cause | What’s actually happening | Where you’ll see it |
|---|---|---|
| Lumber drying out | Studs installed near 19% moisture content shrink toward roughly 10% as the house lives through its first heating seasons | New construction and additions, worst in year one and two |
| A fastener that was undersized from day one | A nail seated too shallow, or driven near the edge of the stud instead of its center, had less wood to hold onto from the start | Scattered, isolated pops in an otherwise old, stable house |
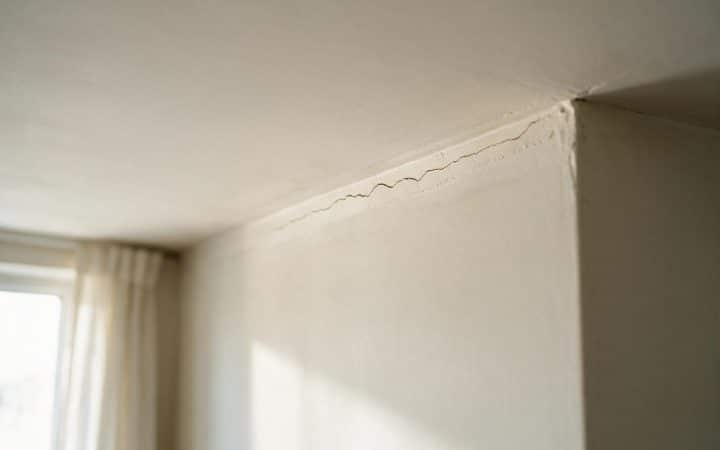
| Truss uplift | A roof truss’s top chord shrinks more than its bottom chord in cold weather, arching upward and dragging the ceiling drywall with it | A line of pops along a ceiling-to-wall corner, worse every winter |
| Moisture cycling from an old leak | Framing that swelled during a leak, then dried out and shrank past its original size once the leak was fixed | Near plumbing walls, under bathrooms, below old roof leaks |
A run of pops tracking along the top of a wall where it meets the ceiling, worse every winter and smaller by summer, isn’t a fastener problem. That’s the same seasonal truss movement covered in our guide to how to fix cracks in walls, and screwing down every pop along that line will just give you a fresh set to fix next winter. Read the diagnosis there first.
An over-driven or undersized fastener shows up differently than the shrinkage pattern above. Instead of a slow seasonal appearance, it’s usually there within the first few months after the drywall went up, sitting in one or two spots rather than spreading across a whole room. A nail gun set too aggressively can sink the head through the paper face and into the gypsum core, leaving almost nothing gripping the stud behind it — that fastener was never going to hold, regardless of how the lumber dried. The fix is identical either way, but it’s worth knowing you’re not necessarily looking at a house-wide moisture problem just because you found one early pop.
Reading the pattern before you reach for the screwdriver
One pop, on its own, in a house more than a couple of years old, is almost never worth a second thought. It’s the pattern around it that tells you whether you’re doing a five-minute fix or looking at something bigger.
- A single old pop in a stable house — cosmetic. Fix it once with the method below and move on.
- A cluster of new pops in a house under two years old — normal. That’s the lumber finishing its first dry-out. Expect a second, smaller wave the following winter before it settles for good.
- A line of pops along a ceiling-wall corner, recurring worse each winter — likely truss uplift, not a fastener issue. See the crack guide linked above before you patch a single one.
- A pop that comes with a soft spot, a stain, or a musty smell — not a nail pop. That’s moisture reaching the drywall from behind, and patching over it hides the actual problem. Check our guides to detecting mold inside walls or a water stain on the ceiling instead.
- New pops in a house older than ten years, with no recent renovation — worth a closer look. A new HVAC system that changed how dry the winter air gets, a slow leak, or genuine structural movement can all start a fresh round of pops in framing that had been stable for a decade.
The mistake I see most often isn’t a bad patch. It’s a homeowner who fixes the same three ceiling pops every January for four years running and never asks why they’re always in the same line.
Nails vs. screws — why some houses never stop popping
A smooth nail shank holds drywall against a stud through friction alone. As the wood around it shrinks and that grip loosens, gravity and ordinary house vibration (doors closing, someone walking overhead) can walk it out a little further every year, with nothing threaded to resist the movement. A screw holds differently. Its threads bite into the wood fibers and keep gripping even as the stud shrinks slightly around it, which is the entire reason drywall installation shifted from nails to screws industry-wide by the 1980s and ’90s. Codes and manufacturer specs still permit nails in plenty of applications, so it isn’t that nails were banned. Screws became the trade default because they hold better and a screw gun drives them just as fast.
That shift is why age matters more than most people expect. A house hung with screws from the start tends to pop once, early, and then go quiet for decades. A house hung with nails, or one where a quick patch job years ago used whatever was on hand, can keep producing the occasional pop indefinitely, as ordinary seasonal wood movement finds the next fastener with marginal grip. That’s not a defect to chase down once and declare solved. On an older, nailed house, budget for the odd nail pop as routine maintenance, the same way you’d budget for touch-up paint.
Tools and materials
A handful of pops needs almost nothing you don’t already own.
| Item | Use | Rough cost |
|---|---|---|
| Hammer or nail set | Seat the old popped nail flush, don’t try to pull it | $0–$10 (most households have one) |
| 1¼–1⅝ inch drywall screws | New fasteners that actually hold, driven above and below the old one | $5–$8 for a box of 100 |
| Cordless drill or screw gun | Drive screws to a consistent depth without tearing the paper | $0 (most households have one) – $40 |
| Stud finder | Confirm exactly where the framing is before you drive anything | $15–$30 |
| 6-inch taping knife | Apply and feather the compound over the repair | $8–$12 |
| All-purpose or lightweight joint compound | Cover the new screws and the old nail head | $12–$18/gallon, or a small tub for just a few pops |
| 220-grit sanding sponge | Smooth between and after coats | $5–$8 |
| Drywall primer or PVA sealer | Even out porosity before paint | $14–$18/quart |
How to fix a nail pop the right way
Seat the old fastener
Tap a popped nail back down flush with a hammer and nail set. If it’s a popped screw and the head has stripped out, back it out completely rather than fighting a worn hole.
Find the framing
Run a stud finder a few inches to each side of the pop to confirm exactly where the stud or joist sits before you drive anything new. Guessing here is how a repair ends up with two screws in open air and a third pop in a new spot next year.
Drive two new screws
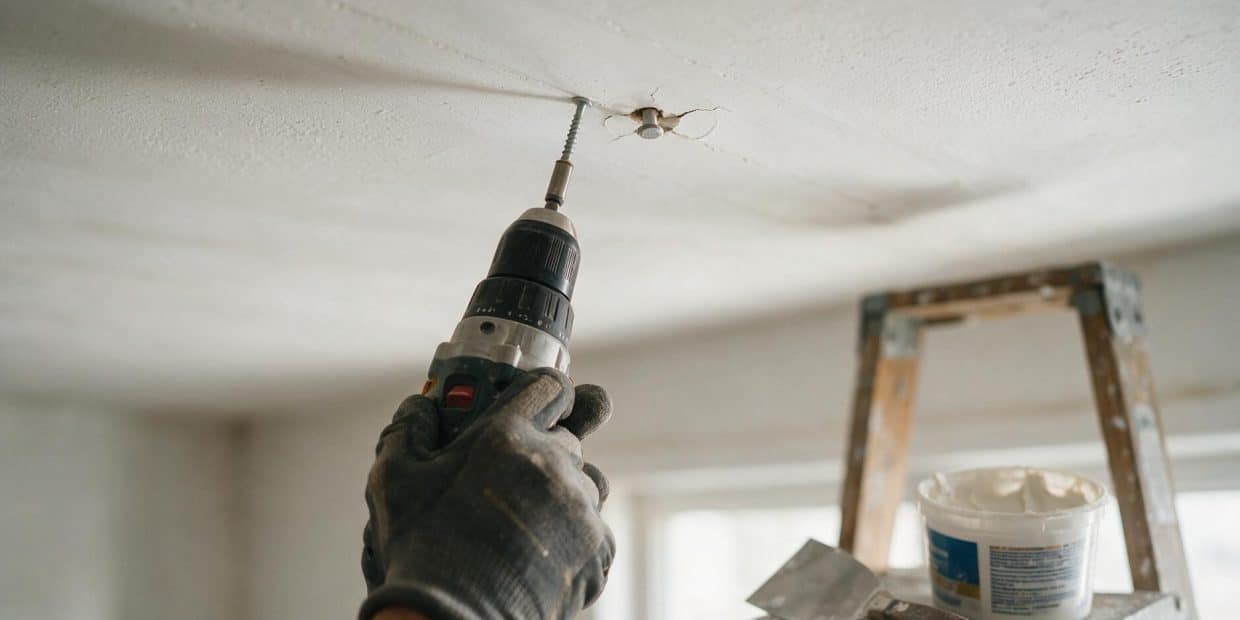
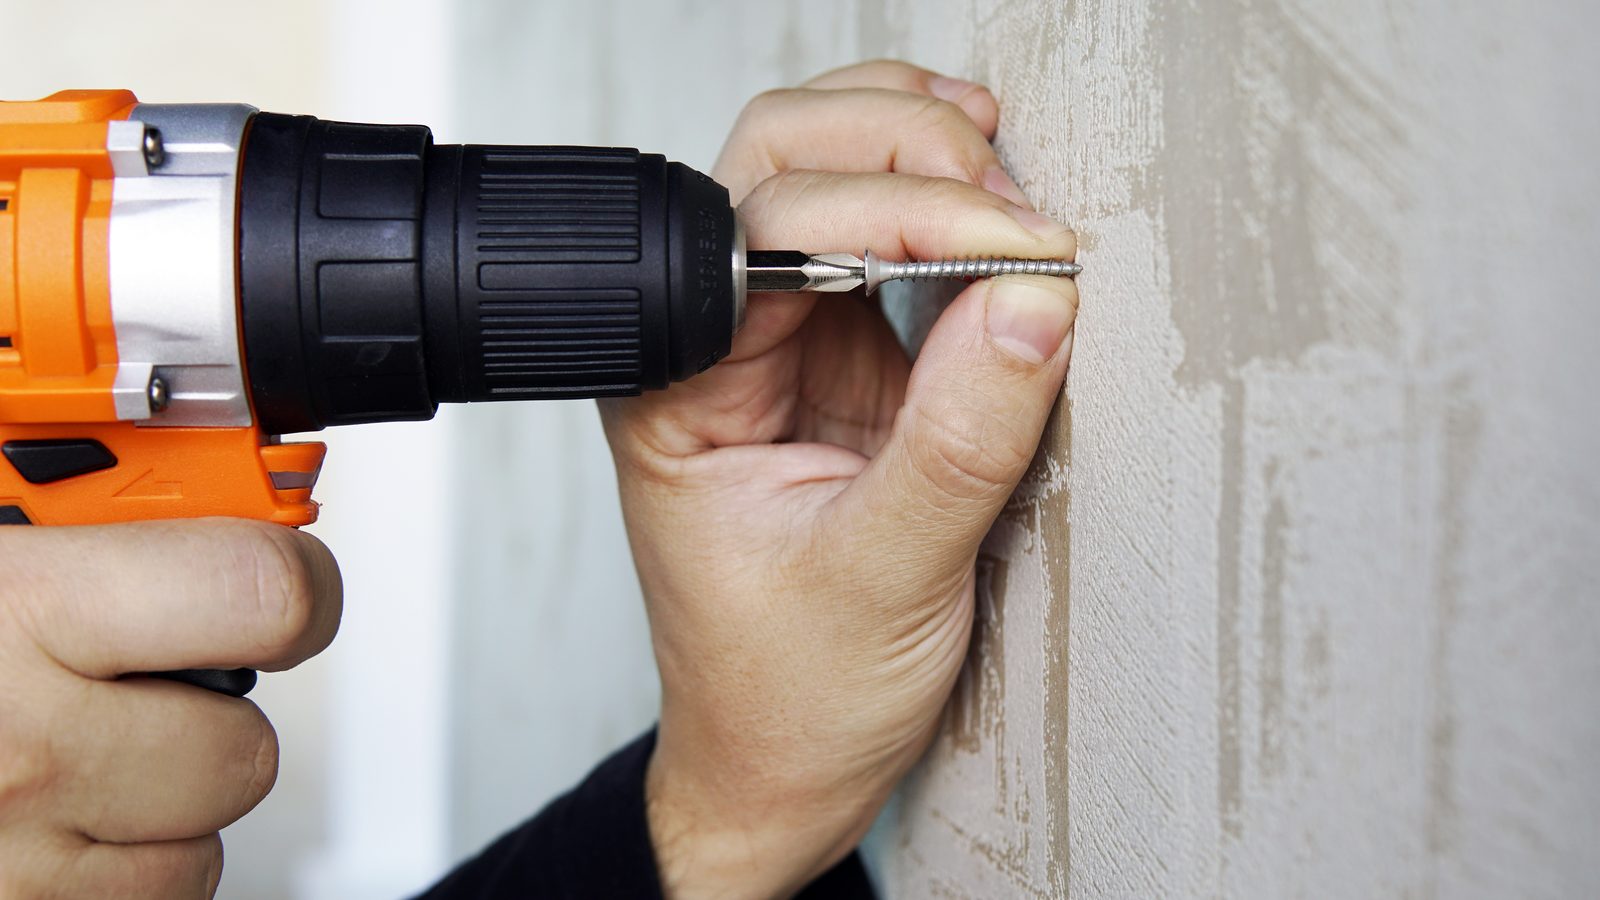
Place one drywall screw about an inch above the old fastener and one about an inch below it, both into the same framing member, penetrating at least ¾ inch into solid wood. Two screws share the load the single nail was carrying alone.
Set the depth correctly
Drive each screw until the head dimples just below the paper facing without breaking it. If one does tear through, don’t fight that hole — back it out and set a fresh screw an inch to the side.
Apply the first coat
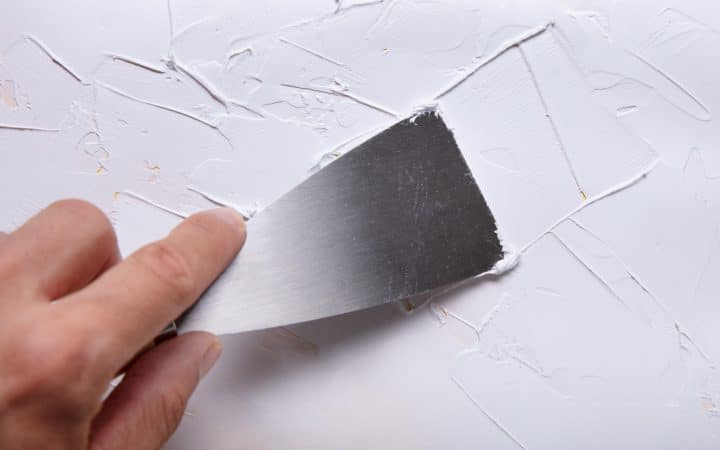
Cover both new screws and the original nail head with a thin layer of compound using a 6-inch knife. This coat is about adhesion, not appearance.
Let it dry, then recoat
All-purpose compound needs 12 to 24 hours to dry before a second coat. A setting-type (“hot mud”) compound hardens by chemical reaction instead, so you can recoat within the hour if you’re patching several pops in one visit. Apply the second coat a few inches wider than the first.
Sand and prime
Once fully dry, sand with a fine-grit sponge, then prime before paint. Compound is more porous than the surrounding wall and will flash a slightly different sheen through finish paint without it.
Match the texture if the surface calls for it
On a textured wall or ceiling, a flat-sanded patch will show under any side light no matter how good the taping was. See our drywall texture types guide for spray settings once the patch itself is flat and dry.
Ceiling nail pops vs. wall nail pops
The repair is the same set of steps in both spots, but ceilings make every one of them harder. Compound sags against gravity instead of just sitting on a vertical surface, so a thinner coat and a setting-type compound behave better overhead than an all-purpose mix that wants to slump. You’re working above your head on a ladder, which slows down a job that would take minutes on a wall and makes a second set of hands worth having for anything past a couple of pops. And ceilings carry texture far more often than walls do (popcorn, knockdown, orange peel), which turns a five-minute patch into a texture-matching job the moment you sand it flat.
Ceilings are also where the truss-uplift pattern from earlier shows up almost exclusively, since it’s the roof structure doing the pulling. If your pops are on a ceiling and they’re tracking in a line rather than scattered at random, that’s the pattern to check first.
Textured ceiling in a house built before 1980? Test before you sand
Sprayed and troweled textures applied before the 1978 US restrictions can contain asbestos, and nothing about how a texture looks tells you whether it does. Don’t dry-sand or scrape into old texture around a nail pop on a guess — a lab sample runs about $40. Our popcorn ceiling asbestos guide walks through how that test works, and our disclaimer covers the rest.
Should you convert every nail to a screw at once?
Once you’re up on a ladder fixing one pop, it’s a fair question: should you drive a preventive screw beside every other visible nail head in that ceiling while you’re already there? Sometimes, yes. If the room is getting repainted anyway, or the house is still inside its first two years of settling and you know a second wave of pops is coming, running a screw beside every nail along an exposed joist line is cheap insurance against a repeat trip — and repeat trips are exactly what drive up drywall repair cost when a contractor is billing a visit at a time rather than a fastener at a time.
Where it isn’t worth it: a house that’s been stable for a decade or more with one isolated pop. Chasing every nail in a ceiling that’s given you exactly one problem in ten years is a lot of dust and drywall screws for a repair you may never need. My rule on site is simple — preventive conversion when you’re already exposed and painting is next on the list anyway, spot repair everywhere else. And if the room has a wide scatter of old nail pops on a wall you’re planning to repaint eggshell or gloss, it’s often faster and cheaper to skim coat the whole surface flat than to chase and feather a dozen individual patches into a wall that will still read uneven under raking light.
Run the numbers on a typical case: a ceiling with eight visible nail heads along one joist line, where three have already popped. Converting all eight to screws while you’re up there adds maybe fifteen minutes and under two dollars in screws over just fixing the three that failed — a rounding error next to a second $150-plus service call in eighteen months when the next three let go.
What this costs in 2026
Nail pops are the cheapest line item on any drywall quote, and the price barely moves whether you’re fixing one or ten — a pro is charging mostly for showing up, not for the fastener.
| DIY materials | Pro, a handful in one visit | |
|---|---|---|
| Typical cost | $10–$25 | $150–$300 |
That pro range holds whether it’s three pops or a dozen, for the same reason a drywall repair minimum charge covers a whole punch list almost as cheaply as a single hole — the visit costs more than the material either way. If what you actually have is a line of recurring pops from truss uplift rather than isolated fastener failures, that’s a different job with its own cost range; see the crack repair guide linked earlier rather than pricing it as a nail pop. For the full range of drywall repair costs by job type, our drywall repair cost guide breaks down holes, cracks, and full-sheet replacement alongside this one.
Mistakes that bring the pop right back
| What you did | Why it comes back |
|---|---|
| Re-drove the same nail and skipped the screws | Nothing new is holding the drywall; the same fastener with the same weak grip will walk back out |
| Screw missed the stud, or didn’t reach ¾ inch into it | A screw in open air or barely biting the framing has no more grip than the nail it replaced |
| One coat instead of two, or a narrow feather | A ridge that thin telegraphs through paint even when the fastener itself is solid now |
| Skipped the primer | Compound is more porous than the painted wall around it and flashes a different sheen under side light |
| Patched a truss-uplift line like ordinary pops | The framing is still moving every winter; new patches crack on the same schedule as the old ones |
Questions I get on site
Is a nail pop dangerous or a sign of a structural problem?
On its own, no. A nail pop is a cosmetic fastener issue, not a load-bearing one — the wall or ceiling isn’t failing, a small dot on the surface is. It only becomes worth a second look when several show up in a line or a cluster you haven’t seen before, which is a pattern question rather than a single-pop one.
Can I just use spackle instead of joint compound and new screws?
Spackle can hide the hole left behind, but it doesn’t reattach the drywall to anything. Without the two new screws doing the actual holding, spackle over a popped nail is a paint job, not a repair, and the pop reappears once the framing moves again.
Why does the nail pop back out even after I hammer it flat?
Because hammering doesn’t change what caused it. The stud behind it is still shrinking, or the truss is still lifting every winter, and a smooth nail shank has nothing threaded to resist that movement. It will walk back out on the same schedule until a screw with real grip takes over the job.
How many nail pops in a house is normal?
A handful scattered through a house in its first two years is ordinary lumber shrinkage and nothing to worry about. Beyond that, normal is house-specific — an older, nail-hung home might produce one every year or two indefinitely as routine maintenance, while a screw-hung house that’s been stable for a decade popping several at once is worth a closer look at what changed.
Do nail pops mean my house is settling?
Usually not in the foundation sense people worry about. Most nail pops trace back to lumber drying out or ordinary seasonal wood movement, not the house shifting on its footings. If you’re also seeing diagonal or stair-step cracks, sticking doors, or a sloped floor alongside the pops, that combination is worth the closer read in our wall crack guide.
Can I just remove the nail entirely instead of screwing beside it?
You can, and on a nail that’s badly bent or already halfway out, pulling it is often cleaner than trying to seat it flush again. Either way, the two new screws are what actually hold the drywall going forward — whether the old nail stays seated or comes out entirely is a smaller decision than making sure fresh screws are doing the real work.
Should I use screws instead of nails if I’m hanging drywall myself?
Screws, without much debate. They cost more per fastener and take a little longer to drive than nailing, but the threaded grip is exactly what resists the wood shrinkage that causes pops in the first place. Most production framing has used screws for drywall since the 1980s and ’90s for this reason, and there’s no upside to going back to nails on a DIY hang.
How long before I can paint over a fixed nail pop?
With all-purpose compound at two coats roughly 24 hours apart, plan on 2 days before you prime and paint. Setting-type compound for both coats can get a handful of pops paint-ready the same afternoon.
Are nail pops covered by a builder’s warranty?
Often, within the first year or two on new construction — many builder warranties explicitly cover drywall nail pops as normal settling defects during that window, since they’re expected as new lumber dries out. Check your specific warranty document rather than assuming either way, and report them before the coverage period closes rather than waiting.
What’s the difference between a nail pop and a screw pop?
Mechanically, very little — both are a fastener losing its grip and pushing the compound over it proud of the surface. Screw pops are less common, since threads resist withdrawal better than a smooth nail shank, so when you do see one it’s more often a screw that missed the stud or didn’t bite the full ¾ inch than ordinary lumber shrinkage.
Can a nail pop damage the drywall paper permanently?
Rarely on its own. The paper face can tear a little around a badly popped fastener, especially if it’s been hammered or pried at more than once, but that’s a small, patchable area, not a reason to replace the board. It only turns into a bigger repair if moisture reaches the same spot and softens the gypsum core underneath — which is a leak to chase, not a fastener to reset.
Guides on this site are for general information about routine home maintenance. Suspected asbestos, mold over 10 sq ft, or structural water damage should be assessed by a licensed professional in your state.