A sagging ceiling gets the same advice on almost every page that mentions it: find the joists, drive some screws through washers, done. That works for exactly one of the four reasons a ceiling actually sags. Try it on the other three and you’re either redoing the patch in six months, or standing under a few hundred pounds of wet gypsum that was never going to hold on a handful of drywall screws in the first place.
I’ve priced and repaired ceilings since 1997, and the callback I get most often starts the same way: someone watched a video, drove in a row of screws exactly like it showed, and the ceiling is still coming down. The screw-back fix isn’t wrong. It’s just an answer to a question nobody asked first: why is this ceiling actually sagging?
Four different problems produce the same visual result, a ceiling that used to be flat and now isn’t. A popped fastener, a soaked panel, an overloaded joist, and a hundred-year-old plaster ceiling losing its grip all look similar from the floor. They need completely different fixes, and two of them are not a Saturday project.

What’s actually holding your ceiling up
Every ceiling in a house is a suspended system, whether anyone thinks of it that way or not. A drywall ceiling hangs off the joists on nothing but screws or nails and, on some jobs, a bead of construction adhesive. Half-inch drywall runs about 1.6 pounds per square foot dry. An average 12 by 12 bedroom ceiling is holding roughly 230 pounds against gravity using fasteners spaced every 16 inches. That’s not a lot of margin, which is why a handful of failed screws can turn into a visible dip fast.
Older homes run a different system entirely. Lath and plaster ceilings are built from thin wood strips nailed across the joists, with wet plaster forced through the gaps between them. As it oozed through, the plaster curled over the back of the lath and hardened into a “key,” one of thousands of small mechanical anchors holding the whole ceiling in place. Plaster is also heavier than drywall, often 8 to 10 pounds per square foot once you count the lath and the scratch coat underneath it. When someone asks why their 1920s ceiling feels like it could come down on their head, the honest answer is that it’s held up by keys the size of a fingernail, most of which are pushing 100 years old.
The four reasons a ceiling sags, and how to tell them apart
Stand under it and look before anything else. A sag from a bad fastener has a different shape than a sag from water, and both look different from a plaster ceiling coming loose. Here’s what I check for, in the order I check it.
| What you see | What’s actually happening | Where to check next |
|---|---|---|
| Popped screws or nail heads in a visible line, a slight wave between joists, no discoloration | Fasteners pulled through the paper facing, or the panel was too thin for the joist spacing | Press with two fingers directly over a joist versus between two joists |
| A soft, spongy patch, sometimes stained, sometimes bulging in one spot | Water has soaked the gypsum core and it has lost its stiffness | Thumb-press test and a moisture meter reading |
| The whole ceiling plane looks like it dropped evenly, sometimes worse toward the center of the room | A joist is undersized for the span, overloaded, or has failed outright | Attic inspection: joist size, spacing, and what’s stacked on top of them |
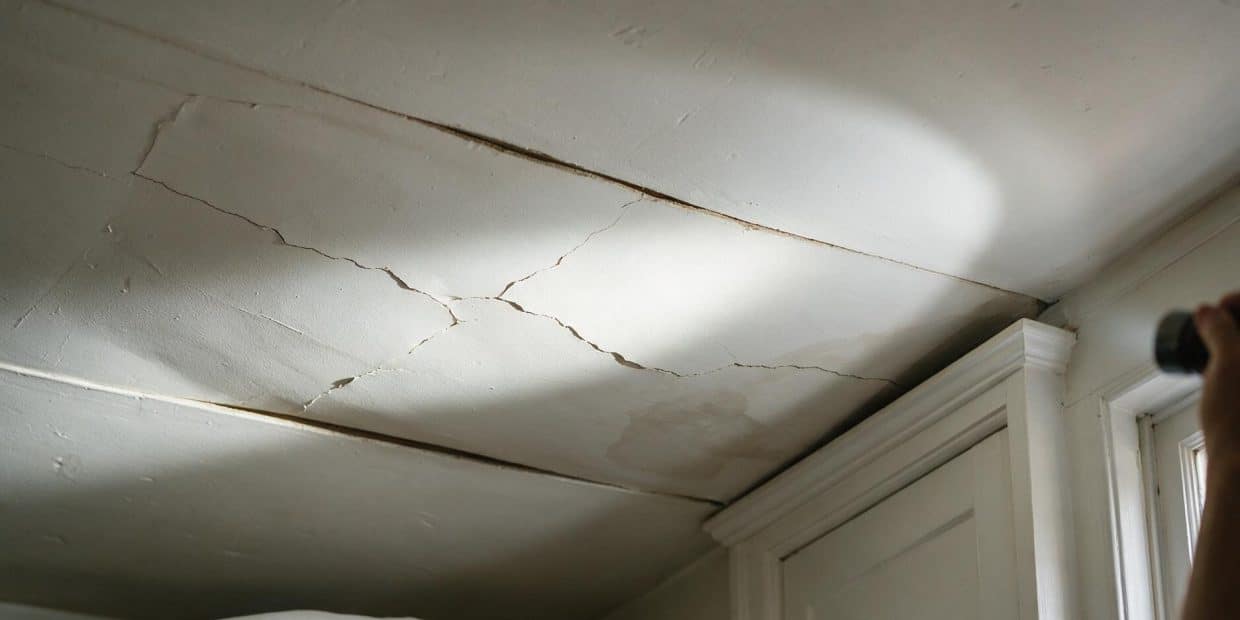
| Fine map-cracking across a wide area with a trampoline-like give when pressed, sometimes grit falling from the cracks | Plaster keys have broken loose from the lath | House age, and whether the ceiling has a troweled finish rather than smooth drywall |
Two of these you can usually confirm without a ladder. The other two need you to get above the ceiling, or press on it the right way, before you buy a single screw.
Press at the joist, not just anywhere
A two-finger press test only tells you something if you know where the joists are. Push gently between two joists first, then directly over one. Drywall that flexes slightly between joists but goes solid over a joist is behaving normally. Drywall that feels the same soft, springy way in both spots has either pulled loose from its fasteners or taken on water. I cover the same test, including the moisture-meter numbers to look for, in early signs of water damage on ceiling.
Is a sagging ceiling dangerous?
Sometimes, and the weight math is worth doing before you decide how urgent this is.
A dry, sagging half-inch drywall panel weighs about what it always weighed, roughly 50 pounds for a 4 by 8 sheet. The same panel soaked through can hold two to three times that in absorbed water, and it isn’t holding that weight the way it was designed to. A plaster ceiling that lets go doesn’t come down in a tidy sheet either. It comes down in chunks, sometimes with the lath still attached, and I’ve seen a section the size of a coffee table land hard enough to break furniture underneath it.
Here’s the line I use on site: a cosmetic wave you’ve had for years and isn’t changing is a repair, not an emergency. A sag that’s visibly lower than it was last month, a bulge that’s actively growing, or a plaster ceiling with fresh cracks radiating out from one point needs the room cleared until someone qualified looks at it. Don’t stand under it to decide. Look from the doorway.
Clear the room first if any of this applies
Cut power at the breaker to any light fixture or fan in the sagging section before you do anything else, since a failing ceiling can pull wiring loose with it. Move anything valuable out from underneath it, and don’t let anyone sleep in that room until you know which of the four causes above you’re dealing with. A wide or growing structural sag is a call to a structural engineer, not a drywall contractor, and not a video tutorial. See our disclaimer for where my advice stops.
Fixing a drywall ceiling that’s sagging from bad fasteners
This is the repair everyone means when they say “just add screws,” and on the right ceiling it really is that simple. It only works if the panel itself is dry, firm, and still basically flat, just pulling away from a row of fasteners that gave up.
-
Confirm the panel is dry and sound
Press it. If it’s firm everywhere and only the fastener line has failed, you’re in the right repair. Any softness sends you to the water-damage section instead.
-
Find every joist under the sagging area
A stud finder works, or drive a fine finish nail at an angle near a suspected joist and feel for wood instead of the hollow cavity. Mark each one with a pencil line across the panel.
-
Pull the panel back up as you go
Press it flat against the joist by hand, or use a drywall lift or a T-brace made from a 2×4 and a scrap of plywood to hold it in place, rather than trying to fasten a sagging panel one-handed.
-
Drive new screws through repair washers
1-5/8 inch drywall screws through 2-inch construction washers, spaced about every 6 inches along each joist, placed an inch or two away from the original failed fasteners rather than through the same holes.
-
Deal with the old fasteners
Back out any screw that already stripped its hole, or drive it flush and cover it along with the washers. A stripped screw left in place is doing nothing for you.
-
Tape, coat, and feather the whole repaired section
Three thin coats over the washers and any seams that opened up, feathered 10 to 12 inches wide so the raised washers don’t telegraph through the paint.
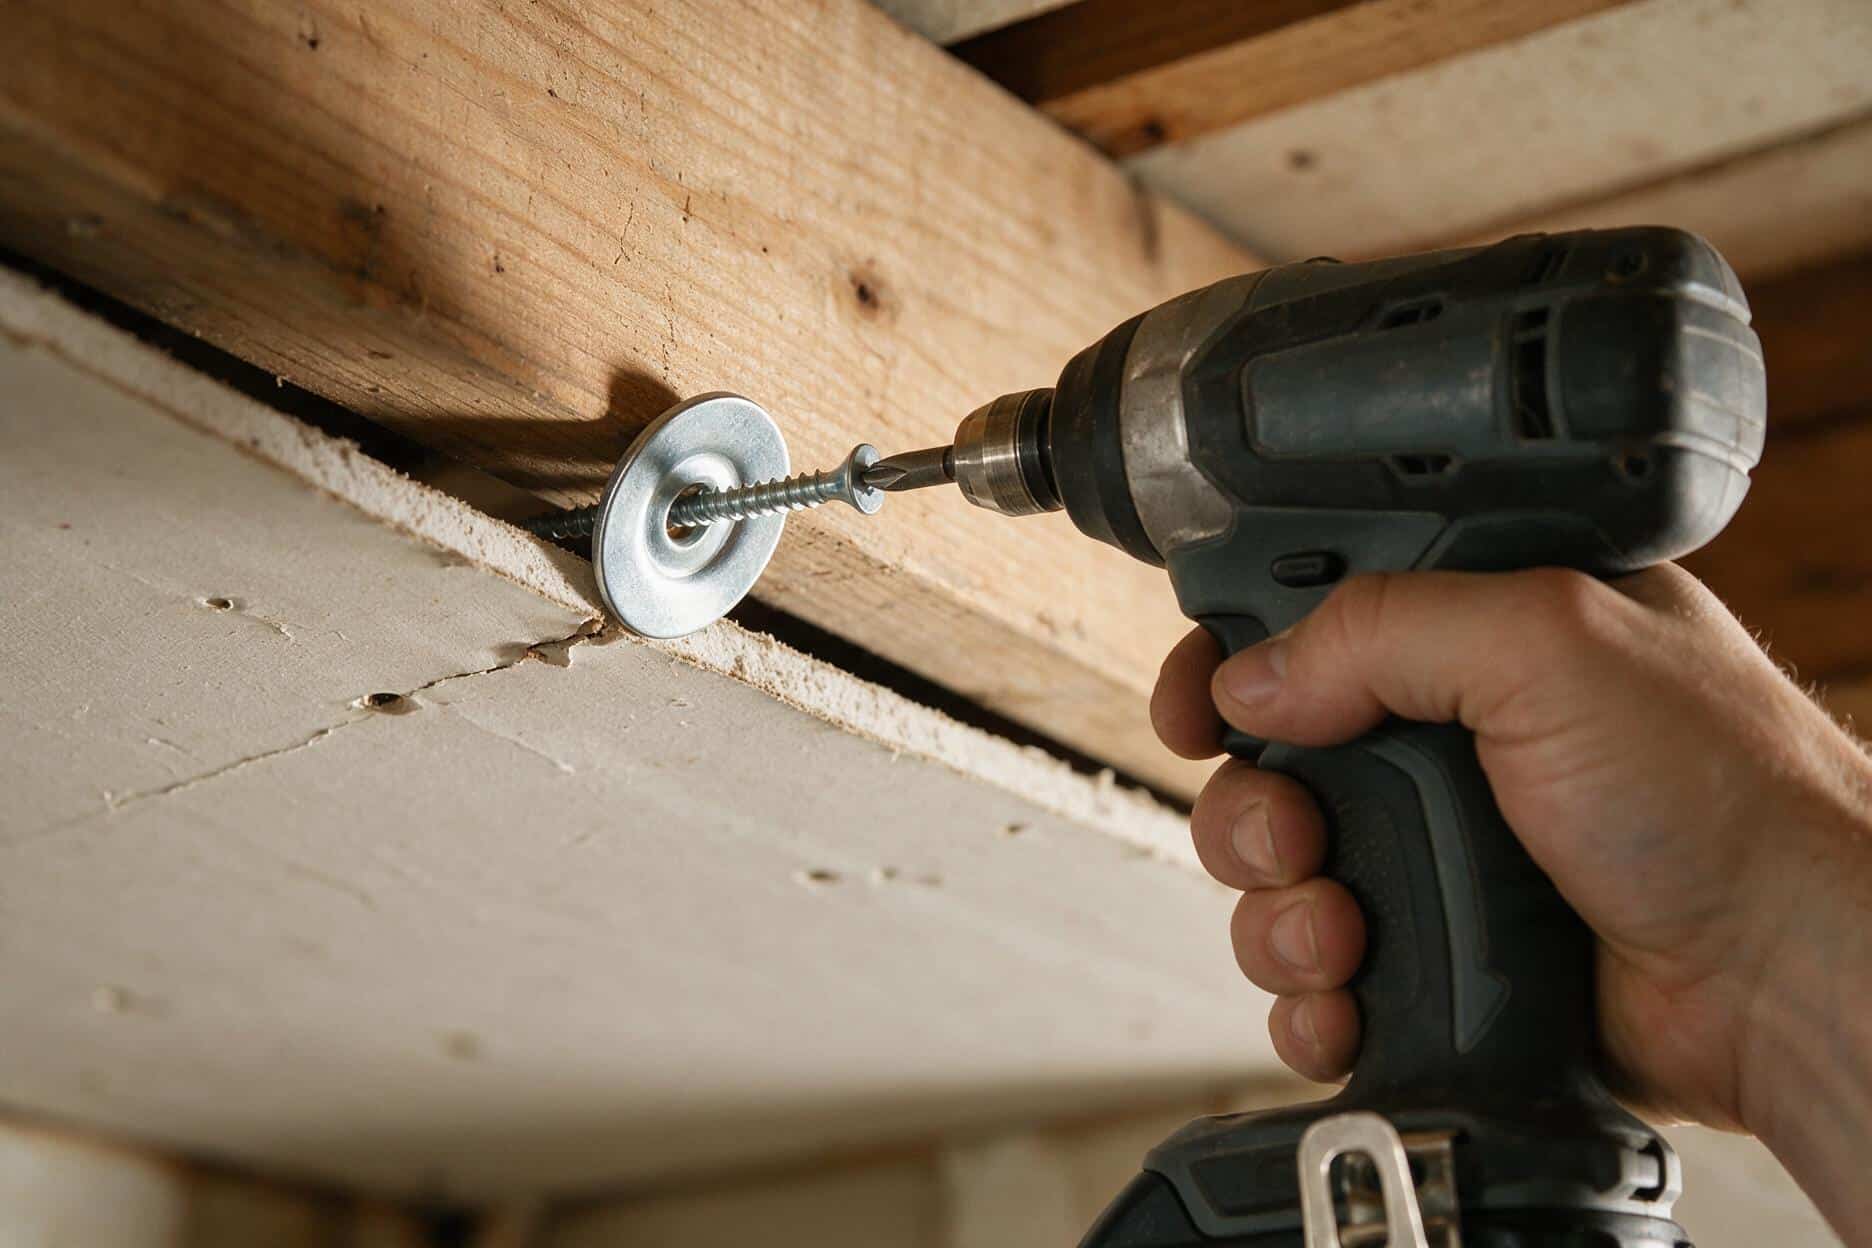
A bare screw head can still pull straight through paper that’s already failed once. A 2-inch washer spreads that same load over enough surface area that, in practice, it doesn’t happen again in the same spot.
When the sag is water, not a bad fastener
A soft, stained, or bulging section changes the job completely, and I’d rather point you to the two guides that cover it properly than repeat them badly here. Water stain on ceiling walks through finding the actual leak before you touch anything, and water damage ceiling repair cost breaks down what the repair runs once the source is confirmed dead.
The short version: dry and firm means you seal and repaint, using the fastener repair above if the panel also lost some screws along the way. Soft, spongy, or delaminating means the board has to come out. How to patch a large hole in drywall covers the cut-and-patch method once you’re down to bare joists, and the technique is the same whether the opening started as impact damage or a cut-out water-damaged section.
One more thing before you touch a scraper: if the ceiling has a sprayed or troweled texture and the house predates 1980, get it tested before you disturb it. Popcorn ceiling asbestos covers what triggers a test and what a positive result costs to deal with, and it’s a five-minute read that can keep a $600 repair from turning into something much bigger.
Structural sag: undersized drywall, overloaded joists, and truss uplift
This is the cause most guides wave at with a line about calling a professional. It’s worth understanding before you make that call, because it changes who you actually call.
Most drywall manufacturers and building codes call for 5/8-inch panels on ceiling joists spaced 24 inches apart. Half-inch board, the standard for interior walls, will sag between joists that far apart over time even with perfect fastening, a defect the trade calls pillowing. If your whole ceiling has a soft, even wave rather than one distinct dip, measure your joist spacing and your drywall thickness before you assume something failed. Sometimes the ceiling was simply framed with the wrong board for the span.
Actual joist failure is a different problem. A joist can bow with age, from being notched or drilled too aggressively for a wiring or plumbing run, or from years of attic storage resting on the ceiling drywall through thin insulation instead of on the joists themselves. The fix for a bowed joist is sistering: a matching piece of lumber bolted or screwed alongside the original along its full length, which straightens the joist as it’s fastened and shares the load from then on. That’s carpentry, not drywall finishing, and it’s usually done from the attic side without disturbing the ceiling below at all.
Truss uplift is the one nobody expects. In winter, the top and bottom chords of a roof truss can expand and contract at different rates, briefly pulling the center of the ceiling upward instead of down, then releasing it again in spring. If your ceiling only cracks or gaps near an interior partition wall on a seasonal basis and looks normal the rest of the year, that’s truss movement, not a failing ceiling, and fastening the drywall too rigidly to the wall below can make the cracking worse instead of better.
Where the joist was cut matters as much as whether it was cut. Span tables assume the wood does its full job across the whole distance between supports, and that assumption breaks the moment someone notches or bores through a joist near the middle of its span instead of near an end. A 2-inch hole drilled six inches from where a joist lands on a wall barely changes anything structurally. The same hole drilled at mid-span, where the joist is doing the most work, can cut its strength by a third or more. If you’re in the attic looking at old wiring or plumbing runs cut into the joists, where those cuts sit tells you more than how many there are. Span tables also assume a specific lumber species and grade, so a joist that would be fine as Douglas fir can be undersized if the house was actually framed with a weaker species. That’s one more reason an engineer’s five-minute look at the actual wood beats guessing from a span chart online.
Pillowing looks structural. It usually isn’t.
An even, gentle wave across an entire ceiling on 24-inch joists is often undersized board doing exactly what undersized board does. A single, worsening dip in one section of an otherwise flat ceiling is a better sign of an actual joist problem. Measure before you assume the worse of the two.
Old house? Plaster ceilings sag for a completely different reason
If your house predates the 1950s and the ceiling has that faint hand-troweled texture instead of a smooth drywall finish, screws are not your first move. Plaster doesn’t hang off fasteners. It hangs off thousands of keys curled over the back of wood lath, and those keys get brittle with age the same way old rubber does. A ceiling can look completely intact from below and still be one hard-slammed door away from a section of keys shearing off all at once.
The tell is different from a drywall sag too. Instead of one panel dipping between joists, plaster failure shows up as a wide, shallow give across a large area, sometimes with a network of fine cracks that weren’t there a year ago, sometimes with a faint crunching feel under light pressure as the remaining keys flex. Driving screws through failing plaster the way you would drywall usually just cracks more of it.
Telling plaster from drywall without opening up the ceiling is easier than it sounds once you know what to look for. Drywall panels are four feet wide, so a smooth ceiling usually shows faint seam lines or a slight texture change every 48 inches under raking light. Plaster has no seams at all, just a continuous hand-troweled surface. There’s a complication worth knowing about, too: some older homes got a layer of drywall installed directly over failing plaster during a remodel instead of having the plaster torn out first. If your ceiling reads as drywall but the house dates to the 1930s or earlier, tap it in a few spots. A hollow, drum-like sound at regular intervals usually means you’re hearing furring strips or joists behind a single layer. A denser, duller sound that doesn’t line up with any regular spacing often means there’s still a plaster layer back there doing part of the work, whether anyone told you about it or not.
The actual fix for a sagging but mostly intact plaster ceiling is a plaster washer system: wide perforated metal disks screwed through the existing plaster and into the lath or the joists behind it, which re-anchor a broad area without removing anything. A ceiling with more cracking than sound plaster, though, is usually past the point where washers make sense. Skim-coating over mesh, or removing the plaster entirely and hanging drywall in its place, ends up cheaper than trying to save keys that are already mostly gone. Skim coat walls covers the finish-level choices if you go that route.
What it costs to fix a sagging ceiling in 2026
The screw-back fix and the structural fix are not two prices for the same job. They’re two different jobs that happen to look identical from the floor, and the gap between them runs close to tenfold.
| Job | DIY materials | Typical pro quote |
|---|---|---|
| Refasten a small sagging area, drywall | $15–$35 | $200–$400 |
| Refasten and refinish a full ceiling | $40–$90 | $350–$700 |
| Cut out and patch a water-damaged section | $50–$150 | $350–$1,600 |
| Plaster washer re-securing, typical room | $30–$70 | $400–$900 |
| Sister a bowed joist, per joist (attic access) | $60–$120 | $250–$600 |
| Structural engineer consult | — | $300–$700 |
| Re-board an old ceiling over sound framing | $150–$400 | $1,200–$3,000 |
The engineer’s fee is the cheapest insurance on this list
$300 to $700 to have someone confirm a joist problem before you pay to fix it sounds steep next to a $200 refastening job, until you compare it to reframing a ceiling twice because the first fix addressed the wrong cause. On anything wider than one panel, that consult pays for itself the first time it keeps you from guessing.
When to call a structural engineer instead of a drywall contractor
Most sagging ceilings never need this call. These are the situations where I make it anyway.
- The sag has visibly grown in the last few weeks rather than sitting unchanged for years.
- It spans more than one joist bay, or you can’t find a clear edge to it.
- Doors or windows in the same room have started sticking or racking around the same time the ceiling changed.
- There’s a visible slope in the floor of the room directly above it.
- The house has had recent work nearby, like a wall removed or a beam altered, that could have shifted a load path.
Any one of those on its own is worth a phone call. Two or more together, and I’d want the room cleared until someone qualified has looked at it, not just estimated it over the phone.
Questions I get on site
Is a sagging ceiling always an emergency?
No. A wave you’ve lived with for years that isn’t spreading is a repair job you can schedule. A sag that’s new, growing, or paired with fresh cracking or a musty smell needs attention that same week, not that same year.
Can I just add more screws to a sagging ceiling?
Only if the cause is a failed fastener and the panel itself is still dry and firm. More screws in a water-soaked panel just tear new holes in paper that’s already given up, and more screws in plaster usually crack it further instead of holding it.
How much weight can a sagging ceiling actually hold before it fails?
There’s no safe number I can give you, because it depends on how much of the fastening has already let go and whether water is involved. Treat any active, growing sag as if it could fail without warning. Gypsum and plaster don’t usually give much notice before they do.
What’s the difference between a sagging ceiling and a cracked ceiling?
A crack is a break in the surface with no change in the plane of the ceiling. A sag is the plane itself moving. You can have either without the other, though a bad enough sag usually cracks eventually. How to fix cracks in walls covers reading a crack on its own terms.
Will homeowners insurance cover a sagging ceiling repair?
It depends entirely on the cause. A sudden event like a burst pipe that soaked the ceiling is usually covered. Gradual causes like age, settling, or a slow fastener failure typically aren’t, and an insurer will ask which one they’re looking at before approving anything. Read your own policy rather than a general answer, mine included.
My ceiling is plaster, not drywall. Is the fix the same?
No. Drywall gets refastened with screws and washers. Plaster gets re-secured with plaster washers or, past a certain point, skim-coated or replaced. Treating a plaster ceiling like drywall usually does more damage than the sag already had.
How do I know if it’s the joists or just the drywall?
The shape tells you most of it. One dipping panel between otherwise flat joists points at the drywall. An even wave across the whole ceiling, or a section that’s dropped along with everything attached to it, points at the framing. When in doubt, that’s exactly what the attic inspection, and if needed, the engineer’s visit, are for.
Figures on this page are US ranges as of August 2026, not a quote for your ceiling, and your zip code and access will move them, sometimes by half. Nothing here replaces an in-person look from a structural engineer once a sag is wide, growing, or paired with cracking somewhere else in the house. If a number is off in your market, tell me and I’ll correct it.