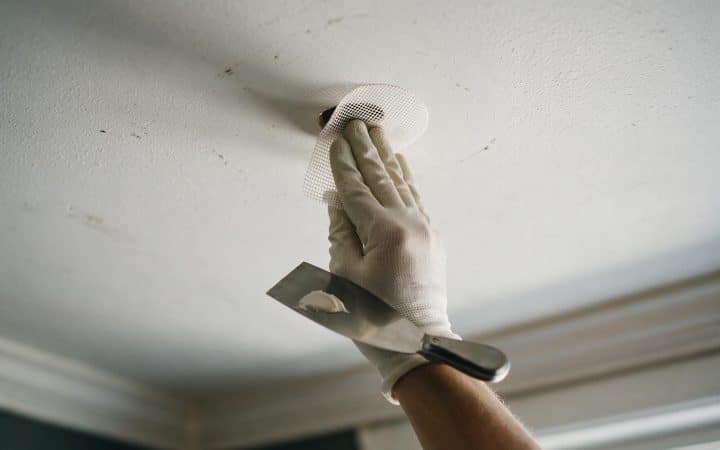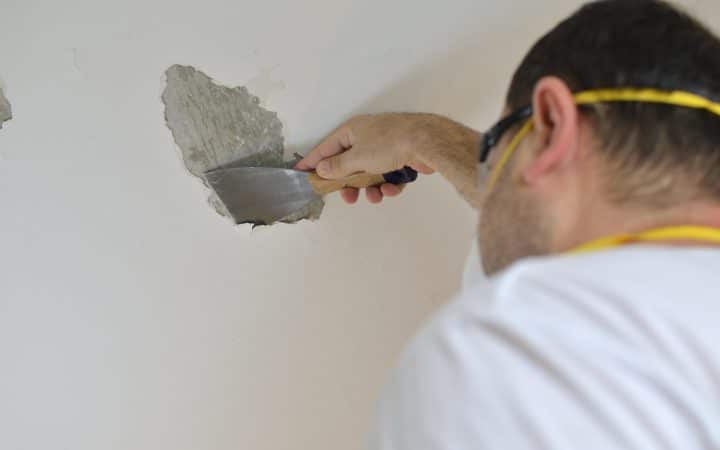
You can cover a popcorn ceiling without removing it with adhesive foam or PVC tiles, tongue-and-groove wood planks, or a drop ceiling grid, three options that sit over the texture instead of bonding to it. Skim coating with joint compound, the method most articles mention first, usually isn’t one of them: raw texture doesn’t hold mud evenly, and a wet coat can pull sections of it down in sheets instead of covering them.
Before any of that, test for asbestos if the house is old enough. Nothing about how the texture looks tells you whether it’s safe to disturb, and every method below involves at least light contact with the surface: chalk lines, a probing fingertip, adhesive pressed into place.
This guide covers what each covering method actually requires, where it fails, and the one popular shortcut that quietly turns into the removal job it was supposed to avoid.
How to cover popcorn ceiling without removing it: the short version
Skim coating gets recommended constantly as a way to cover a popcorn ceiling without scraping it first, and it does work, but only in specific conditions. Joint compound bonds well to painted, sealed texture that’s already stable and shallow. It bonds poorly to raw, unpainted popcorn, which is porous, uneven, and thick enough that wet mud can pull whole sections of it down instead of filling over it. Skim coating a ceiling covers the full triage for when it’s the right call and when it isn’t; the short version is that intact, unpainted popcorn usually needs testing and removal first, not a coat of mud on top.
That’s the gap this guide fills. The covering methods below don’t ask the texture to hold anything. They span over it, on a frame, on an adhesive bond limited to a single tile’s own weight, or on a mechanical fastener driven into the framing above the texture rather than into the texture itself. If you’ve already tried to scrape a section and it isn’t cooperating, how to remove popcorn ceiling covers why painted or plaster-backed texture fights back, and whether finishing the scrape is actually less work than covering it.
Test before you cover anything, if the house is old enough
Every method on this list involves touching the ceiling: snapping chalk lines, pressing on adhesive, drilling into joists through the texture. None of that is something to do on a textured ceiling sprayed before the mid-1980s until you know what’s in it. Sanding, scoring, or drilling into asbestos-containing texture is exactly how fibers end up airborne, and covering the ceiling afterward doesn’t undo that.
Test before you drill, score, or sand a pre-1980s ceiling
Sprayed and troweled ceiling textures made before the mid-1980s can contain asbestos, and nothing about how the texture looks tells you which ones do. Read popcorn ceiling asbestos for what triggers a test, what the lab report says, and what to do if it comes back positive, before you touch a single high point of a textured ceiling. Where our advice stops on this is set out in the disclaimer.
Four ways to do it without touching the texture
Each of these methods trades something for the others’ weaknesses. None of them is free, and none of them is right for every ceiling.
| Method | Height it costs you | Works best on | Skip it if |
|---|---|---|---|
| Adhesive foam or PVC tiles | Roughly the tile’s own thickness | A flat, structurally sound ceiling with shallow texture | The ceiling is uneven, spongy, or already sagging |
| Tongue-and-groove wood planks | Noticeably more, plus any furring strips | Rooms where you can find consistent joists | You can’t locate framing in a regular, predictable pattern |
| Drop ceiling grid and tiles | The most of any method here | Basements, additions, or ceilings you may need to open again later | The room can’t spare the height, or ceilings are already low |
| Wallpaper or paint alone | None | Very shallow, fine-grain texture only | You can feel real relief in the texture with a flat hand |
Run the flat-hand test before you buy anything
Press a flat, open palm against a cleared, tested section of ceiling. If you feel distinct bumps and ridges under your whole hand, that texture is too deep for wallpaper or a thin paint job to disguise. If the ceiling flexes, feels spongy, or gives slightly under that same light pressure, stop: that’s a structural or water question, not a covering one, and no method on this page fixes it.
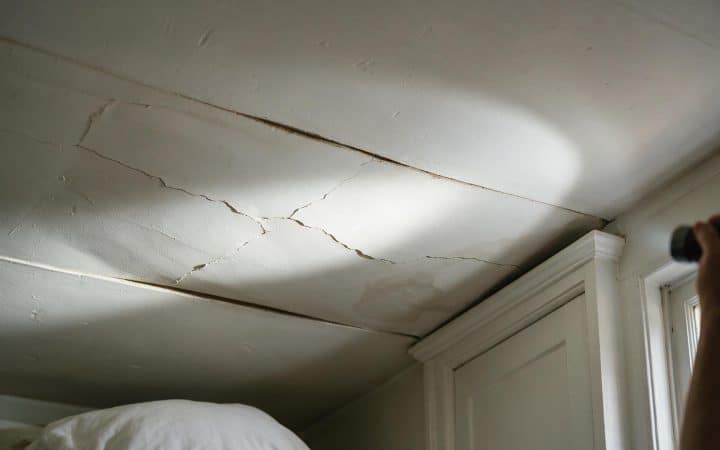
If a ceiling is bowing, cracking along a seam, or gives underfoot when you press on it from above, covering it doesn’t solve that, and adding the weight of tile, wood, or a grid can make a marginal ceiling worse. How to fix a sagging ceiling covers the four actual causes and which ones mean stop and call someone before you cover anything.
Adhesive tiles and panels: the fastest route, if the ceiling is sound
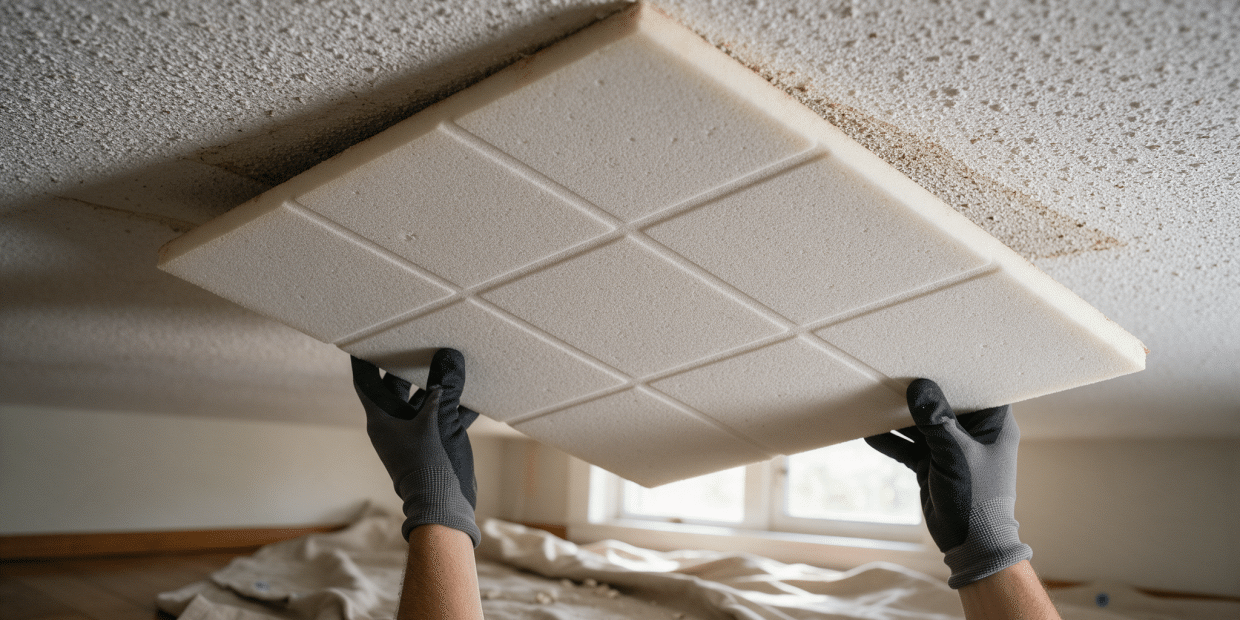
Foam and PVC ceiling tiles are built to glue directly over an existing surface, texture included, as long as that surface is flat enough for the adhesive to make full contact and stable enough to hold the tile’s weight. Manufacturer install guides for this kind of panel describe the same two basic approaches: glue tiles directly to the ceiling in a straight grid, or set them into a light track system screwed to the framing first, which spreads the load instead of relying on adhesive alone across a whole room.
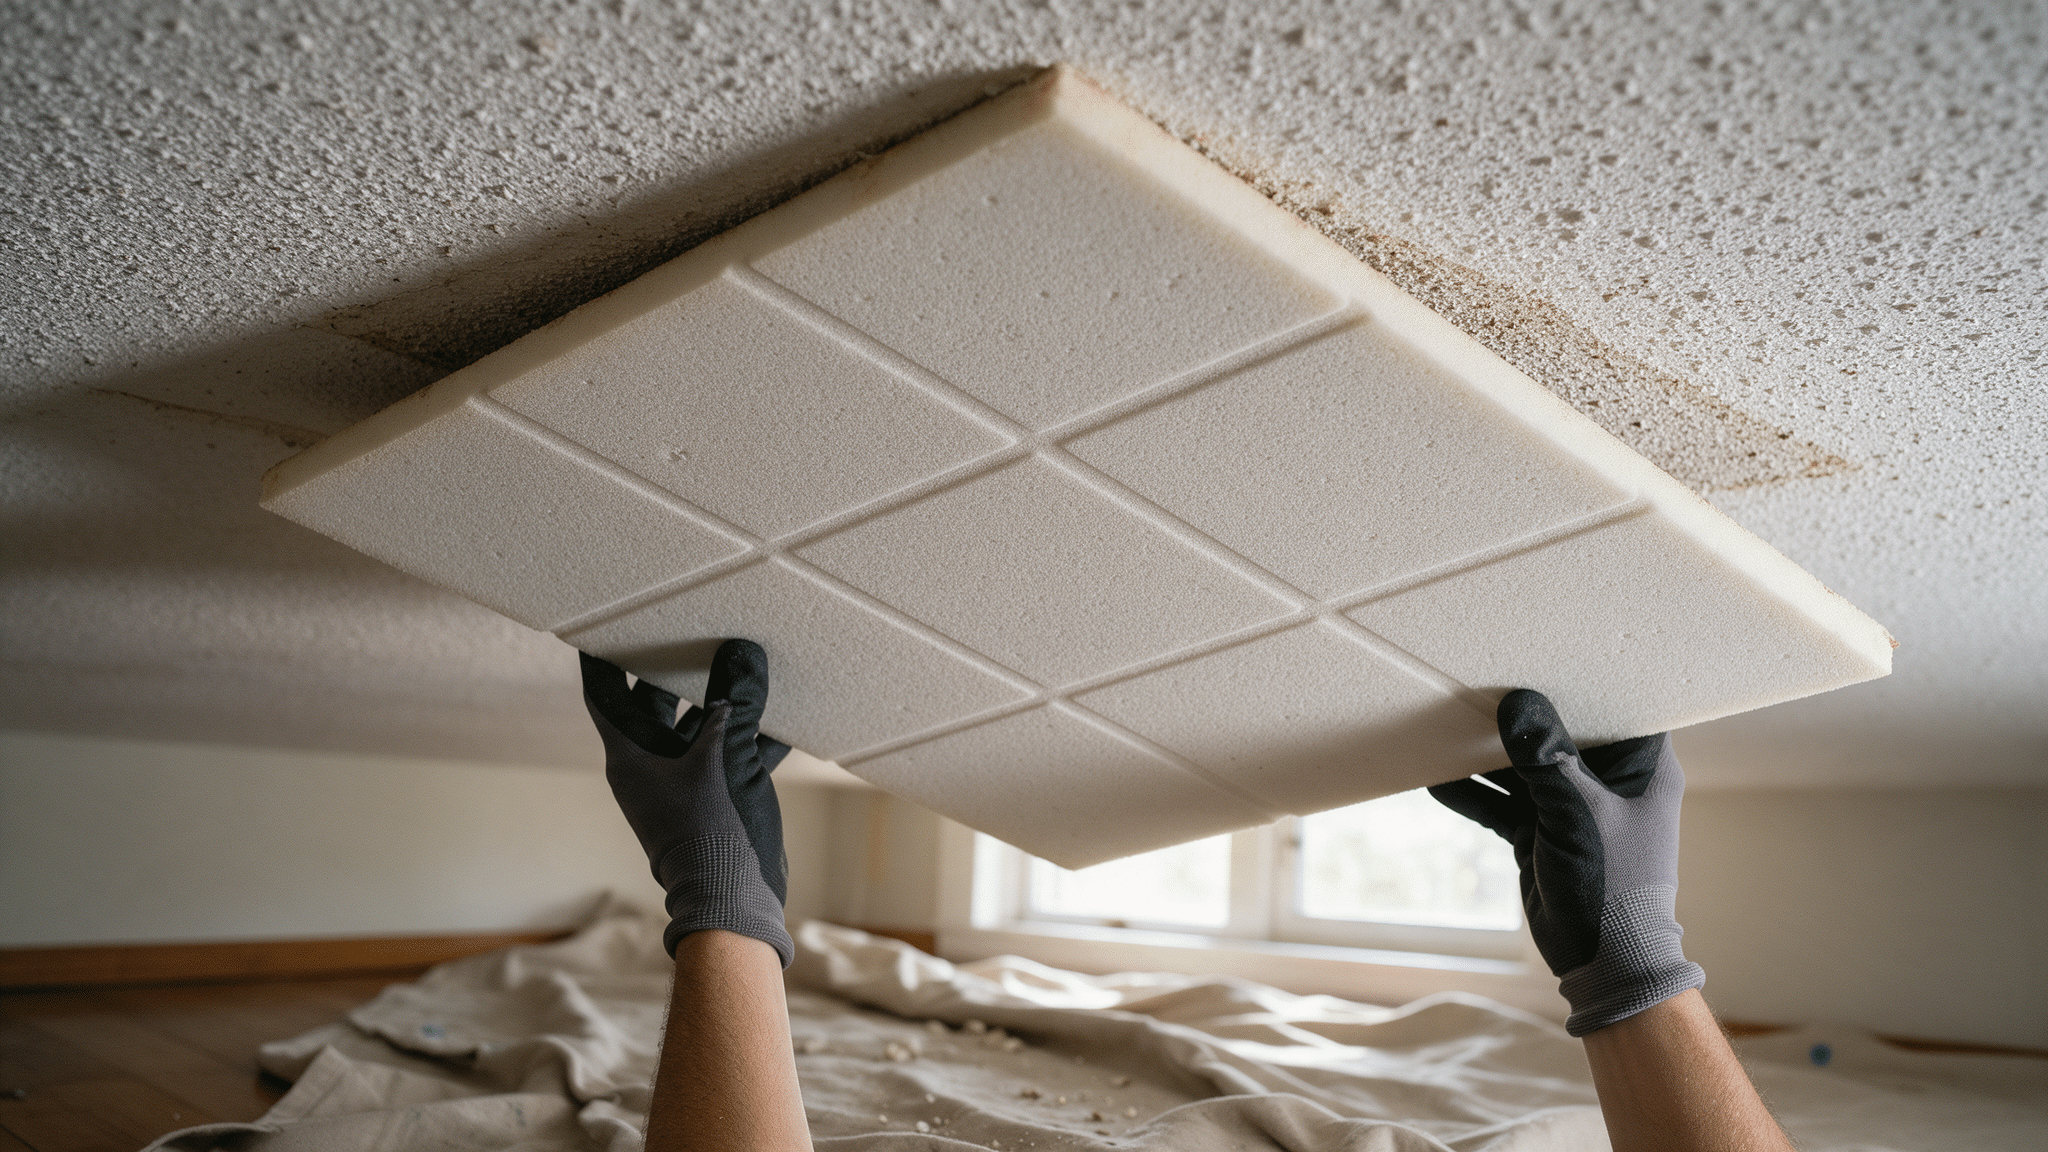
Find the center of the ceiling
Snap chalk lines corner to corner, or wall to wall, so your first tile sits on center and any trimmed pieces end up even, matching, and against the walls where they’re least noticeable.
Run the flat-hand and asbestos checks first
Confirm the texture is sound and, if the house is old enough, already tested, before adhesive goes anywhere near the ceiling.
Dry-fit the first few tiles
Hold them in place without adhesive to confirm the layout and the direction of any pattern before anything is permanent.
Apply adhesive in dabs, not a solid ring
A continuous bead around the edge traps air behind the tile, and trapped air is what causes a corner to bow loose later.
Press and hold with even pressure
Most panel adhesives need close to a minute of firm, flat contact to grab fully. Rushing this step is the most common reason a tile releases at one corner within the first week.
Work outward from the center
Trim the edge pieces against the walls last, once the field of full tiles is set and square.
Wood planks and beadboard: heavier, and the joists decide
Tongue-and-groove wood planks, cedar or pine boards, and pre-primed beadboard sheets all do the same basic job: they hang below the texture on their own structure instead of gluing to it. That means the texture barely matters mechanically, since the planks aren’t asking it to hold anything, but it also means the job depends on finding real framing to fasten into, not just the drywall or plaster the texture is sprayed onto.
Locate the joists with a stud finder before you buy materials, and mark them clearly with tape at both ends of the room. Planks get glued and nailed to that framing, not to the ceiling surface itself, so a room with joists running in an awkward direction, or spaced unevenly because of an older addition, changes how much cutting and blocking the job actually needs. Crown molding or trim around the perimeter covers the gap where the planks meet a wall that isn’t perfectly square, which is common enough on an older ceiling that it’s worth planning for rather than discovering partway through.
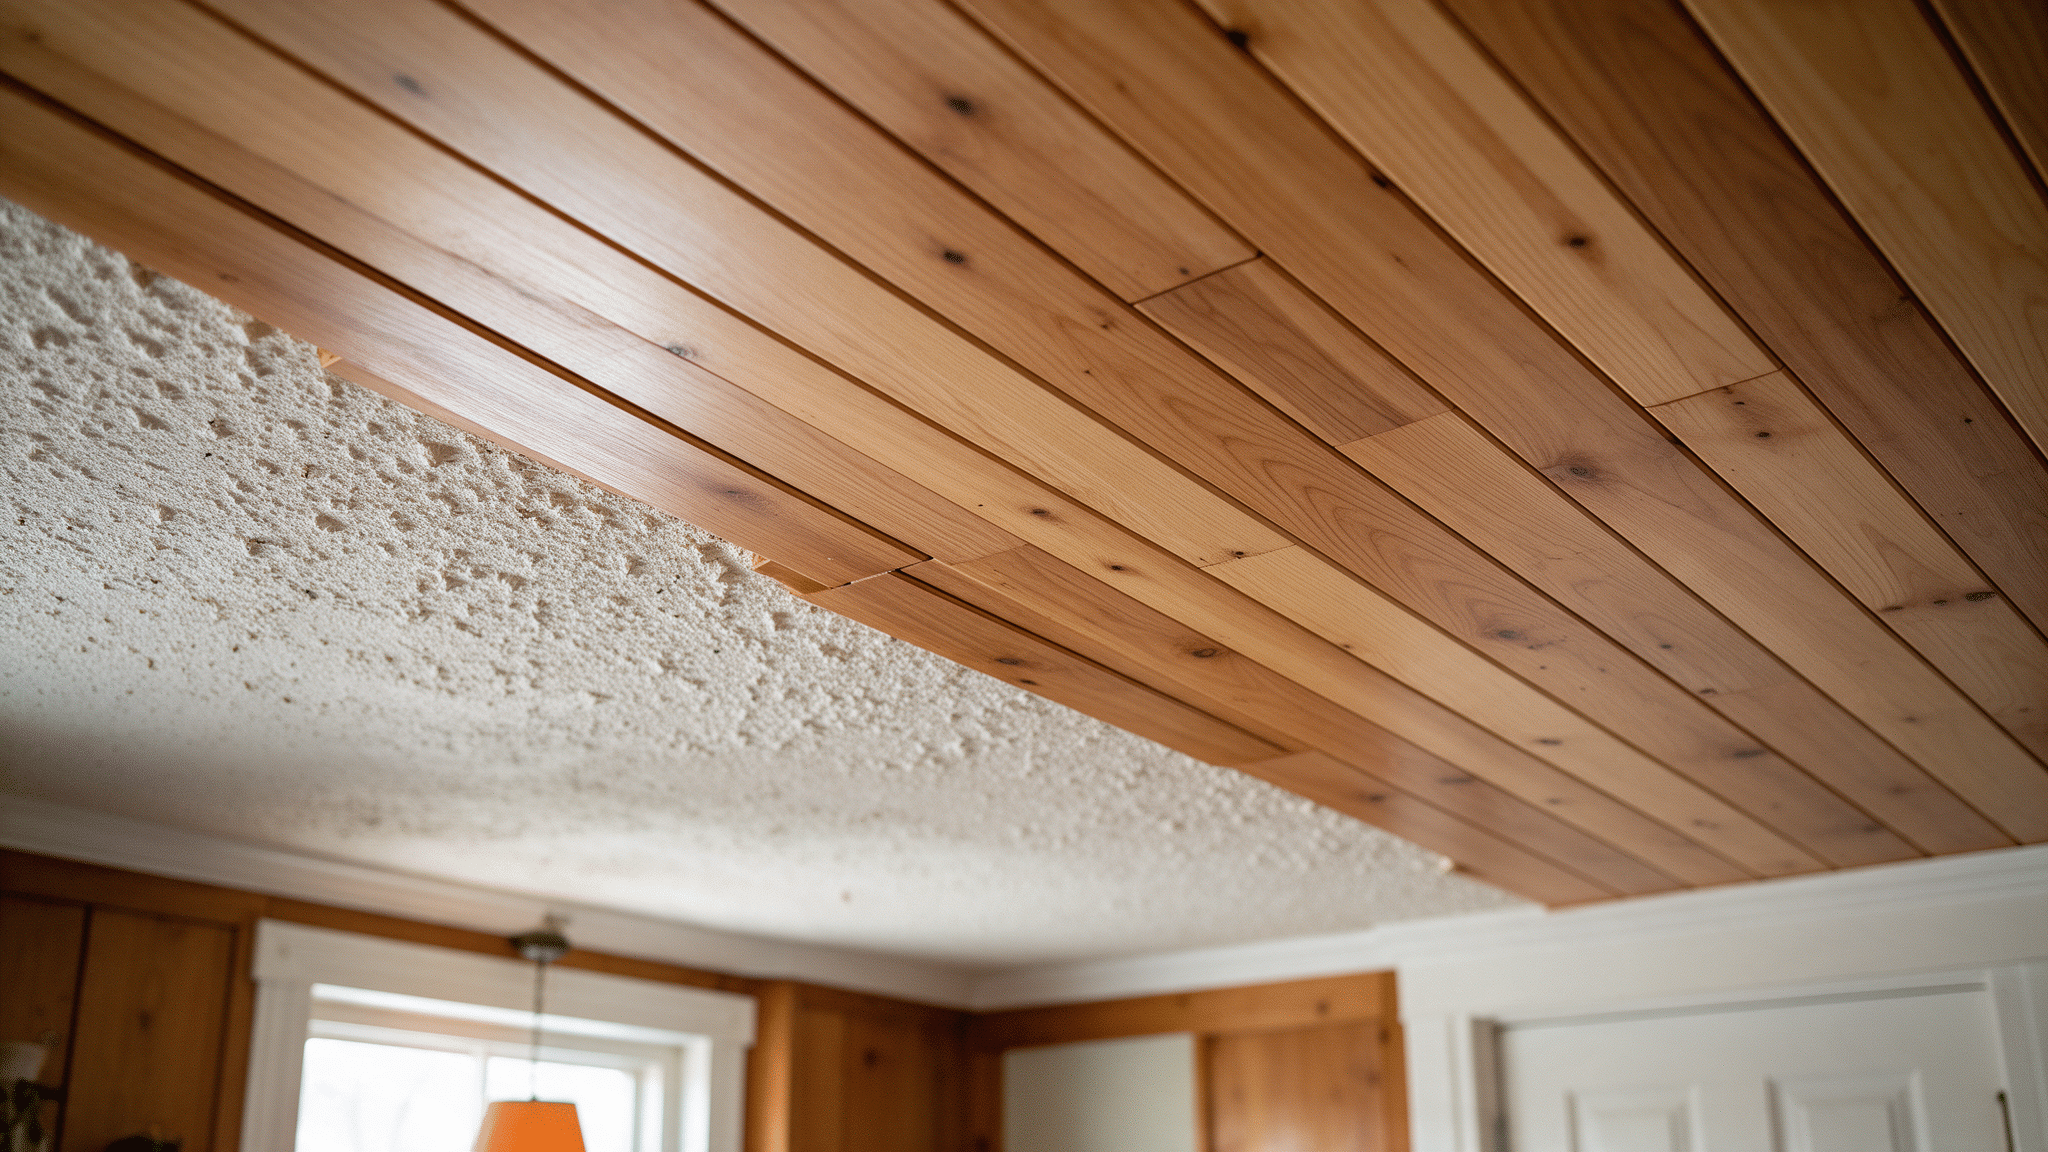
This is also the heaviest option on this list per square foot, once you count the boards themselves plus any furring strips needed to get a flat plane across an uneven ceiling. A ceiling that failed the flat-hand or sagging check earlier in this guide is a poor candidate for adding that weight, regardless of how good the finished wood looks in photos.
Drop ceiling grid: the only fully reversible option
A suspended grid, the metal-tee framework that holds lay-in ceiling tiles, is the one method here that doesn’t touch the popcorn ceiling at all beyond the screws that hang the grid’s perimeter track from the wall and the wire hangers that suspend it from the framing above. The tiles rest in the grid, not on the texture, and the whole assembly comes back down as easily as it went up.
That’s also its cost: a suspended grid drops the ceiling further than any tile or plank option, sometimes by several inches once the hangers, the track, and the tile thickness are accounted for. It earns its keep in rooms where the height loss doesn’t matter as much, a basement finish being the obvious case, or in a room where whatever’s above the ceiling, wiring, plumbing, ductwork, might need to be reached again later. Trading a little height for a ceiling you can open back up without cutting anything is a real advantage a glued or nailed covering doesn’t offer.
What wallpaper and paint can’t fix on their own
Paint alone changes the color of popcorn texture, not the texture itself, and a fresh coat under a light fixture can actually make the bumps more visible, not less, the same way raking light shows every ridge in a skim coat. It’s a legitimate option only when the texture is already shallow enough that hiding it was never really the point.
Wallpaper is more capable than most people expect, but only within limits, and those limits are about depth, not the paper itself. Can you put wallpaper on textured walls covers the straightedge-and-penny way to measure how deep a texture actually runs before you commit to hanging paper over it, direct or with a liner; the same measurement applies to a ceiling. Texture shallow enough to pass that check is a reasonable wallpaper candidate. Texture that fails it needs one of the three covering methods above first, or the paper will telegraph every bump within a season.
Common questions
What is the cheapest way to cover up a popcorn ceiling?
Adhesive foam or PVC tiles are typically the least expensive of the four methods here, since they need no framing work and no grid hardware, only tile and adhesive. Cheapest still assumes a flat, sound ceiling; a ceiling that needs furring strips or extra prep to get flat first narrows that gap with the other options considerably.
How can I make my popcorn ceiling look better without removing it?
Cover it with one of the four methods above, matched to how deep the texture is and how much ceiling height you can spare. There’s no coating or spray that hides real texture depth without either filling it (which is the skim coat this guide steers away from) or physically sitting over it.
Is it better to scrape or cover a popcorn ceiling?
It depends on what you want afterward. Scraping gets you back to a flat, paintable ceiling with no added height or ongoing maintenance, but it’s messier and, on a painted or plaster ceiling, considerably more work. Covering is faster and less disruptive but changes the room’s proportions and, with tile or a grid, its look. Neither is universally better; how to remove popcorn ceiling covers what the scrape route actually involves so you can compare it honestly.
What kind of panels can I put over a popcorn ceiling?
Adhesive foam tiles, rigid PVC panels, and lay-in grid tiles all work, along with tongue-and-groove wood or pre-primed beadboard sheets fastened to the framing above. The right choice depends on the ceiling’s condition and how much height the room can give up, covered in the comparison table earlier in this guide.
Can I put wood paneling over a popcorn ceiling?
Yes, as long as you can locate consistent joists to fasten it to. The texture itself doesn’t need to support anything, since the planks hang on the framing, not on the popcorn coat, but that also means the job depends entirely on what’s above the texture, not what’s visible on it.
Do I need to test for asbestos before covering a popcorn ceiling?
If the texture could predate the mid-1980s, yes, before you drill, score, sand, or press hard enough on it to test whether it’s sound. Covering the ceiling afterward doesn’t require disturbing much material, but every method here involves at least some contact with the surface first, and that’s the point where a lab result matters.
Will covering a popcorn ceiling with tiles or planks lower the room too much?
Adhesive tiles cost you almost nothing in height. Planks and furring strips take more, and a suspended grid takes the most of any option here. In a room with generous ceiling height to begin with, none of that is likely to feel cramped; in a low room, it’s worth measuring before you commit to the grid option specifically.
How to cover popcorn ceiling without removing it, without regretting it
Start with the two checks, not the materials list: asbestos if the house is old enough, and the flat-hand test for whether the ceiling is sound. Past that, the decision is mostly about height and framing. A flat, sound ceiling where speed matters points to adhesive tiles. A room where you can find consistent joists and want a finished wood look points to planks. A ceiling you may need to open again later, or a room that can spare several inches, points to a grid. Everything else, a shallow texture you were never really trying to hide, points back to paint or wallpaper alone.
Whichever route fits, it’s worth reading the full method page for that option before buying materials. The rest of the ceilings category covers what to do when covering isn’t the right call, including testing, sagging, and water stains.