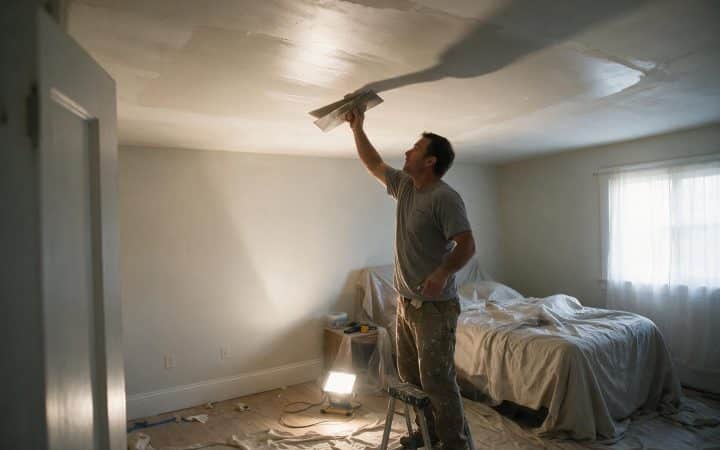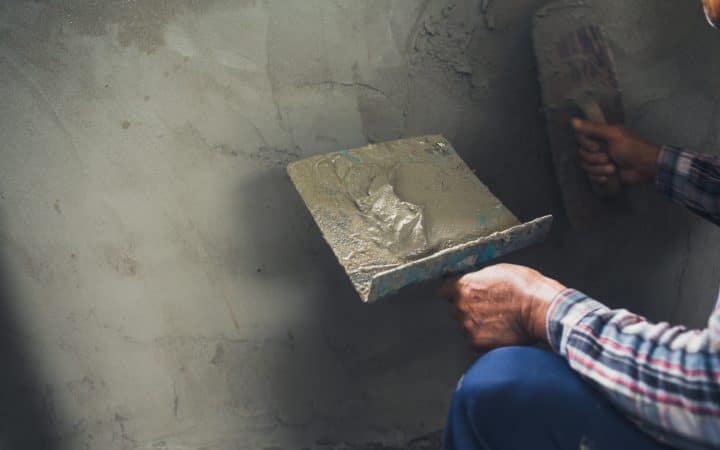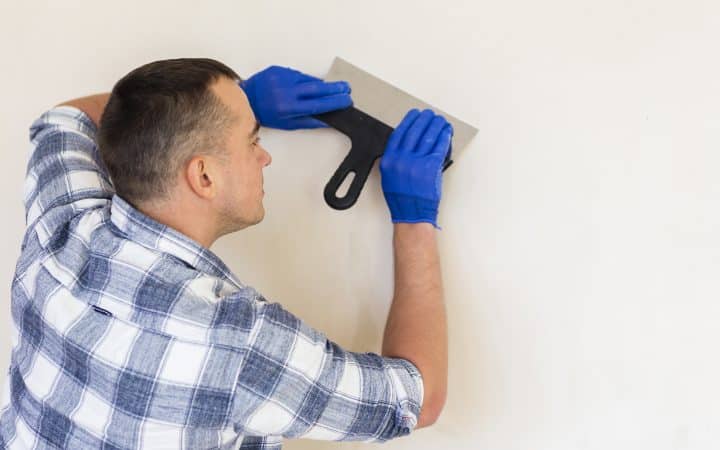
Nobody wakes up curious about drywall texture types. You are here because one of three things happened. You patched a hole and the patch is now the most visible object in the room. You are staring at a ceiling covered in something you cannot name and want it gone. Or you are about to hand a contractor a room and he asked which texture you want, as if you were supposed to have an opinion.
All three are the same question underneath. What is on that wall, how did it get there, and what does it take to put more of it on or take it off.
Here is the part that changes how you look at your own house. Texture is not decoration. It started as a way to finish a wall faster and cheaper, and it still is. Once you know that, the whole catalog of names makes sense, because every texture is a fingerprint of a specific tool held by a specific person in a specific decade. Read the fingerprint and you know what you are dealing with.
Start here: what is already on your wall
Before any of the names matter, go put your hand on the wall and look at it sideways. You are answering two questions. Was this sprayed or was it applied by hand? And did anything touch it after it landed?
Sprayed texture has a random, particulate look, like something was thrown at the wall, because something was. Hand texture has direction in it. You can see where the tool started and stopped, and the pattern repeats at roughly the width of a trowel. Once you have sorted your wall into one of those two buckets, this table gets you the rest of the way.
| What you see and feel | What it is | How it was made |
|---|---|---|
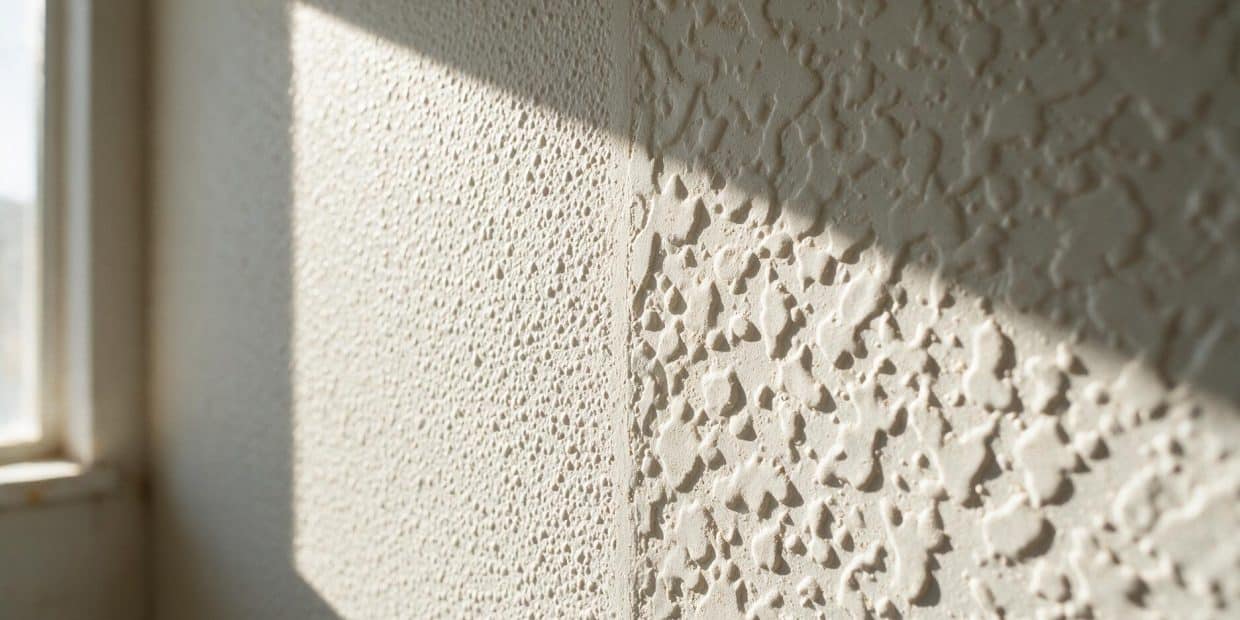
| Fine even bumps, like an orange rind, barely catches a fingernail | Orange peel | Sprayed thinned compound, left alone |
| Flat-topped irregular islands with soft edges, low relief | Knockdown | Sprayed, then flattened with a wide blade before it set |
| Sparse flat patches with visible trowel drag between them | Skip trowel | Hand applied with a curved trowel |
| Deep pointed peaks, cottage cheese, mostly on ceilings | Popcorn or acoustic | Sprayed with aggregate in the mix |
| Rows of stiff bristle marks, little peaks in a repeating stamp | Slap brush, also called crows foot or stomp | Rolled on, then hit with a brush on a pole |
| Wide loose arcs, gritty to the touch | Sand swirl | Sand-bearing mix, swirled with a wide brush |
| Tight repeating semicircles, uniform, almost mechanical | Comb or fan | Notched trowel dragged through wet mud |
| Flat, glassy, no relief under a raking light | Smooth, Level 4 or 5 | Taped, coated, sanded, sometimes skimmed |
The age of the house narrows it further. Heavy hand-applied plaster patterns turn up in pre-1950 houses. Popcorn ran from the 1950s into the 1980s. Knockdown took over new construction in the late 1980s and the 1990s, especially across the Sun Belt. Orange peel is the default on almost anything built after 2000, because it is the fastest thing a crew can spray and walk away from.
Check inside a closet before you decide what you have
Closets and the wall behind an appliance get the same texture as the room but almost never get repainted. Twenty years of paint fills a fine texture and rounds a sharp one, so the hallway wall you are looking at is a softened version of the real pattern. The closet shows you the original. It is also where I test a sample when I am trying to match something.
Why your walls are textured at all
The Gypsum Association publishes a document called GA-214 that defines six levels of drywall finish, 0 through 5. Contractors bid to those levels and architects specify them. I went through the whole scale in the guide on skim coating walls, but the part that explains texture is one line of it.
A wall that is going to be painted smooth needs a Level 4 finish. Three coats of compound over every seam, feathered out twelve or fourteen inches, sanded. A wall that is getting a heavy texture only needs a Level 3, which is two coats. That third coat, across a whole house, is days of labor and a lot of sanding.
So a builder in Phoenix in 1994 was not choosing knockdown because it looked good. He was choosing it because it let him skip a coat and hide the framing that moved. That is the honest history of drywall texture in American housing, and it is why texture is common in fast-built markets and rare in the Northeast, where plaster tradition kept walls flat.
None of that makes texture bad. It makes it useful for a specific reason: it hides things. A textured wall forgives a proud seam, a slightly bowed stud, a patch that is a hair off. A smooth wall forgives nothing, which is why it costs more and why every defect in this trade eventually gets discussed in terms of what the light does at five in the afternoon.
The sprayed drywall texture types
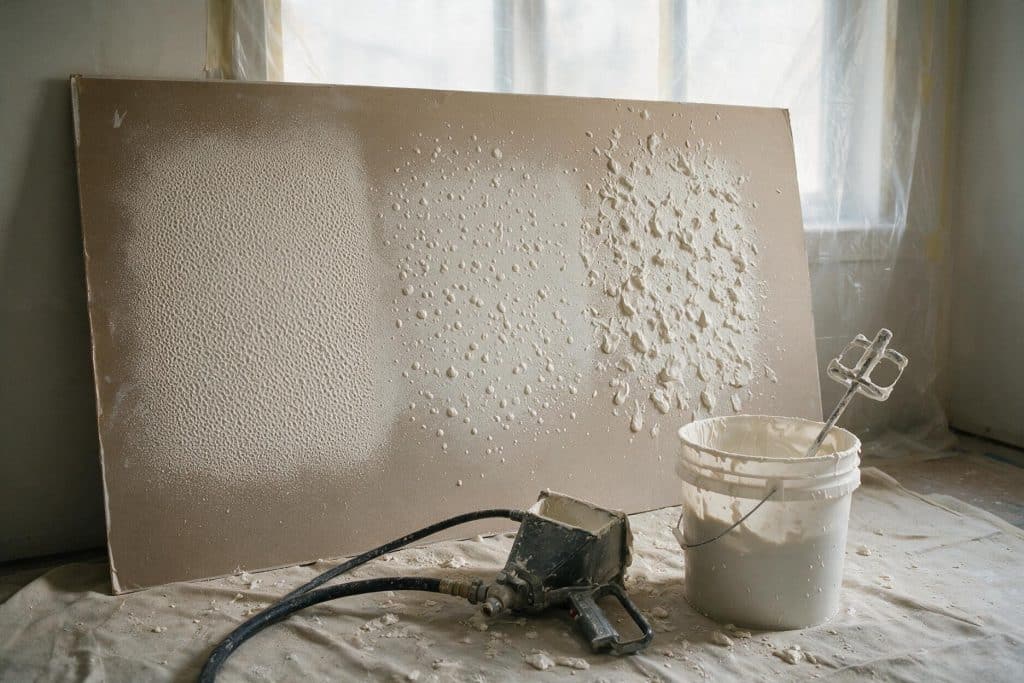
Everything in this group comes out of a hopper gun, which is a funnel-shaped tank bolted to a nozzle and fed by an air compressor. The variables are how thin the mud is, how big the hole is, and how much air is behind it. Change those three and you get every sprayed texture there is.
Orange peel
Thinned compound sprayed on and left to dry untouched. It is the easiest texture in the world to apply badly and the easiest to apply acceptably, which is a real distinction. A first-timer will get something that reads as orange peel on day one. Getting it consistent across a whole room, with no heavy band where the passes overlapped, takes a few walls of practice.
It is the most common texture on new residential construction in the US, it takes paint evenly, and it is the least offensive thing to look at. It also hides the least, so the drywall underneath still has to be reasonably good.
Knockdown
Spray a heavier splatter than orange peel, wait, then drag a wide flexible blade across it to flatten the peaks into little plateaus. That waiting period is the entire job. Too soon and you smear it into mud soup. Too late and the blade skips over hardened peaks and does nothing.
The window is usually ten to twenty minutes and it depends on the room temperature, the humidity and how thick you sprayed. There is no clock for it, only a test: press a fingertip into a splatter at the edge of the section. If it dents and holds the dent without sticking to your finger, go. This is the only texture where timing beats technique, and it is why knockdown quotes run above orange peel quotes even though the spraying is the same work.
Knockdown hides more than anything else in common use. If you are patching a wall in a 1990s house, this is probably what you have.
Popcorn and other acoustic textures
A sprayed mix with polystyrene or vermiculite aggregate in it, applied almost exclusively to ceilings. It hid everything, absorbed sound, and went on in one pass, which is why it covered half the country’s ceilings for thirty years.
It is also the one texture that comes with a real hazard attached, and I have written that up separately in popcorn ceiling and asbestos. If you are removing rather than matching, the numbers are in popcorn ceiling removal cost. Almost nobody applies new popcorn today, and the products sold for repair are patch aerosols meant for spot work, not full ceilings.
Splatter, sand spray and the in-between ones
Splatter knockdown, California knockdown, sand spray and the various names on a texture bag are variations on nozzle size and mix. A finer aggregate and a small tip gives you something between orange peel and sandpaper. A big tip and a thick mix gives you splatter that stands proud of the wall.
The names are regional and unreliable. A supplier in Texas and a supplier in Ohio will use the same word for two different finishes. When you are trying to match, describe what you see, do not trust the label.
The hand-applied drywall texture types
No compressor, no hopper, no cleanup of a spray rig. What these need instead is a hand that repeats itself, which is harder to buy than a tool.
Skip trowel
Thinned compound dragged across the wall with a curved trowel held at a shallow angle so it skips, leaving flat islands of mud with bare wall showing between them. Done well it reads as old plaster and it is the one texture people actually ask for by name in a remodel.
Done badly it reads as a mistake. The failure mode is rhythm: if your hand repeats at the same interval, the wall gets a visible pattern like wallpaper, and once you see it you cannot stop seeing it. Vary the direction and the start point on every pass.
Slap brush, crows foot, stomp
Three names for the same family. Roll a thin even coat of compound onto the surface, then load a stiff-bristled brush, press it against the wet mud and pull it straight back. The bristles lift the mud into little peaks. On a ceiling you do it on a pole and the result is the classic starburst pattern in a lot of mid-century houses.
Two people can cover a ceiling fast this way, one rolling and one stomping, and the equipment is a brush. If you want a texture with real character and you do not own a compressor, this is the one to learn.
Sand swirl
A sand-bearing mix, sometimes sold as perlite compound, laid down and then pulled into wide overlapping arcs with a wide soft brush. It shows up in bathrooms and hallways in 1960s and 1970s houses, usually as a border or a ceiling.
It is beautiful when the arcs are consistent and it is very hard to patch, because the swirl has a size and a spacing that your wrist has to reproduce exactly. I have skimmed whole walls flat rather than try to match a sand swirl for a two foot repair, and I would do it again.
Comb, fan and rosebud
Anything made by dragging a notched tool through wet mud. Comb gives you parallel lines, fan and rosebud give you overlapping half circles. These are decorative rather than practical, they collect dust in the grooves, and they are almost impossible to clean. Beautiful in a 1930s dining room, a nightmare in a kitchen.
All of them side by side
| Texture | Tool | DIY difficulty | Hides flaws | Pro cost per sq ft |
|---|---|---|---|---|
| Orange peel | Hopper gun | Low | A little | $1.25–$1.95 |
| Knockdown | Hopper gun plus 18 in blade | Medium, timing | The most | $1.50–$2.20 |
| Skip trowel | Curved trowel | High, rhythm | A lot | $1.25–$2.00 |
| Slap brush | Roller plus stipple brush | Low to medium | A lot | $1.30–$2.00 |
| Sand swirl | Wide brush, sanded mix | High, consistency | Medium | $1.50–$2.50 |
| Comb or fan | Notched trowel | Medium | Medium | $1.50–$2.50 |
| Popcorn | Hopper with aggregate | Low to apply, high to live with | Everything | Rarely quoted new |
| Smooth, Level 5 | Knife, skim coat | High | Nothing | $2.00–$5.00 |
Notice the spread is small. Between the cheapest sprayed texture and the most expensive hand one there is about a dollar a square foot, which on a bedroom is a couple of hundred dollars. Smooth is the outlier, and that gap is the third coat and the sanding, not the texture. If you are budgeting a whole house, the per-square-foot picture sits inside the broader numbers in drywall repair cost and across the costs section.
What you need to spray a texture
The compressor is the thing people get wrong. A hopper gun is cheap, around $40 to $70 with three nozzles in the box. It wants a compressor that can hold up under continuous demand, not a pancake unit that catches its breath every thirty seconds. Look for at least 2.5 cfm at 90 psi and a tank of five or six gallons. A small compressor will spray beautifully for the first wall and then start pulsing, and pulsing shows up on the wall as bands.
- Hopper gun with 4mm, 6mm and 8mm nozzles. Small tip for fine orange peel, big tip for splatter and knockdown.
- Compressor, 5 to 6 gallon tank, 2.5 cfm or better at 90 psi.
- An 18 or 24 inch knockdown blade if you are doing knockdown. A drywall taping knife is too stiff and gouges.
- A drill and paddle mixer, plus a spare bucket for thinning.
- Plastic on every surface you are not texturing, and I mean every one. Overspray travels much further than you expect and dried compound on a window is a scraping job.
- A scrap of drywall or a sheet of cardboard for test passes. This is not optional and I will die on that hill.
Starting points for the settings, which you will then adjust: around 60 psi at the regulator for orange peel with a small tip, standing 18 to 24 inches back. Around 30 psi for knockdown with a big tip, standing 12 to 15 inches back. Thinner mud and more air makes finer particles. Thicker mud and less air makes bigger blobs. That is the whole physics of it.
Spraying a texture, step by step
-
Prime first, always
Texture goes over primed drywall or primed old paint, never over bare board and never over a glossy sheen. Bare paper drinks water out of the texture and it dries chalky. Gloss gives it nothing to hold and it lets go in sheets a month later. If the wall is slick, scuff it and use a bonding primer, not a general purpose PVA.
-
Mix to the right consistency and let it stand
Thin all-purpose compound with water using the paddle mixer until it pours like thick pancake batter for orange peel, or like soft-serve for knockdown. Then leave it five minutes and stir again. Compound keeps loosening after you stop mixing, and a batch that felt right immediately will be too thin by the time it hits the wall.
-
Spray the test board and adjust
Hold a piece of cardboard up and spray it exactly the way you plan to spray the wall. Look at the size of the particles. Too fine, thicken the mud or open the tip. Too coarse and heavy, thin it or drop the tip size. Nobody gets it on the first try and the board costs nothing.
-
Work in sections you can finish
For orange peel, a wall at a time is fine. For knockdown, never spray more than you can come back and flatten in fifteen minutes, which in practice is one wall or half a large one.
-
Keep the gun moving and cross your passes
Steady speed, consistent distance, and overlap each pass by about half. Then go back over the same area at ninety degrees to the first direction. Crossing evens out the coverage and kills the striping that gives away an amateur job from across the room.
-
Aim for lighter than you want
You can always add a second pass. You cannot remove a heavy one without scraping it back off wet or sanding it later, and both of those are worse days than spraying again.
-
For knockdown, test the surface before you touch it
Press a fingertip into a splatter at the edge. Ready means it dents and keeps the dent and does not stick to you. Then drag the blade in long light passes, wiping it after every stroke. Pressure is what ruins this. The blade should barely be doing anything.
-
Let it dry fully, then prime again before paint
Fresh texture is porous joint compound and it drinks the sheen out of finish paint. One coat of drywall primer over the whole surface, then the color. Skip it and you get flat patches wherever the texture is thickest.
Do not scrape, sand or dry-knock texture in a house built before 1980
Sprayed and troweled textures made before the US restrictions of 1977 and 1978 can contain asbestos, and existing stock kept being applied into the mid 1980s. Scraping and sanding are precisely the actions that release fibers. A lab sample runs about $40. This applies to wall texture, not only ceilings, and the full picture is in popcorn ceiling asbestos.
Pre-1978 paint is the second question. Sanding it is a lead exposure route and a licensed job. Where my advice stops is set out in the disclaimer.
Matching an existing texture is the hard part
Applying texture to a bare room is a beginner job. Making eighteen square inches of new texture disappear into a twenty year old wall is a skill, and it is the single most common reason people end up unhappy with an otherwise good repair.
The reason is that the texture on your wall is not just a pattern. It is a pattern plus a mud consistency plus a tool angle plus a specific person’s hand speed, and then twenty years of paint building up in the low spots and rounding the high ones. You can identify the type correctly and still miss, because the type was never the whole recipe.
| Why the patch shows | What actually happened | Fix |
|---|---|---|
| Patch is smoother than the wall | Not enough texture, or it got flattened too hard | Another light pass, feathered wider than the patch |
| Patch is coarser than the wall | Mud too thick or tip too big | Wash it off while wet and redo. Do not sand it down |
| Right texture, wrong sheen | New compound absorbs paint differently | Prime the patch, then paint corner to corner, not just the patch |
| Edge of the repair reads as a rectangle | Texture stopped at the patch line | Carry the texture 6 to 12 inches past the repair and fade it |
| Patch matches in daylight, shows at night | The patch is flat and the wall is not, or vice versa | Flashlight along the wall, then correct with compound before re-texturing |
| Nothing matches and you have tried four times | Sand swirl, comb, or an unusual hand pattern | Stop. Skim the whole plane smooth or re-texture wall to wall |
My working rule after a lot of these: you get three attempts. Wash the wet texture off and try again with a different mix or a different distance, three times. If the fourth one is still wrong, the answer is not a better fourth attempt. It is to texture the entire wall corner to corner, which sounds like more work and usually is not, because a full wall has no edge to blend.
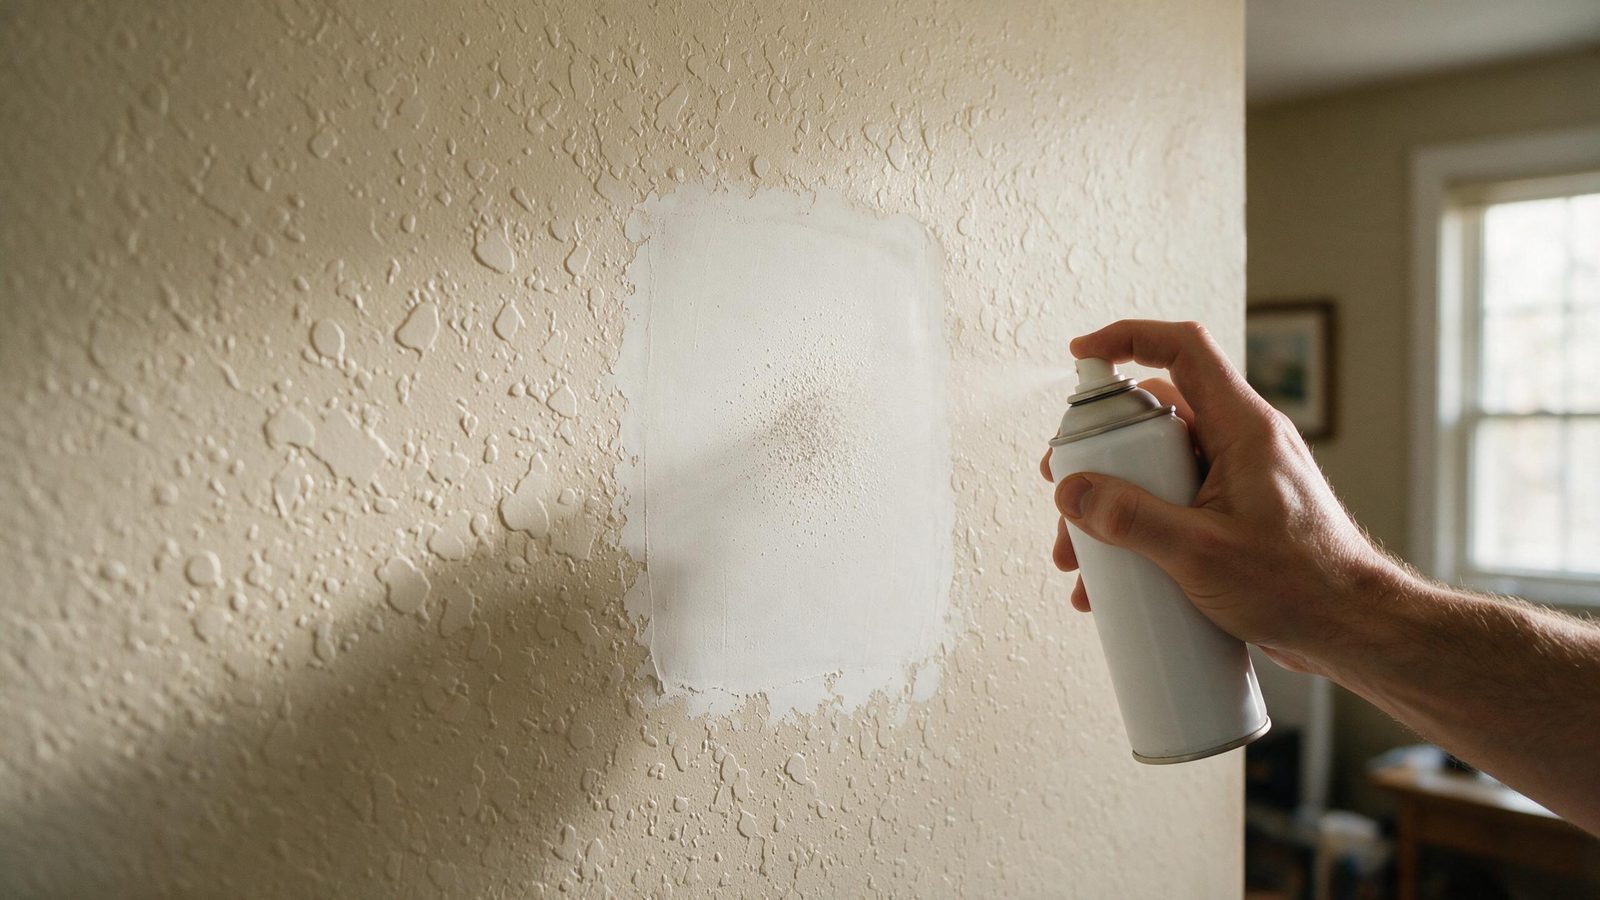
Aerosol texture cans exist and they are genuinely useful for a patch the size of a doorknob hole. They come in orange peel and knockdown, they have an adjustable nozzle, and they are worth the eight dollars. They are also unusable for anything bigger than about a square foot, because the can chills as it empties and the spray pattern changes halfway through. Buy two if the repair is at all significant, and test both on cardboard.
Choosing a texture for a whole room
If the room is going to be textured from scratch, the decision is smaller than the internet makes it sound. Three things actually matter.
The first is what the rest of the house has. A single smooth room in a knockdown house does not read as an upgrade, it reads as a room that was done by somebody else. Consistency across the floor plan is worth more than any individual choice.
The second is what the drywall underneath is like. If it is Level 3, or if it is an old wall with a history, you need a texture that hides. Knockdown and slap brush hide the most. Orange peel hides a little. Smooth hides nothing and will make you pay for the third coat and the skim, which is the whole subject of the skim coat guide.
The third is light. A wall with a window at one end gets raked by low afternoon sun, and raking light is unforgiving of both a bad smooth finish and an inconsistent texture. That wall is the one to be careful about, and everything else in the room can follow it.
Texture is not a resale lever, so buy it for yourself
Going smooth in a mid-market house full of knockdown does not return what it costs, and a well applied knockdown reads as finished to almost every buyer. Going textured in a modern house with smooth walls looks like a downgrade. The move that pays is consistency with the house you have. Spend the difference on paint quality, where you will notice it every day.
One thing that is not a style question. If the wall you are about to texture has a brown mark on it, or feels soft, or smells like a basement, texture is the last thing it needs. Compound over a wet wall hides the evidence for a year and then comes off in sheets. Trace the water first with the water stain method, and if there is any smell involved start with detecting mold inside walls rather than covering it. Everything on that side lives under moisture and mold.
What texture costs in 2026
| Job | DIY materials | Typical quote |
|---|---|---|
| Sprayed texture, per sq ft, existing wall | $0.08–$0.15 | $0.80–$1.50 |
| Hand-applied texture, per sq ft | $0.10–$0.20 | $1.50–$2.00 |
| Texture added to a larger drywall job | — | +$0.35–$0.75 per sq ft |
| One average bedroom, walls only | $40–$80 | $350–$700 |
| Texture tools, one-off purchase | $70–$180 | — |
| Aerosol patch can | $8–$14 | — |
| Contractor minimum charge | — | $100–$250 |
The contractor minimum is the row worth thinking about. A single patch that needs texture is a hundred dollar call before anyone touches anything, which is why the aerosol can and an afternoon of practice on cardboard is such good value for small work. The economics flip completely once you are doing a whole room, because at that point you are paying a pro for speed and consistency rather than for access to a tool.
If the texture question is attached to an actual hole or crack, the repair comes first and the texture is the last ten percent of the job. That sequence is laid out in drywall repair, and the prep that goes underneath any of it lives in surface prep. Ceiling-specific work, including anything you are looking up at while reading this, is collected under ceilings.
Questions I get on site
What are the most common drywall texture types in US homes?
Orange peel and knockdown on walls, popcorn on older ceilings. Skip trowel and slap brush turn up regularly in remodels and mid-century houses. Everything else is regional or decorative.
How do I tell knockdown from orange peel?
Look at the top of the bumps. Orange peel is rounded all over, like a rind. Knockdown has flat tops with soft edges, because a blade went across it. Run your palm over it: orange peel feels like fine sandpaper, knockdown feels like a relief map.
Can I texture over paint?
Yes if the paint is sound and not glossy. Flat and matte take texture directly after a wash. Eggshell and above needs a scuff sand and a bonding primer. Peeling or chalky paint has to come off first, because the texture is only as attached as the layer under it.
Do I need a compressor to texture drywall?
For orange peel, knockdown or popcorn, yes, or a rented electric texture sprayer. For slap brush, skip trowel, sand swirl and comb, no. Those are a roller, a brush or a trowel, which is why they are the right answer for one room.
How long does drywall texture take to dry?
A light orange peel is dry to the touch in a few hours and ready for primer in about 24. Heavy knockdown or popcorn wants a full day and sometimes two in a humid room. Test by color: wet compound is slightly gray, dry compound is uniformly bright white.
Which texture hides bad drywall best?
Knockdown, with slap brush close behind. Both have enough relief and enough randomness that the eye stops looking for a flat plane. Orange peel hides surprisingly little, and smooth hides nothing at all.
Is textured or smooth better for resale?
Neither, on its own. What buyers react to is a house that is consistent with its own market. Smooth walls sell well in modern and urban housing stock, knockdown reads as normal across most of the Sun Belt, and a single mismatched room reads as unfinished work either way.
Can I remove texture instead of matching it?
Yes, and on a small wall it is sometimes the cheaper answer. Skimming a textured wall flat is two or three coats of compound and a day of drying, which is covered in skim coat walls. Anything sprayed on a ceiling in a pre-1980 house gets tested first, no exceptions.
What is the easiest drywall texture for a beginner?
Slap brush, if you do not mind the look. A roller and a brush, no compressor, no timing window, and the randomness of the pattern forgives an uneven hand. Orange peel is a close second once you have a compressor that can keep up.
Finish level definitions follow GA-214 as published by the Gypsum Association. Asbestos guidance follows the US EPA. Cost figures are ranges collected from US supplier listings and contractor quotes in August 2026 and they are not a quote, since regional labor rates move them by half in either direction. How I put these numbers together is on the about page. If a figure is wrong in your market, tell me and I will correct it.