Knockdown texture goes on in two separate moves, not one. You spray or roll the mud on heavy, then a few minutes later, before it skins over, you drag a wide knife across it to flatten the clumps. Most people who search for how to apply knockdown texture already know the first move. It is the second one, the timing of the knockdown itself, that decides whether the wall looks intentional or like a patch.
This covers both ways to put it on, the compound to mix, the window you actually have before it hardens, and the mistakes that turn a one-day job into a weekend of sanding it all back off. None of it is complicated. Most of it is just unforgiving about timing.
How to apply knockdown texture, step by step
The short version, for a wall or a section of ceiling with ordinary drywall underneath:
-
Prep and mask first
Patch any holes or dents and sand them flush, because texture hides small surface noise but not a real gap. Mask outlets, baseboards, and anything within overspray range, especially if you are using a hopper gun.
-
Mix a thinner, non-rapid-set compound
Standard all-purpose or lightweight joint compound, thinned with water until it moves like thick pancake batter or honey. Skip anything labeled rapid-set or setting-type for this job.
-
Load it on in a section you can get back to
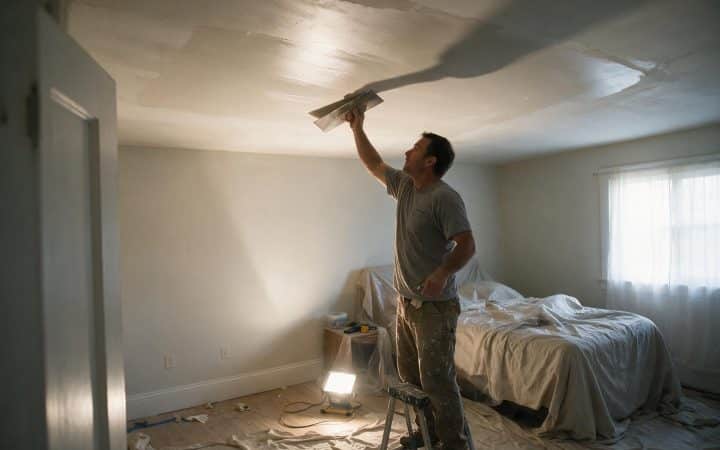
Roll it on with a heavy nap roller, or spray it with a hopper gun, working roughly three to four feet at a time rather than the whole wall at once.
-
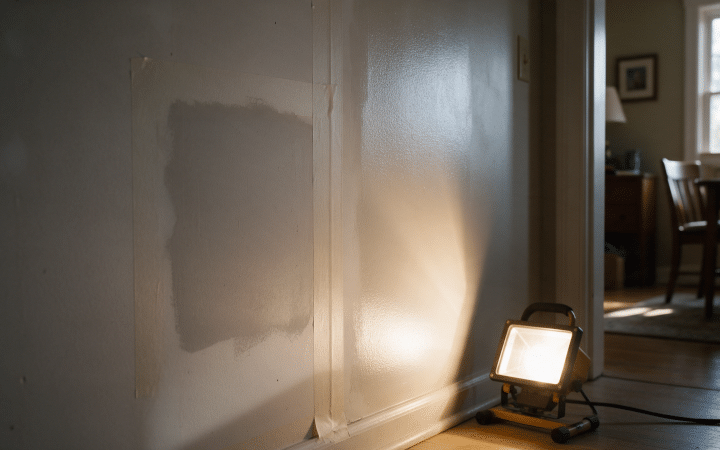
Watch the wet shine, not a clock
The surface dulls as it starts to set, usually somewhere around ten to fifteen minutes, faster in a warm dry room and slower in a cold damp one.
-
Knock it down at a shallow angle
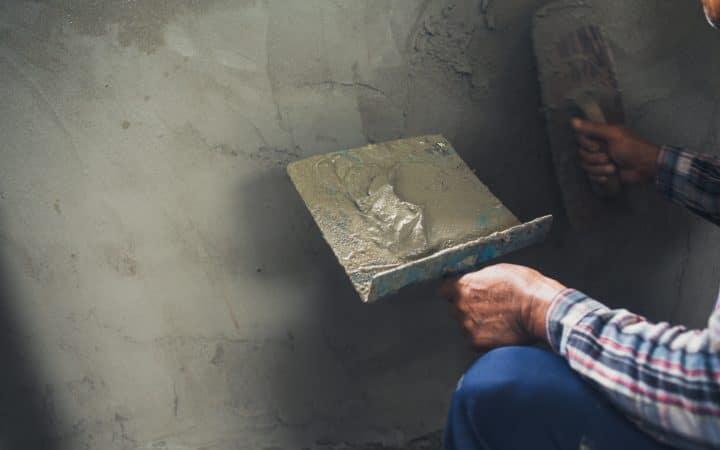
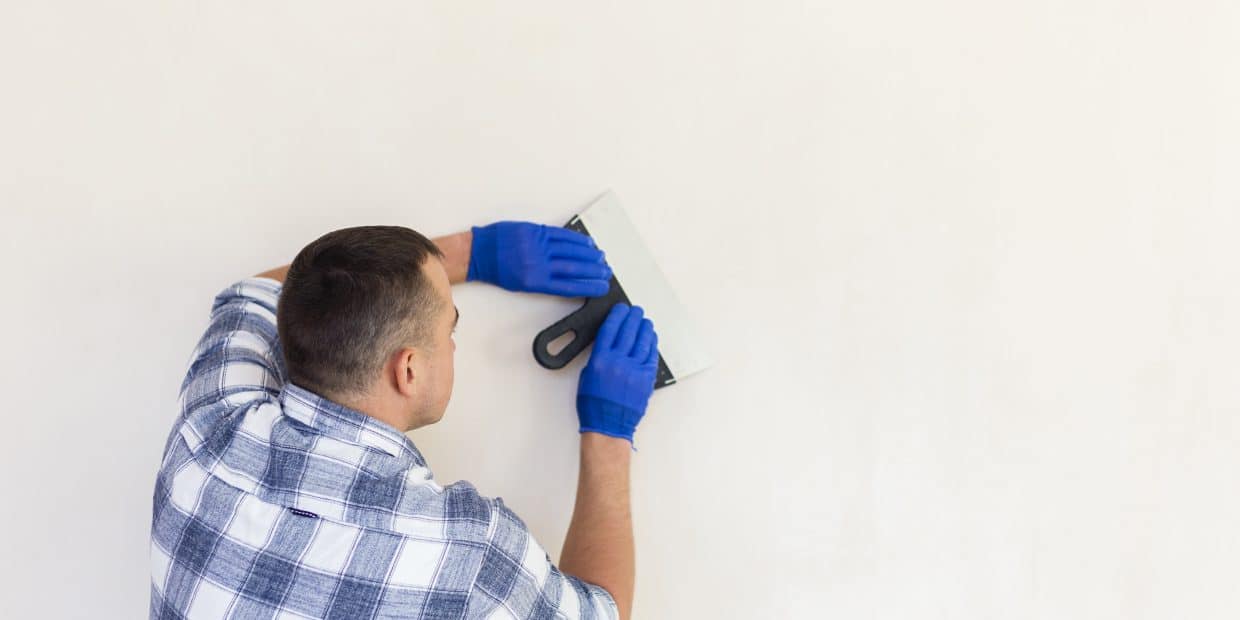
Drag a wide knife across the section with light, even pressure, just enough to flatten the tops of the clumps. You are not trying to scrape them off.
-
Let it dry fully before priming
Wet compound reads darker and slightly gray. Once the whole section has gone a uniform bright white, it is ready for primer, not before.
Practice the whole sequence on scrap first
A piece of scrap drywall or a closet wall tells you how your specific compound, roller, and room temperature behave together, before you commit to a room anyone will actually see.
Mixing the mud: the consistency that actually knocks down
Standard all-purpose or lightweight joint compound is the right starting point, thinned with water a little at a time until it moves on its own, somewhere between thick pancake batter and honey. Too thick and it will not spray or roll evenly. Too thin and it runs before it sets up enough to hold a clump shape, which flattens the whole pattern before the knife ever touches it.
Leave rapid-set compound, the bagged powder sold as setting type, out of this entirely. It hardens on a chemical clock instead of by drying, which is exactly backwards for a technique that depends on a short, judged-by-eye window across an entire wall. If a tight schedule is the reason you were considering it, setting type joint compound explains the timing it actually runs on, and why that clock does not leave room for rolling, waiting, and knocking down in sequence.
Roller or hopper gun: which tool fits the job
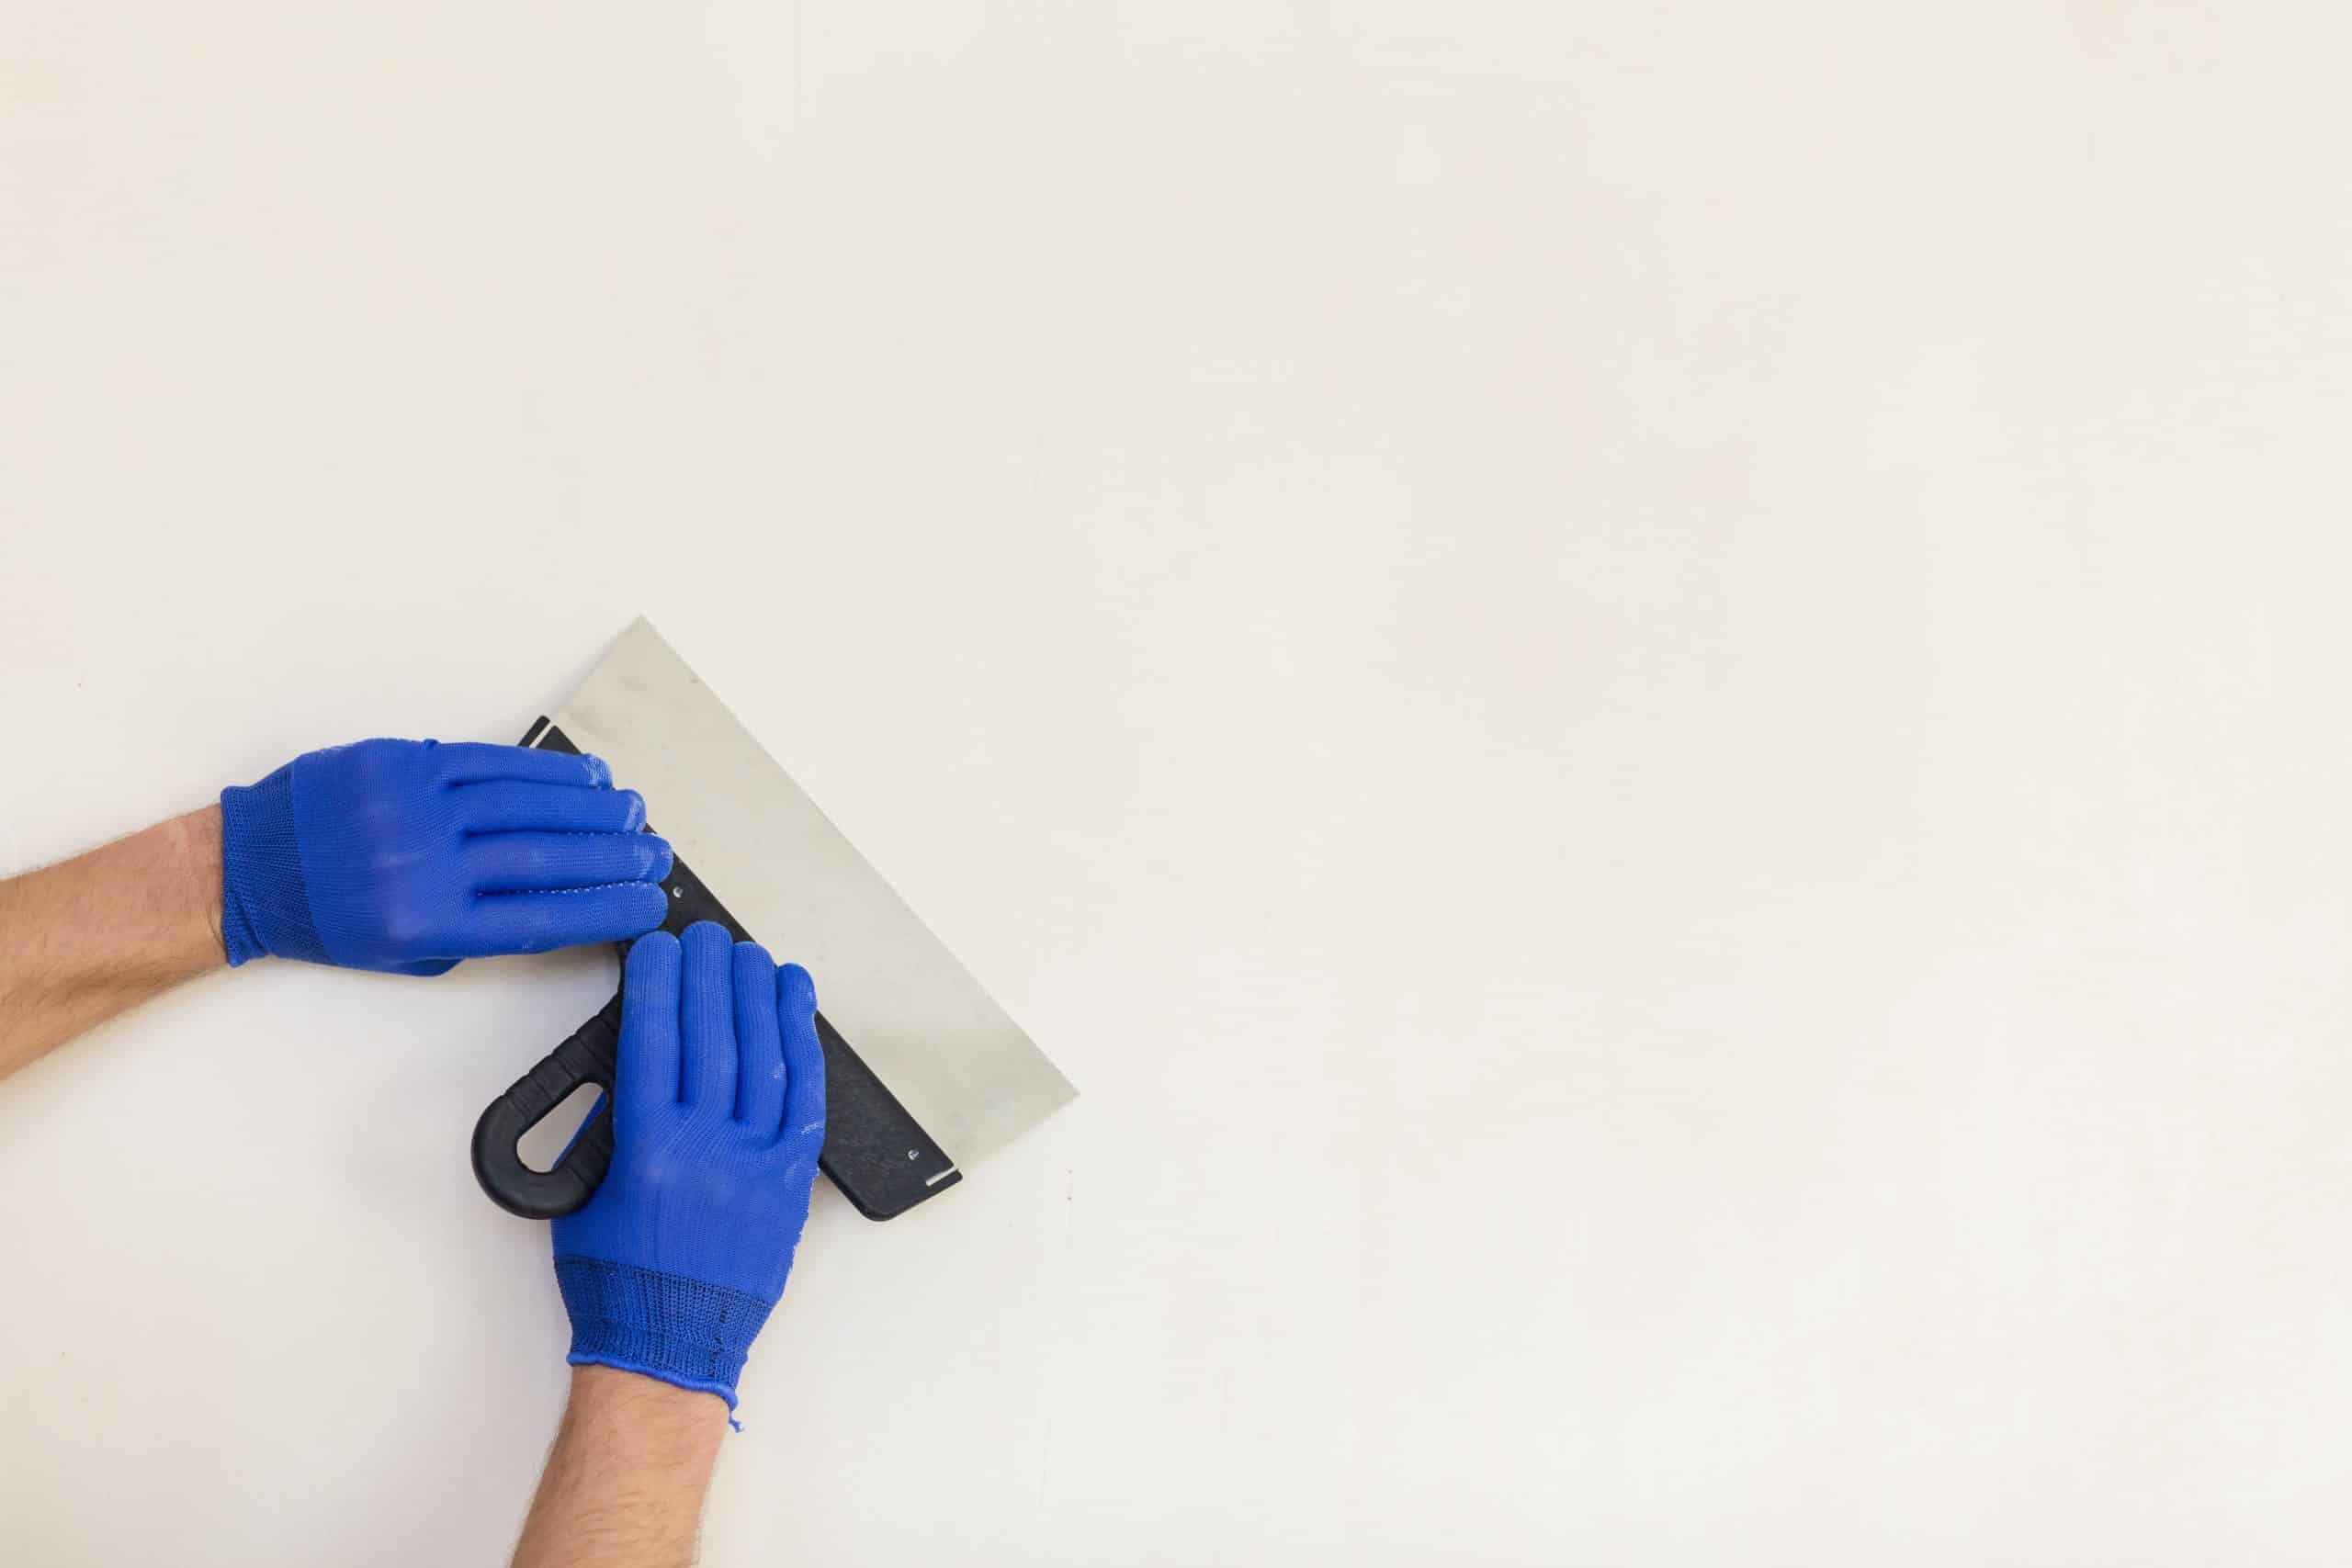
Both put mud on the wall. They do not put it on the same way, and the difference matters more than it looks like it should.
| Method | What it takes | Pattern you get | Best for |
|---|---|---|---|
| Heavy nap roller | A roller frame, a thick nap cover, a tray | Random, slightly uneven clumps | One room, no compressor on hand |
| Hopper gun | A compressor or hand-crank hopper, plus a scrap test pass | More even, repeatable splatter | Several rooms, or matching texture already on an adjoining wall |
The roller is the easier entry point. There is no compressor to rent, no nozzle to pick, and a clumsy first pass still knocks down into something reasonable. Its ceiling is lower, though: the pattern is harder to repeat exactly from one wall to the next, which shows if you are patching one section of a room that already has hopper-gun texture on the rest of it.
A hopper gun gives you a pattern you can dial in and repeat, but the air pressure and nozzle opening change the clump size more than most first-timers expect, and that is exactly what the scrap test in the tip above is for. Spray too fine and you get orange peel, not knockdown. Spray too coarse and you get splatter that never flattens into a clean pattern no matter how you work the knife.
The window before you knock it down
This is the step that actually separates a knockdown texture from a wall full of ridges. Ten to fifteen minutes is the range most people land on, but it is not a timer you set and walk away from. Humidity, airflow, room temperature, and how heavy you loaded the mud all move that number, sometimes by a lot.
Judge it by the surface, not the clock. Wet compound has a shine to it. Once that shine has dulled across the section, it has firmed up enough to hold a clump shape while still being soft enough for the knife to flatten without tearing. Go too early and the knife drags wet mud into a smeared blur instead of a texture. Go too late and the clumps have already hardened into sharp little peaks the knife skips over or gouges instead of knocking down cleanly.
Working three to four feet at a time instead of the whole wall is what keeps this manageable. A section that size gives you enough time to load it, let it set, and knock it down before the edge dries ahead of you, and it keeps one slow section from throwing off the timing on the next one.
Where learning how to apply knockdown texture goes wrong
Four problems account for most first-attempt knockdown jobs that need a redo, and each one traces back to either the load or the timing.
| Problem | Likely cause | Fix |
|---|---|---|
| Texture reads like fine stucco, no real clumps | Mud rolled on too thin, or hopper gun pressure set too high | Load more compound per pass, and drop the air pressure or spray slower |
| Pattern smears into a muddy blur when knocked down | Knocked down too soon, while the mud was still wet | Wait longer, and judge the next section by the loss of wet shine instead of a clock |
| Knife gouges or tears instead of flattening | Waited too long, compound already hardened | Work smaller sections so nothing sits more than a few minutes past ready |
| Texture is heavier in some spots than others | Roller reloaded unevenly, or spray passes overlapped inconsistently | Reload the roller every few feet instead of stretching one load across a wide area |
Stop before you sand or scrape old texture in a house built before 1980
Retexturing over an existing textured wall usually starts with knocking the high points off the old surface, and that scraping and sanding is exactly what releases fibers if the old texture contains asbestos. Read popcorn ceiling asbestos before you touch an older textured wall, and get it tested rather than guessing by the decade.
Priming and painting over fresh texture
Bare joint compound is more porous than the paper face around it, and paint rolled straight onto it dries patchy, a problem called flashing. Prime the entire surface, not just the textured area, with a standard drywall primer. The same flashing mechanism and the flashlight check for even coverage are covered in more depth in skim coat walls, and how should primer look on a wall walks through what even primer coverage looks like before you commit to color.
Sheen matters more on a textured wall than a flat one. Every clump casts a small shadow, and satin or semi-gloss paint makes that shadow more visible, not less. Flat or eggshell paint is the forgiving choice over knockdown texture, and it is what most of the rooms this technique gets used in end up with anyway.
Common questions
Can you apply knockdown texture without a sprayer?
Yes. A heavy nap roller loaded with thinned joint compound and knocked down with a wide knife gets a usable knockdown pattern without any compressor or hopper gun involved.
How long do you wait before knocking down the texture?
Somewhere around ten to fifteen minutes in most rooms, but judge it by the wet shine fading rather than a fixed time, since humidity and temperature move that window.
What joint compound works best for knockdown texture?
Standard all-purpose or lightweight compound, thinned with water to a pancake batter consistency. Rapid-set or setting-type compound hardens too fast for the load, wait, and knockdown sequence.
Can you apply knockdown texture over paint?
Over flat or matte paint, usually yes, after a wash to remove grime. Over satin, semi-gloss, or anything glossy, scuff sand the sheen first and roll on a bonding primer, or the compound will not key into the surface.
Why does my knockdown texture look too heavy or too light?
Pattern weight comes from how much mud went on before you knocked it down, not from the knockdown step itself. A thin roller load or a high hopper gun pressure gives a light, fine pattern; a heavier load gives bigger clumps and a heavier finished texture.
Do you have to prime before painting over knockdown texture?
Yes. Fresh compound is more porous than the surrounding wall, and paint without a primer coat first dries unevenly across the texture, a problem that shows as patchy flat spots once the color goes on.
The one call that decides whether it looks right
Matching texture that already exists on an adjoining wall is the one situation worth renting a hopper gun for, because a roller pattern will not read as the same texture next to it. A single isolated wall or a closet does not need that step: a roller, a wide knife, and attention to the ten to fifteen minute window get a result that looks intentional either way. The tool is a convenience. The window before the knife comes out is what actually decides whether the wall looks finished or like someone was still learning on it. More of this kind of prep work lives under surface prep, and what happens after the primer coat, picking a sheen and laying it on without lap marks, is covered in painting technique.