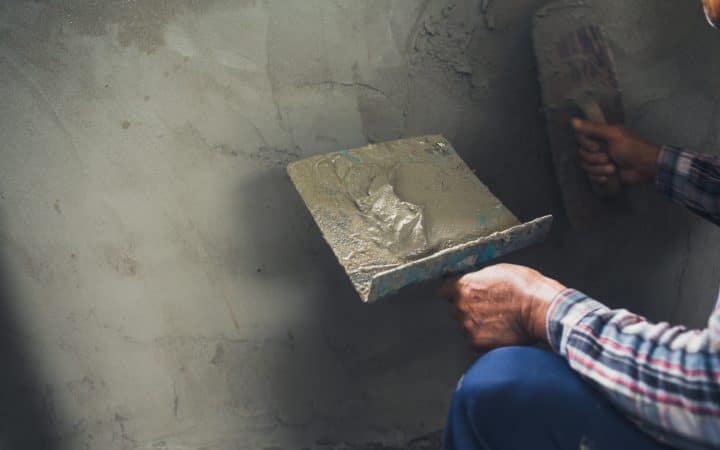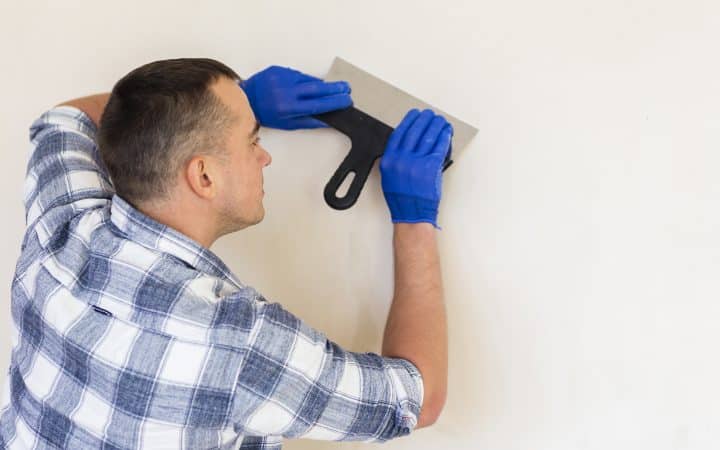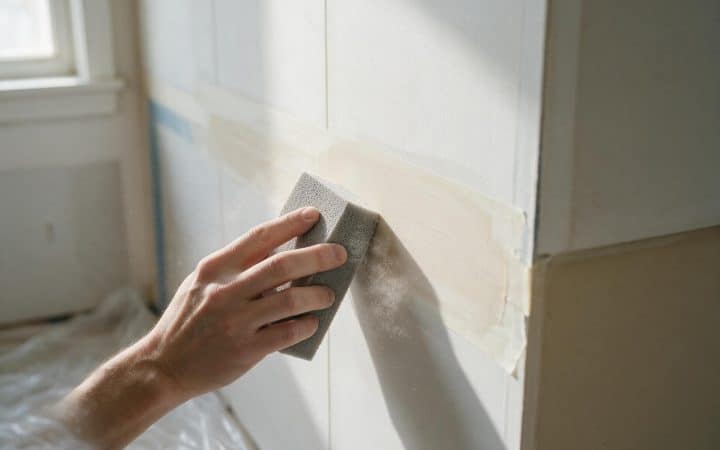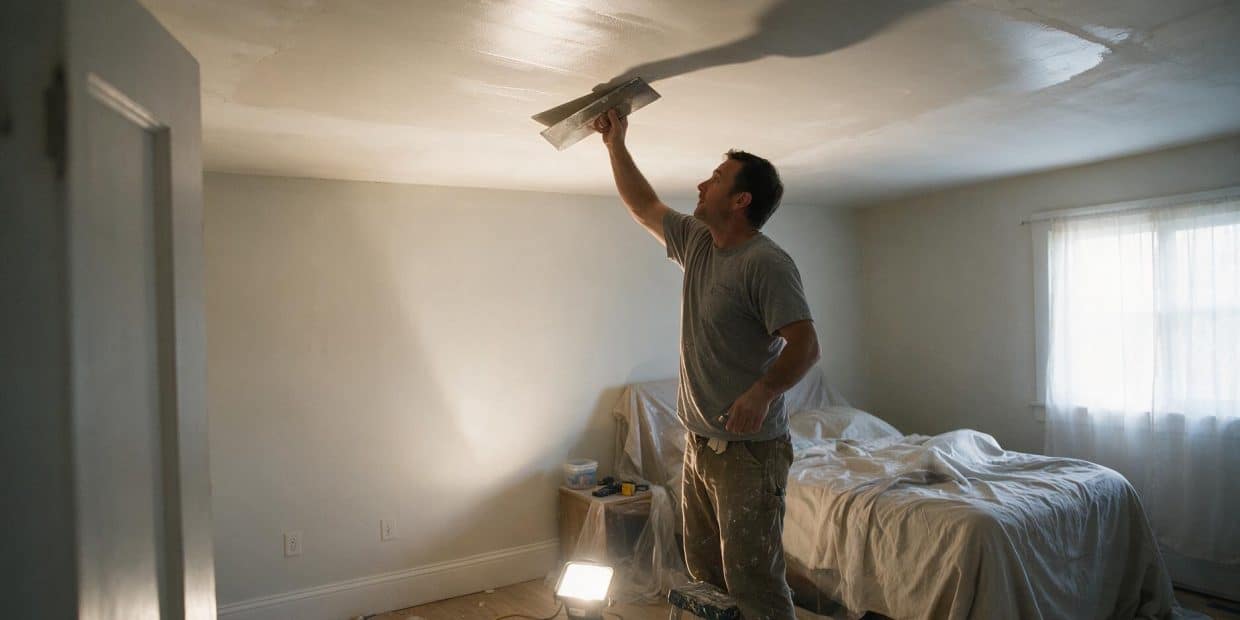
The call I get after someone’s first skim coat isn’t about the walls. Walls almost always come out fine on a second try. It’s the ceiling that gets the follow-up call, usually some version of “the mud keeps falling on my face” or “why does this look worse than before I started.” Same bucket of joint compound, same knife, same person who just did a perfectly good job on four walls. The ceiling beat them anyway.
Here’s why, and here’s what actually changes when you turn the same skim coat technique ninety degrees and point it straight up. This isn’t a repeat of the GA-214 finish levels and mud types I’ve already covered for walls. That groundwork still applies. This is the part that’s different: the physics, the mud you should actually buy, the technique adjustments, and what it costs when overhead work runs two to three times the labor of the same square footage on a wall.
Why a ceiling isn’t just a sideways wall
Gravity does not care that you got good at this on the walls. Every pass of mud you put on a ceiling is trying to fall on you from the moment it leaves the knife. On a wall, gravity pulls compound down toward the floor, which is a direction you’re not fighting. On a ceiling, it pulls straight down onto your face, your glasses, and the drop cloth you should have put down and didn’t.
The second problem is your arms. A wall skim coat is done standing on the floor with your knife roughly between your knees and your shoulders. A ceiling skim coat is done with your arms overhead for the entire pass, and shoulders fatigue on a clock that has nothing to do with skill. I’ve watched capable people lose control of a knife not because they got worse at the technique, but because their arm gave out at minute forty and started shaking.
| What changes | On a wall | On a ceiling |
|---|---|---|
| Gravity | Pulls compound down, off the tool | Pulls compound down, onto you |
| Working position | Standing, knife at chest height | Arms overhead, looking up |
| Section size | Four feet wide, floor to ceiling | Three feet square |
| Mud weight | Full-strength all-purpose is fine | Wants thinning or a lighter compound so it doesn’t sag |
| Inspection | Flashlight held flat against the surface | Work light on the floor, raking sideways |
Do the ten-minute test before you commit a weekend
Skim four square feet of ceiling with your normal wall technique before you order mud for the whole room. If your arms are shaking and mud is dropping off the knife by the third pass, switch to a lighter compound and smaller sections before you’re two coats into a whole ceiling.
Should you skim coat this ceiling at all?
About a third of the ceiling quotes I look at don’t need a skim coat, they need something smaller. Here’s the triage I actually run before answering “yes.”
| What the ceiling is doing | What it actually needs |
|---|---|
| A few nail pops or a hairline crack, otherwise flat | Spot patch and prime, not a full skim |
| Light stipple or orange peel you want gone | Skim, one to two thin coats |
| Popcorn or acoustic spray texture | Test for asbestos first, then remove it. Do not skim over it |
| Water stain, soft spot, or sagging patch | Fix the leak and the substrate first |
| Flat paint going to an open fixture with exposed bulbs | Skim. Raking light from an open fixture shows every ridge |
| Ceiling is structurally cracked or bowing | Stop, this isn’t a mud problem |
The popcorn row is the one people skip past. Skimming straight over an intact popcorn ceiling looks like a shortcut, and it usually isn’t one. The texture is thick, it doesn’t bond evenly, and wet compound can pull sections of it down in sheets instead of covering it. Removing it properly is usually the more predictable job. It’s also the row with a real safety question attached if the house is old enough, and a water stain deserves the same pause: find the source before you patch it.
Test before you touch a textured ceiling in a pre-1980 house
Sprayed and troweled ceiling textures made before the mid-1980s can contain asbestos, and nothing about how the texture looks tells you which ones do. Scraping, sanding, or skim-coating without testing first is exactly how fibers end up airborne. A lab sample runs about $30 to $60. Read the years, the test, and what not to touch before you knock a single high point off a textured ceiling. Where my advice stops on this is set out in the disclaimer.
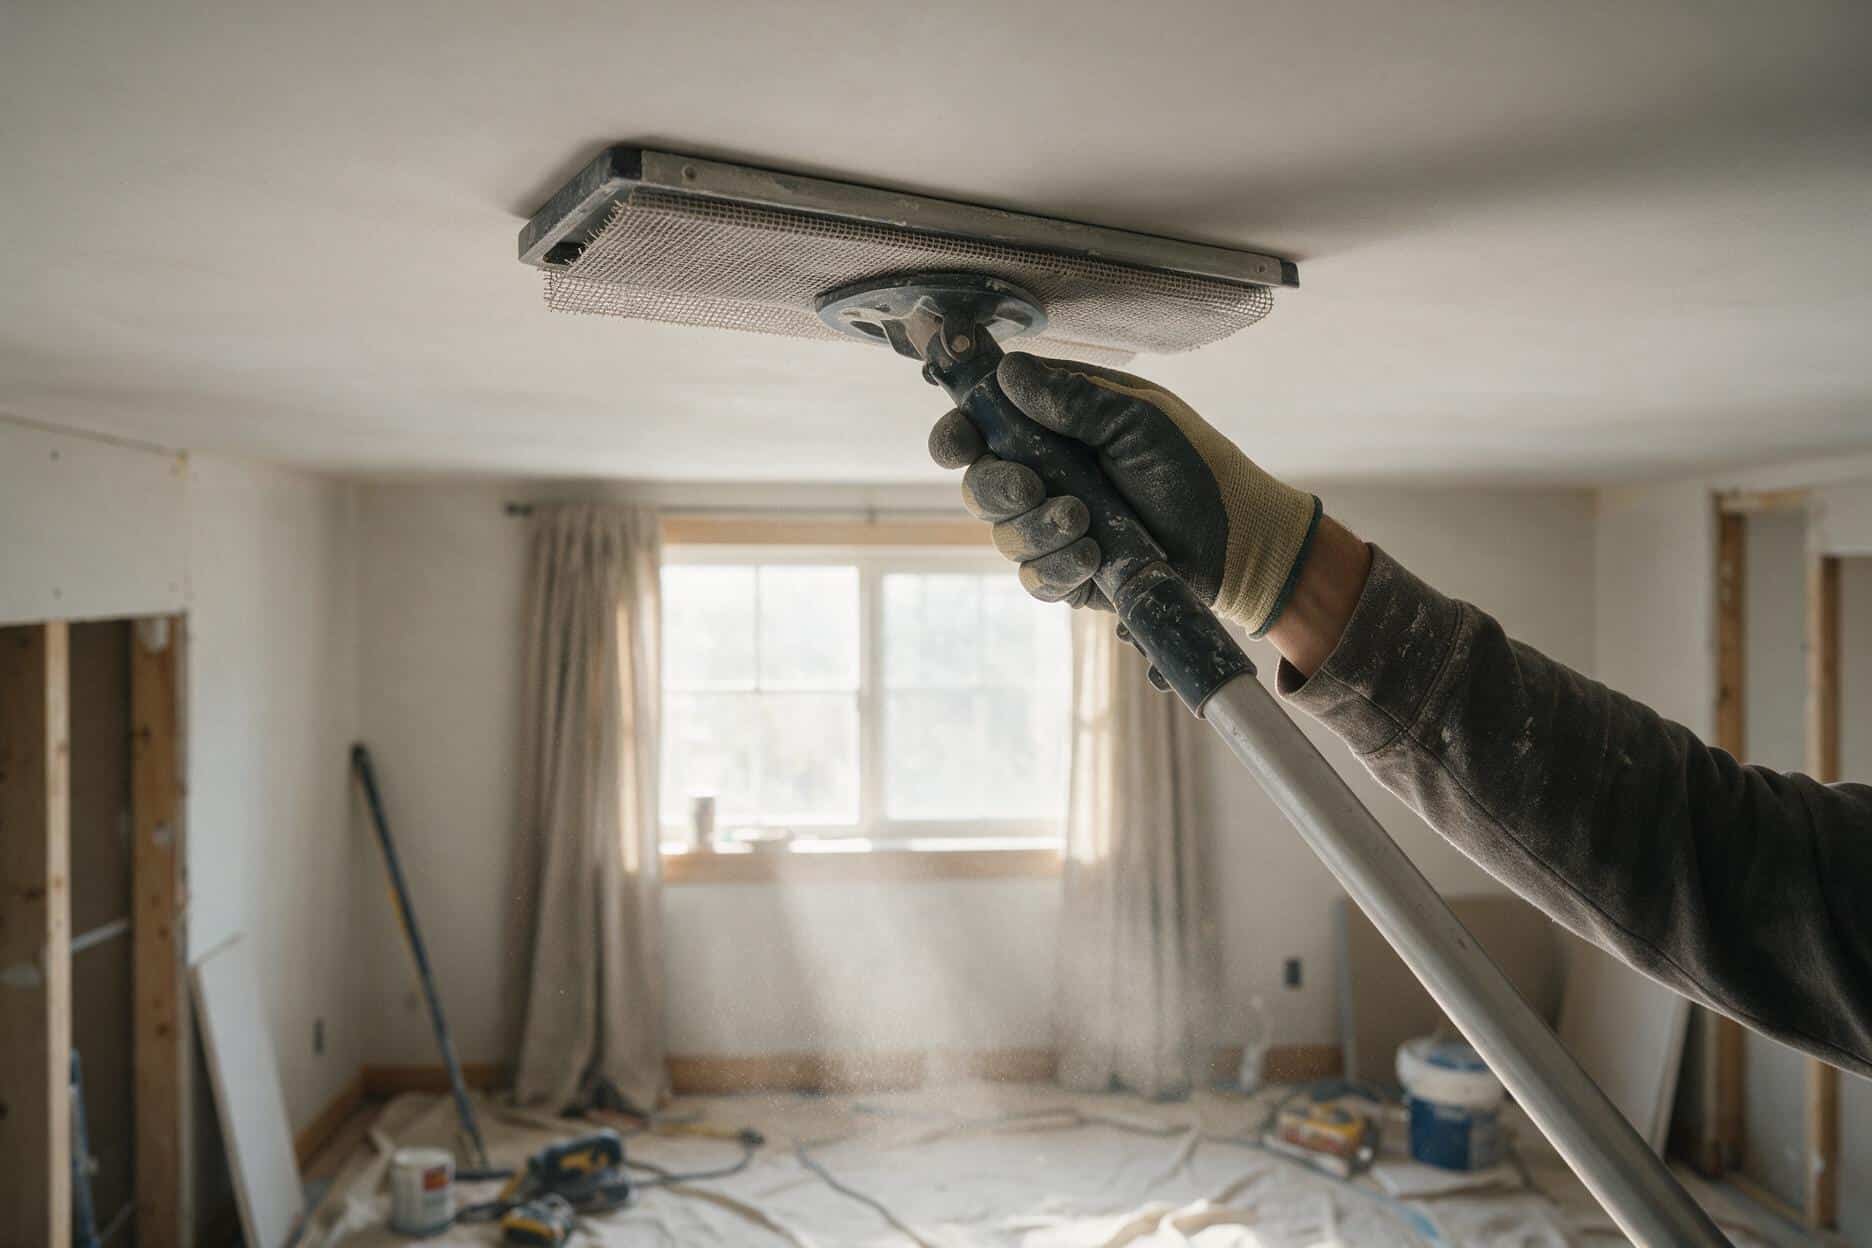
The mud and tools that change overhead
The mud selection I laid out for walls still applies: all-purpose for a first coat, lightweight or topping for the finish coat, setting-type when you need a same-day recoat. On a ceiling, add one more can to that list: ultra-lightweight joint compound, sometimes just labeled “ultra light” on the lid. It’s whipped with more air than standard lightweight, which means less weight hanging off your knife and less tendency to sag before it sets. It costs a little more per bucket and it’s worth it for anything overhead.
Thin the mix slightly more than you would for a wall, close to the consistency of pancake batter rather than yogurt, if you’re using the roller method. Thinner compound holds on a roller nap without dripping in sheets, and the extra shrinkage that comes with thinning it matters less on thin equalizing coats than it would filling a real gap.
- A pole sander with a sanding screen, not just a hand sander. Your shoulders will not survive sanding a ceiling by hand for more than about fifteen minutes.
- A 3/4-inch nap roller for loading mud onto the ceiling, same as the wall method, on an extension pole rather than a full-length handle so you keep some control close to the surface.
- A 12-inch knife rather than a wider 14-inch blade. A shorter blade is easier to control with your arms extended overhead.
- Real drop cloths, not plastic sheeting. Wet compound on plastic on the floor is close to the most dangerous surface you can stand on with a loaded roller in your hand.
- A second person, if you can get one. Not for the mud. For the ladder or the plank. Working alone overhead on an unstable platform is where most ceiling jobs actually go wrong.
The technique, coat by coat
Knock down any texture peaks first
Same rule as walls: a 6-inch knife held nearly flat removes high points before the first coat, so you’re not burying a ridge under fresh mud.
Work smaller sections than you would on a wall
Three feet square instead of four feet of wall height. You cover less ground per load, and that’s the right trade for keeping the section wet enough to finish before it skins.
Roll it on, then pull it off
Same roller-and-knife sequence as walls: load the section, don’t fuss with it, then follow with the knife held at a shallow angle to pull off everything except the thin coat that’s doing the work.
Watch the trailing edge of the blade
On a ceiling you’re working at an angle looking up, so track the edge where the ridge forms and lift it slightly at the end of each stroke so it feathers instead of stopping dead.
Scrape before you sand, every time
A 6-inch knife at a shallow angle knocks off ridges in a few minutes with no dust. Skipping this step and going straight to the sander is the single biggest reason ceiling sanding takes twice as long as people expect.
Cross the strokes on the second coat
If the first coat ran toward the window, run the second coat toward the door. Crossing the direction cancels out ridges instead of doubling down on the same lines.
Let each coat go fully dry before the next
Overhead coats trap more humidity in the room than wall coats because you’re covering the surface the air in the room actually touches. Crack a window or run a fan between coats rather than assuming the drying time on the bucket applies as written.
How to tell if a ceiling is actually flat
Standing under a ceiling with the room lights on tells you almost nothing. Every ridge and trowel mark is invisible under light coming straight down. What shows them is light coming sideways, at a low angle, the same way a low winter sun rakes across a wall at five in the afternoon.
Set a work light or a shop light on the floor near one wall, pointed up and across the ceiling rather than straight at it, and kill the room’s overhead light. Every ridge, seam, and trowel mark throws a shadow you can see from across the room. Walk the light along two or three walls before you call a coat finished, because a ceiling can read perfectly flat from one angle and show every flaw from another.
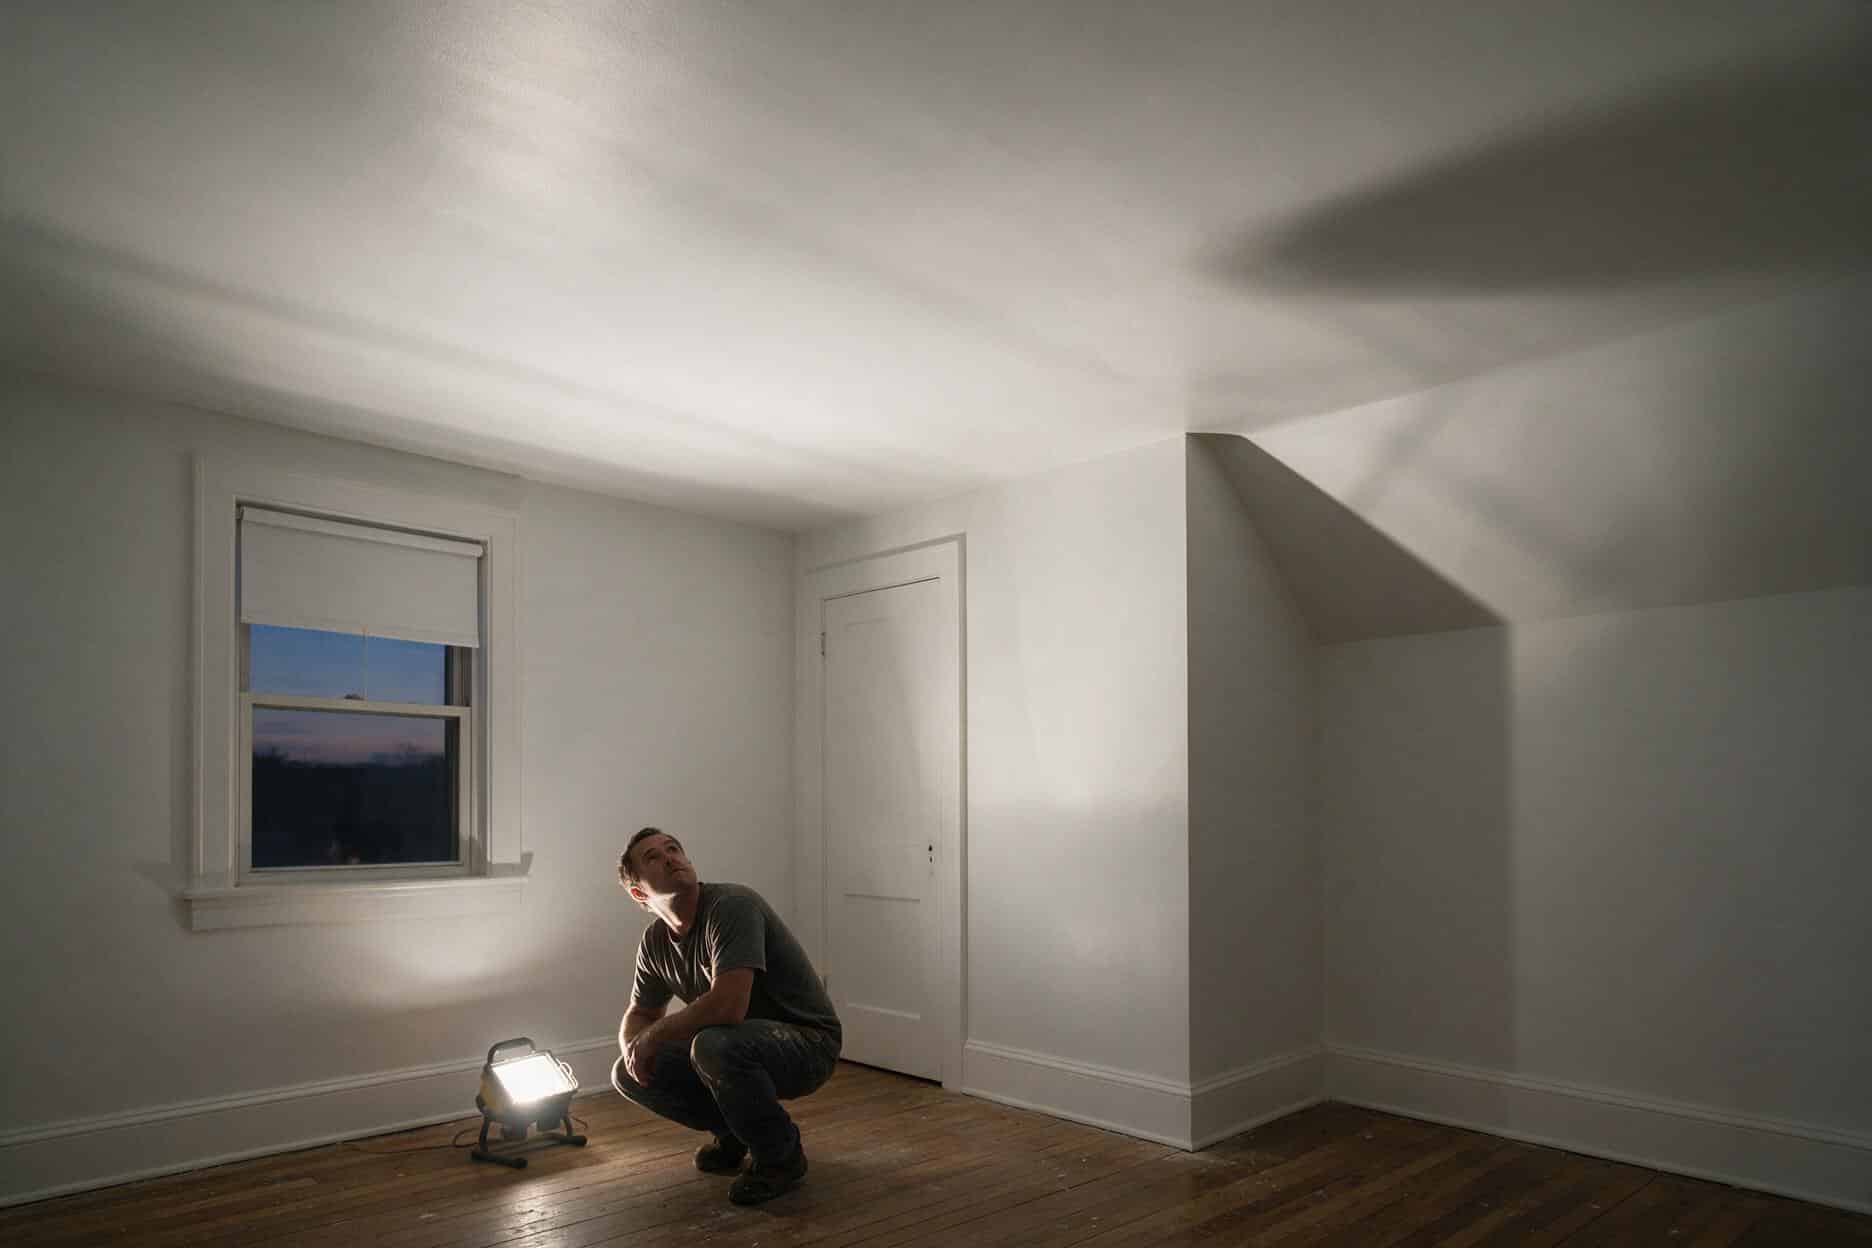
Do this check after every coat, not just at the end. Catching a ridge after coat two costs you five minutes with a 6-inch knife. Catching the same ridge after primer and paint costs you a repaint.
What it costs to skim coat a ceiling in 2026
US ranges, ceiling only, not the whole room. Materials are cheap here too. The labor difference between a wall quote and a ceiling quote is almost entirely the overhead work itself, not what’s in the bucket.
| Job | DIY materials | Typical quote |
|---|---|---|
| Skim coat, per sq ft of ceiling | $0.15–$0.30 | $2.50–$5.00 |
| One average bedroom ceiling (~150 sq ft), light texture | $70–$120 | $450–$850 |
| Same bedroom, walls and ceiling both | $120–$210 | $900–$1,800 |
| Popcorn removal first, then skim coat | add $1–$3/sq ft | add $1–$3/sq ft |
| Finisher’s hourly rate for ceiling work | — | $60–$120 |
That per-square-foot jump against a wall, roughly $1.00 to $1.30 quoted on the wall version of this job, isn’t padding. It’s the same math I use for the room-level number: adding a ceiling to a walls-only quote roughly doubles the labor for a fraction of the square footage, which is exactly why the per-square-foot rate looks so much higher in isolation.
The mistakes that show up later
- Skimming straight over old popcorn texture without testing it first. The safety question comes before the technique question.
- Using full-strength all-purpose compound overhead because it’s what’s left over from the wall job. It’s heavier than it needs to be and it sags in anything but a very thin coat.
- Working four-foot sections because that’s the wall habit. The section skins before you get the knife back to it and you spend the next day sanding a ridge that didn’t need to exist.
- Skipping the scrape-before-sand step and going straight to the pole sander. It roughly doubles the sanding time and fills the room with dust that a knife would have removed in minutes.
- Painting before the work-light test. Primer and paint make a flat ceiling look flatter and a bad one look worse. Check before you commit a coat of paint to hiding the evidence.
The same square footage, a very different bill
A skim-coated wall and a skim-coated ceiling in the same house can carry near-identical dollar totals despite the ceiling being a third of the area. That’s not a contractor padding the number. It’s overhead work taking two to three times as long per square foot as the exact same mud on a wall.
Questions I get on site
Should you skim coat a ceiling?
Only if it needs equalizing rather than filling or removing. A ceiling with a few isolated flaws wants spot patching. A ceiling with intact popcorn texture wants an asbestos test and probably removal, not a skim coat over the top. Skim coating earns its place on a ceiling that’s structurally sound with texture or unevenness spread across the whole surface.
How much does it cost to skim coat a ceiling?
For an average bedroom ceiling alone, expect $70 to $120 in materials doing it yourself, or $450 to $850 for a professional quote in most US markets in 2026. Add the walls and the total roughly doubles, which lines up with the numbers in the wall skim coat cost breakdown.
Can I paint directly over a skim coat?
No. Bare joint compound is more porous than the surrounding paper-faced drywall, and paint straight onto it will flash: it dries to a flatter, duller patch exactly where you skimmed. Prime the whole ceiling first, not just the skimmed sections, then paint.
What are the most common skim coating mistakes on a ceiling?
Full-strength mud that’s too heavy to hold overhead, sections too large to finish before they skin, and skipping the scrape-before-sand step. All three show up as either a shaking arm mid-coat or a much longer sanding session than expected.
Is it better to skim coat a ceiling or replace the drywall?
If the ceiling is sound and the texture is shallow, skim coating is the cheaper and faster route. If the ceiling is sagging, water-damaged, or the texture is thick knockdown or popcorn, hanging new board over it is often more predictable than fighting three coats of mud over a bad substrate. That’s the same tradeoff covered in fixing a sagging ceiling.
Do I need to sand after skim coating a ceiling?
Yes, but scrape first with a 6-inch knife held at a shallow angle. It removes most ridges with no dust, and it means less time on the pole sander after. See what grit to sand drywall for the grit progression, which is the same whether the surface is a wall or a ceiling.
Cost figures are US ranges collected from supplier listings and contractor quotes in August 2026, and they move by region. Coastal metros run higher, the Southeast and Midwest sit closer to the low end. My background and how I put these numbers together is on the about page. Everything else on prepping a surface before paint or texture lives under surface prep, and the full ceiling category is here. If a number is off in your market, tell me and I’ll correct it.