When someone tells me they want to skim coat walls, my first question is never about the mud. It is what the wall looks like at eight in the evening with one lamp on. That single answer decides whether this is a Saturday with a bucket or a two thousand dollar contract, and most people have never been asked it.
Here is the thing nobody tells homeowners. Drywall finishing has an official scale, six levels, written down by the Gypsum Association in a document called GA-214. Every finisher I have worked with since 1997 prices off that scale. Almost no DIY article mentions it. So people skim a wall to something like a Level 2, paint it in eggshell, turn on the lamp, and discover a landscape of ridges they cannot unsee.
This page is the version I would give a homeowner standing in the room with me. What skim coating is, which level your wall actually needs, what to buy, how to put it on, and what it costs if you hand it to someone else. I estimate this work for a living, so the numbers are the ones I quote, not the ones I found on a manufacturer’s website.
What skim coating actually is
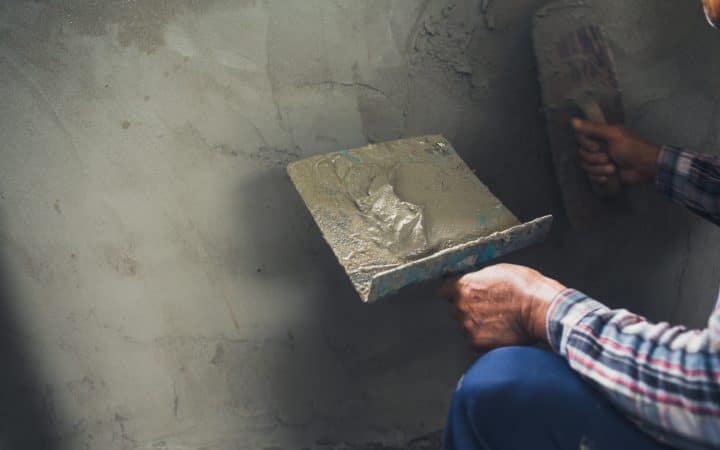
A skim coat is a thin layer of joint compound spread across a whole surface instead of just over the seams. Thin is the operative word. You are aiming for something between a credit card and a business card in thickness, and the goal is not to fill the wall. It is to give the wall one continuous surface so that light hits it the same way everywhere.
That distinction matters more than any technique in this article. Patching fills holes. Skim coating equalizes texture. If your wall has a gouge in it, a skim coat will not fix the gouge, it will produce a smooth wall with a gouge in it. Fill first, skim second. I have watched people burn a whole weekend learning that in the wrong order, and the fix is to sand it all back off.
The other half of the definition is what it is not. Skim coating is not plastering, which is a different material on a different backing. It is not veneer plaster either, though the tools look identical. And it is not a repair, so if you are here because of a hole or a crack, start with drywall repair and come back once the wall is flat and boring.
The finish level scale nobody shows homeowners
GA-214 defines six levels of finish, 0 through 5. Architects specify them, contractors bid to them, and the whole argument about whether a wall was done properly usually comes down to which level was in the spec and which one showed up.
| Level | What is on the wall | Where it belongs |
|---|---|---|
| 0 | Board hung, nothing else. No tape, no compound | Temporary walls, or work that is not finished yet |
| 1 | Tape set in compound at joints and angles. Tool marks and ridges allowed | Attics, plenums, service corridors, above ceilings |
| 2 | Tape plus one coat over joints and fasteners. Still visibly a taped wall | Garages, warehouses, substrate under tile |
| 3 | Tape plus two coats. Smooth, no tool marks | Heavy texture or heavy wallcovering going over it |
| 4 | Tape plus three coats, feathered wide, sanded | The residential standard. Flat paint, light texture, most wallpaper |
| 5 | Level 4 plus a skim coat over the entire surface | Gloss and semi-gloss paint, dark colors, raking light |
Level 4 is not “good enough”, it is the spec
People read the table and assume higher is better, so Level 4 must be the compromise. It is not. Level 4 is what your house was built to, and under flat ceiling paint or a matte wall color it looks fine forever. Paying for Level 5 in a hallway with no windows is money set on fire.
What goes wrong is the gap between Level 2 and Level 4. Two coats and three coats sound close. On the wall they are not, because the third coat is the one that gets feathered out to twelve or fourteen inches and kills the shadow at the edge of the seam. Skip it and you get a wall that passes inspection at noon and fails at dusk.
When Level 5 earns its money
Four situations, and I would push back on anyone paying for it outside them. A wall with a window at one end, where afternoon light runs along the surface instead of at it. Any sheen above eggshell. Deep or saturated colors, because dark paint reflects unevenly off anything that is not perfectly flat. And large uninterrupted planes, a stairwell or an open-plan living room wall, where there is nothing to break the eye’s run across the surface.
Everything else is a Level 4 wall and you should spend the difference on the paint.
The flashlight test tells you your level in ninety seconds
Kill the room lights at night. Hold a flashlight flat against the wall so the beam runs along the surface, not into it, and walk it slowly across. Every ridge, seam and fastener throws a shadow you can see from across the room. That is exactly what a window does at 5pm in February, and it is the test I run before I write a number on anything.
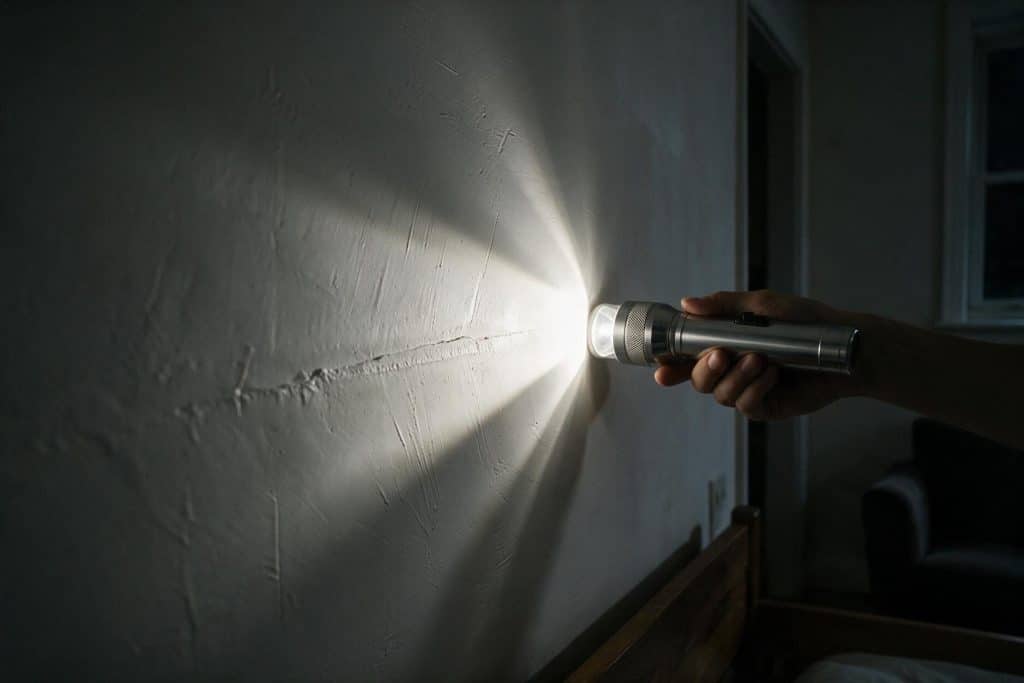
Do you actually need to skim coat these walls?
Roughly a third of the people who ask me for a skim coat quote do not need one. They need a primer, or six patches, or a different paint sheen. The table below is the triage I run through before I get the ladder out.
| What the wall is doing | What it needs |
|---|---|
| A few dents and nail holes, otherwise flat | Spot fill and sand. Do not skim the room |
| Seams visible under raking light, wall otherwise smooth | Third coat on the seams only, feathered wide. That is Level 4, not a skim |
| Light orange peel you want gone | Skim, one to two coats |
| Knockdown or skip trowel texture | Skim, two to three coats, thick first coat |
| Wallpaper just came off and the surface is patchy | Seal first, then skim. The sealer is not optional |
| Going up in sheen, or to a dark color | Skim the whole plane, Level 5 |
| Surface is soft, spongy or crumbling | Nothing goes on top. Find the water first |
| Paint is peeling in sheets | Strip and sealer. Compound over failing paint fails with it |
That last-but-one row deserves a sentence of its own. A soft or spongy wall is a water problem wearing a cosmetic disguise, and joint compound will happily go over it and hide the evidence for another year. If there is any brown mark on the surface, read how to trace a water stain to its source before you open a bucket. If there is any smell, start at getting rid of mold on walls instead. Skimming over either one is not a repair, it is a delay.
Picking the mud
Four products sit on that shelf at the home center and the labels do a poor job of explaining the difference. They behave differently enough that the wrong choice will cost you a day.
| Compound | How it behaves | Use it for |
|---|---|---|
| All-purpose, green lid | Heaviest, strongest bond, shrinks the most, hardest to sand | Embedding tape, filling, first skim coat over heavy texture |
| Lightweight all-purpose, blue lid | Easier to spread and sand, less dust, slightly weaker bond | Second and third skim coats, large areas |
| Topping | Lowest shrinkage, feathers beautifully, sands with almost no effort | Final skim coat. Never for tape |
| Setting type, the bag of powder | Hardens by chemical reaction on a clock, 20 to 90 minutes. Very hard to sand once set | Same-day recoats, deep fills, damp basements |
What I actually buy for a room
All-purpose for the first coat, lightweight or topping for the last. That is it. The strength of all-purpose is wasted on a finish coat and its shrinkage works against you there, while topping has no business anywhere near tape.
Setting type is the one homeowners reach for least and probably should reach for more, on one condition. If you are working a weekend and you need three coats, hot mud is the only way to get them on in two days rather than four. The condition is that you accept it will not sand like drying mud. Get it flat with the knife while it is workable, because once a 45 minute bag has gone off you are into a fight you will lose.
One number worth knowing before you load the cart. A five gallon bucket covers roughly 300 to 400 square feet of skim coat per pass on a smooth-ish wall, and closer to 200 if you are burying texture. An average 12 by 14 bedroom is around 450 square feet of wall. So a two-coat room is two buckets, and you will have mud left over. Everyone underbuys and nobody enjoys the second trip.
Tools that matter, and the ones that do not
The list is short and the money should go into two of them.
- A 12 or 14 inch taping knife. This is the tool that makes the wall flat, and a cheap flexible one will chatter and leave tracks. Buy the stiff one.
- A 6 inch knife for scraping ridges between coats and for cutting in at corners.
- A mud pan, metal not plastic, because you will scrape the edge of it a thousand times.
- A heavy nap roller if you are using the roller method. Three quarter inch for smooth walls, an inch to an inch and a quarter for burying texture.
- A drill with a paddle mixer, and a second bucket for thinning. Mixing by hand gives you lumps and lumps become tracks.
- A pole sander with 150 and 220 grit, or a sanding sponge for small work.
What you do not need is a hawk and trowel unless you already know how to use one, a 24 inch skimming blade for one room, or a spray rig. I like the big blades and I own them. On a single bedroom they will slow a first-timer down, because a wide blade punishes an unsteady hand across its entire width.
Prep decides whether the skim coat sticks
Almost every skim coat failure I get called to look at is an adhesion failure, not a technique failure. The wall was smooth and the mud was fine. The mud just had nothing to hold onto.
Glossy and semi-gloss paint
Joint compound has no chemical grip. It works by keying into a slightly porous surface, and a satin or semi-gloss wall gives it nothing. Scuff sand the sheen off with 120 grit, then roll a bonding primer, not a general purpose PVA. PVA is designed to seal fresh drywall paper and it is the wrong product on a slick painted surface. A gallon of bonding primer is around $35 and it is the cheapest insurance on the whole job.
Wallpaper glue
Old adhesive residue reactivates the moment you put wet compound on it. It goes soft, the skim coat slides, and two days later you have a wall that crazes and lifts in sheets. Wash the wall with hot water and a stripper solution until a wet fingertip stops feeling tacky, let it dry fully, then seal with a shellac or bonding primer. Anyone who tells you to skim straight over stripped wallpaper has not come back to see the result. There is more on this in the wallpaper section.
Existing texture
Knock the high points off first with a 6 inch knife held nearly flat, working in every direction. You are not trying to remove the texture, only to decapitate the peaks so the first skim coat does not have to be twice as thick as it should be. Ten minutes of scraping saves a full coat, and a full coat is a day.
Stop before you scrape a textured surface in a house built before 1980
Sprayed and troweled textures made before the US restrictions of 1977 and 1978 can contain asbestos, and existing stock kept being applied into the mid 1980s. Scraping, sanding and dry knocking are exactly the actions that put fibers in the air. A lab sample costs around $40. Read popcorn ceiling asbestos first, and note that the same caution applies to wall texture, not only ceilings.
Paint on pre-1978 walls is the second question. Sanding it is a lead exposure route, and that is a licensed job, not a Saturday one. Where my advice stops is set out in the disclaimer.
How to skim coat walls, coat by coat
Two methods work. Rolling the mud on and knifing it off is faster and far more forgiving for a first-timer. Loading straight from the pan with a knife gives you more control and less mess but it is slower and it is a skill. The steps below are the roller method, because that is what I would tell a homeowner to do.
-
Thin the mud until it rolls
Add water a cup at a time with the paddle mixer running. You are looking for thick pancake batter, or the consistency of yogurt that has been stirred. Too thin and it shrinks, cracks and runs behind the outlets. Let it sit five minutes after mixing and stir again, because it keeps loosening.
-
Work a section you can finish wet
Four feet wide, floor to ceiling. Not the whole wall. Compound starts skinning over in fifteen to twenty minutes in a warm room and a skinned edge is a ridge you will be sanding tomorrow.
-
Roll it on thick and do not fuss with it
One pass with a loaded heavy nap roller. It will look terrible, like stucco. That is correct. The roller is only a delivery system, the knife does the finishing.
-
Pull it off with the 14 inch knife
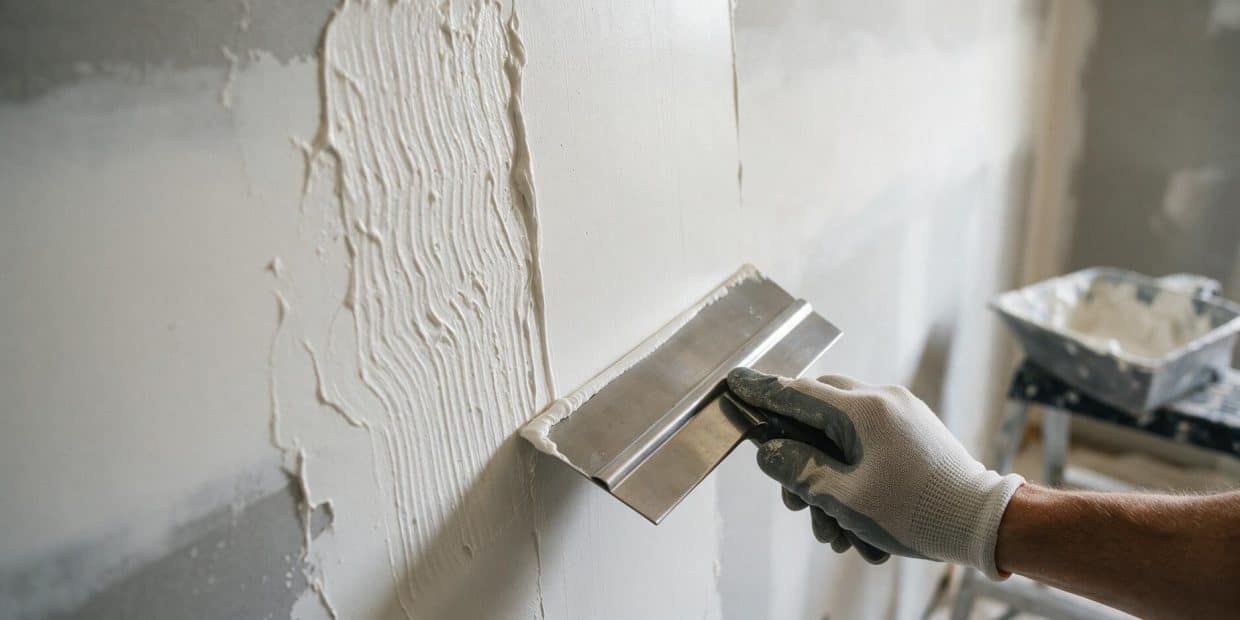
Start at the top, hold the blade at roughly a 20 to 30 degree angle, and pull down in one continuous stroke with firm pressure. You are removing almost everything you just rolled on. Wipe the knife into the pan after each pass. What stays behind is the coat.
-
Overlap each stroke by an inch or two
And lift the leading edge of the blade very slightly at the end of the stroke so it feathers out instead of stopping dead. A hard stop leaves a line you will find later with a flashlight.
-
Let it dry, then scrape before you sand
Run the 6 inch knife over the whole surface at a low angle. It knocks off every ridge in about five minutes and it removes more material than ten minutes of sanding, with no dust at all. This is the step people skip and it is the one that saves the most time.
-
Second coat, perpendicular to the first
If coat one went on with vertical strokes, pull coat two horizontally. Crossing the direction cancels out the tracks rather than deepening them.
-
Third coat only where the light says so
Flashlight along the wall at night. Most rooms need two coats and a few local touch-ups. Doing a full third coat everywhere because the guide said three is how a weekend becomes a week.
Where the roller trick stops working
I recommend it and I also want to be straight about its limits. Thinned compound shrinks more than compound straight from the bucket, because you added water and the water leaves. On a wall that is genuinely flat and only needs equalizing, that shrinkage is invisible. Over deep knockdown, where the first coat is filling real valleys, it will pull back into the low spots and you will see the pattern ghosting through after it dries.
So over heavy texture, use unthinned or barely thinned all-purpose on coat one and put it on with the knife. Switch to the roller for coats two and three when you are only equalizing. Rolling is a technique for the finishing coats that got adopted as a technique for everything.
The other limit is temperature. Below about 55F compound dries slowly and unevenly, and in a cold room I have seen a coat still soft in the middle after two days with a hard skin on top. Heat the room, or wait.
Skim coating over knockdown, orange peel and skip trowel
These three come up constantly and they are not the same amount of work.
Orange peel is the easy one. It is shallow, and one good coat plus a light second usually buries it. Knockdown is the middle case, with flattened splatter that sits proud of the surface, so it wants the peaks scraped and then two full coats, sometimes three. Skip trowel is the worst of the three because the ridges are irregular and can stand a sixteenth of an inch off the wall or more. Budget three coats and expect the third to be a real coat, not a touch-up.
There is a decision hiding in here that I would rather you make consciously. On a badly textured wall, sometimes hanging quarter inch drywall over the top is cheaper and faster than three coats of mud and two days of sanding. It costs more in material and less in labor, and it gives you a genuinely flat plane rather than a smoothed-over one. If the room is going to have new trim anyway, run the numbers both ways. The drywall repair cost breakdown has the per-sheet and per-hour figures to do that with.
A ceiling is a harder job than a wall
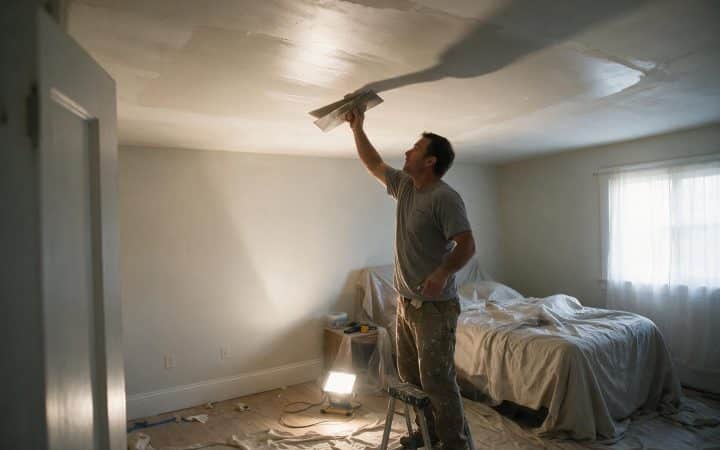
Same materials, roughly triple the difficulty. Gravity is against you the whole time, the mud is heavier than it looks over your head, and your arms give out long before the ceiling is done. If you have never skimmed anything, do not learn on a ceiling.
Three things make it survivable. Thin the mud slightly more than you would for a wall so it holds on the roller instead of dropping. Work in smaller sections, three feet rather than four. And put down real drop cloths rather than plastic sheeting, because plastic plus wet compound is the most slippery floor you will ever stand on.
Skimming over a popcorn ceiling is its own project and mostly a bad idea. The texture is thick, absorbent, and often poorly bonded, so wet compound can bring the whole thing down in sheets. Removing it properly costs less than you would think and the numbers are in popcorn ceiling removal cost. Everything else ceiling-related sits in the ceilings section.
Drying times, and the coat schedule that actually works
The number on the bucket assumes conditions your house does not have. These are what I plan around.
| Condition | Drying compound, per thin coat | Setting type, 45 minute |
|---|---|---|
| 70F, 50% humidity, air moving | 8 to 12 hours | Recoat at 60 to 90 minutes |
| 70F, 70% humidity, still air | 24 hours or more | Recoat at 90 minutes |
| Below 55F | 36 to 48 hours, unreliable | Sets slower, still sets |
| Thick coat over texture | Add 50 to 100 percent | Sets on schedule regardless |
A realistic schedule for one average bedroom with light texture, working alone: prep and prime on Friday evening, first coat Saturday morning, scrape and second coat Sunday morning, sand Monday evening, prime Tuesday. Anyone promising you a smooth room in a day is either using setting type all the way through or is going to be back.
Test for dry by color, not by clock. Wet compound is a shade darker and slightly gray. When the whole surface has gone uniformly bright white with no darker patches around the thick spots, it is dry. Sanding a wall that still has damp centers turns the sandpaper into a mud spreader.
Sanding without filling the house with dust
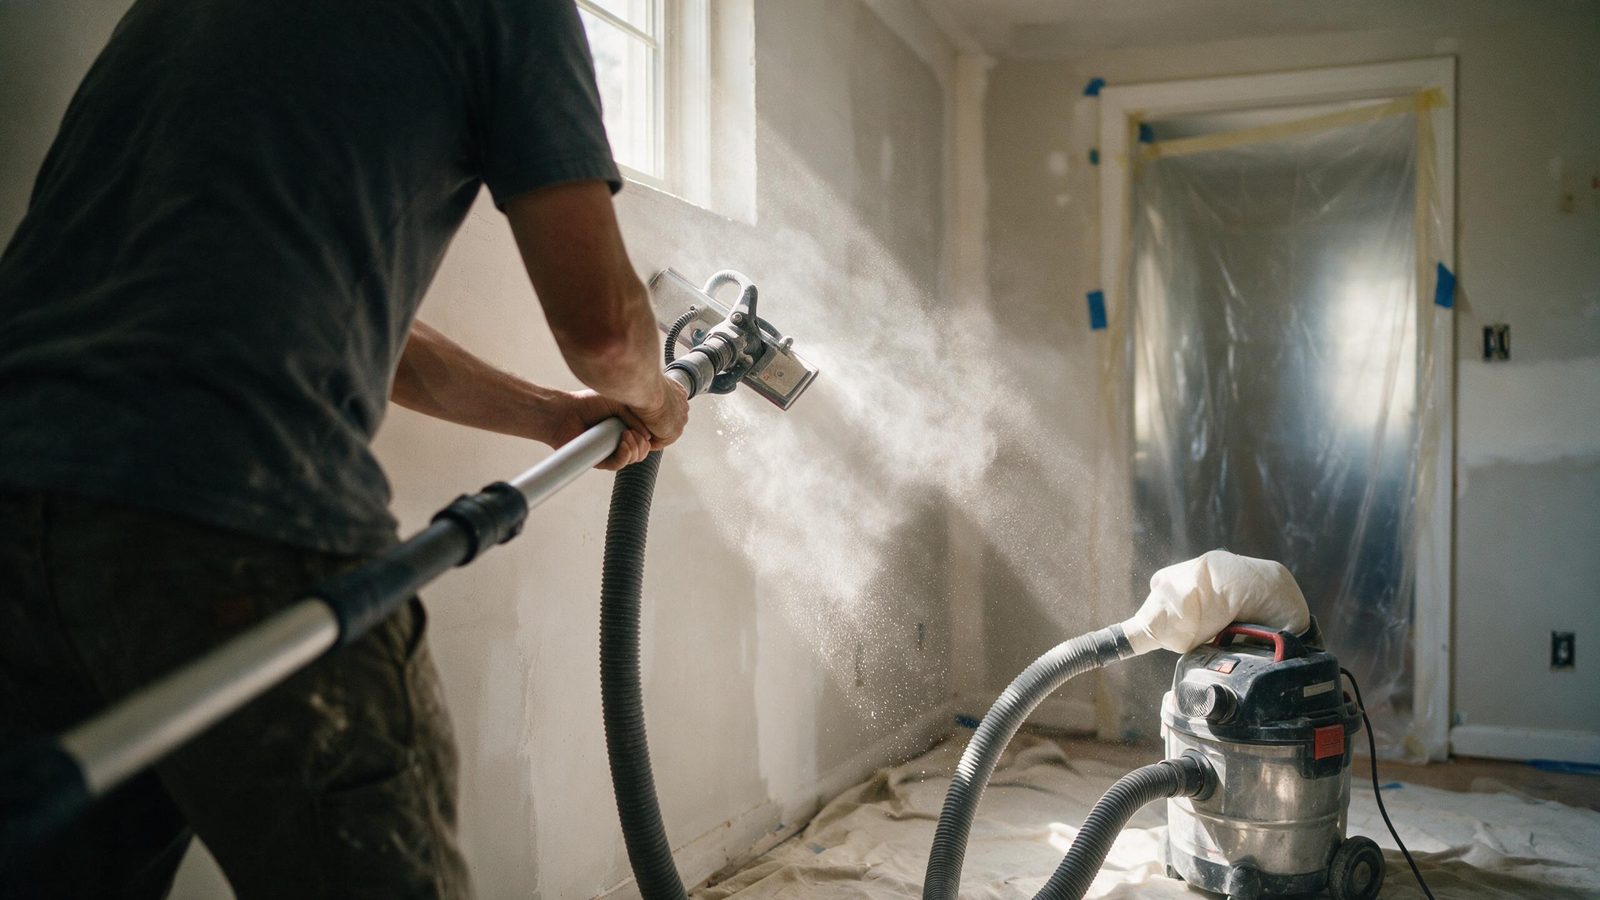
Scrape first. I said it in the steps and it is worth saying twice, because a 6 inch knife removes ridges faster than any abrasive and produces nothing you have to breathe.
After that, 150 grit on a pole sander for the field of the wall and 220 for the final pass. Do not press. Let the weight of the head do the work, keep it moving, and stop the moment you feel the paper start to bite through into the paint underneath. Burning through a skim coat back to the old surface means that spot needs another coat, and it always happens in the middle of a wall where it is most visible. For the full grit progression across every stage of a drywall finish, not just this final pass, see what grit to sand drywall.
For dust, a wet sponge sander beats every gadget sold for the purpose. Rinse it often, keep it damp rather than wet, and work in circles. It is slower than dry sanding and it produces essentially no airborne dust, which matters if you are doing this in an occupied house. A vacuum-assisted sander is the other real option and worth renting for a whole-house job at around $40 a day.
Wear an N95 either way. Joint compound dust is fine enough to stay suspended for hours and it will find every room you did not seal off.
What it costs to skim coat walls in 2026
US ranges as of August 2026. Labor is the whole story here, since the material for an entire bedroom is under sixty dollars.
| Job | DIY materials | Typical quote |
|---|---|---|
| Skim coat, per square foot of wall | $0.10–$0.20 | $1.00–$1.30 |
| Full Level 5 finish, per square foot | — | $2.00–$5.00 |
| One average bedroom, walls only, light texture | $50–$90 | $450–$900 |
| One bedroom, walls and ceiling, knockdown removal | $90–$160 | $900–$1,800 |
| Open-plan living area, Level 5 for gloss paint | — | $1,800–$4,500 |
| Finisher’s hourly rate | — | $50–$100 |
| High-build primer as a Level 5 substitute, per sq ft | $0.25–$0.45 | $0.80–$1.40 |
The bottom row is the one worth arguing about. High-build primer surfacer, sprayed over a Level 4 wall, gets you most of the way to a Level 5 for a fraction of the labor, and a crew can do a whole house in a day with it. What it does is fill. What it does not do is flatten. It hides dings and scratches and sanding marks, the innies, and it does almost nothing about a seam that stands proud of the wall, the outies. Under raking light with a dark color, that difference shows.
So my position, and finishers will disagree with me on this: high-build primer is genuinely good value on a wall whose problem is surface noise, and it is the wrong product on a wall whose problem is geometry. If your flashlight test showed shadows with edges, no primer is going to fix that. More on how quotes get built in the costs section.
The $60 room and the $900 room are the same square footage
Materials for an average bedroom run about $60. The quote for the same room runs $450 to $900, and essentially all of that gap is somebody’s time and their tolerance for sanding. This is one of the few trades where doing it yourself saves close to the entire bill, which is exactly why it is worth learning on a closet first.
Priming and painting after the skim coat
A freshly skimmed wall is bare joint compound, and bare compound is thirstier than the paper facing next to it. Paint straight onto it and the compound drinks the sheen out of the finish, leaving flat patches wherever you skimmed. That effect is called flashing and it is the last way this job goes wrong.
Prime the entire wall, not the skimmed areas. A drywall primer or PVA is fine here, since you are sealing a porous surface rather than trying to stick to a slick one. Two thin coats if you are going into a satin or semi-gloss. Then paint.
And run the flashlight one more time after the primer dries, before the color goes on. Primer is the first coating that reflects light uniformly, so it shows defects the bare compound was hiding. Fixing a spot at primer stage costs twenty minutes. Fixing it after two coats of color costs the wall.
The five ways I see skim coats fail
- Mud too thin. It runs, it shrinks, it cracks in a web pattern as it dries, and it finds every outlet box. Thicker than you think.
- Trying to fill with a skim coat. A skim coat equalizes texture. Holes get filled first, separately, and left to dry.
- Sections too big. The edge skins over before you get back to it and you sand that ridge for an hour. Four feet wide, no more.
- Recoating something that is not dry. Traps moisture, weakens the bond, and the second coat drags the first one around.
- No primer under it and no primer over it. Both ends of the job, both the same mistake, and both invisible until the paint is on.
Every one of those is recoverable. The recovery is always another coat and another day, which is why the prep at the front costs so little by comparison. Everything else in this part of the trade lives under surface prep.
Questions I get on site
How many coats does it take to skim coat walls?
Two on a wall that is already reasonably flat, three over knockdown or skip trowel. Judge the third one with a flashlight rather than by rule. Most rooms need a full second coat and a handful of local touch-ups, not a full third.
Can I skim coat over paint?
Yes, as long as the paint is sound and not glossy. Flat and matte paint takes compound directly after a wash. Eggshell and above wants a scuff sand plus bonding primer. Paint that is peeling or chalky has to come off, because the skim coat is only as attached as the layer under it.
What is the difference between skim coating and plastering?
Skim coating is joint compound over drywall, a sixteenth of an inch or less, and it sands easily. Plastering is a lime or gypsum plaster over lath or a plaster base, applied much thicker, and it hardens far harder than compound. In the UK “skimming” usually means plaster over board, which is why British and US advice on this topic contradicts each other so often.
How much does it cost to skim coat a room?
An average bedroom is $450 to $900 quoted, walls only, in most of the country. Materials alone are $50 to $90. Add the ceiling and roughly double the labor, because ceiling work is slower and harder on the crew.
Do I need a Level 5 finish for my house?
Probably not. Level 5 is for gloss or semi-gloss paint, dark saturated colors, and walls hit by low-angle window light. A hallway or a bedroom in flat paint is a Level 4 wall and always was.
Can I skim coat a textured wall without removing the texture first?
Yes for orange peel and knockdown, after knocking the high points off with a knife. No for heavy skip trowel and no for anything sprayed and popcorn-like, where removal is faster and gives a better result. And nothing gets scraped in a pre-1980 house until it has been tested.
Why does my skim coat keep cracking as it dries?
Too much water in the mix, or the coat went on too thick, or both. Compound shrinks as it loses water and a thick wet layer shrinks more than the surface can take. Thinner coats, less water, and check the room is not sitting in direct sun or over a heat vent.
Is a skim coat waterproof?
Not remotely. Joint compound is gypsum and it dissolves back into a paste if it stays wet. It has no place as a moisture barrier anywhere, and if you are skimming a basement or a bathroom the ventilation question comes first. That side of it is covered under moisture and mold.
Level definitions on this page follow GA-214 as published by the Gypsum Association. Cost figures are ranges collected from US supplier listings and contractor quotes in August 2026, and they are not a quote. Regional labor rates move them, sometimes by half. My background and how I put these numbers together is on the about page. If a figure is off in your market, tell me and I will correct it.