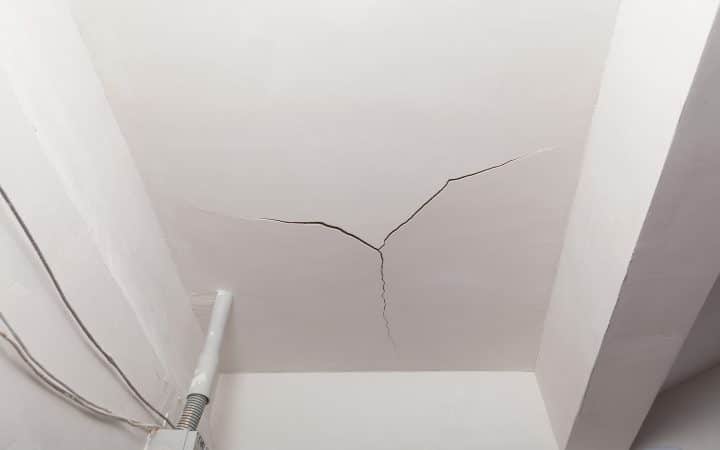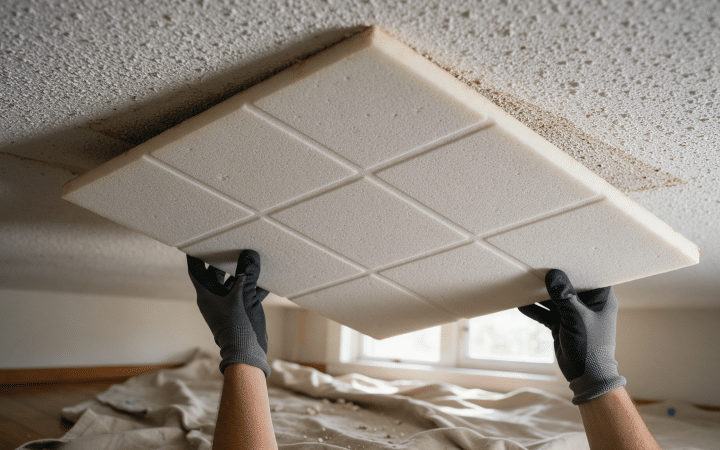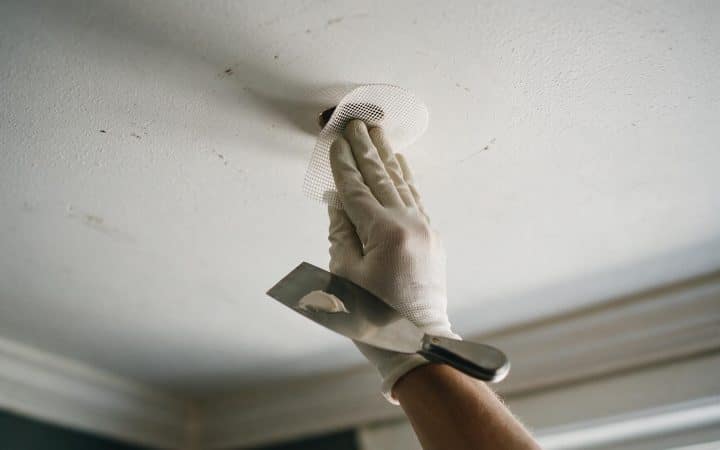
You can cover up water stains on a ceiling with ordinary ceiling paint, but it will not hold. The tannins that caused the brown ring dissolve back out of the drywall paper or wood and bleed straight through flat latex, often within a day or two. The fix is a dedicated stain-blocking primer, applied only after the ceiling is fully dry and the leak that caused the stain is already fixed.
This guide covers how to confirm the ceiling is actually ready for paint, which type of stain-blocking primer holds up, how many coats to plan for, and the finishing details that keep a patch from flashing under a lamp once the room is back together.
What to check before you cover up water stains on a ceiling
Painting over a stain that is still being fed by water does not fix anything. It traps the moisture behind a fresh coat, and the ring bleeds back through within a few weeks, usually looking worse the second time because the new edge is thinner than the original. Before any primer goes on, confirm the source of the water is gone and the board has had time to dry out, not just the painted surface.
Not every stain is a paint job
A stain that keeps spreading, smells musty, or sits on a ceiling that feels soft or spongy when you press it is not something a primer fixes. That points to an active leak or hidden mold, and it needs a proper diagnosis before anyone picks up a roller.
| What you find | What it means | What to do |
|---|---|---|
| Edge of the stain is still damp to the touch | The leak is active, or the board hasn’t dried through | Trace and fix the source first, then wait before priming |
| Stain is dry and hasn’t grown after a heavy rain or a hot shower | The source is very likely fixed | Safe to prime and paint |
| Musty smell, soft board, or a ring that keeps coming back after painting | Possible hidden moisture or mold behind the surface | Stop and get the ceiling checked before covering it up |
If you are not sure whether the ring in front of you is old or new, read the ceiling itself before you touch it: tracing a water stain on a ceiling back to its source walks through the pattern, shape, and color clues that separate a closed case from an active one. A quicker touch-and-smell check for the most common overhead leaks is in the test to run before you reach for any primer, and if you want to catch the next one earlier, the signs that show up before any stain does is worth reading too.
Why ordinary ceiling paint can’t block the stain
A water stain is not dirt sitting on top of the ceiling. It’s tannins and mineral salts that were dissolved in the water, carried up through the drywall’s paper facing or the wood as it soaked in, and left behind as a residue once the water evaporated. Standard ceiling paint is water-based. When you roll it over the stain, the water in the wet paint re-dissolves those compounds and pulls them straight back up through the new film as it dries, which is why the ring reappears in a day or two even though you just “covered” it.
A real stain-blocking primer works because its resin (shellac, an oil-based alkyd, or a purpose-built acrylic) dries to a film those compounds can’t dissolve or migrate through. Once that barrier coat is down and cured, the topcoat on top of it never touches the stain at all. That’s a different problem from hiding a popcorn ceiling for good: if the issue is texture rather than a stain, covering a popcorn ceiling without removing it is the guide for that job.
How to cover up water stains on a ceiling, step by step
-
Confirm it’s actually dry
Use the checks above. Don’t move forward until the source is fixed and the stain hasn’t grown in at least two weeks.
-
Scuff and dust the area
Lightly sand any glossy or chalky residue on the stain so the primer has something to grip, then wipe it with a dry cloth or vacuum the dust. Don’t wet-wipe a stain you haven’t confirmed is dry.
-
Spot-prime past the visible edge
Apply the stain-blocking primer about two inches beyond where you can see the discoloration, not just inside its outline. Tannins often extend further than the visible ring.
-
Let it fully cure, not just dry to the touch
Touch-dry and ready-to-judge are different. Give the primer the full recoat window on its label before you decide whether it blocked the stain.
-
Check it under raking light
Angle a work light sideways across the ceiling. Any shadow or discoloration still showing through means a second coat before you move on.
-
Apply a second coat if needed, feathering the edges
Thin the edges of the primer coat into the surrounding ceiling so there’s no visible ridge once the topcoat goes over it.
-
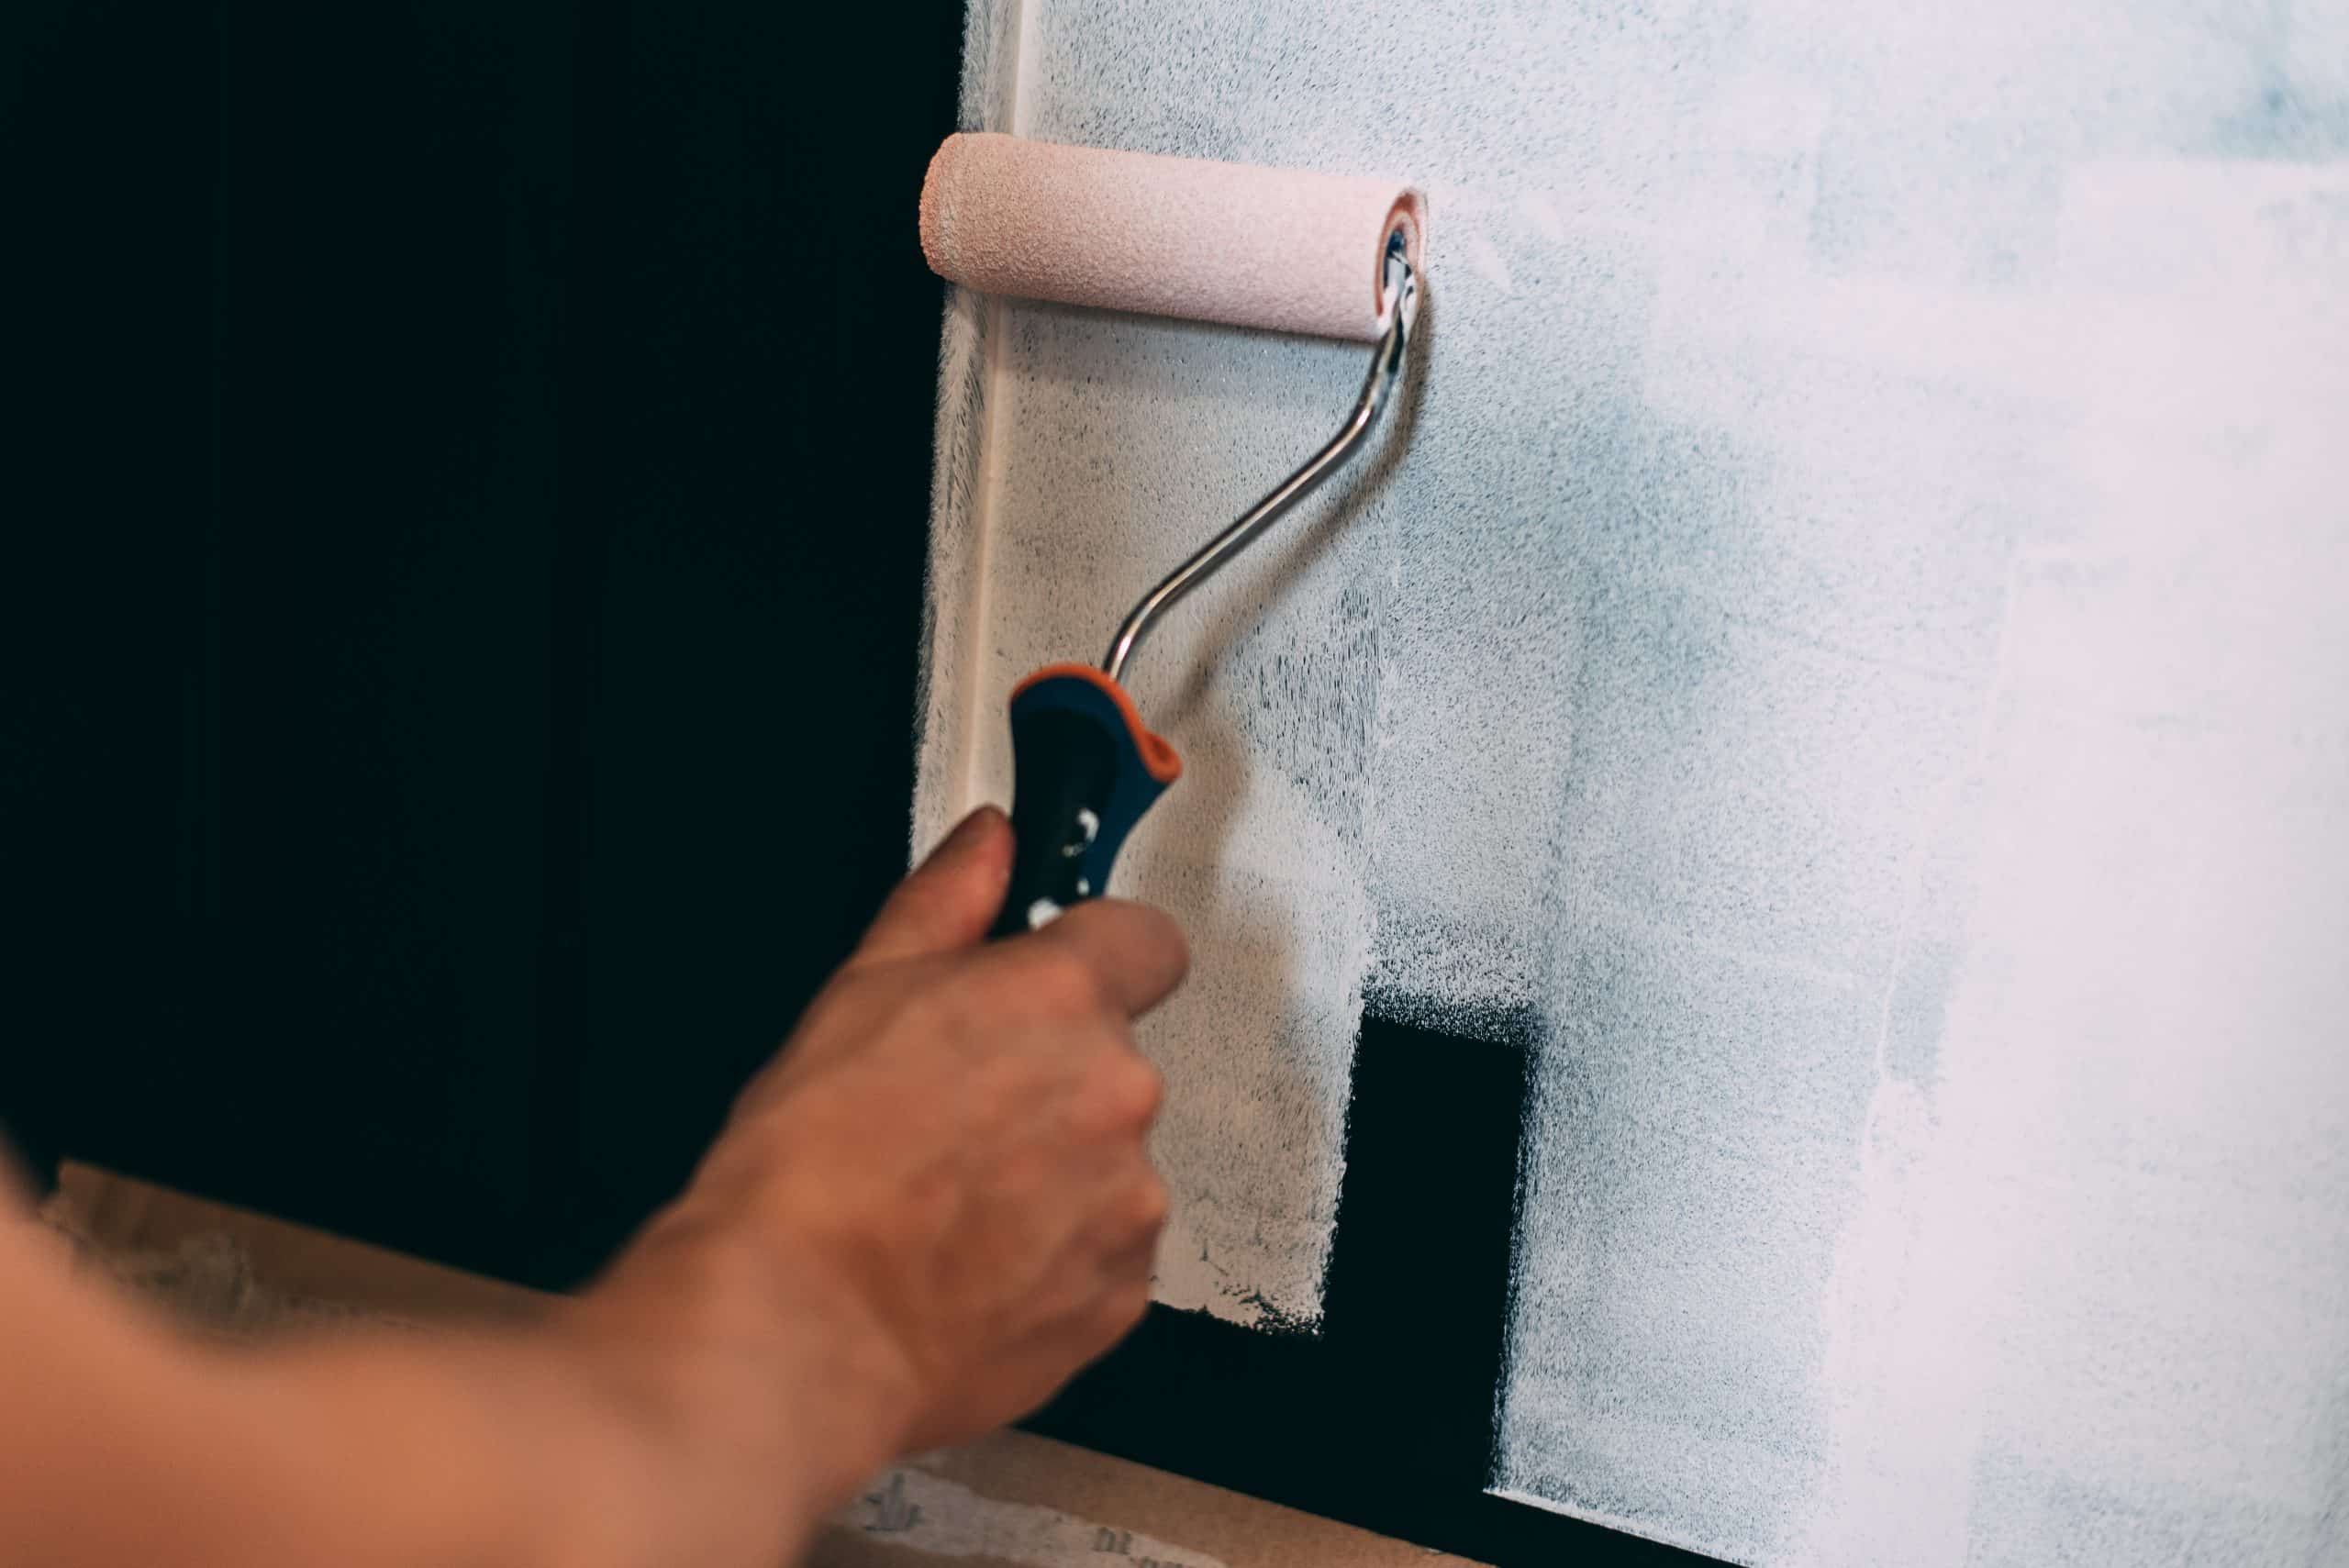
Topcoat the whole panel, not just the patch
Paint corner to corner or across a full ceiling plane rather than just the primed square: a patch of fresh paint inside old paint almost always flashes under light.
Which stain-blocking primer actually holds
Stain-blocking primers come in three resin families, and they don’t dry or recoat on the same clock. Manufacturer technical sheets for products in each category give a sense of the range, though any single product can sit anywhere inside it.
| Type | Blocks tannin | Typical dry-to-touch | Typical recoat window |
|---|---|---|---|
| Shellac-based | Strongest, the usual choice for the worst stains | About 15-20 min | About 45 min-1 hour |
| Oil-based alkyd | Good | 35 min-1 hour for quick-dry formulas | 2 hours (quick-dry) up to 16 hours (traditional) |
| Water-based acrylic stain blocker | Good to very good | About 20-60 min | 1-4 hours |
Shellac dries fastest and blocks the most stubborn stains, but the solvent smell is strong. Oil-based alkyd primers are a middle ground with good blocking power and a longer open time to work with. Water-based acrylic stain blockers are the easiest to clean up and have the least odor, at the cost of being a little less aggressive on a very dark or repeated stain. These figures come from manufacturer technical data sheets for an oil-based alkyd primer and a water-based stain blocker. Always check the exact product’s own label, since dry and recoat times shift with temperature, humidity, and film thickness.
Buy the gray-tinted version if it’s offered
Several stain-blocking primers come in a gray or neutral tint instead of white. It makes it obvious by eye whether the patch is fully opaque before you commit to a topcoat, instead of guessing against a white-on-white background.
How many coats and when to topcoat
Plan on two thin coats of primer rather than one heavy one. A thick single coat takes longer to cure all the way through, and judging it too early is the most common reason the stain seems to “come back”: it was never fully blocked in the first place. Two thin coats, each given its full recoat window, cover more reliably than one that’s rushed.
Once the primer passes the raking-light check, give it the full cure time on the label (often longer than the recoat window) before the topcoat goes on, and especially before the room sees any humidity spike like a hot shower. A bathroom or kitchen ceiling that gets hit with steam before the primer has fully cured is more likely to show the stain working its way back.
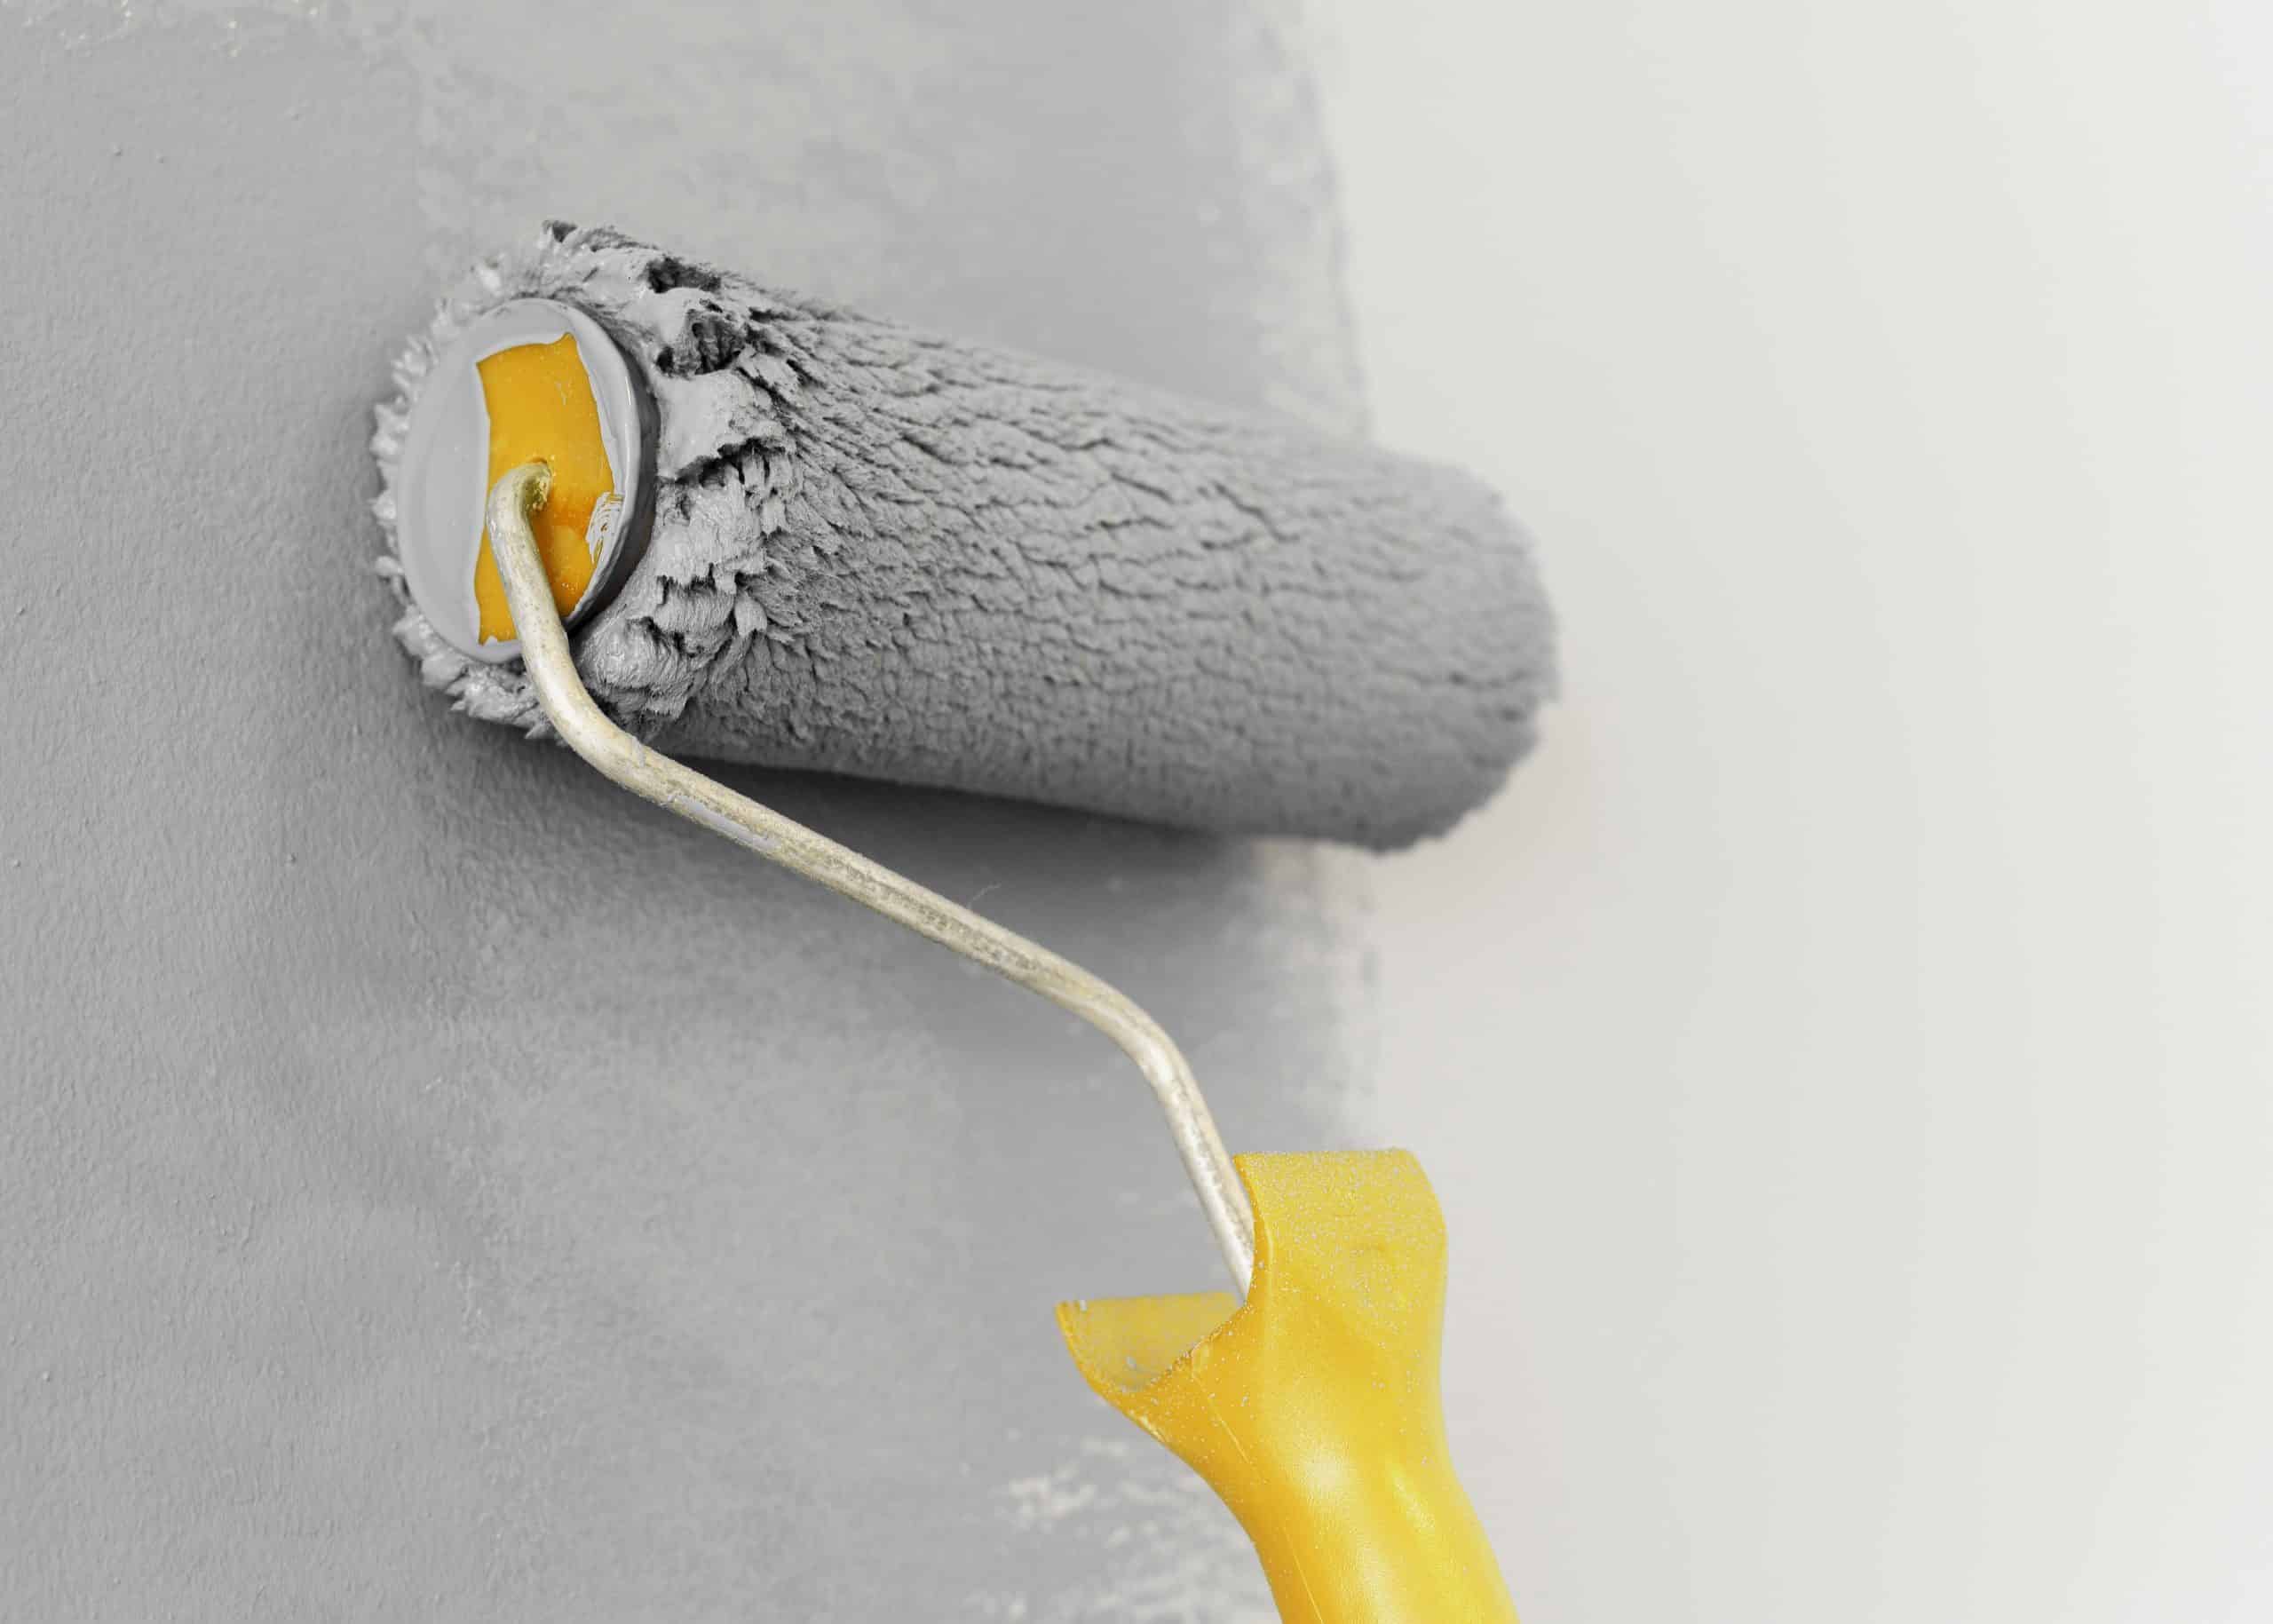
What happens when you skip the primer and just repaint
Skipping straight to ceiling paint is the single most common reason a stain “keeps coming back.” The new paint looks fine while it’s wet, then as it dries the water in it re-dissolves the tannins underneath and carries them to the surface, usually within a day or two, sometimes showing as a fuzzier, more yellow-brown halo around a crisper original edge, because the new film is thinnest right at that boundary.
Scrubbing the stain with a bleach solution or a melamine sponge runs into a similar problem. It can lift surface residue and make the mark look better for a while, but it doesn’t seal anything. The compounds still sitting in the board will resurface the next time humidity rises in the room, which is why cleaning alone is a temporary fix at best and priming is the part that actually holds.
Matching sheen so the patch doesn’t flash under light
Even a perfectly blocked stain can still show as a faint rectangle once the lights are on, if the sheen or the number of coats over the patch doesn’t match the rest of the ceiling. This is the same flashing problem that shows up over any fresh patch of joint compound or primer: what even coverage is supposed to look like, and why primer flashes applies here too, just overhead instead of on a wall. Painting the full ceiling plane rather than a spot in the middle of it is the simplest way to avoid the problem entirely.
If you are repainting the whole ceiling anyway, the application technique matters as much as the primer underneath it: rolling a ceiling without leaving lap marks covers the light-direction problem that shows up on ceilings specifically, which a stain-blocking primer does nothing to prevent on its own.
Common questions
Can I paint over a water stain on a ceiling?
Yes, once it’s confirmed dry and the leak behind it is fixed, but regular ceiling paint alone won’t hold. You need a stain-blocking primer under the topcoat, or the mark bleeds back through within a day or two.
Why do I have a water stain on my ceiling but no active leak?
A past leak (a roof repair that’s already been made, or a pipe that was already replaced) can leave a dry stain that never gets wet again. Condensation from a poorly vented bathroom fan or attic can also leave a similar ring without any plumbing or roofing problem at all.
How do I know a ceiling stain is actually dry before I prime it?
Press the area and feel for give or softness, and watch it through at least one heavy rain or one long hot shower without a new ring forming or darkening. A moisture meter reading close to the rest of the ceiling is the more reliable version of the same check.
Does homeowners insurance cover a water-stained ceiling?
It depends on the cause, not the stain itself: a sudden event like a burst pipe is often covered, while damage from a slow leak or deferred maintenance often isn’t. That’s a question for your policy and your insurer, not something a primer job settles.
When should I worry about a water stain on a ceiling instead of just painting it?
Worry when the stain is spreading, smells musty, the board feels soft or sags, or it keeps reappearing after you’ve already painted it correctly. Those are signs of ongoing moisture or hidden mold, not a cosmetic problem a roller can solve.
Can I just scrub the stain off instead of painting it?
Cleaning can lift surface residue and dull the mark, but it doesn’t seal the tannins still sitting in the board. Without a stain-blocking primer over it, the stain usually resurfaces the next time the room’s humidity rises.
Why did the stain come back after I already painted over it?
Almost always one of two reasons: regular ceiling paint was used instead of a dedicated stain-blocking primer, or the primer was judged and topcoated before it had fully cured. Both let the old tannins dissolve back into the new film.
The bottom line
Don’t reach for a paint roller first. Confirm the ceiling is dry and the source of the water is actually fixed, then let a real stain-blocking primer, not regular ceiling paint, do the sealing work, in two thin coats rather than one rushed one. Judge coverage under raking light, not from across the room, and topcoat the whole plane so the fix disappears instead of flashing.
For more on diagnosing what’s actually happening above your head before you touch a roller to it, see the rest of the ceiling guides, or for technique once the primer’s down, the painting technique hub.