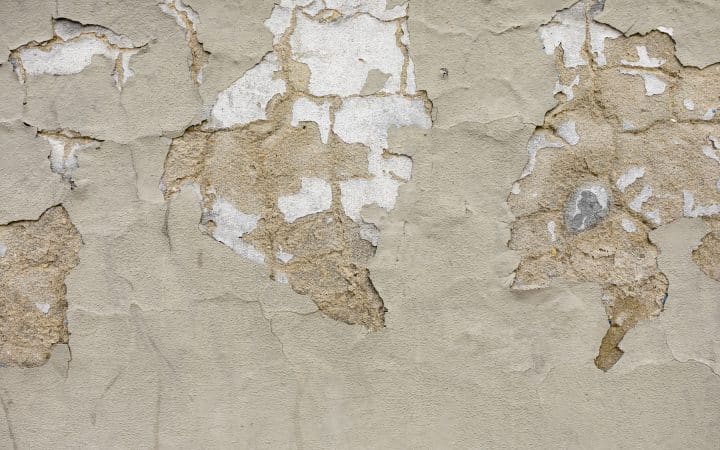
If the wallpaper itself is gone but the wall still looks faintly shiny in raking light, or a damp rag drags instead of gliding, that’s paste residue, not a trick of the light. Knowing how to remove wallpaper paste from drywall once the paper is already stripped comes down to three things: testing whether paste is actually still there, breaking it down with the right solution instead of brute force, and knowing how much you actually need to remove before paint or new paper will hold.
That last part surprises most people. A wall doesn’t have to be stripped down to bare, squeaky-clean gypsum. It has to be clean enough and dry enough for the next coat to grip, and those are two different standards.
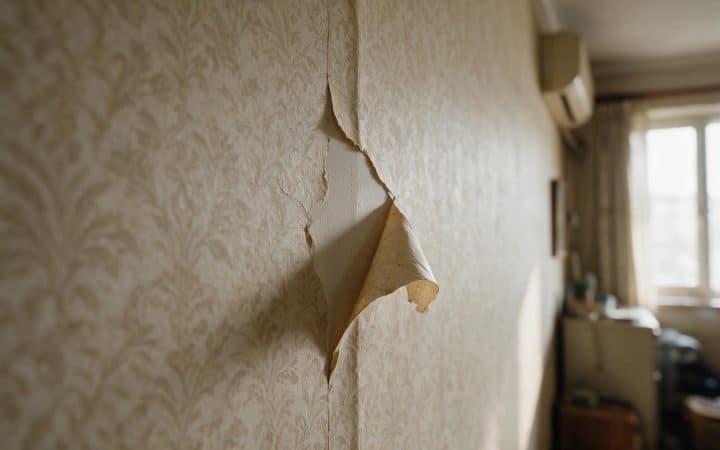
If wallpaper is still hanging on your wall, this isn’t the guide you need yet. Start with our wallpaper removal guide for getting the paper itself off without tearing the drywall face underneath, then come back here for what’s left behind.
How to remove wallpaper paste from drywall once the paper is already off
The short version: wet the residue, let it soften for several minutes, scrape or wipe it off at a shallow angle, then rinse and let the wall dry before you decide whether it needs a second pass. The part that actually takes judgment is the testing and the stopping point, not the scrubbing.
Paste residue shows up two ways. Sometimes it’s a visible film: a faint sheen under raking light, slightly yellowed or tacky to the touch. Other times it’s invisible until you try to paint over it and the roller drags or the finish flashes in patches. Both respond to the same basic method below, but the invisible kind is why the test in the next section matters more than people assume.
The hand test that tells you whether paste is still there
Run a flat, clean hand over the dry wall. Paste residue feels slightly tacky, waxy, or faintly rough compared to the bare gypsum around it, even when it looks the same color. A second check: wipe a small section with a damp cloth. If the cloth drags instead of sliding, or the water beads up in spots instead of soaking in evenly, paste is still there.
Before you commit to cleaning the whole wall, test a small, out-of-the-way patch first, about two inches square, low on the wall or behind where furniture will sit. Apply your solution, wait the full soak time, and scrape it. If the test patch comes up clean and the drywall underneath looks intact, the same approach will work on the rest of the wall.
You don’t need to find every trace
A wall doesn’t have to be perfectly bare to take paint. A thin film of residue invisible to the eye is normal after a careful clean, and a stain-blocking primer handles the rest. Chasing every last fleck with a scraper risks the drywall’s paper face more than it helps.
What actually dissolves old wallpaper paste
Wallpaper paste is water based, which is why plain warm water softens it, just slowly. Adding something acidic or a fabric softener speeds that up without adding anything harsh. None of these need to be fancy, and you likely already have the ingredients.
| Solution | Mix | Best for |
|---|---|---|
| Warm soapy water | A few drops of dish soap in a bucket of hot water | Light residue, a quick first attempt |
| Vinegar solution | 1 part white vinegar to 3 parts warm water | Most ordinary paste, moderate buildup |
| Fabric softener solution | 1 part liquid fabric softener to 3 parts warm water | Stiffer, older paste that’s resisting plain water |
| Commercial gel stripper | Used as labeled, undiluted | Thick or stubborn residue a homemade mix hasn’t shifted after two tries |
Apply whichever one you’re trying with a sponge or spray bottle, working one section at a time rather than soaking the whole wall at once. ROMAN Products’ own removal instructions recommend sections about three feet wide, scraped within about fifteen minutes of soaking: paste that dries out again while you’re still working the far end of the wall just means redoing that section.
Scraping and wiping without tearing the paper face
Drywall’s paintable surface is a thin paper face glued to the gypsum core, and it’s softer once it’s wet. A metal scraper held at a steep angle catches that paper face as readily as it catches paste, which is how a residue cleanup turns into a drywall repair.
-
Protect the room first
Drop cloths along the baseboard, painter’s tape on trim, and the power cut to any outlets on the wall you’re about to wet. Water and switch plates don’t mix.
-
Test a small patch
Apply your chosen solution to a two-inch test area, wait the full soak time, and scrape it before committing to the whole wall.
-
Apply the solution section by section
Work in patches of roughly three feet, floor to ceiling, rather than soaking the entire wall. Let it sit for ten to fifteen minutes.
-
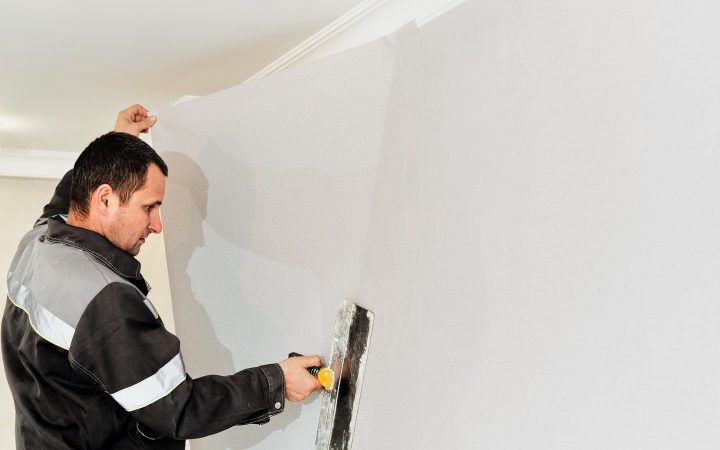
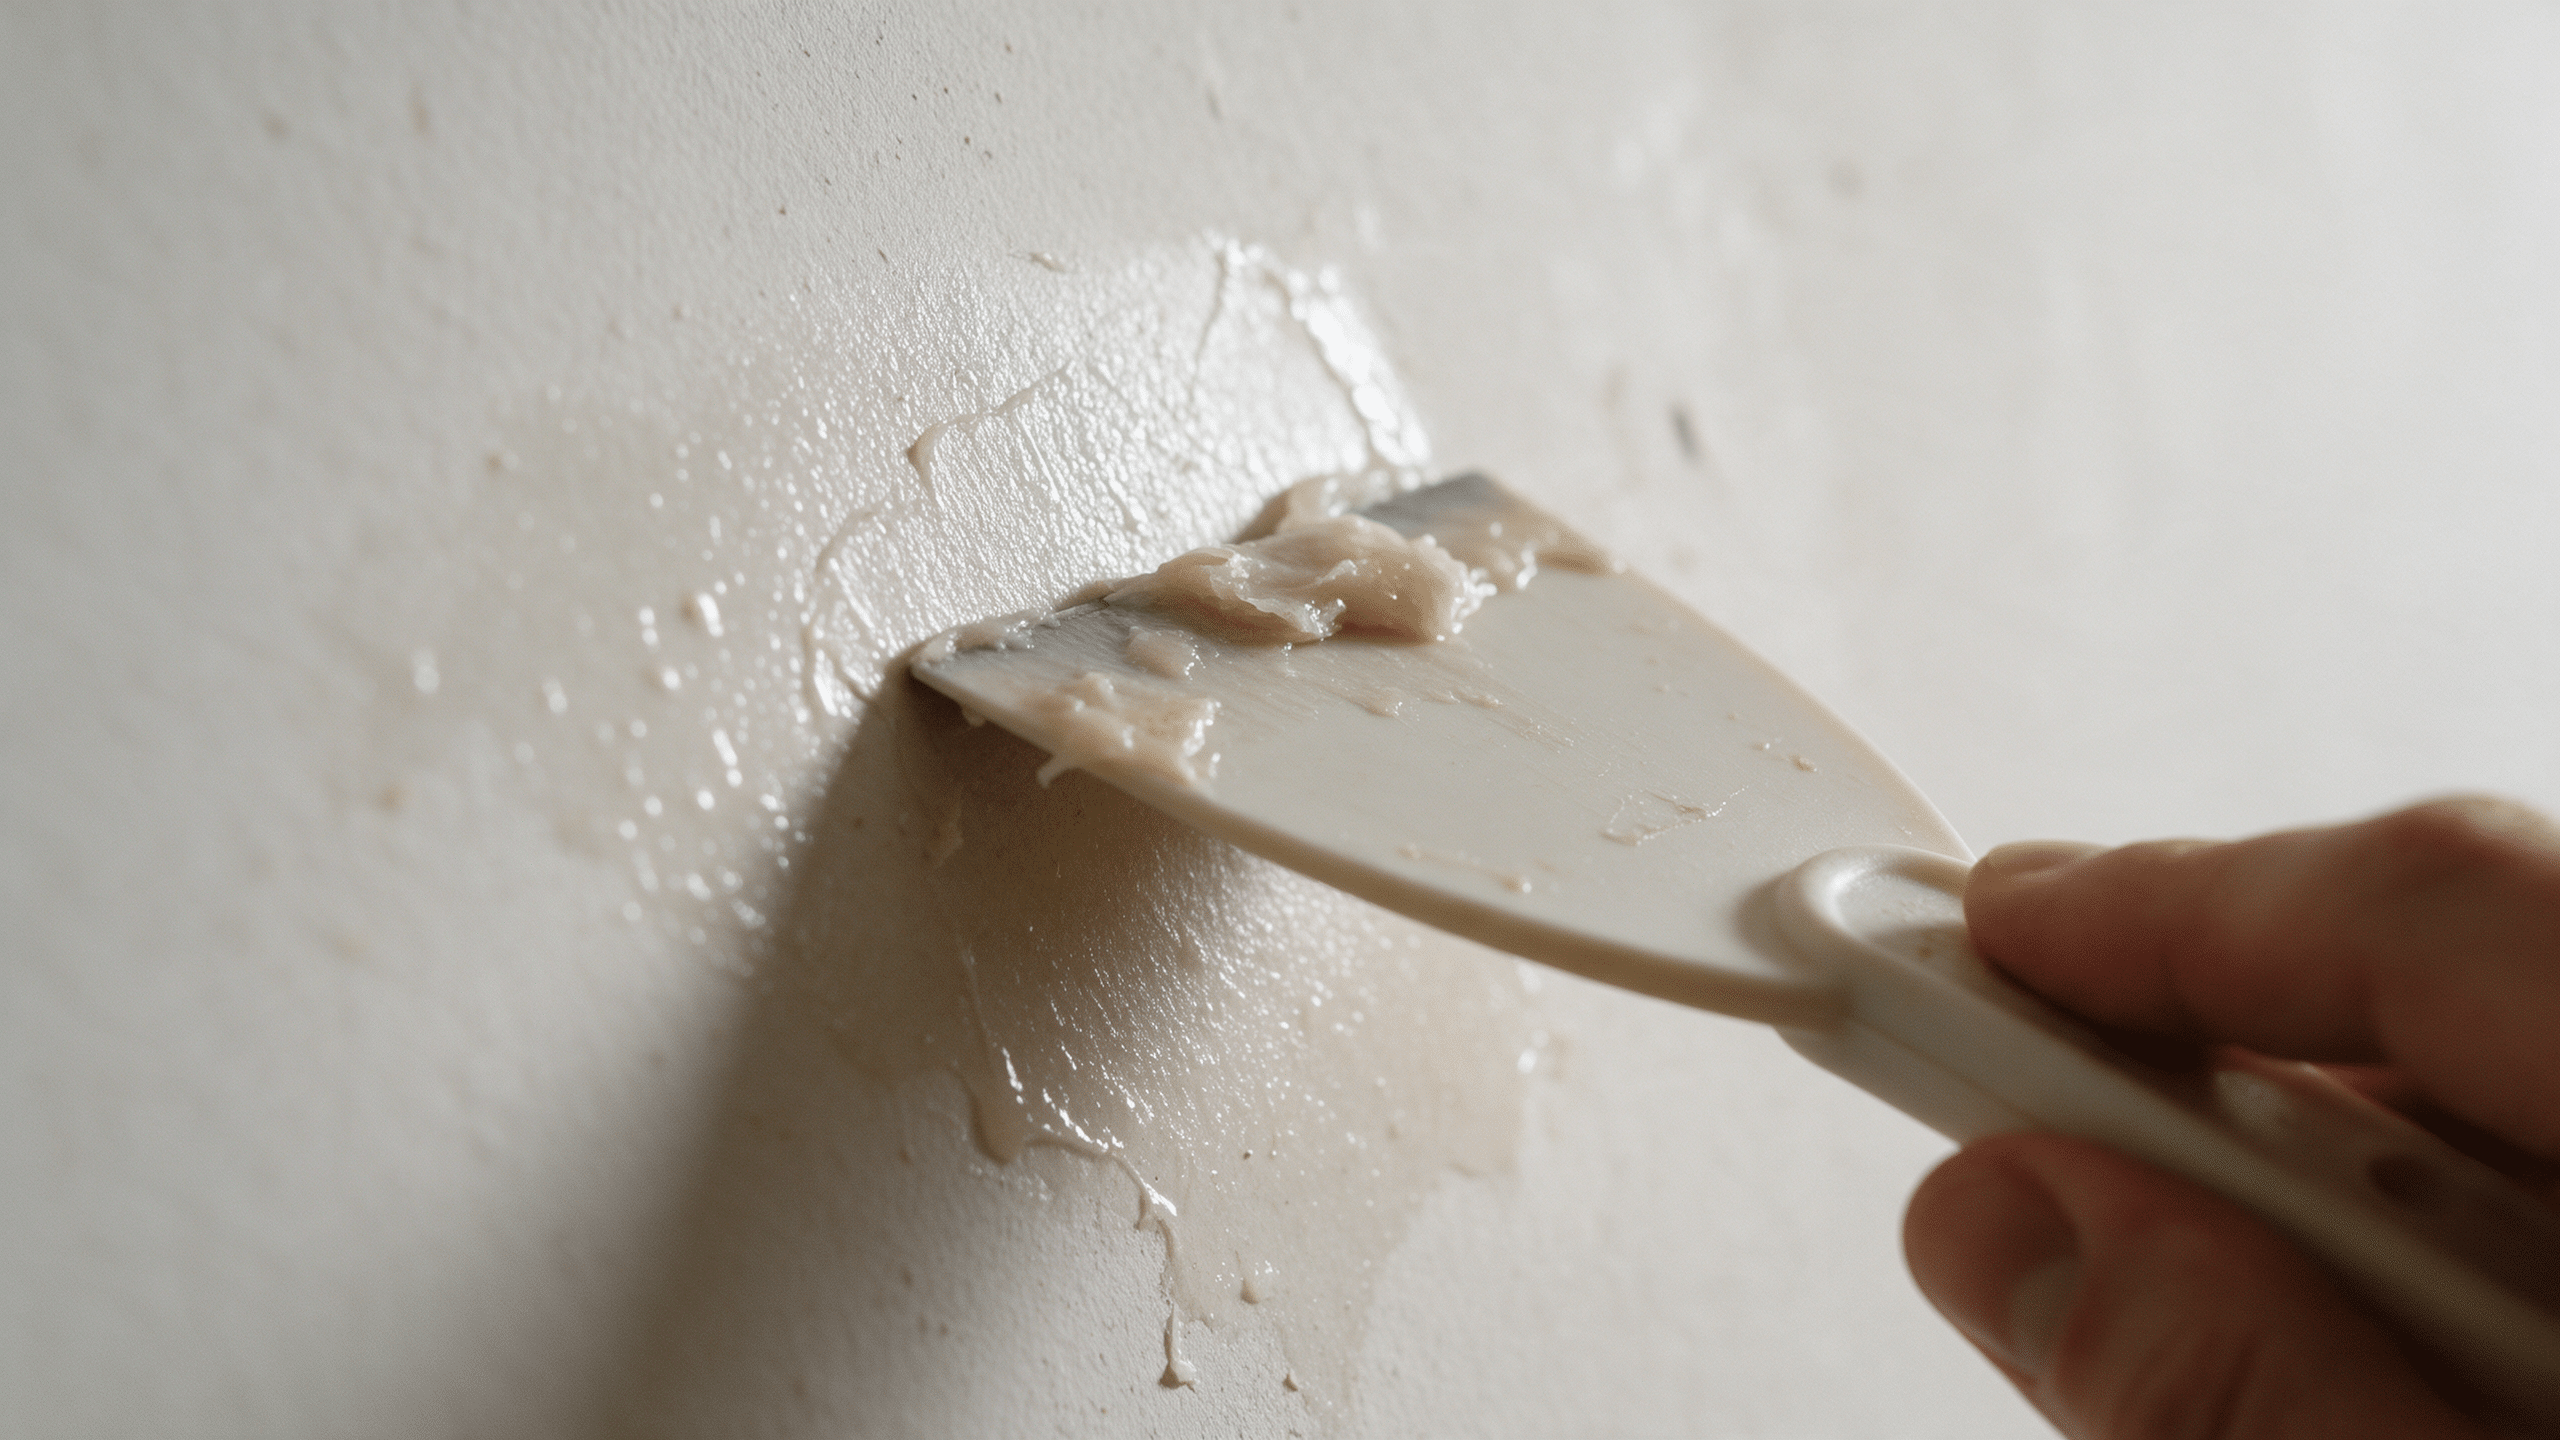
Scrape at a shallow angle
Hold a plastic putty knife nearly flat against the wall, not digging in, and lift the softened residue toward you in slow strokes. A metal blade or a steep angle is what gouges the paper face.
-
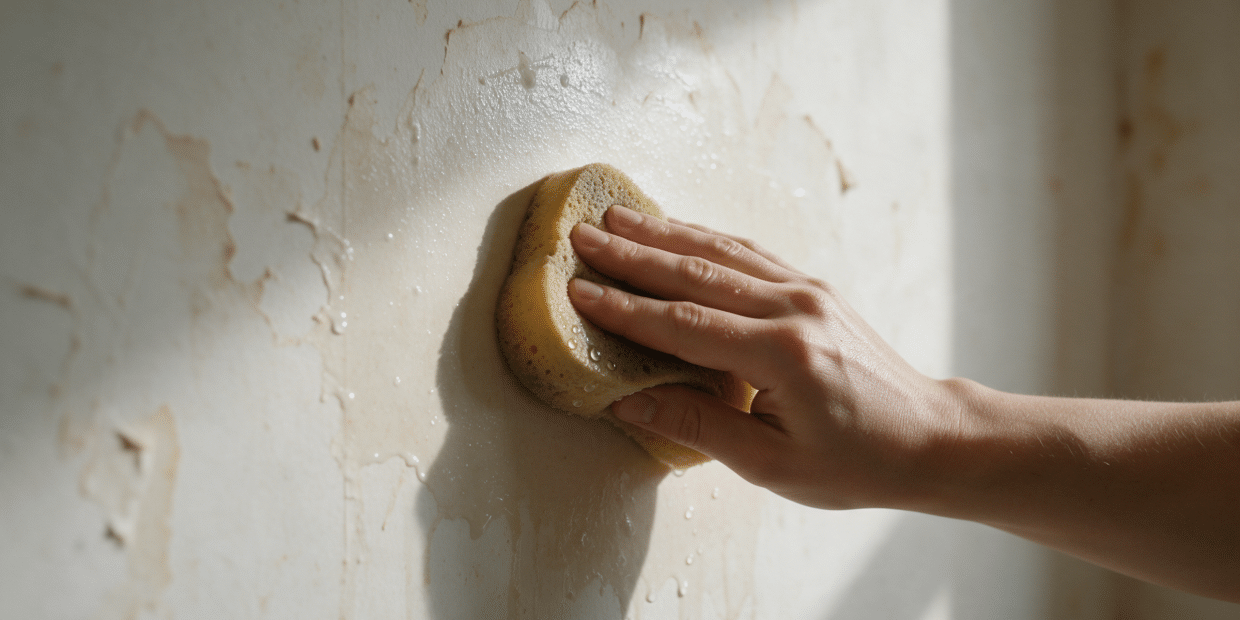
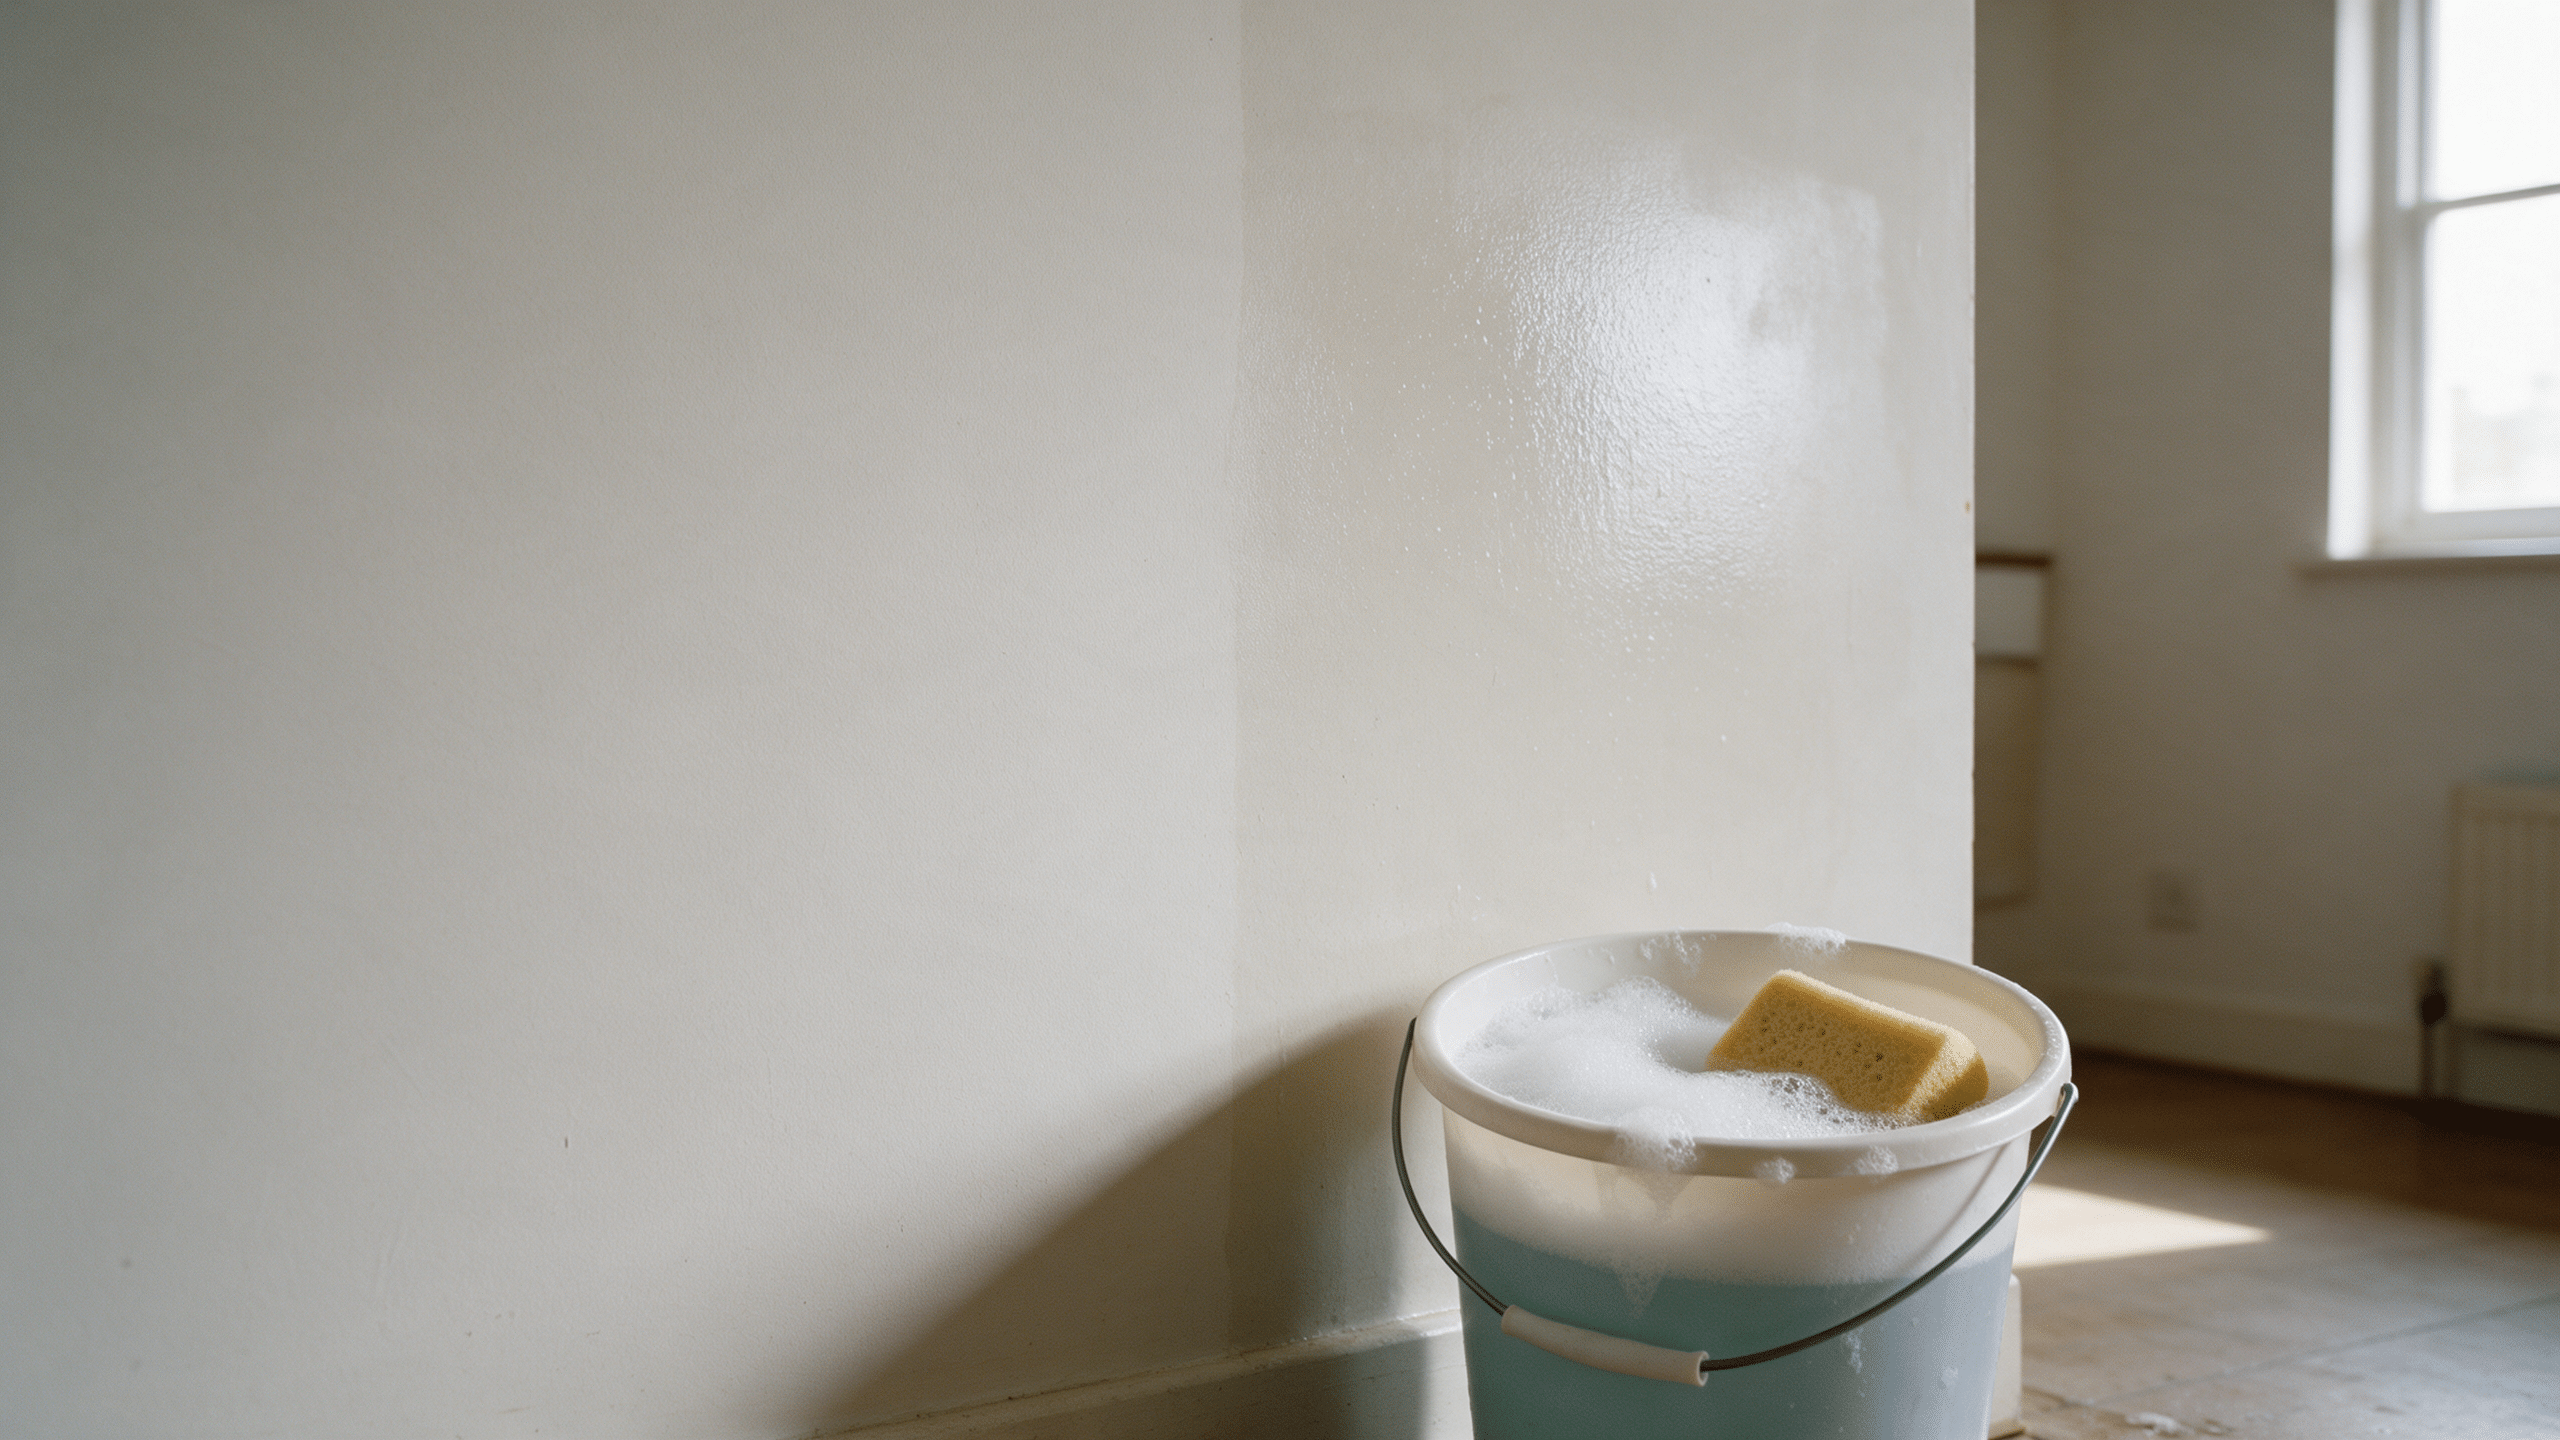
Wipe with a clean, damp sponge
Rinse the sponge often in clean water. This pass is what clears the loosened film the scraper left behind, not the scraping itself.
-
Let the wall dry fully, then retest
Give it several hours, longer in a humid room. Run your hand over it again. Still tacky in a spot means one more round on just that spot, not the whole wall.
When sanding helps, and when it just scuffs the paper face
Once the wall is fully dry, a light pass with 220-grit sandpaper or a fine sanding sponge knocks down any rough or raised spots the wash missed. It’s a finishing step, not a substitute for washing: dry-sanding thick paste just gums up the sandpaper and polishes a shine into the residue instead of removing it.
Keep the sanding light and even across the whole wall rather than concentrated on one visible patch. Sanding only the spots that look bad leaves a wall that absorbs primer at two different rates, which shows up later as a flashing, patchy finish once the paint goes on.
If the wall was ever painted before 1978, don’t dry-sand
Wallpaper paste itself isn’t a lead or asbestos concern. But paint made before 1978 may contain lead, including paint that was applied over or under old wallpaper, and dry-sanding it can create lead dust. Work wet, sand lightly and only once the wall is clean, and see our disclaimer for when to bring in a certified professional instead.
If the scraper did catch the paper face somewhere and left a fuzzy, torn patch, that’s no longer a residue problem. Seal it with a primer made for damaged drywall before you do anything else to it, the same step our wallpaper removal guide covers for a full strip job. A handful of small torn spots is worth a light skim; see our skim coat guide if it’s more than a patch or two.
How to remove wallpaper paste from drywall before new paint vs. before new wallpaper
What “clean enough” means changes depending on what’s going on the wall next.
Painting over it is the more forgiving case. A wall that’s dry, smooth to the hand, and free of visible sheen is ready for a stain-blocking, oil-based or shellac-based primer, which seals whatever thin residue is left and gives the paint an even surface to grip. Skip the dedicated primer and use a regular wall paint instead, and leftover paste can bleed through as a faint discoloration or cause the finish to flash in patches once it dries. Benjamin Moore’s own removal guide makes the same point: some adhesive invisible to the eye is normal to leave behind, and the primer’s job is to seal it, not to chase it off the wall first.
New wallpaper is less forgiving. Paste grips paste, which means any leftover film changes how evenly new adhesive bonds, and a wall that looks clean enough for paint can still be uneven enough to telegraph through a new layer of paper months later. If you’re papering over a wall you just cleaned, size or prime it the same way you would a bare wall, covered in our wallpaper hanging guide, rather than assuming a wash and a wipe-down was already enough prep.
Either way, don’t paint or paper over a wall that still feels damp. Wet gypsum traps moisture behind whatever goes on next, and that’s how a clean-looking job starts bubbling or peeling again within weeks, the same failure covered in our guide to fixing peeling wallpaper.
What you’ll see if a step got skipped
| What you see | Likely cause | What to do |
|---|---|---|
| Paint flashes or looks patchy once it dries | Residue was left under regular paint instead of a stain-blocking primer | Let it dry, sand lightly, and prime with an oil-based or shellac-based primer before repainting |
| A section still feels tacky after it dried | That spot never got the full soak time, or the solution dried out before scraping | Re-wet just that section, wait the full ten to fifteen minutes, and scrape again |
| Fuzzy, torn patches where you scraped | A metal blade or too steep an angle caught the drywall’s paper face | Seal the torn area with a primer made for damaged drywall before any paint or paper goes on |
| New wallpaper lifts at the seams within weeks | Old paste residue was left under the new layer instead of a proper size coat | Strip it back, wash and dry the wall fully, then size it before rehanging |
Common questions
Does vinegar actually dissolve wallpaper paste?
It softens it enough to wipe or scrape off, rather than dissolving it outright. A mix of about one part white vinegar to three parts warm water, applied and left to sit for several minutes, breaks down ordinary paste well enough for a sponge or putty knife to lift it.
Does dish soap work, or do I need something stronger?
Plain warm water with a few drops of dish soap is worth trying first, especially on a thin or newer residue. Move up to a vinegar or fabric softener solution if soapy water alone isn’t softening it within a reasonable soak time.
Do I need to remove every last trace before painting?
No. A faint, invisible film of residue is normal to leave behind after a careful wash and dry, and a stain-blocking primer is what seals it, not a scraper chasing the last fleck. Trying to remove absolutely everything risks the drywall’s paper face more than it helps the paint job.
Can I just sand the residue off instead of washing it?
Not as a first step. Dry-sanding thick paste tends to gum up the sandpaper and burnish a shine into the residue rather than remove it. Wash and dry the wall first, then use a light pass of fine sandpaper only to knock down whatever rough spots are left.
What if the residue won’t come off no matter how much I scrub?
Work a smaller section and give the solution the full soak time before you scrape, rather than scrubbing harder. Old or thick paste often needs a second application. Over-wetting the same spot repeatedly instead of re-soaking and scraping is what starts to damage the drywall underneath.
Is leftover wallpaper paste actually dangerous to clean up?
The paste itself isn’t a known health hazard. The real caution is older paint that may be on or under the wallpaper: paint made before 1978 can contain lead, and dry-sanding it creates dust worth avoiding. See the callout above and our disclaimer if your home is that old.
Can I hang new wallpaper over a wall that still has some residue?
It’s not worth the risk. Residual paste changes how evenly new adhesive bonds, and uneven adhesion is a common reason new paper bubbles or lifts at the seams within the first few months. Wash and fully dry the wall, then size or prime it the way our hanging guide covers before the first strip goes up.
The rule that saves you a second coat
Test before you scrub, work small sections with the full soak time instead of brute force, and stop once the wall is dry and smooth rather than chasing a perfectly bare finish. The residue that’s actually left after that point is what the primer is for, not the scraper.
Whether this wall is headed for paint or a fresh roll of paper, the prep is the same: clean, dry, sealed. Our wallpaper guides and painting technique guides cover what comes next once the wall itself is ready.