Search for how to patch a hole in a wall and the guides pile up. Search for the same hole in a ceiling and the advice thins out fast, or quietly skips the difference altogether — most guides that do mention a ceiling just say to use a sturdy ladder and otherwise run the wall steps unchanged. Our own guide to patching a large hole in drywall is more honest about it: past a certain size, it tells you to call it in, specifically because the hole is on a ceiling and gravity works against every coat you apply. This is that job walked through instead of waved off — for a hole bigger than a nail or screw hole (that one’s genuinely the same overhead, covered in how to repair small holes in drywall) and smaller than a job that needs a full sheet of new board.
How big is the hole, and what’s actually behind it
Same rule as any drywall patch: the size on the tape measure matters less than what’s waiting behind the drywall. But a ceiling changes what’s usually back there. A wall hole opens into a stud bay with a stud roughly every 16 inches in whichever direction you need one. A ceiling hole opens into a joist bay that only runs one way — joists typically land every 16 or 24 inches on center, but only along their length. Across that direction, there’s nothing between two joists but open bay. A hole that would land an inch from a stud on a wall can fall dead center between two ceiling joists with nothing to screw to in any direction. Confirm that before you pick a method, not once you’re already mid-patch.
| Hole size | Usual cause on a ceiling | Method |
|---|---|---|
| Clean, round, nail or screw | Old fixture mount, a hook, a relocated smoke detector base | Same as a wall — thin spackle pass, see small holes in drywall |
| 1–2 in | Relocated recessed light, a moved junction box, a test cut for HVAC or a fan brace | Mesh patch bedded in setting-type compound |
| 2–6 in | Removed light housing, a real access cut, a foot through from the attic side | Backing strip or repair clips, setting-type compound |
| Bigger than one joist bay | Old fixture housing, a water-damaged section, several holes merged into one | Cut back to the joists, hang new board — see large hole in drywall |
Why gravity changes the method
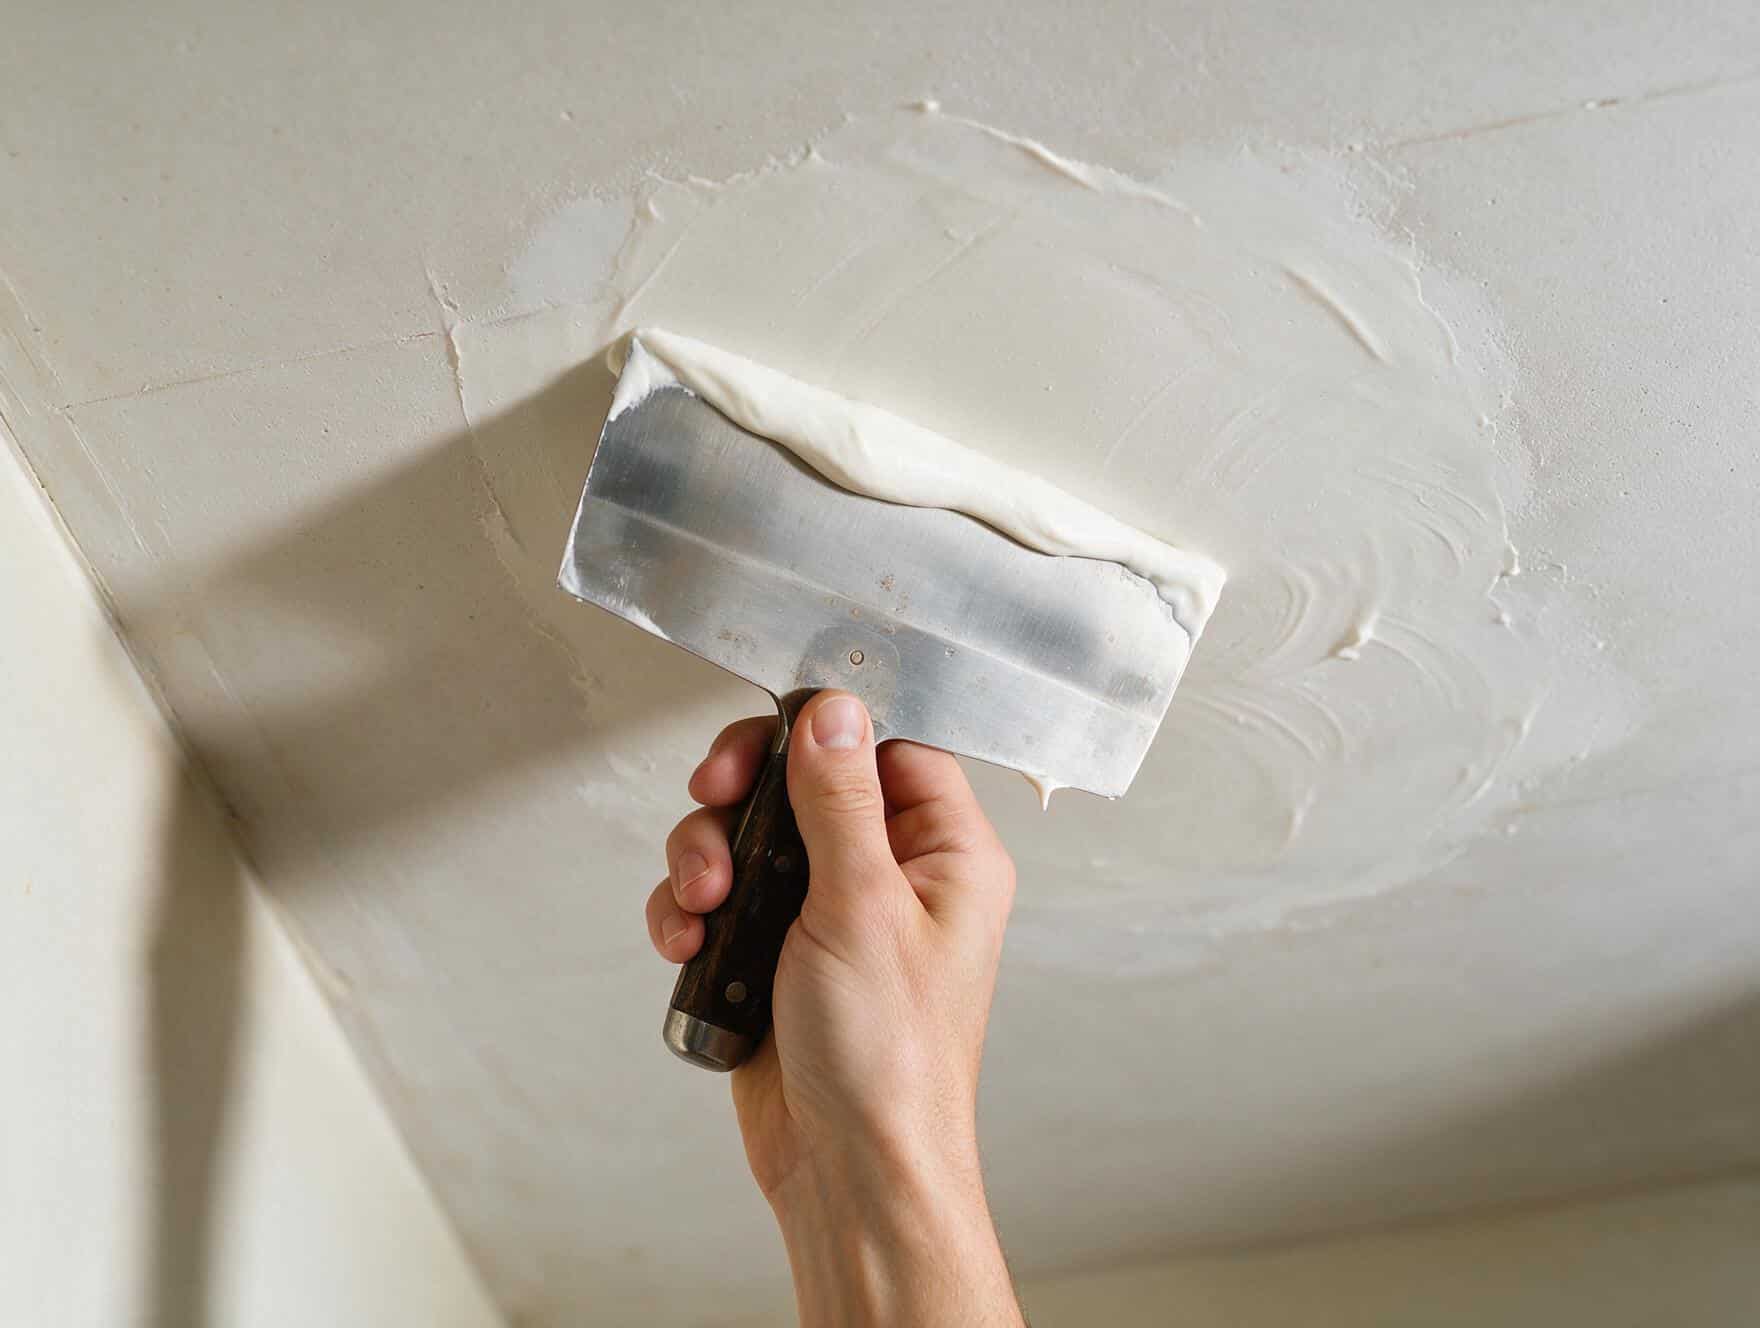
Every guide, ours included, will tell you joint compound can sag on a ceiling. Fewer explain what that actually changes about the repair, not just the description of it. On a wall, a mesh patch fails slowly: the fiberglass bellies out a fraction under its own stiffness plus wet compound, and the fix is feathering it wider. Overhead, the same patch has gravity pulling the wet coat straight down and off the mesh before it’s had any real chance to grip — the failure mode isn’t a subtle belly, it’s compound landing on the drop cloth, or on you. That’s the difference our skim coating a ceiling guide gets at with “the same mud takes three times longer overhead,” and it’s the same physics drywall seam crack flags for taping a ceiling seam: thinner first coats, and gravity working against every one of them.
The practical fix is setting-type compound — “hot mud” — for at least the first coat on anything past a nail hole. It doesn’t dry by evaporation the way all-purpose compound does, so it isn’t sitting there wet and heavy for hours while gravity works on it. It hardens on a clock through a chemical reaction, usually 20 to 45 minutes depending on which set time you buy, and once it’s set it isn’t going anywhere. All-purpose compound still has a place on the later, cosmetic coats, once there’s a hardened first coat underneath holding everything up.
Buy the setting-type compound before you start
All-purpose compound works fine on a wall patch left to sit overnight. Overhead, a thick first coat of it can slump visibly before it ever sets up. Setting-type (“hot mud,” sold by its set time — 20, 45, or 90 minutes) is worth the extra few dollars for the base coat on every method below.
Before you cut: what’s waiting above a ceiling hole
A wall hole opens into a stud bay. A ceiling hole opens into either an attic, a floor cavity for the room above, or occasionally open framing with nothing overhead at all, and what’s up there changes how you work the hole, not just what you patch it with.
Insulation is the one nobody mentions until it’s falling on their face. Batt insulation sits in place and generally stays there when you enlarge a hole. Loose-fill or blown-in insulation doesn’t — cut a hole underneath a few inches of it and it pours through the opening in a steady stream, not a one-time dusting. Have a container and a shop vac ready before you cut, not after, and keep the hole as small as the repair actually needs rather than squaring it up bigger than necessary the way you might on a wall.
Wiring for a ceiling fixture, fan, or smoke detector runs through the joist bays the same way branch wiring runs through wall studs, and a hole near an existing fixture is more likely to have a live cable close by than a random spot on a wall. Cut the breaker for anything nearby if you’re not certain, same as any drywall opening.
And wear real eye protection, not sunglasses. On a wall, debris from a scraper or a drill falls away from you. Overhead, it falls onto your face, and a chunk of dried compound or a shard of old texture in the eye is a genuinely common ladder-work injury that a $10 pair of glasses prevents outright.
Textured ceiling in a house built before 1980?
Some sprayed and troweled ceiling textures made before 1977–78 US restrictions contained asbestos, and cutting or sanding into one on a guess is the wrong way to find out. Have a sample tested by an accredited lab first — about $40 — before you enlarge any hole in old texture. Our popcorn ceiling asbestos guide covers what triggers a test and what a positive result means, and our disclaimer covers the rest.
Method 1 — mesh patch overhead (1 to 2 inches)
This covers a hole with reasonably clean edges — no crushed paper hanging on, no chunk of drywall pulled out with whatever caused it. If the edges are crumbly or torn, skip to the backing method below; mesh needs solid material around its whole perimeter to grip, and it needs it even more overhead than on a wall.
Clean and square the edges
Knock off any crushed paper or loose gypsum so the patch presses against solid material all the way around, not debris.
Press the patch up and hold it
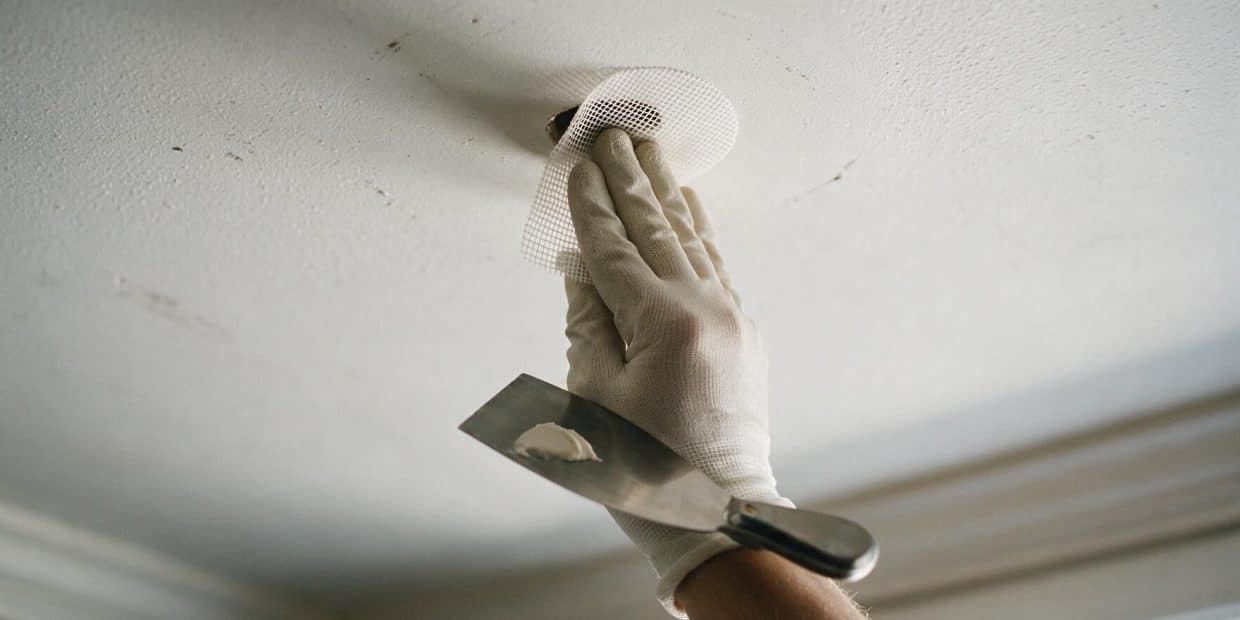
Press the self-adhesive mesh with at least a half-inch of overlap onto solid ceiling on every side. Unlike a wall, it wants to peel down under its own weight before the adhesive fully grips — hold firm pressure for a slow count of ten, or run a strip of painter’s tape across it if your arm needs the break.
Bed it in setting-type compound, thin
Load less than you think you need onto a 6-inch knife and work it into the mesh in one direction. A thin first coat that sets is stronger than a thick one that sags before it does.
Let it set, not dry
Setting-type compound hardens on its labeled time regardless of how thick you laid it. Don’t touch it early to check — that’s how a curing coat gets dented.
Second coat, wider
Once hard, feather a second coat a few inches past the first with either setting-type or all-purpose compound. This coat is about disappearing, not strength — the mesh and the first coat already did the structural work.
Sand, prime, and match texture if needed
Fine-grit sand once fully dry or set, prime before paint, and see the texture section below if the surrounding ceiling isn’t smooth.
Method 2 — backing a hole with nothing to screw to (2 to 6 inches)
Past 2 inches, a mesh patch overhead is fighting the same losing battle a wall patch fights past 6 — nothing behind it to hold wet compound up, just worse, because gravity is pulling straight down on the repair instead of sideways. You need something solid behind the new drywall to screw into, and on a ceiling, that something usually isn’t there without help: the hole may sit squarely between two joists with no framing anywhere near it.
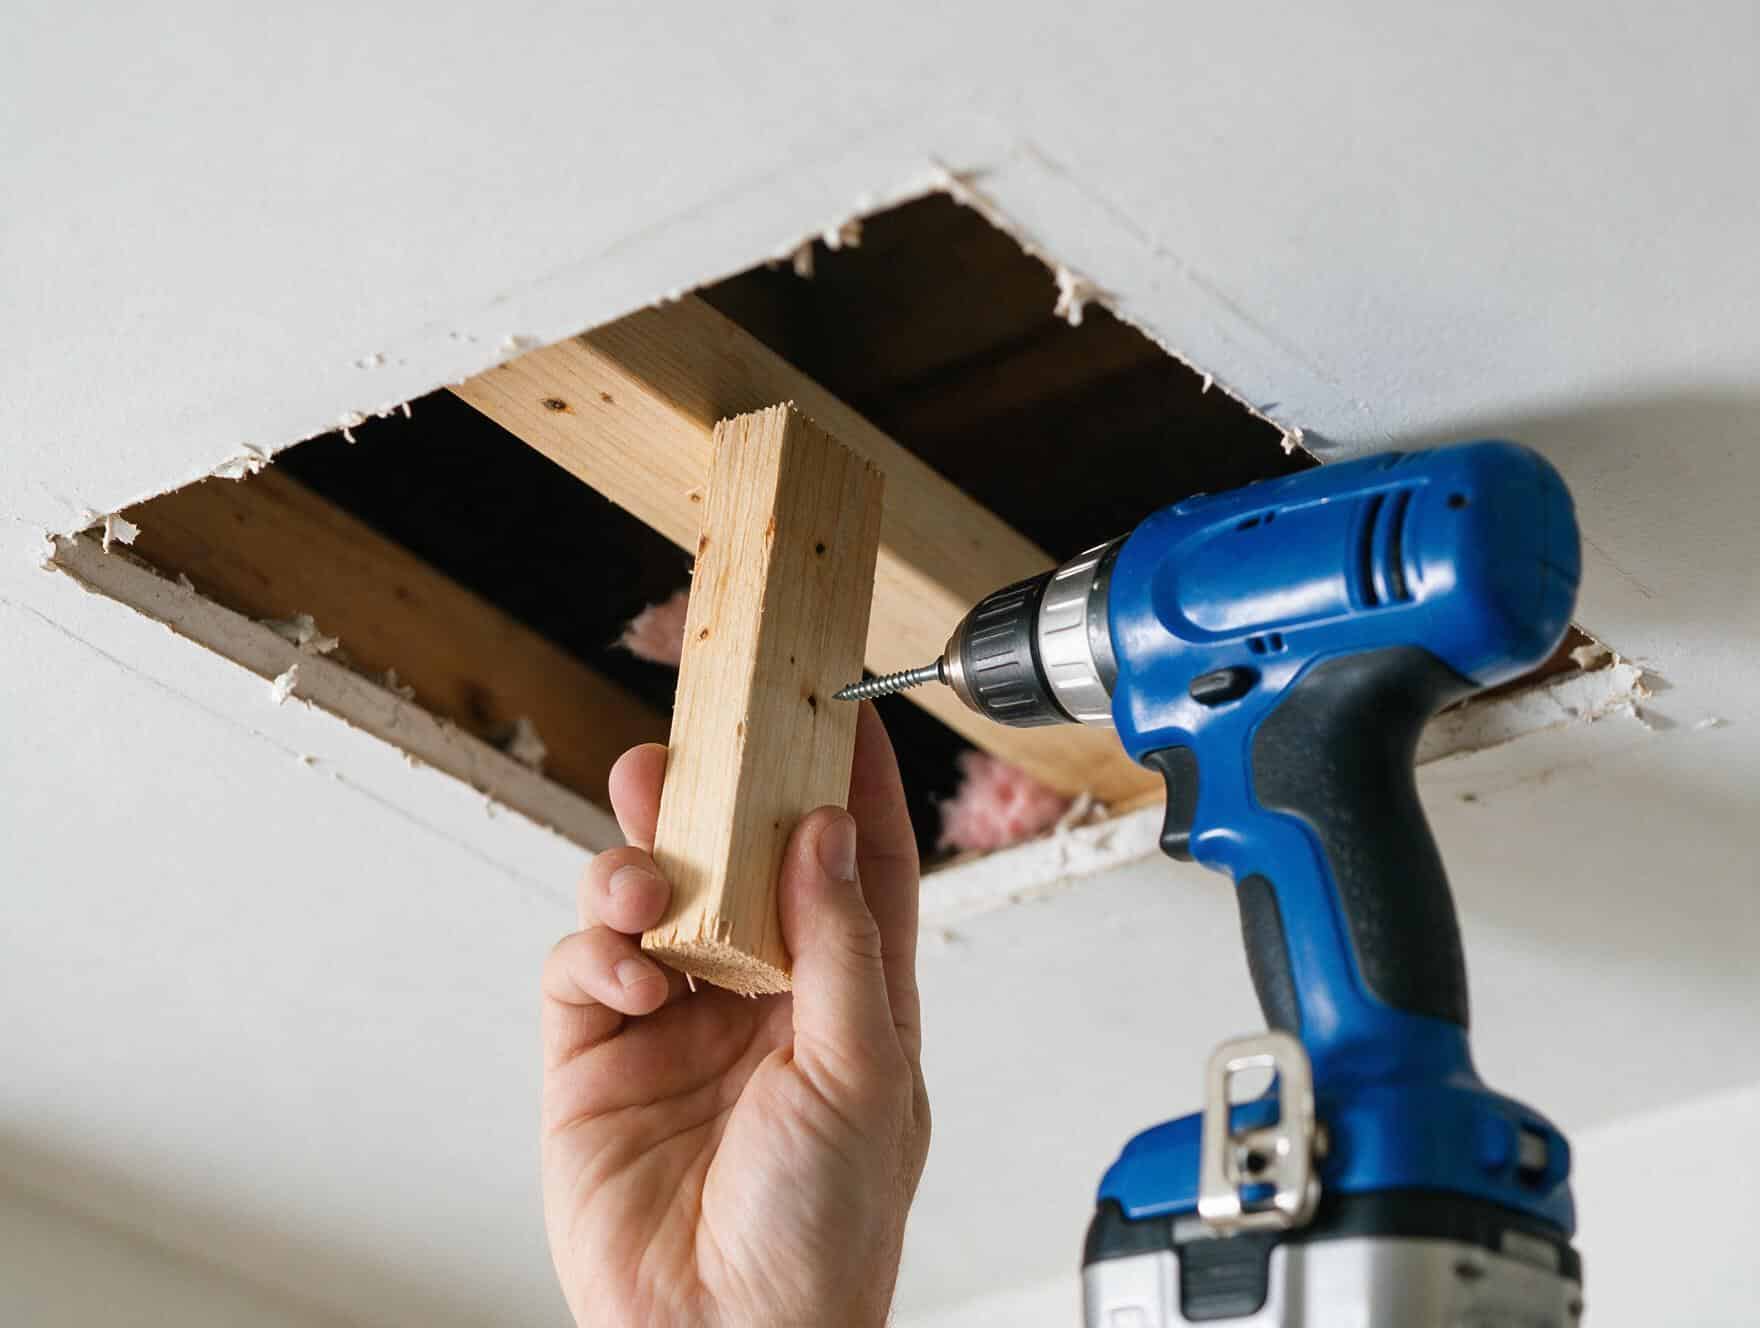
A backing strip solves that the same way it does on a wall — a piece of furring strip slid into the opening and screwed through the face of the ceiling to capture it on each side — but holding a strip flat against gravity with one hand while driving a screw with the other is a different problem overhead than it is on a vertical wall, where the strip at least rests against something as you work. Drywall repair clips sidestep the one-handed problem entirely, since they lock onto the cut edge of the existing ceiling instead of needing to be held up in mid-air; they’re the easier option here even more than they are on a wall.
Square up the hole
Cut the damaged area into a clean rectangle. A straight edge is easier to back and patch than the original ragged shape, and it’s easier to judge where a joist actually is nearby.
Cut backing strips to length
A few inches longer than the hole’s edge on each side, from scrap furring strip or a spare piece of 1x material.
Fish the first strip in at an angle, then park it
Slide one end in first, angle the strip up into the opening, and drive one screw near a corner to catch it against the ceiling before it’s square. That one screw takes the weight so both hands are free to true it up and add the rest — the step that makes this realistically a one-person job.
Add the remaining screws
Every 6 to 8 inches along the strip, through the face of the existing ceiling into the wood behind it.
Repeat on the opposite edge
Same method, same parking trick. A rectangular hole needs a strip on every side that doesn’t already have solid backing.
Screw the patch to the cleats
Cut a piece of drywall to fit, matching the ceiling’s thickness, and screw it to the strips every 6 to 8 inches. The patch is now supported by the cleats, not by anyone’s hand.
Tape, coat, and finish
Mesh or paper tape over all four seams, bedded in setting-type compound in a thin first pass, then two wider finish coats once each is fully hard. Same three-coat logic as any seam, just thinner and faster-setting at every stage than you’d use on a wall.
Texture, insulation, and the parts that aren’t about the patch
A flat-painted ceiling patch is the easy version of this job. Most ceilings, especially in houses built before the 2000s, carry some kind of sprayed or troweled texture, and matching it after a patch is a separate skill from getting the patch itself flat — our drywall texture types guide covers spray settings and technique once the compound is dry. If the texture is the popcorn type specifically, removing popcorn ceiling texture covers the wet-scrape method that’s often easier than trying to spray-match a small patch by hand.
Once the patch is finished, go back and check the attic side if the hole went all the way through. A patch that looks complete from below can still be an open path for pests, drafts, or displaced insulation if nobody closed it up from above — worth five minutes with a flashlight before you call the job done.
Tools and materials
Same short list either method actually uses — the difference from a wall job is in the compound and the eye protection, not the tool count.
| Item | Use | Rough cost |
|---|---|---|
| Setting-type (“hot mud”) compound, 20 or 45-minute | Base coat on every method above — sets instead of sagging | $15-$25 |
| Self-adhesive mesh patch | Holes in the 1-2 inch range with clean edges | $8-$15 |
| Furring strips or drywall repair clips | Backing for holes past 2 inches with nothing to screw to | $10-$20 |
| 6-inch and 10-12 inch taping knives | Bed and feather each coat | $12-$25 |
| Safety glasses | Debris falls toward your face working overhead, not away from it | $8-$15 |
| Drop cloth or tarp | Catches compound drips and any insulation that comes down with the cut | $10-$20 |
| Sturdy stepladder | One that lets you work at or above the ceiling, not stretching up to it | rent or already on hand |
What this costs in 2026
Materials for a DIY ceiling patch run a little higher than the equivalent wall job, mostly because setting-type compound and a mesh-patch-or-backing kit both cost more than a tube of spackle. A professional charges more too, and not just for the material.
| DIY materials | Pro, mesh patch (1-2 in) | Pro, backing strip (2-6 in) | |
|---|---|---|---|
| Typical cost | $15-$35 | $200-$350 | $300-$450 |
The gap between a wall quote and a ceiling quote for what looks like the same size hole is real, and it’s not padding — see ceiling drywall repair cost for the full breakdown of why overhead work bills higher across the board. For the wall-side comparison and every other drywall job type, drywall repair cost has the full range.
A ladder rental beats a callback
If the only thing standing between you and the DIY price is a ladder tall enough to work comfortably at ceiling height, a day’s rental is $15-$30 in most markets — cheaper than the difference between the DIY and pro columns above, and a lot cheaper than rushing the job from a chair.
DIY it or call it in
Most holes in this size range are a realistic solo project once you’ve got hot mud on hand and know the joist-bay problem going in. Call it in when any of these apply:
- The hole is bigger than 6 inches, or bigger than the space between two joists
- Loose-fill insulation is actively pouring through the opening faster than you can manage it
- There’s exposed wiring or a junction box inside the hole
- The ceiling has a heavy texture you’re not confident matching, and a mismatched patch would be worse than the hole
- You can’t find anything solid to screw a backing strip to within reach of the opening
- It’s genuinely a two-person job — a wide backing repair overhead — and you’re working alone
Questions I get on site
Can I really use the same method as a wall hole, just overhead?
For a plain nail or screw hole, yes — see how to repair small holes in drywall, and the technique doesn’t change. Past that size, the method is the same in outline (mesh, then backing, then a full sheet) but the execution changes at almost every step, which is what this guide covers.
Do I actually need setting-type compound, or will all-purpose work?
All-purpose will eventually work for the finish coats. For the first, structural coat on a ceiling patch past a nail hole, setting-type is close to mandatory rather than optional — it’s the difference between a coat that holds its shape while it cures and one that’s fighting gravity for hours while it dries.
What if insulation keeps falling through the hole while I work?
Stop and contain it before you go further. A folded tarp or box directly under the hole catches loose-fill as it comes down; for anything more than a light dusting, a shop vac with a fine-dust filter clears it faster than sweeping. Batt insulation usually stays put and isn’t the same problem.
How do I find something to screw into if the hole falls between joists?
That’s exactly what the backing-strip method is for — see Method 2 above. The strip becomes the thing you screw the patch to, so you’re not relying on a joist happening to be in the right spot.
Do I need a second person for this?
Not for a mesh patch. For a backing-strip repair, one person can do it solo using the “park it with one screw” trick in Method 2, but a helper makes a wide repair noticeably faster and less tiring on your arms.
How do I match popcorn or other texture after patching a ceiling?
That’s a separate skill from getting the patch flat. Our drywall texture types guide covers spray settings and technique, and how to remove popcorn ceiling texture covers the wet-scrape method if you’d rather remove the texture around the patch than try to match it.
Is a hole in the ceiling ever an emergency?
Rarely from the hole itself. It’s worth treating as urgent if you can see or feel wet insulation above it, if the opening exposes wiring that might be live, or if it’s letting conditioned air and pests into the house faster than you can patch it this week. None of those are common, but none of them wait for a convenient weekend either.
Guides on this site are for general information about routine home maintenance. Suspected asbestos, mold over 10 sq ft, or structural water damage should be assessed by a licensed professional in your state.