I keep a tube of lightweight spackle in the truck door pocket, not the toolbox, because it’s the repair I get asked about more than anything else. Not the big stuff, the doorknob-through-the-wall or the dresser-sized gouge. The small stuff. A picture hook that pulled loose. A curtain rod anchor nobody wants anymore. A shelf bracket that left four holes instead of two because the first attempt didn’t hit anything solid.
That’s the whole game plan for how to repair small holes in drywall: match the method to what actually made the hole, every time. The internet’s default answer, dab of spackle, sand, paint, done, is right for maybe half of what people are looking at. The other half needs one extra step first, and it’s the step almost every quick guide skips.
What actually counts as a “small” hole
Size matters here, but not quite the way most guides frame it. What really decides the method is whether the hole has a flap of paper or drywall still hanging on, or whether it’s a clean void with nothing left to press back into place. A quarter-inch nail hole and a half-inch anchor hole get treated almost the same. A hole punched by a doorknob is a different animal even at a similar diameter, because the impact usually crushes the paper face and leaves a soft, crumbly edge instead of a clean one.
| Hole size | What’s usually there | Method |
|---|---|---|
| Up to 1/4 in | Nail, small screw, picture hook | Lightweight spackle, one firm pass, often no sanding needed |
| 1/4 to 3/4 in | Larger screw, wall anchor, shelf pin | Lightweight or all-purpose spackle, pressed in firmly, light sand |
| 3/4 to 2 in | Doorknob ding, towel bar anchor, impact | Self-adhesive mesh patch first, then two thin coats of compound |
| Over 2 in | Anything bigger | Not this guide, see how to patch a large hole in drywall |
Do the fingernail test before you decide
Press a fingernail gently against the edge of the hole. If it flexes or crumbles, you’re past the spackle-only range even if the diameter looks small. Treat it like the next size up.
Match the fix to what made the hole
A dent, where the drywall bows in but nothing actually punched through, isn’t on this list at all. That’s a different repair, covered in how to repair a dent in drywall. What’s below is for an actual hole, and the cause changes the fix more than the size does.
Nail and screw holes
The easiest repair on this page. A nail or small screw leaves a clean, round void with no damaged paper around it. One pass of lightweight spackle pressed in with the corner of a putty knife, scraped flush, and you’re usually done. These are the holes that genuinely don’t need sanding if you press hard enough the first time. That’s different from a nail pop, where a fastener pushes back out over time instead of leaving an empty hole behind, covered separately in how to fix nail pops in drywall.
Wall anchor and shelf pin holes
This is the one that trips people up, and it’s the reason this repair gets its own guide instead of a paragraph inside the large-hole article. The hole itself is small. What’s wrong is that half the anchor is often still in the wall, and pulling it out the wrong way is what turns a quarter-inch hole into a three-quarter-inch one. That’s worth its own section below.
Impact and doorknob holes
A doorknob, a moving box corner, or a toy thrown against the wall doesn’t leave a clean hole. It crushes the paper face inward and leaves loose, crumbly debris at the edge. Spackle alone won’t hold here even if the hole itself is under an inch, because there’s nothing solid left at the rim for it to grip. This is the size range where a self-adhesive mesh patch earns its cost. It bridges the crushed edge and gives the compound one continuous surface to bond to instead of a ragged perimeter.
Removing a wall anchor without turning a small hole into a big one
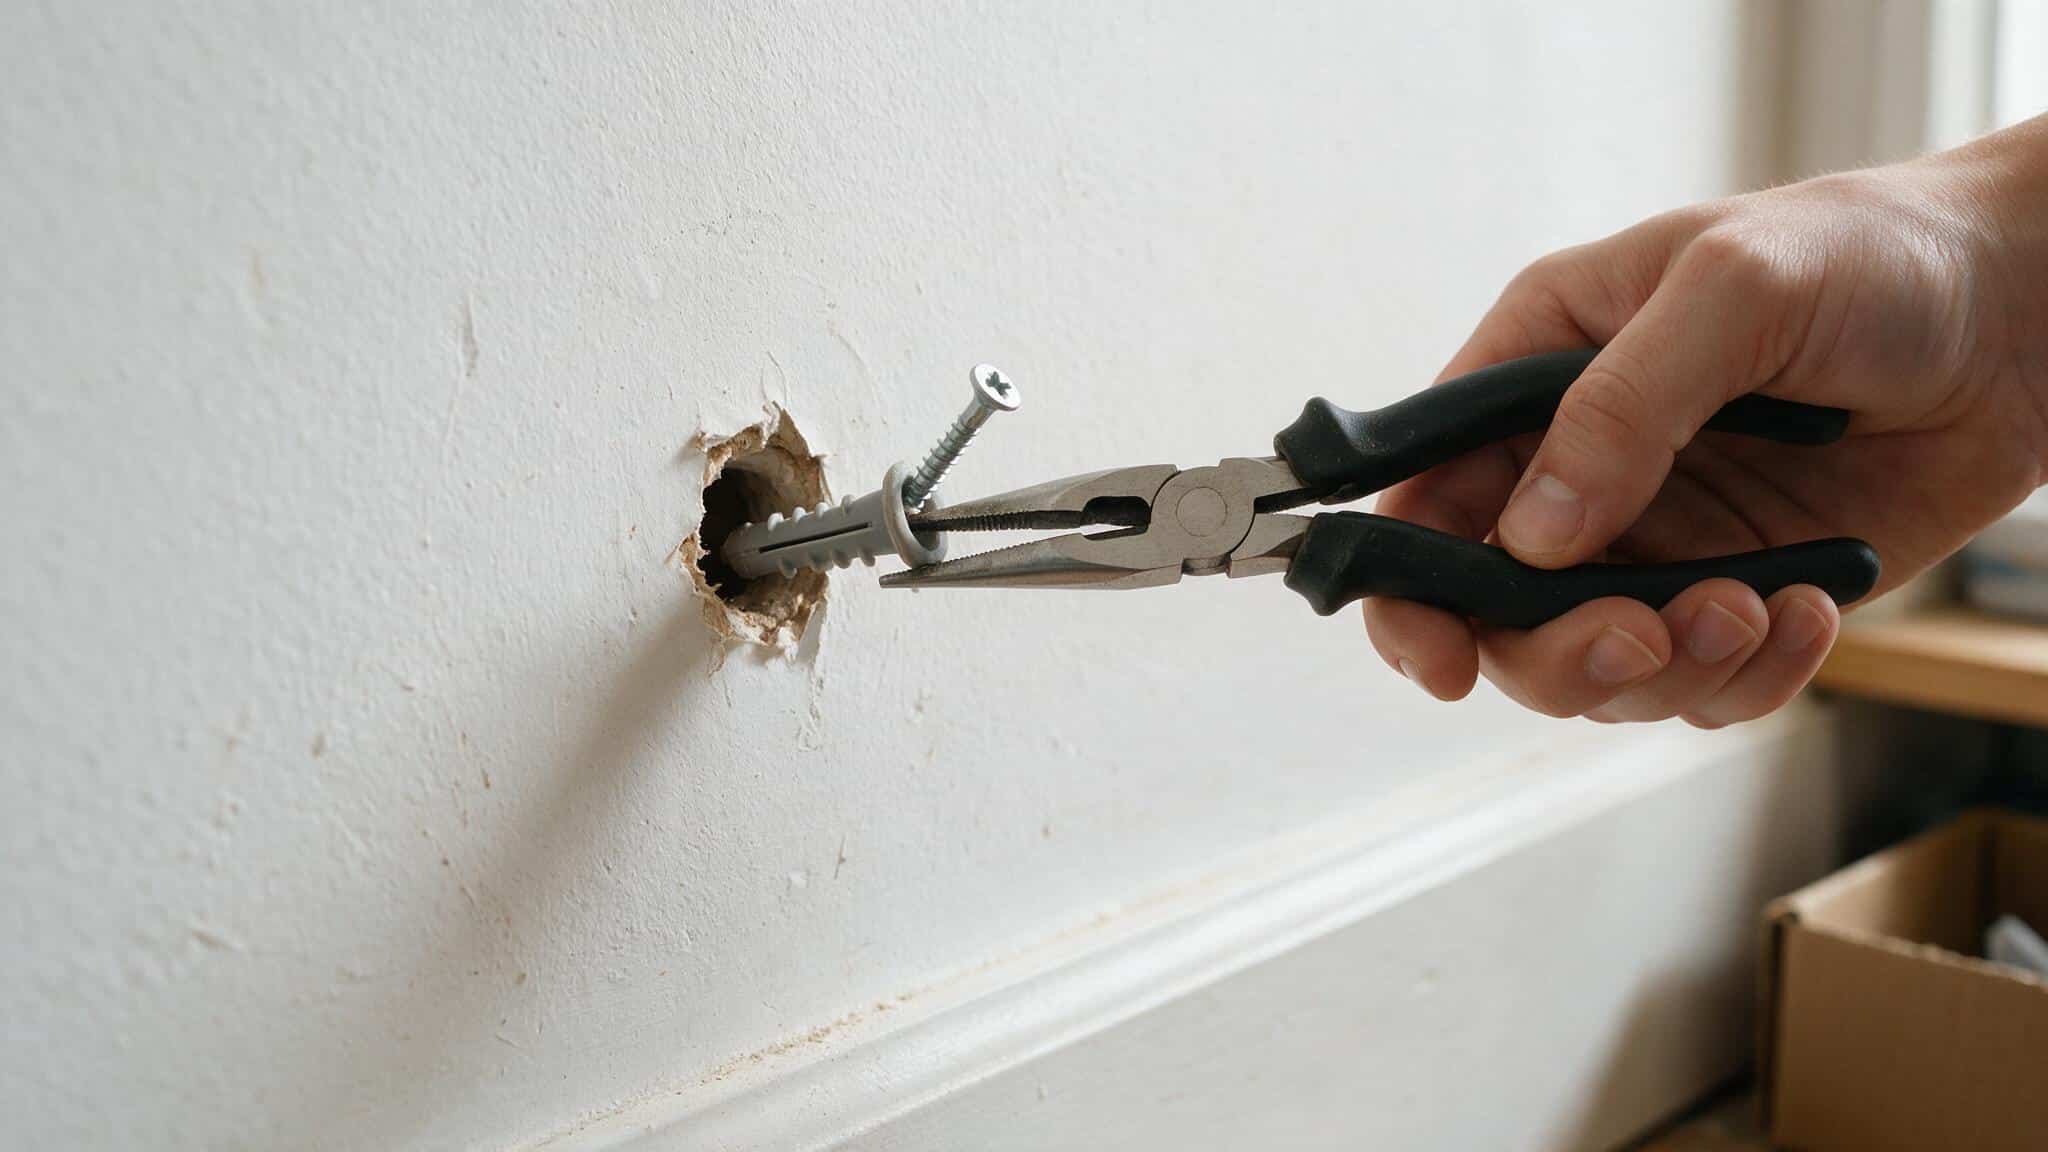
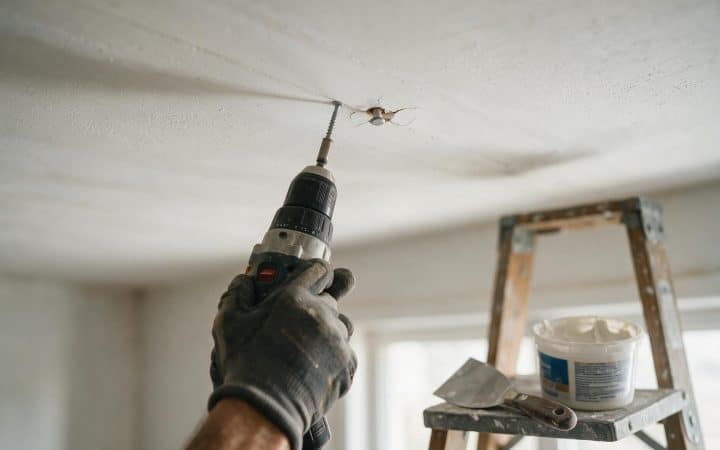
I’ve seen more small holes get worse from anchor removal than from whatever made the original hole. Somebody grips the anchor collar with pliers and yanks, and either it snaps off flush with plastic still threaded into the wall, or the pull tears a chunk of paper and gypsum out around it. Which method actually works depends on which of three anchor types is in the wall.
-
Threaded plastic or metal anchors
Back it out the way it went in. Fit a screwdriver into the anchor itself, not a screw sitting in it, and turn counterclockwise, slow and steady. These have threads cut into the body and unscrew like an oversized screw.
-
Expansion anchors with the screw still in
Back the screw out about a quarter inch first. Don’t remove it fully. Grip the exposed screw shaft with needle-nose pliers, close to the wall, and pull straight out. The screw head gives the pliers something to bite that won’t crush the plastic collar the way gripping the anchor itself does.
-
Self-drilling toggle anchors
Turn the screw counterclockwise to collapse the internal toggle wing, then pull the whole fastener straight out. A couple of light taps on the screw head first usually helps the wing fold flat before it lets go.
-
If it won’t come out clean
Stop pulling. Tap the anchor flush with the wall, or slightly below it, with a hammer instead of fighting it out. A buried anchor under spackle holds fine and does less damage than a forced extraction that tears the hole wider.
Check what’s behind it before you drill a matching hole
If you’re drilling a fresh anchor hole near an outlet or switch, house wiring commonly runs 6 to 12 inches above them or along their vertical line. A stud finder set to deep-scan mode picks up wire and metal, not just wood. Cut power at the breaker before drilling anywhere close.
Spackle or joint compound for a hole this size?
Short answer for anything in this guide’s range: spackle. It goes on in one thick pass without slumping, it shrinks less than joint compound while it dries, and a lightweight formula is usually ready to sand in about 30 minutes instead of the 12 to 24 hours a full coat of joint compound needs. Joint compound earns its place on seams and wider patches where you’re feathering compound over a large area, not on a hole you can cover with a fingertip. The full breakdown of when each one actually wins, including the working-time differences that matter once you’re patching more than a couple of holes at once, is in joint compound vs spackle.
The patch, step by step
-
Clean the edges
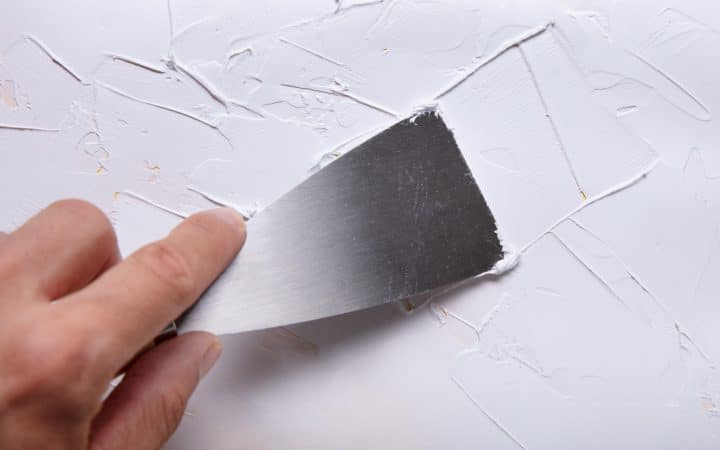
Scrape away loose paper, crumbs, or old paint chips around the hole with the corner of a putty knife. Spackle bonds to solid material, not to debris sitting on top of it.
-
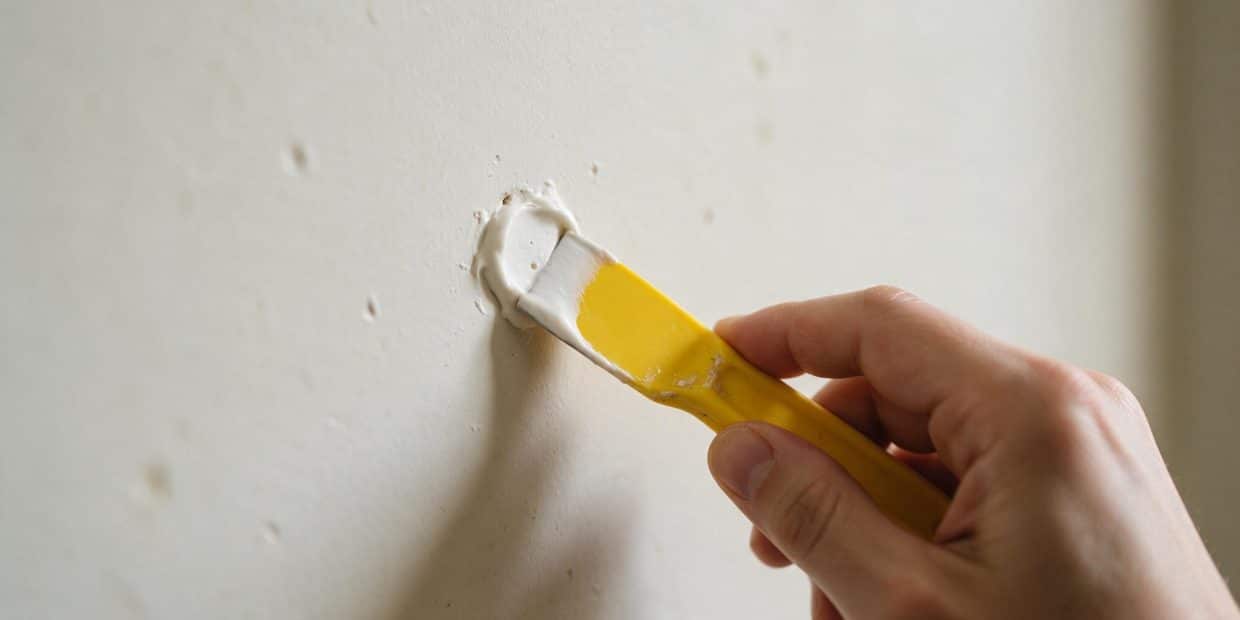
Fill in one firm pass
Load a small amount onto the knife and press it into the hole at an angle, working it into the depth rather than just smearing it across the surface. For anything past a nail hole, slightly overfill rather than underfill.
-
Scrape flush
Hold the knife almost flat against the wall and pull it across the patch in one motion to strike off the excess. Going back over it with several passes at this stage is what leaves ridges.
-
Let it dry fully
Lightweight spackle is usually ready to sand in about 30 minutes. If you used joint compound on a slightly larger patch, give it the full 24 hours. Don’t sand a patch that still feels cool or looks gray instead of white.
-
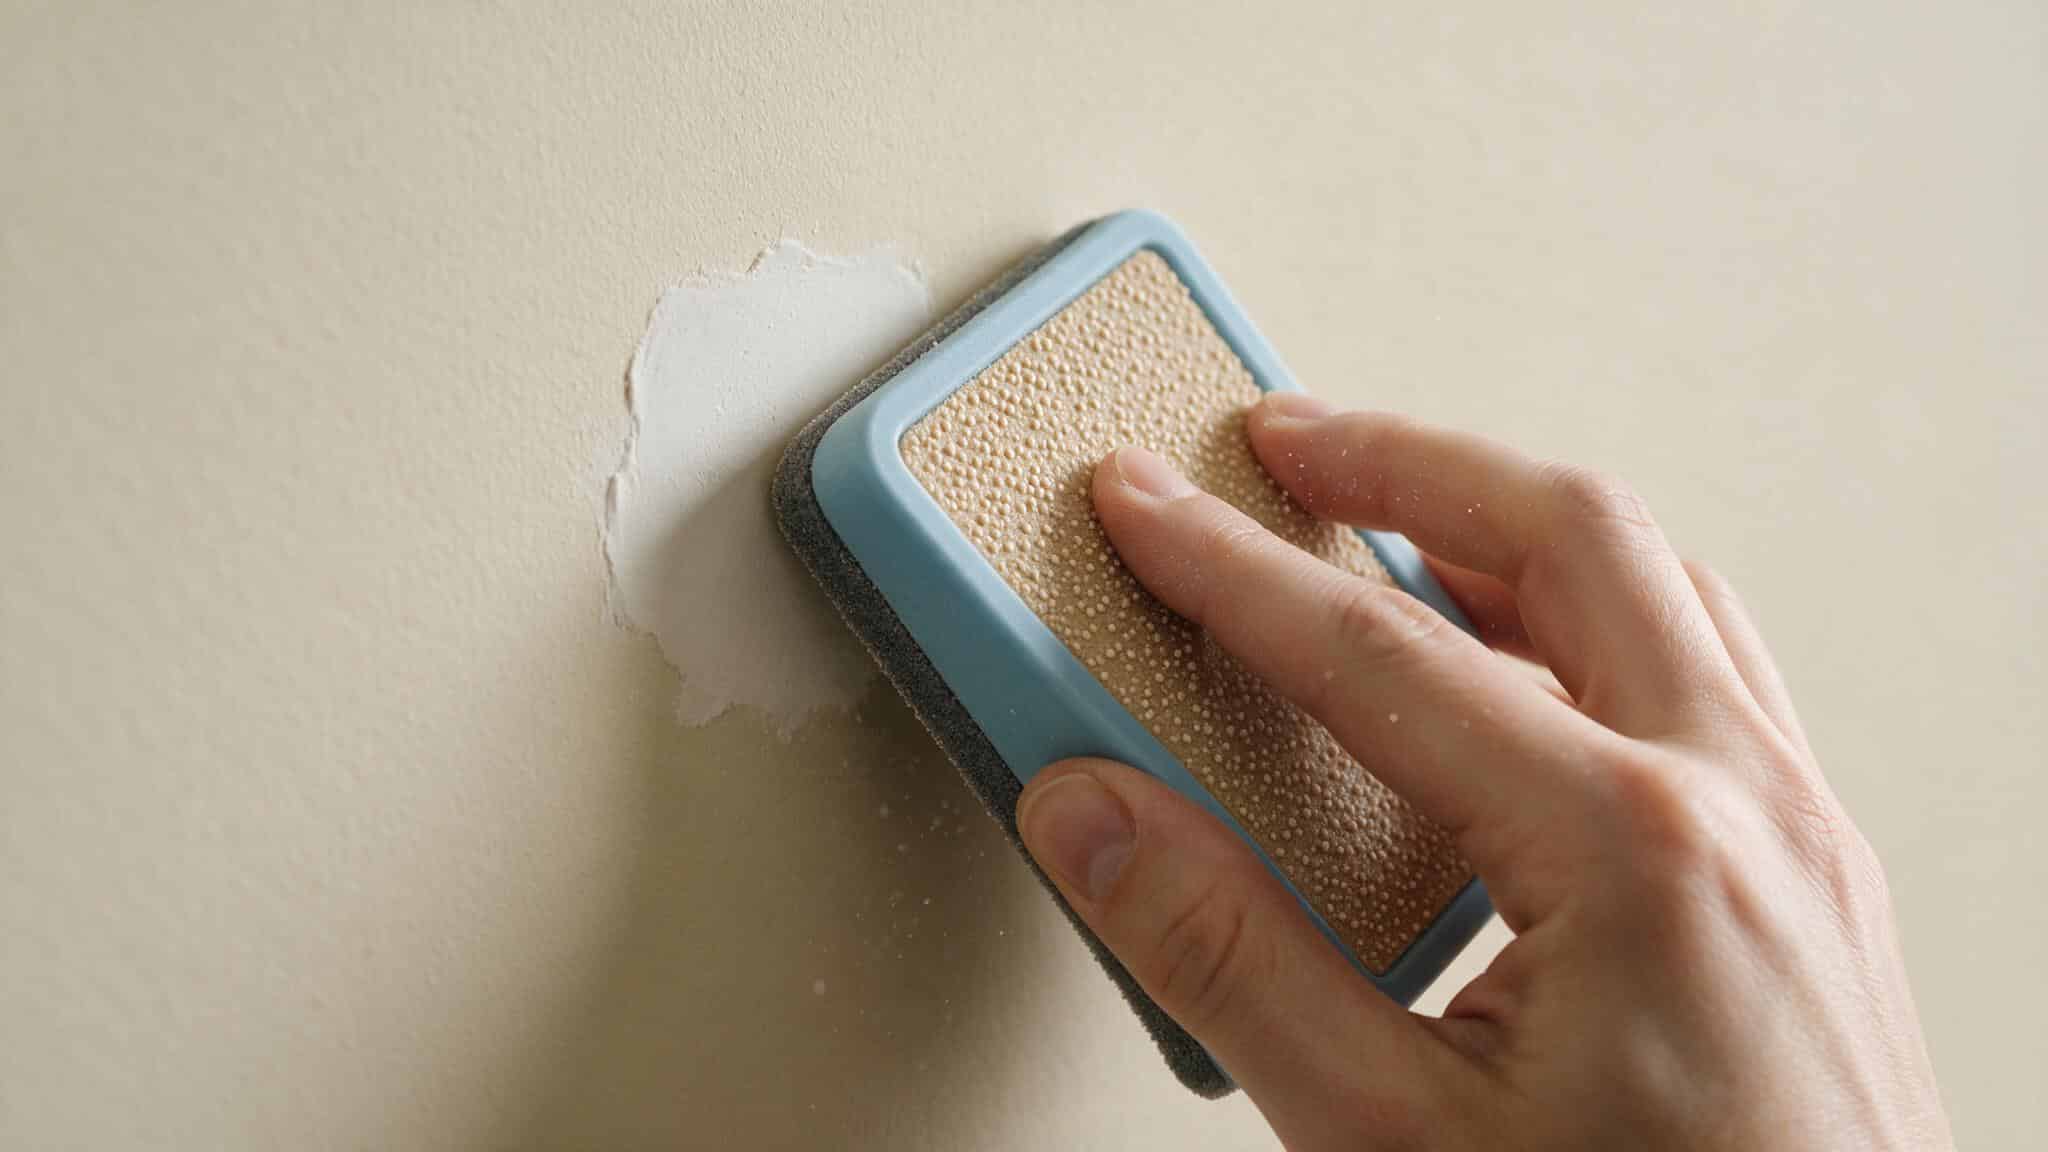
Sand lightly
A fine-grit sanding sponge, folded once, knocks down any high spot without digging a new crater. Most nail-hole patches barely need this step if the strike-off was clean.
-
Prime the patch
One thin coat of primer, even just a dab from a small brush, stops the patch from flashing as a duller or shinier spot once the topcoat goes on. Skipping this is the most common reason a “finished” patch is still visible from across the room.
-
Paint corner to corner
Feathering paint just over the patch almost always leaves a visible edge once it dries. Roll the whole wall section, or at minimum a full corner-to-corner pass, so the sheen matches everywhere instead of just around the repair.
When “small” stops being small
The line isn’t really about inches, even though people ask for one. It’s about whether there’s still solid drywall on all sides for the patch to grip. Under about 3/4 inch, spackle alone does the job. Up to roughly 2 inches, a self-adhesive mesh patch bridges the gap and gives the compound something to hold onto. Past that, the mesh doesn’t have enough drywall left at the edges to anchor to, and the repair needs backing behind it rather than just a patch over it. That’s the method in how to patch a large hole in drywall, including the point where a store-bought mesh kit’s “up to 8 inches” claim on the box stops being realistic.
What it costs in 2026
| Job | DIY materials | What a pro charges |
|---|---|---|
| One or two nail or screw holes | $5-$10 | Rarely called out alone |
| Several small holes, one visit | $10-$15 | $100-$250 contractor minimum |
| Anchor holes plus patching | $10-$20 | $100-$250 contractor minimum |
This is the repair where DIY wins outright
A contractor’s trip charge runs $100 to $250 whether they fix one hole or ten. For anything on this page, that’s not a close call. The material cost is under $20 and the technique doesn’t require a trade skill, just patience through the drying step. For a broader look at when it’s worth calling someone instead, see drywall repair cost.
Questions I get on site
How big of a hole can spackle fill without a mesh patch?
About 3/4 inch reliably. Past that, even a thick pass tends to sag or crack as it dries because there’s nothing behind it supporting the material while it sets.
How do I fix a small hole in the wall without a patch kit?
In a pinch, toothpaste or a sliver of bar soap can hide a nail hole on a white wall for a day or two, but neither actually hardens or holds paint. Spackle costs about the same as a tube of toothpaste and takes the same five minutes, so it’s worth just doing it right the first time.
Do I need to sand between coats on a small patch?
Only if the first pass shrank below the wall surface, which happens more with joint compound than spackle. A single well-struck spackle pass usually needs one light sanding pass at the end, not sanding between coats.
How long before I can paint over the patch?
Lightweight spackle is typically ready to prime about 30 minutes after application. Prime first, then paint. Painting directly over bare spackle is the most common reason a patch shows up later as a flat or shiny spot.
Can I use this same method on a ceiling?
Yes, for nail and screw holes the technique doesn’t change. Mud wants to sag more on an overhead surface than on a wall, so keep each pass thin and let it set before adding more, the same principle covered at larger scale in skim coating a ceiling.
What if the drywall paper is torn, not just punctured?
Torn paper won’t hold spackle on its own. Press any loose edges flat first, or cut them away cleanly with a utility knife. A patch over paper that isn’t pressed down will telegraph the tear line once it’s painted.
Is there a lead or asbestos risk with a patch this small?
Sanding a small spackle patch itself carries no such risk. The concern only applies to sanding into old paint on a pre-1978 wall over a wider area, or a wall with sprayed or troweled texture from before 1980. Neither applies to a simple nail-hole patch, but see our disclaimer if you’re working in an older house and planning anything beyond a spot repair.
Most of what makes a small-hole patch show up again isn’t the spackle, it’s the step before it or the step after it: an anchor pulled the wrong way, or paint rolled onto bare compound. Get the cause right, prime before you paint, and this is the one repair on the whole site that costs less than the tool you’d need to do it wrong. More of the drywall-repair guides, including the large-hole and dent write-ups linked above, are collected under drywall repair. How I put these cost figures together is on the about page. If a number’s off in your market, tell me.