Every guide to painting walls tells you to cut in before you roll. Almost none of them explain how to actually hold a straight line while doing it — they assume a brush and a steady hand are enough, then move straight on to the roller. Cutting in paint is its own hand skill, with its own loading method, its own brush angle, and its own failure modes, and the painter’s tape most guides recommend as the safe fallback has a failure mode of its own that only shows up after the tape comes off. Our own guides to painting walls and painting a ceiling with a roller both skip past this in one line: cut in, then roll while it’s still wet. Here’s what actually happens in that one step, and the specific case where tape genuinely beats freehand instead of just feeling safer.
Tape or freehand — what actually decides it
Most painting advice treats tape as the beginner’s safety net and freehand as the skilled option, as if a steady hand is the only variable. That’s not what actually decides it on a real wall. Four things do: the kind of line you’re cutting, the surface texture underneath, how much raking light will eventually hit it, and how long the line actually runs.
A ceiling-to-wall line or a wall-to-trim line has a physical break to guide your eye and your brush — the plane changes at the ceiling, and trim has a crisp factory edge. A two-tone wall, where an accent color meets the field color on the same flat plane with nothing but a pencil mark to guide it, has no such break, and that’s the one case where most professional painters reach for tape regardless of skill level. Texture changes the calculus again: tape seals cleanly to a smooth, previously painted wall — the kind our skim coat guide aims for — and fails to seal into orange peel or knockdown texture, which is the subject of the next section. A short line, a single window casing or one closet doorway, costs so little in freehand time that taping it is often slower than just painting it carefully.
| Situation | Better choice | Why |
|---|---|---|
| Ceiling-to-wall or wall-to-trim line | Freehand | A physical edge guides the brush; tape adds a step for little real gain |
| Two colors meeting on a flat wall, no corner or trim break | Tape, usually | No physical guide for the eye — a plumb line and tape hold straighter than a freehand stroke over several feet |
| Smooth, sound, previously painted surface | Either works | Tape seals reliably here, so the choice is really speed versus patience |
| Orange peel, knockdown, or unprimed texture | Freehand | Tape can’t seal into the low points of texture, and paint bleeds under the edge |
| Short lines — a window casing, one doorway | Freehand | Taping and burnishing the edge often takes longer than painting the line with care |
| A large accent wall with several long lines | Tape | The time cost of taping pays for itself over enough linear footage |
Why tape fails more often than people expect
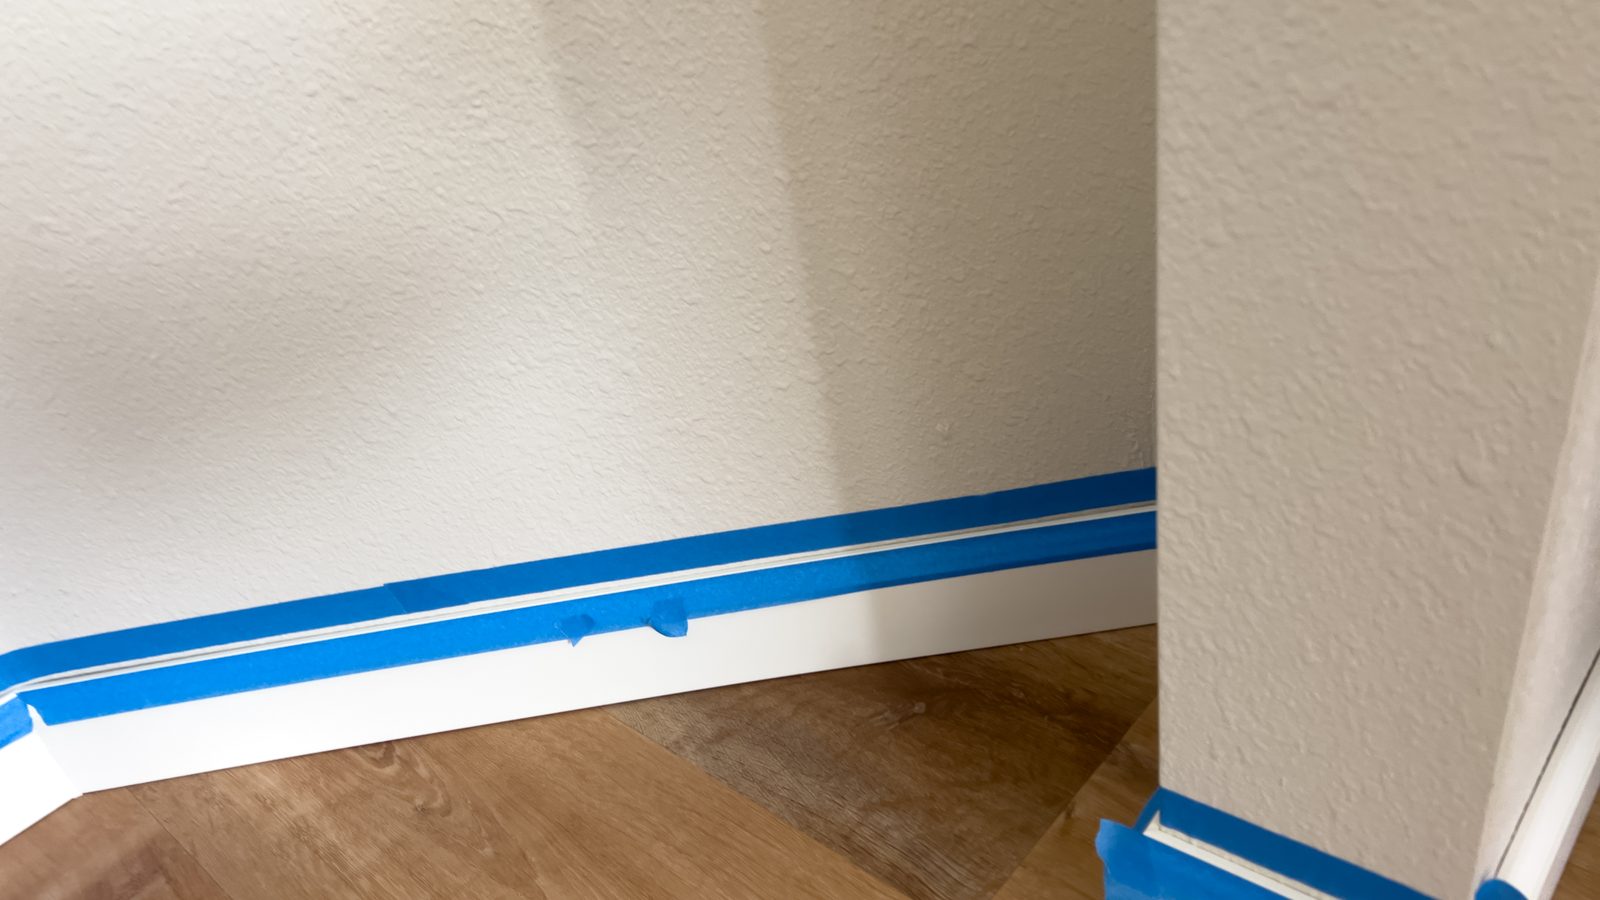
Painter’s tape looks like a guarantee. It isn’t, and the failure mode is almost always the same one: the tape never actually sealed against the wall the way it looked like it did from arm’s length.
Textured walls are the biggest culprit. Orange peel, knockdown, and skip-trowel finishes are, at a small scale, hills and valleys, and tape only makes contact with the hills. The valleys stay open even when the tape looks fully stuck down. Paint finds that gap by capillary action, wicks underneath, and dries as a soft, feathered edge instead of the crisp line the tape promised — the opposite of what it was there to do. Pressing the tape down harder doesn’t fix it, because the problem isn’t adhesion strength, it’s the texture underneath refusing to let the tape make full contact in the first place. Our guide to drywall texture types covers how to identify what’s actually on a wall before committing to a method — a wall that reads as basically smooth from three feet away can still have enough texture to bleed under tape. The same porosity problem shows up over a freshly mudded patch that was never primed, covered in our guide to patching a large hole in drywall — bare compound pulls paint in unevenly right at the edge you’re trying to keep clean.
The second failure mode is timing, and it cuts the other way. Scotch’s own ScotchBlue guidance recommends pulling tape once the paint is dry to the touch, typically within about an hour, and lifting it back on itself at roughly a 45-degree angle rather than straight up. Wait past that window and the dried film tears where the tape crosses it instead of releasing cleanly, taking a hairline of paint with it or leaving a ragged edge that needs a touch-up anyway.
Test a scrap before you trust the tape
Press a foot of tape onto an inconspicuous, out-of-the-way patch of the actual wall — not a smooth sample board — and pull a corner after a few minutes. If it lifts cleanly with a sharp edge, the surface will hold a line. If the edge looks soft or fuzzy, treat that whole wall as a freehand job.
The third failure mode is one nobody thinks about until the light finds it. Tape residue and the slight ridge a taped edge leaves — paint pooling a fraction thicker right along the tape line — behave like the film-thickness differences that cause flashing on a wall generally. Under flat, straight-on light, a taped line looks perfect. Under the same raking light that exposes a roller lap, a taped edge can show as a faint ridge of its own.
The brush that actually holds a line
The brush matters more for cutting in than for any other part of a paint job, because it’s doing something a roller never has to: holding a straight, controlled edge on the strength of the hand behind it alone.
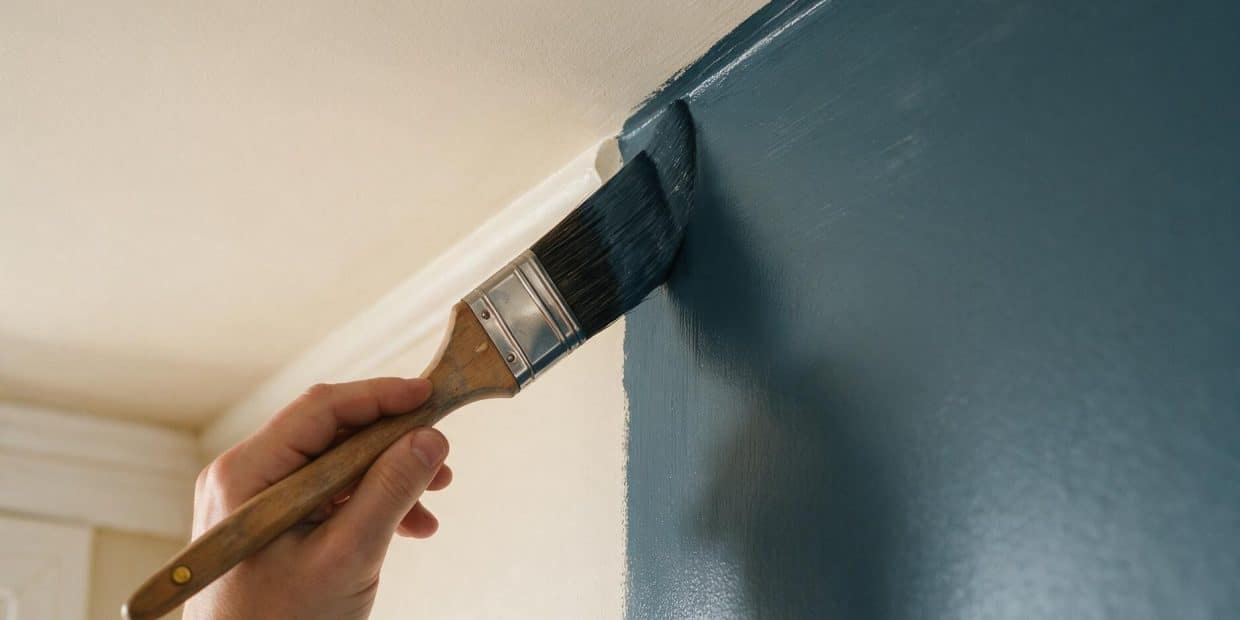
An angled sash brush, 2 to 2.5 inches wide, is the standard for a reason. Sherwin-Williams’ own brush guidance points to the angled, tapered design specifically for cutting in at ceilings, doors, and windows — the slanted tips let you see the line you’re cutting to instead of the brush blocking your view of it, and the long point of the angle is what actually lays the edge while the shorter heel behind it carries the paint reservoir. A straight-cut trim brush works for broader flat areas but makes a fine, controlled line harder to hold.
Bristle material follows the paint. Synthetic filament — nylon, polyester, or a blend of the two — is built for water-based latex and acrylic paint, which is the finish on nearly every interior wall painted today. Natural bristle is for oil-based paint only; it absorbs water and goes limp in water-based paint, losing the shape that holds a line. Buying a natural-bristle brush for a latex job is one of the most common brush mismatches homeowners make, usually because it was the nicest-looking brush left on the shelf.
Quality shows up exactly where it matters for this job: bristle retention and tip shape. A cheap brush sheds bristles into the wet line, and every shed bristle either gets painted over or has to be picked out mid-stroke, breaking your rhythm and your line along with it. A good brush holds its flagged, tapered tips through repeated loading and keeps a crisp edge for the length of a room; a bargain brush splays after twenty minutes and starts laying down a wider, fuzzier line than it did when you started. Rinse it fully after every use and reshape the tip while it’s still damp, and a quality angled sash brush will outlast several rooms’ worth of projects — it’s one of the few tools on this site worth buying once at the better price rather than replacing every job.
Loading and controlling the brush
Cutting a clean line starts before the brush ever touches the wall, in how it’s loaded.
Dip about a third of the bristle length into the paint — deeper and the brush overloads and drips before it reaches the wall; shallower and you’re back to the can every few inches, which breaks the wet edge you’re trying to hold. Tap the bristles against the inside of the can on both sides, not against the rim in one hard strike. Tapping settles paint into the bristles evenly; a hard rim-strike knocks paint back out and can splay the tip open.
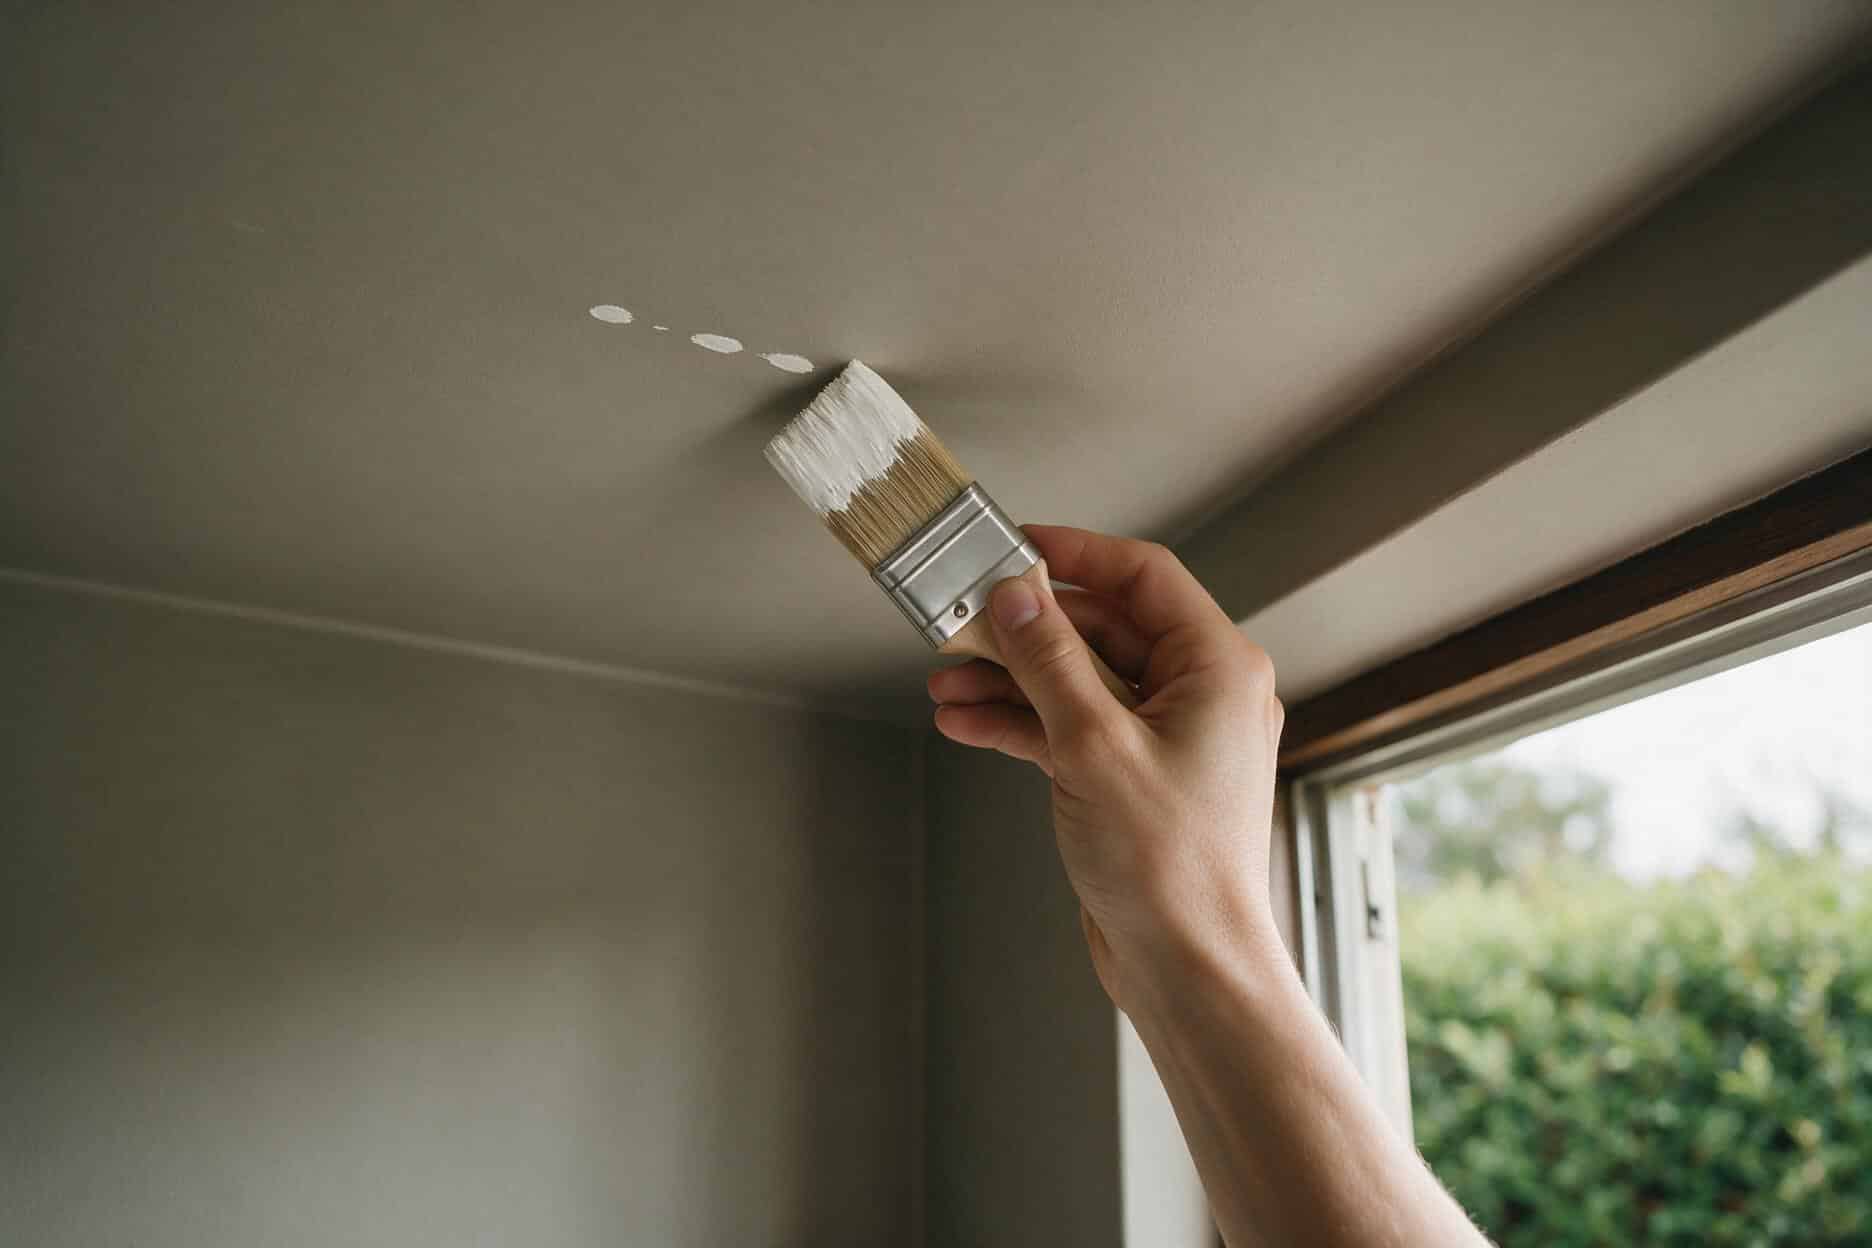
Hold the brush more like a pencil than a fist, with your index finger resting along the top of the ferrule — the metal band — for the fine directional control a full-fist grip can’t give you. A two-step motion beats trying to draw one long, perfect line freehand: first, place a series of light dabs a hair’s width back from the actual line — about 1/16 to 1/8 inch — spaced every few inches along the section you’re working. Then go back and draw the brush smoothly through those dabs, connecting them into one continuous edge. The dabs act as guide points your hand can aim for in a short, controlled motion, instead of asking it to hold a die-straight line unsupported for three or four feet at a stretch.
Keep a wet edge in the cut-in line itself — the same principle that governs the roller work afterward. Work in sections short enough to reload the brush and come back before the last stroke has started to set, which in a warm room can be a shorter stretch than it feels like it should be. A cut-in line pieced together from sections that dried before the next one started shows exactly the kind of overlap band that raking light exposes later.
How far ahead of the roller to work
A question that has nothing to do with brush technique and still decides how the line turns out: how much of a room should you cut in before you pick up the roller? The answer is set by drying time, not room size. Cut in too far ahead — the entire perimeter of a large room, say — and the first sections are already skinning over by the time the roller reaches them, leaving exactly the seam the wet-blend method is supposed to prevent.
Work one wall’s length at a time in an average room: cut in that wall’s edges, then roll that same wall before moving the brush on to the next one. Under about 68°F, it’s usually safe to stretch a little further. Above 75°F, or in direct sun through a window, shrink that to half a wall. If you’re working alone in a large room, it’s worth stopping the cut-in brush before you’re tempted to squeeze in “just one more corner” — a roller catching up to cut-in paint that’s already gone dry is a worse outcome than pausing five minutes earlier than felt necessary.
Cutting in a straight line, step by step
Clean and inspect the edge
Wipe dust off the corner or trim line you’re cutting against. Dust under a wet brush drags into the paint and shows up as a gritty streak once it dries.
Load the brush a third of the way
Dip and tap on both sides of the can until the bristles carry an even, drip-free load, not a soaked one.
Place your guide dabs first
Set light dabs 1/16 to 1/8 inch off the actual line, every few inches along the section you’re working.
Draw the line through the dabs
One smooth, moderate-speed stroke connecting the dabs, brush angled so the long point of the bristles rides the edge.
Check the line under raking light
Hold a work light flat to the wall before moving to the next section. A wobble is a two-second fix while it’s wet and a ten-minute fix once it’s dry.
Reload before the bristles run dry
Don’t stretch one load across a whole wall. A starved brush skips and drags, which causes more wobbles than an unsteady hand ever does.
Roll into it while it’s still wet
Pick up the roller and blend into the cut-in line before it sets, the same wet-edge rule our painting walls guide covers for the rest of the coat.
Where the technique changes: ceilings, trim, and two-tone walls
The mechanics above hold everywhere, but three situations change the details enough to call out on their own.
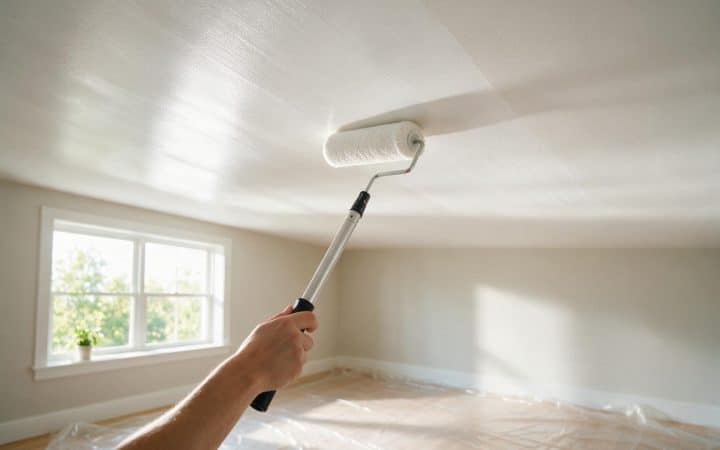
Ceiling-to-wall lines get their own full treatment in our guide to painting a ceiling with a roller, including why that particular line sits in worse light than almost any other edge in the room. The short version for cutting in specifically: work in shorter sections than you would on a wall, because the ceiling line is usually the first place raking light finds a mistake.
Wall-to-trim lines are the most forgiving, because trim’s factory-primed, semi-gloss or gloss edge gives the brush a hard physical stop to ride against. Let the bristle tips just kiss the trim’s edge rather than pressing into it, which keeps paint from creeping onto the trim itself.
Two colors meeting on an open wall, with no corner or trim to guide against, is the case where the earlier advice flips. Strike a level, plumb line in pencil first — by eye or with a laser level over more than a few feet — and tape to that line rather than trying to hold a freehand edge across open space with nothing to reference. The tape-bleed problem from earlier still applies here, so seal the tape’s inner edge with a thin coat of the base color first, let it dry, then paint the accent color over it. Any bleed-through happens in the base color instead of the accent, and disappears instead of showing. Painters sometimes call this a paint seal or caulk seal, and it’s the one place tape earns back the reliability it loses on textured walls.
Mistakes that aren’t about a shaky hand
Most wobbly cut-in lines get blamed on an unsteady hand, and that’s rarely the real cause. Three habits produce more crooked lines than nerves do.
Overloading the brush is the most common. A brush carrying too much paint doesn’t just risk drips — the extra weight makes the bristle tip flex and splay slightly wider than a properly loaded brush would, laying down a thicker, less controlled edge than the same hand would produce with a lighter load.
Changing the brush angle mid-stroke is the second. Roll the brush even slightly as you draw the line, and the width of the edge shifts with it — a line that starts crisp and finishes fuzzy usually means the wrist rotated partway through instead of holding one consistent angle for the full stroke.
The third is rushing the last few inches of a section to avoid reloading. A brush running low on paint drags instead of gliding, catching on minor texture and jumping the line right where the load ran out — which is why reloading a stroke early, rather than stretching it, produces the straighter result even though it feels like the slower choice at the time.
Fixing a line that went wobbly
A wobble caught while the paint is still wet is almost free to fix. Wipe the brush close to dry on a rag, then draw it lightly back along the wobble to lift the excess before it sets. You’re correcting, not repainting, so use a light touch and let the surrounding wet paint self-level rather than scrubbing at it.
A wobble discovered after the paint has dried is a smaller, slower version of the same job. A fine artist’s brush and a steady hand can trim a dried edge back into a straight line using the adjacent surface as a guide — the same light touch our guide to cleaning flat paint walls recommends for touch-ups generally, where too heavy a hand causes its own new problem. Expect real patience over anything more than a foot or two. Past that length, it’s often faster to accept a very slightly wider reveal line and re-cut it cleanly a hair further from the edge than to chase a wandering line back to true. Nobody standing in the finished room is measuring the reveal with a ruler; they’re checking whether it reads straight, and a consistent line an extra 1/16 inch wide reads straighter than a corrected one that still wanders.
Tools and materials
| Item | Use | Rough cost |
|---|---|---|
| Angled sash brush (2–2.5″) | Cutting in corners, trim, and ceiling lines | $8–$18 |
| Painter’s tape (1.5–2″) | Two-tone walls and open lines with no physical guide | $6–$12/roll |
| Laser level or 4 ft level | Striking a plumb or level guide line | $15–$40 |
| Rags or lint-free cloth | Wiping wet mistakes, cleaning the brush between loads | $5–$10 |
| 5-in-1 tool or putty knife | Scoring and sealing tape edges before removal | $6–$12 |
| Work light or clip lamp | Checking the line under raking light as you go | $15–$30 |
| Small artist’s brush | Touch-up on a dried, wobbled line | $4–$8 |
What this costs — or doesn’t
Cutting in almost never shows up as its own line item on a painting quote — it’s folded into the labor rate for the room. What it does affect is how long that labor takes. A room with a lot of trim, windows, or a color break at every wall takes noticeably longer to cut in than a plain box of the same square footage, which is part of why elaborate millwork or a two-tone design costs more to paint even though both use roughly the same amount of wall paint.
DIY, the cost is almost entirely a one-time tool purchase. A decent angled sash brush and a roll of tape run under $25 together, and a well-cared-for brush outlasts several rooms’ worth of projects. The real cost of a bad cut-in line isn’t in materials at all — it’s the redo. A wandering or bled line usually means re-taping and repainting the same few feet of wall, which costs nothing but the time nobody budgeted for the first time around.
Questions I get on site
Should I always tape instead of risking a wobbly freehand line?
No. Tape only outperforms freehand on smooth, sound surfaces or on an open two-tone wall with no physical guide to work against. On textured walls it usually performs worse, because it can’t seal into the low points and lets paint bleed underneath the edge.
What size brush is best for cutting in?
A 2 to 2.5-inch angled sash brush covers most rooms. Go smaller, around 1.5 inches, for tight trim or detailed millwork where a wider brush can’t maneuver into the corner.
Can I cut in a whole room one day and roll it the next?
You can, but expect a visible seam where the dried cut-in line meets the roller coat. Our guides to painting walls and painting a ceiling both call for rolling into the cut-in line while it’s still wet specifically to avoid that seam.
Natural or synthetic bristles for latex paint?
Synthetic. Natural bristle absorbs water and goes limp in water-based latex and acrylic paint, losing the shape that holds a straight line. Save natural bristle for oil-based paint only.
How do I keep a two-tone wall line straight with no corner to guide me?
Strike a plumb or level line in pencil, tape to it, and seal the tape’s inner edge with a thin coat of the base color before the accent coat goes on. That seal coat catches any bleed-through in the base color instead of the accent, where it would actually show.
Why does my line look fine wet and wobbly once it dries?
Wet paint self-levels slightly and hides small unevenness; a dried film shows the true edge. Check the line under raking light — a work light held flat to the wall — while it’s still wet, not after, so a wobble costs nothing to fix.
Do I need a different brush for ceiling lines than wall lines?
Not a different brush, just a shorter working section. Ceiling lines sit in worse raking light than most wall lines, so mistakes show up faster there — the same 2 to 2.5-inch angled sash brush handles both.
Is a paint edger tool a good substitute for a brush?
It can help a beginner hold a straighter line on a flat, unobstructed edge, but the small wheel struggles on textured walls and can’t get into a true corner the way a brush’s angled tip does. Most professionals skip it in favor of the brush technique above.
Guides on this site are for general information about routine home maintenance. Suspected asbestos, mold over 10 sq ft, or structural water damage should be assessed by a licensed professional in your state. See our disclaimer for details.