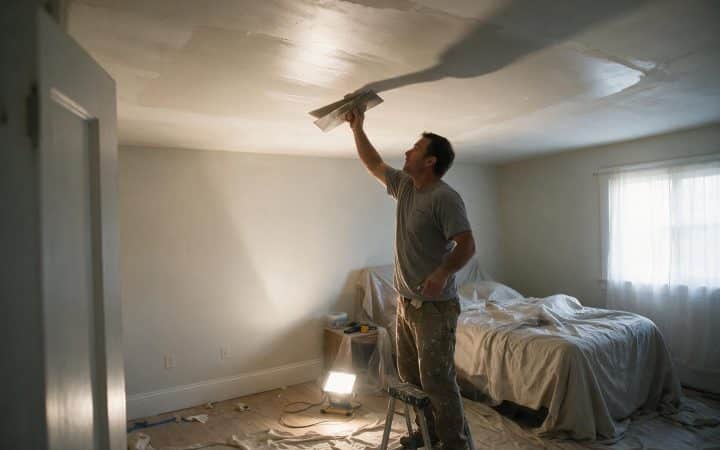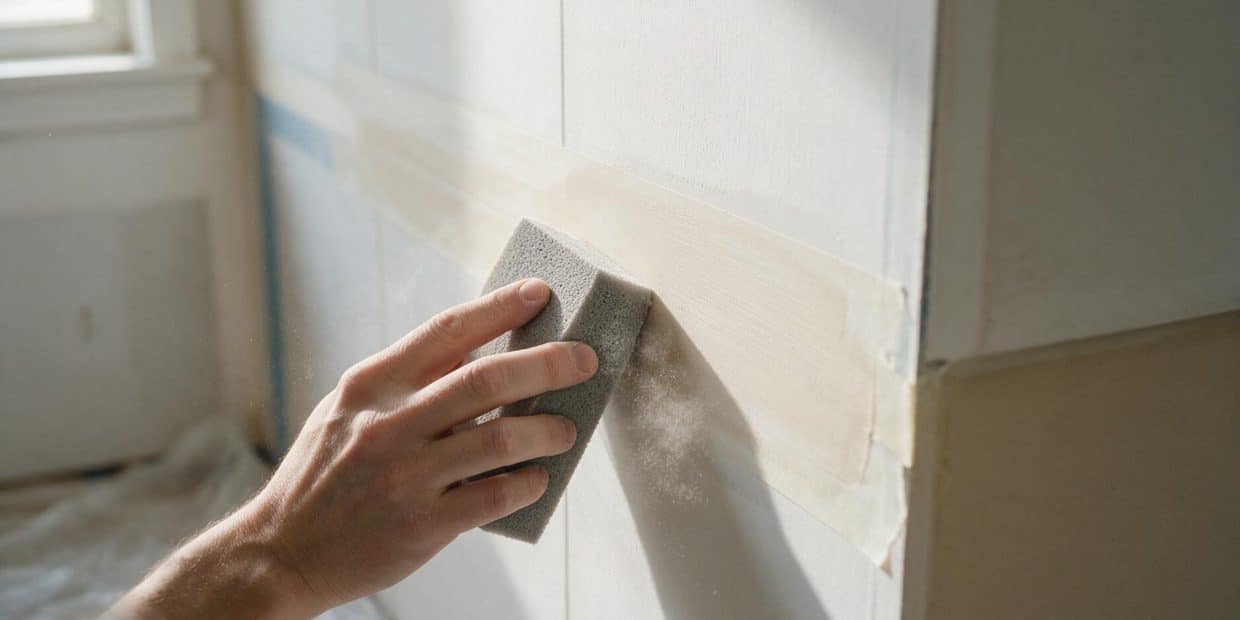
Ask five drywall finishers what grit to sand drywall with and you will get five different numbers, because they are not all sanding the same thing. The grit that knocks down a thick first coat of fresh joint compound in a reasonable afternoon will tear straight through a thin finish coat, and the fine grit that is perfect for the final pass before primer will barely touch a ropey first coat. Grit is not one decision. It is a sequence, and the stage you are on decides the number more than anything printed on the sandpaper label. I have given three different answers to that question in the same week, depending on which coat someone was standing in front of.
Get it wrong in either direction and the mistake will not show up until the primer goes on. Push too coarse for too long and you tear through the paper face, leaving a fuzzy nap that telegraphs as a dull, fibrous patch under paint. Stay too fine for too long, or skip a grit stage to save time, and you leave ridges that are invisible under a ceiling light and obvious the moment low sun rakes across the wall at five in the evening. This guide walks through the grit progression stage by stage, when to sand dry and when to switch to a wet sponge, and how to tell over-sanding from under-sanding before a coat of primer tells you the hard way. If the wall has not been taped or skim coated yet, start with skim coat walls or, for a hole rather than a whole wall, drywall repair. If sanding is already behind you and the wall has passed the light test, painting walls picks up from exactly this point.
The short answer: grit by stage
Here is the progression before the explanation. Match the stage of the wall, not a single all-purpose number, and the rest of this guide is detail on why each row sits where it does.
| Stage | Dry grit | Wet sponge grade | Goal |
|---|---|---|---|
| First coat over tape, fresh and thick | 100–120 | Medium | Knock down ridges and knife tracks, not smooth the surface |
| Second coat, general field sanding | 120–150 | Medium | Level the field, feather the edges wider |
| Third coat or skim coat, finish pass | 150 | Fine | Even the whole plane before the final kiss |
| Final pass before primer | 220 | Fine, light pressure | Remove nap and knife marks without cutting new ones |
| Feathered edges and spot patches | 150–180 | Fine | Blend into surrounding paint or compound with no ridge |
Why the right grit depends on the stage, not a single number
Most of the confusion I run into on this comes from treating grit like buying one sheet of sandpaper for one job. A drywall finish is built in layers — a bedding coat over the tape, a filling coat that widens the seam, a finish coat that feathers it out until the eye cannot find the edge — and each layer leaves a different amount of material behind. Sanding all three with the same grit means either fighting the first coat for an hour or scuffing the last one into a haze. Match the abrasive to how much material has to come off, not to whatever grit is already in the sander.
First pass on fresh joint compound: coarser than you think
The first coat over tape is the thickest coat on the wall, and it usually goes on a little heavy on purpose, because it is easier to sand off excess than to go back and add more. That means the first sanding pass has real material to remove — knife tracks, a slightly proud edge where two strokes overlapped, the occasional ridge where the tape edge telegraphs through. A 100 to 120 grit paper on a pole sander or hand block cuts that down in a few passes without turning into an all-afternoon project.
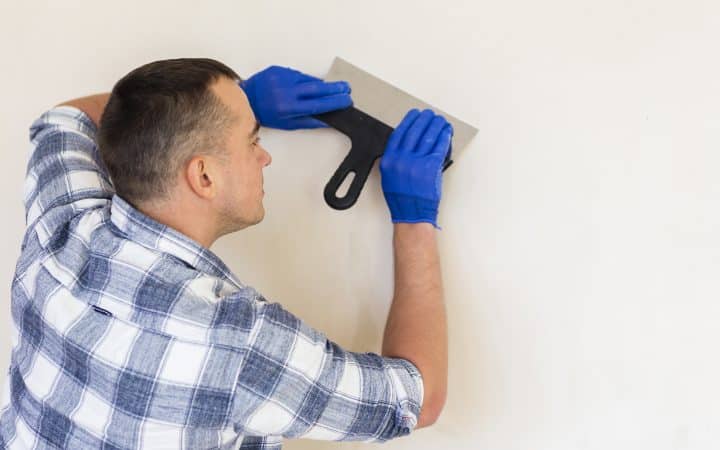
This is also the one stage where scraping earns its keep before sanding even starts. A 6 inch taping knife held nearly flat and dragged across the dry coat knocks off the worst ridges in a couple of minutes, with no dust at all, and it takes more material off than five minutes of sanding would. Scrape first, then sand what is left with the coarser grit. Skipping the scraper on a heavy first coat is the single biggest reason people burn through an entire sanding sponge on one wall.
Second coat: the transition, not the finish
The second coat is wider and thinner than the first, feathered out past the tape to start hiding the seam. There is less to remove, and the coat underneath — the first pass — gouges easier than the paper face of the drywall itself, so the grit steps down to 120 or 150 here. The job is leveling the field and softening the feather, not digging out ridges. Still fighting real ridges at this stage? The coat went on uneven, and a light fill pass beats muscling through it with coarse paper.
Finish coat and the final kiss before primer
The last coat, whether it is a third coat over tape or a full skim coat across the wall, is thin by design. There should not be much to remove at all if the coat went on well, which is exactly why this is the stage that trips people up. A 150 grit pass levels the field the same way it does over a skim coat, and a light 220 grit pass afterward — barely more pressure than the weight of the sander head — removes the fine nap without cutting new scratches into a surface that is only a hair thick to begin with. This is the same 150-then-220 sequence covered in more depth in the skim coat guide, and it holds whether you skimmed the whole wall or just feathered three coats over a seam.
What over-sanding actually does to the wall
Over-sanding is not really about using too coarse a grit. It is about running any grit too hard, too long, or at the wrong stage, and it does one specific kind of damage. Drywall paper has a thin facing layer with a fine fiber structure, and once the abrasive cuts through the compound sitting on top of it, it starts working on that paper instead. The fibers lift instead of cutting cleanly, leaving a soft, fuzzy patch called nap or fuzzing — barely visible on bare compound, impossible to miss once primer goes on. Primer soaks into raised fiber differently than it soaks into compound, so the patch reads as a dull, textured stain that no amount of paint fixes. It is a surface problem sitting underneath the color, not a color problem.
Three habits cause almost all of it. Pressing down instead of letting the sander’s own weight do the work is the biggest one — lean on a pole sander and a 150 grit pass turns into a paper-tearing pass in one spot. Sanding the same six inches for an extra thirty seconds because a shadow looked wrong is the second, usually chasing a ridge that scraping would have handled in five seconds flat. Reaching for a coarser grit than the stage calls for because the finer one feels slow is the third — coarse paper does not know the difference between compound and paper, it just keeps cutting.
There is no fixing fuzzed paper with a lighter touch afterward. The fiber is already lifted, and sanding it again just spreads the damage. The only real fix is a thin skim pass over the fuzzed area, feathered wide, dried, and sanded properly with less pressure. It costs a day. Catching it before it happens costs nothing.
What under-sanding leaves for the primer to find
Under-sanding is the quieter mistake, and it is the one I get called back for more often than fuzzing, because it does not look like a mistake at all. The wall looks done, compound dry and pale and even under the room light, no obvious ridge anywhere you are standing. What it actually leaves behind are low-relief edges — a thin lip where a coat ends, a faint high point where a knife stroke overlapped the last one, a proud line along a feathered edge that never quite got knocked down. None of that throws a shadow under a ceiling fixture, because overhead light hits every part of the wall at roughly the same angle.
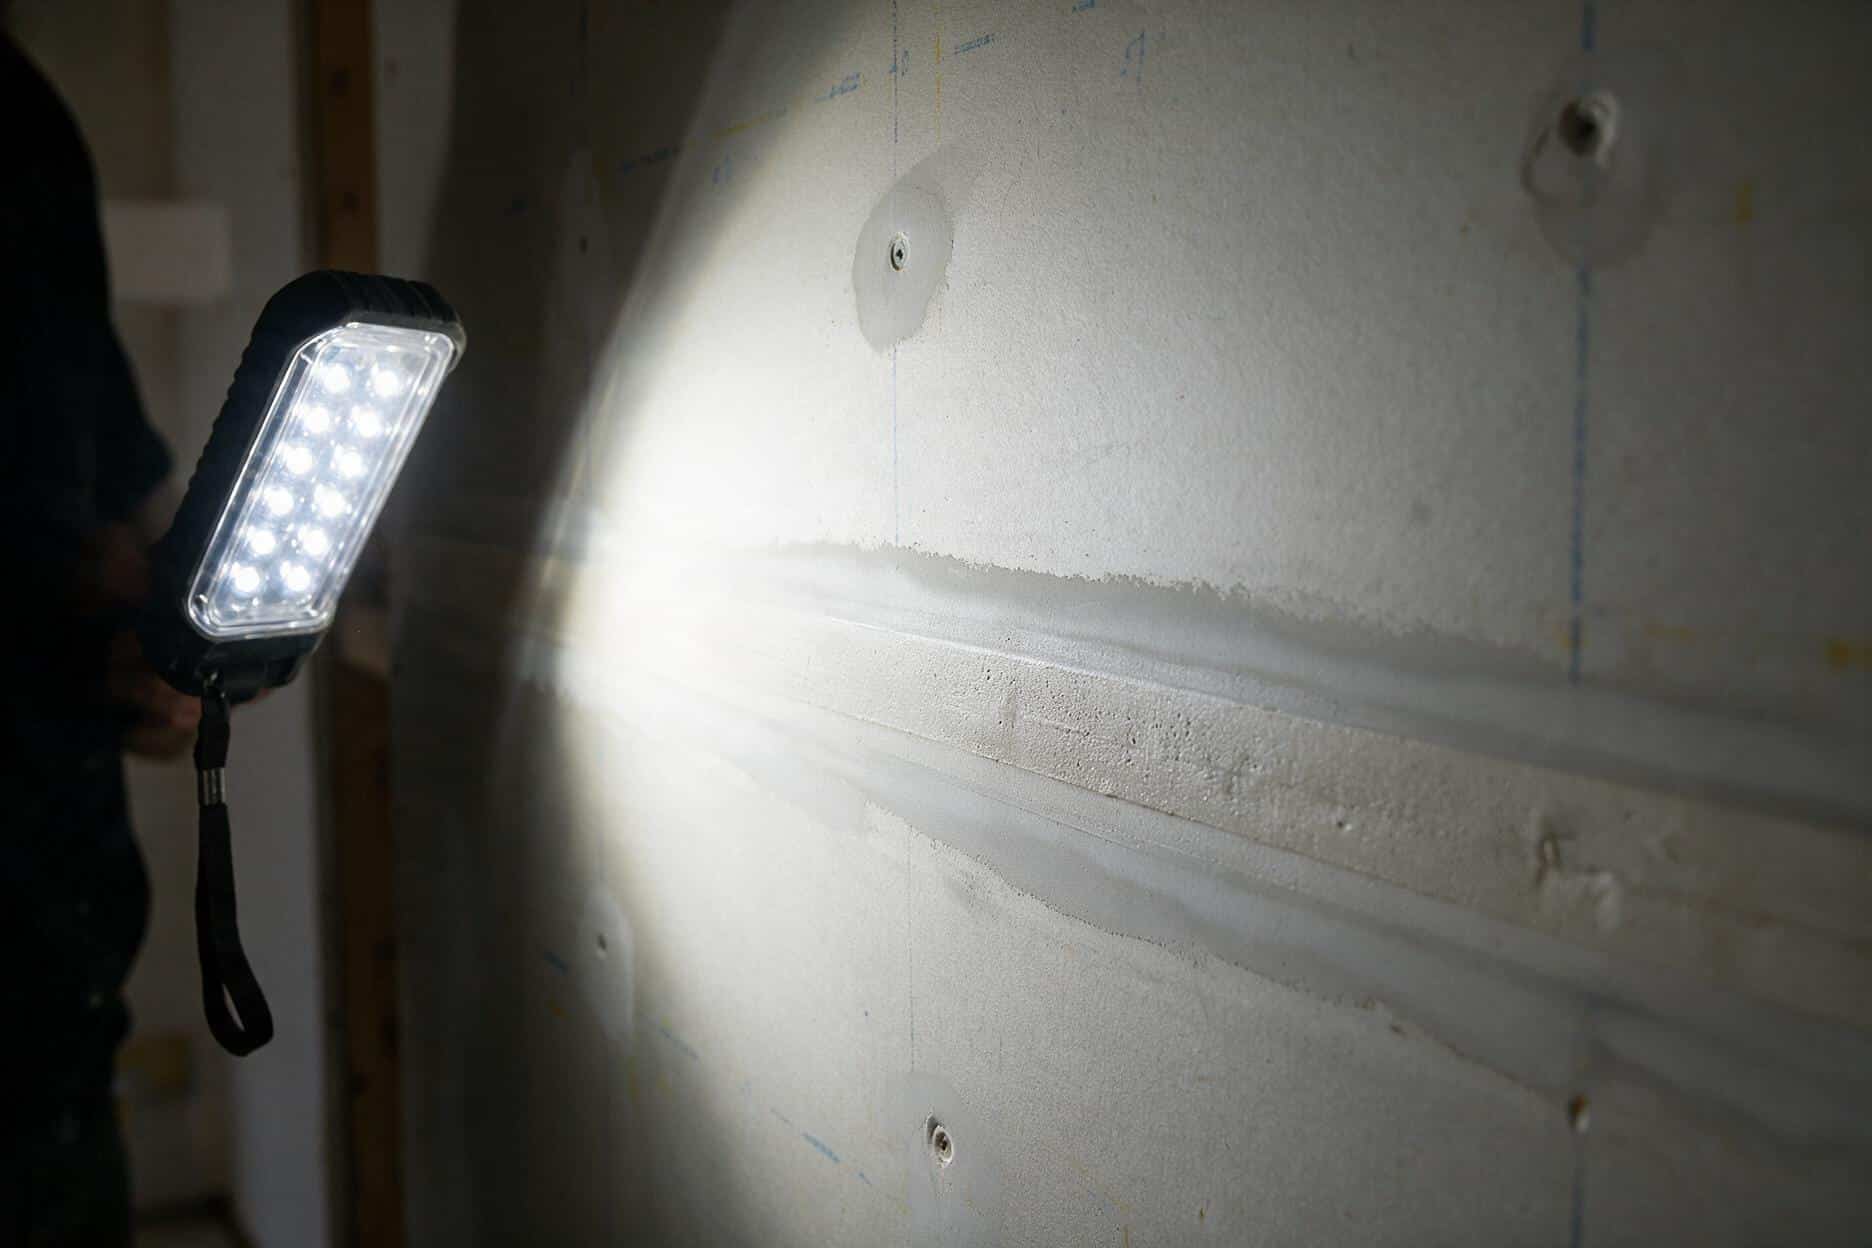
Change the angle of the light and the same wall tells a different story. A window at one end of the room, or a work light held flat against the surface and swept across it, turns every one of those low edges into a shadow line, because raking light exaggerates height differences that straight-on light hides completely. Primer is the first coat that reflects light evenly across the whole wall, which is exactly why a wall that looked flawless in bare compound suddenly shows every seam once primer goes on — and by then you are sanding a primed wall, which usually means priming that spot again.
The fix costs nothing but five minutes and a light source. Before you call a wall done — and definitely before you open a can of primer — kill the overhead light and run a work light or a flashlight flat along the surface. Every edge that is going to show under a window later shows up now, while it is still just compound and a few more minutes with 220 grit, not primer and a full recoat.
Dry sanding vs. wet sponge sanding: how to choose
Grit number is half the decision. The other half is whether you are cutting with dry sandpaper or a damp sponge — the two are not interchangeable at every stage, even at the same nominal grit. Dry sanding cuts faster and shows you exactly what is happening under the paper, which makes it the only realistic option for knocking down a heavy first coat in a reasonable time. It also throws fine gypsum dust into the air for hours, and a moment of too much pressure turns into fuzzed paper before you feel it happen.
A wet sanding sponge trades speed for control. The damp surface loads up with compound instead of throwing it into the air, so there is close to no airborne dust, and the sponge flexes slightly into low spots instead of only riding the high points the way a rigid pole sander does. That flex is why a wet sponge is more forgiving on a finish coat — the water softens the very top of the compound just enough to smooth it rather than tear it. The trade-off is time. Wet sanding is slower, the sponge needs rinsing constantly, and it will not touch a genuinely heavy first coat in any reasonable time frame.
| Dry sandpaper | Wet sponge | |
|---|---|---|
| Speed | Fast, especially on thick coats | Slow, roughly half the speed |
| Dust | Heavy, needs an N95 and containment | Almost none |
| Risk of tearing paper | Higher, especially under pressure | Lower, the damp surface is more forgiving |
| Best stage | First and second coat, heavy material | Finish coat, feathered edges, occupied rooms |
| Redo rate | Higher on thin finish coats | Lower, but easy to leave the surface too wet to prime soon after |
My practical answer for most rooms is both, used in sequence rather than one choice for the whole job. Dry sand the first and second coats where there is real material to remove, then switch to a fine wet sponge for the finish pass, especially in an occupied or poorly ventilated room. Dry sanding wins outright only in a large, unoccupied space with good containment and a vacuum-assisted sander, where equipment solves the dust problem and speed outweighs the sponge’s extra forgiveness.
Sandpaper, screens, and sponges: what to actually buy
Drywall sanding gear is inexpensive enough that the real cost of this stage is time, not materials — a full room rarely runs past 20 dollars in abrasives. What matters is picking the right format for the stage, not the priciest option on the shelf.
- Sanding screens, the open-mesh kind that fit a pole sander, in 100, 120 and 150 grit. The open weave resists loading with compound, so it cuts longer on a first or second coat.
- Standard sandpaper sheets, 150 and 220, for hand sanding corners, edges, and anywhere a pole sander cannot sit flat.
- A sanding sponge with a fine face and a medium face, one of the few tools worth buying in duplicate so you always have a dry one and a wet one going.
- A pole sander with a swivel head, which saves a ladder above shoulder height and is the same tool the skim coat guide recommends for the field of a wall.
- A hand sanding block for flat, controlled pressure on small patches, where a pole sander is overkill and a bare sheet of paper folds and creases.
- A vacuum-assisted sander if you are doing more than one room — a rental in most markets, and it turns dry sanding from the messiest stage into one of the cleanest.
A clip-on work light or a cheap flashlight belongs on this list as much as any abrasive does. You cannot judge whether a wall needs 150 or 220, or whether it needs sanding again at all, under the flat light most people work by. The light is how you check the work, not just how you see it.
Sanding a drywall joint from rough to primer-ready, step by step
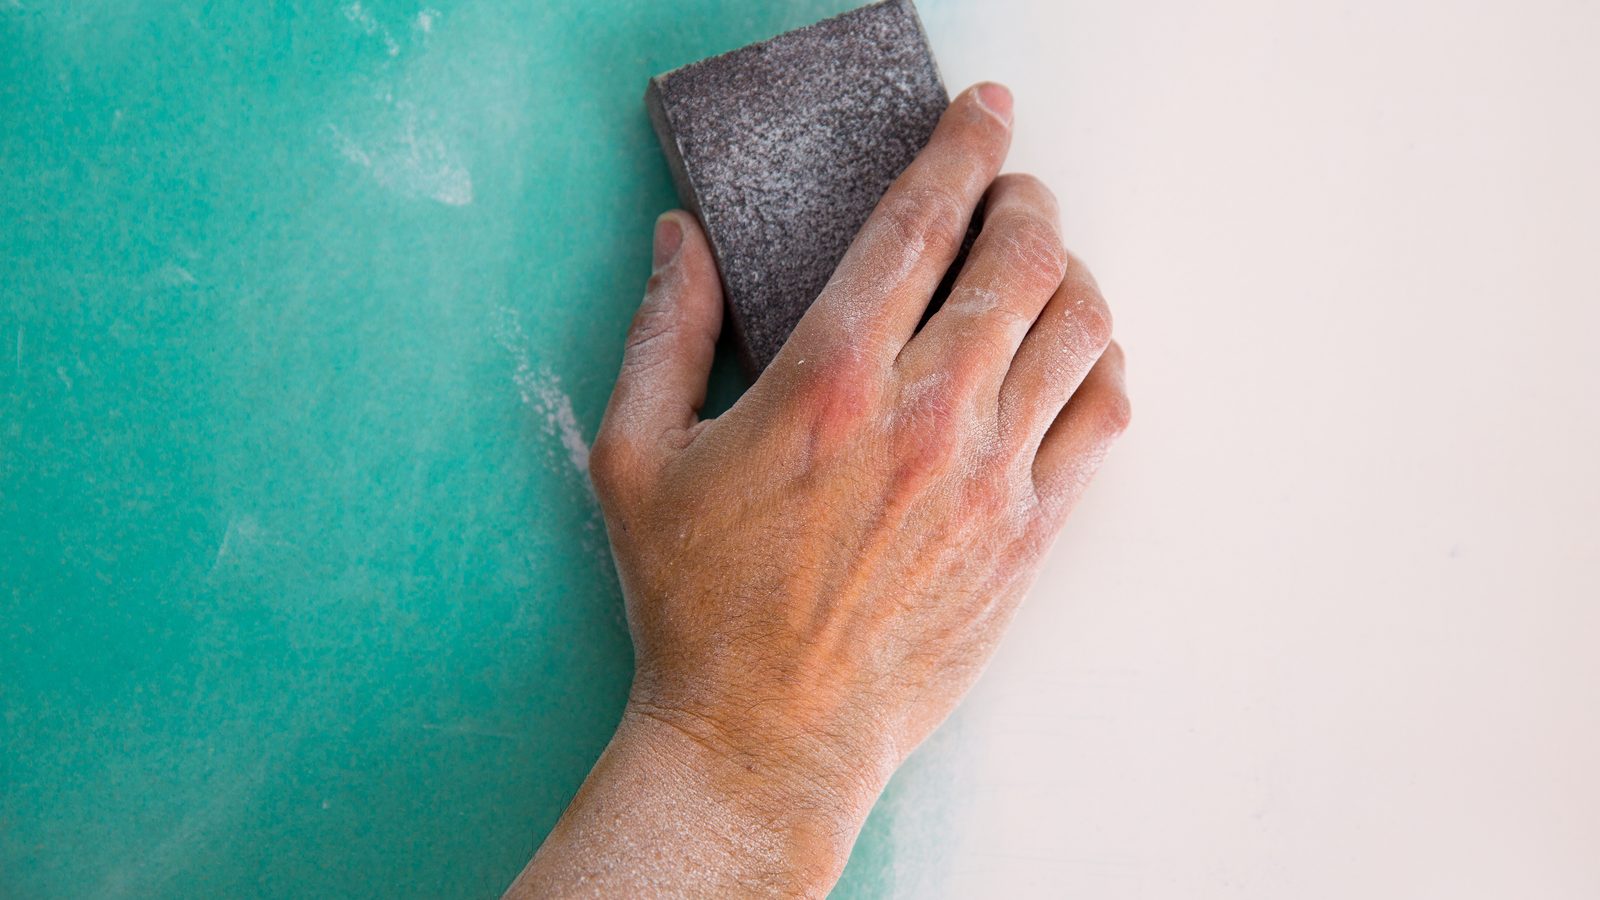
This is the sequence for a normal taped wall — bedding coat, fill coat, finish coat — whether you skimmed the whole plane or you are just finishing a single patch from patching a large hole in drywall. Treat each stage as its own short pass, and stop reaching for coarser paper the moment a coat is more than a day or two old.
-
Scrape before you sand, every coat
A 6 inch taping knife held nearly flat knocks off ridges and knife tracks in a couple of minutes with no dust, on every coat, not just the first. It removes more material than the first few minutes of sanding would, for free.
-
Match the grit to the coat, not the whole wall
100–120 on a fresh first coat, 120–150 once you are into the second coat, 150 for the general field of a finish or skim coat. Do not carry a coarse grit forward out of habit once the coat underneath it has gotten thinner.
-
Sand the field with light, even pressure
Let the weight of the sander head do the cutting. Keep it moving in overlapping passes, and stop the instant the feel changes from a dry scratch to a softer, duller drag — that shift means the compound is gone and you have hit paper.
-
Check under raking light before calling a coat done
Kill the overhead light and run a work light flat along the surface. Every edge that is going to show under a window later shows up now, while it is still a two-minute fix with the sander instead of a full recoat.
-
Finish with a light 220 grit kiss pass
Barely more pressure than the paper’s own weight, dry or wet. This pass removes nap, not ridges — still knocking down high spots at 220 means the coat needed another light fill first. Feather the outer edges last, with the lightest touch of the job, blending them into the surrounding surface rather than flattening them in place.
-
Vacuum and tack the wall before priming
Dust left on the surface gets trapped under the primer and shows as a slightly gritty patch once it dries. A vacuum brush attachment followed by a barely damp cloth or tack cloth clears it without wetting the compound.
Dust, ventilation, and when to stop and test
Dry sanding drywall compound produces a fine gypsum dust that stays suspended in the air for hours and travels through a house more easily than people expect. Close doors to rooms you are not working in, put a box fan in a window blowing outward, and wear an N95 for anything beyond a small patch. A wet sanding sponge solves most of this on its own, which is the strongest practical argument for switching to one in an occupied home.
Sanding through old paint or texture in a home built before 1978?
Joint compound dust on its own is not the concern. What is underneath older paint or texture can be. Homes from that era can carry lead-based paint under later coats, and sprayed or troweled textures made before the late 1970s restrictions can contain asbestos. If you are sanding back through an old patch to bare board rather than just a fresh coat of compound, stop and test before continuing — a lab sample runs about $40. The fuller picture is in popcorn ceiling asbestos, and where this advice stops is set out in the disclaimer.
If the wall is not going fully smooth, sand less than you think
Everything above assumes the wall is headed for a smooth, Level 4 or Level 5 finish under paint. Getting a sprayed or hand-applied texture instead — orange peel, knockdown, skip trowel — lowers the sanding standard rather than raising it. A texture only needs the coat underneath free of hard ridges and knife tracks, not a glass-smooth surface, because the texture is about to bury anything short of a real defect. Over-sanding a coat headed for texture wastes the exact time this guide is trying to save. Not sure which texture is already on the wall? The identification key in drywall texture types covers that before you pick up a sander.
Sanding is the last prep step before color goes anywhere near the wall, and it is also the cheapest one to get right compared to what a redo costs in primer and paint. The rest of what happens before paint touches drywall — patching, skim coating, texture matching — lives under surface prep.
Questions I get on site
What grit sandpaper to sand drywall?
100–120 for a thick first coat over tape, 120–150 for the second coat, then 150 followed by a light 220 for the finish coat or a skim coat right before primer. There is no single correct grit for the whole job, only a correct grit for the stage.
What grit to sand drywall before priming?
220, applied with barely any pressure. There should be very little material left to remove at this stage, so the goal is knocking off fine nap, not leveling anything. Still cutting into real ridges at 220? Sand the field again at 150 first.
Do you have to sand between every coat of joint compound?
Scrape between every coat, at minimum, with a 6 inch knife held flat — it takes minutes and removes ridges without dust. Full sanding is worth it when the previous coat left real high spots; if it went on clean and level, a quick scrape is often enough.
What happens if you sand drywall too much?
I see this most often on a finish coat: you cut through the compound into the paper face underneath, which lifts into a fuzzy nap instead of a clean scratch. It is barely visible on bare compound but shows as a dull, textured patch once primer goes on, and the only fix is another thin skim pass, dried and sanded properly.
Should I sand drywall wet or dry?
Dry for the first and second coats, where there is real material to remove and speed matters more than dust. A wet sponge for the finish coat and feathered edges, where the damp surface forgives an unsteady hand and produces almost no airborne dust.
Why does my sanded wall look fine until I paint it?
Overhead light hits a wall evenly and hides low ridges that raking light exposes instantly. Primer is the first coating that reflects light uniformly, so seams and edges invisible in bare compound suddenly show. Check the wall with a flashlight held flat against it before priming, not after.
Grit numbers and technique on this page follow standard drywall finishing practice, the same coat-by-coat approach used throughout this site. My background and how I put these guides together is on the about page. If something here does not match what you are seeing on your own wall, tell me and I will take a look.