A crack doesn’t announce what it is. A hairline line by a door frame and a stair-step crack marching up a block wall can look almost the same width from three feet away, and only one of them is a weekend job. Twenty-nine years on job sites taught me to read the crack before I touch it — which way it runs, how wide it actually is, and whether it’s new or the same one that opened last winter and never really left. That’s the order this guide follows: diagnose first, then fix it in a way that’s still flat a year from now. If what you’re looking at went all the way through the wall rather than just splitting it, that’s a different job — see our guide to patching a large hole in drywall instead.
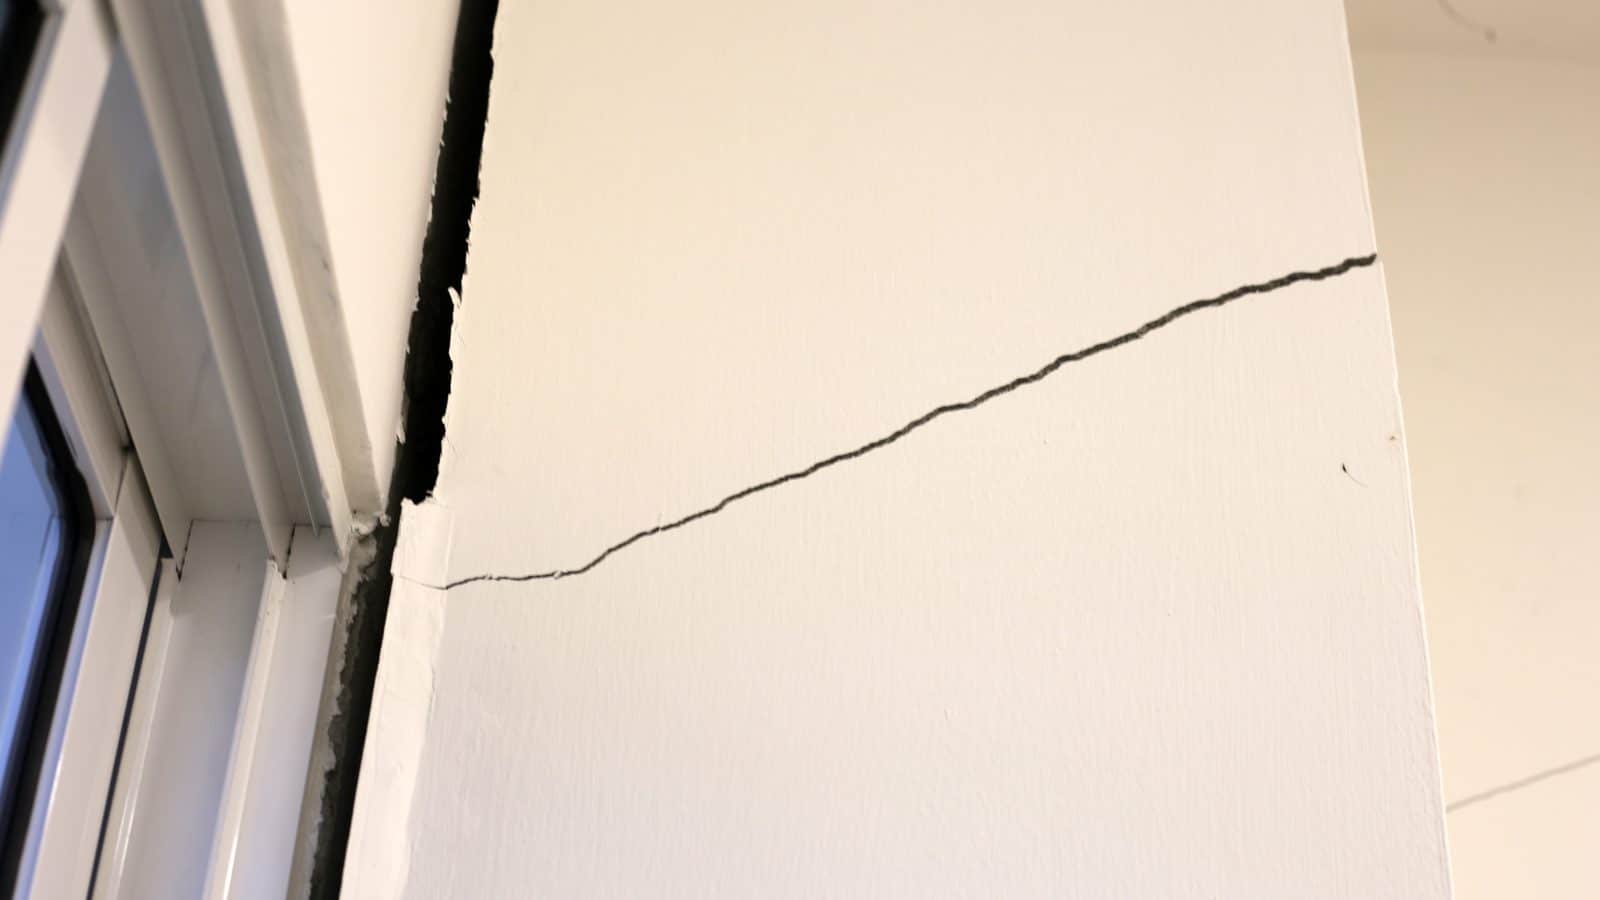
Vertical, horizontal, or diagonal — what the crack is telling you
Direction is the fastest read you’ll get, and it’s usually right. Before you open a tub of compound, stand back and look at which way the crack actually runs.
| Direction | What it usually means | How worried to be |
|---|---|---|
| Vertical, straight, single | Drywall seam tape failing, or normal framing settling | Low — a taping job, not a structural one |
| Vertical, several on the same wall | Possible foundation or framing movement behind that wall | Moderate — watch width and growth |
| Horizontal | Soil or water pressure on a foundation wall, roof spread, or a failed wall tie | High — get it looked at regardless of width |
| Diagonal (~45°), especially from a door or window corner | Uneven settling under that section of the foundation | Moderate to high — depends on width and whether it’s growing |
| Stair-step, following mortar joints in block or brick | The textbook sign of differential settlement | Moderate to high — some stabilize, some don’t; width decides |
None of that is a verdict on its own. A single vertical hairline next to a nail pop is a Saturday afternoon. The same shape running diagonally from the corner of a window, in a stair-step pattern down a block wall, is the one you measure and photograph before you do anything else. Direction tells you where to look. Width and movement tell you what to do about it — which is the next question.
The width test — when to stop watching and start worrying
This is the number that decides more than direction does.
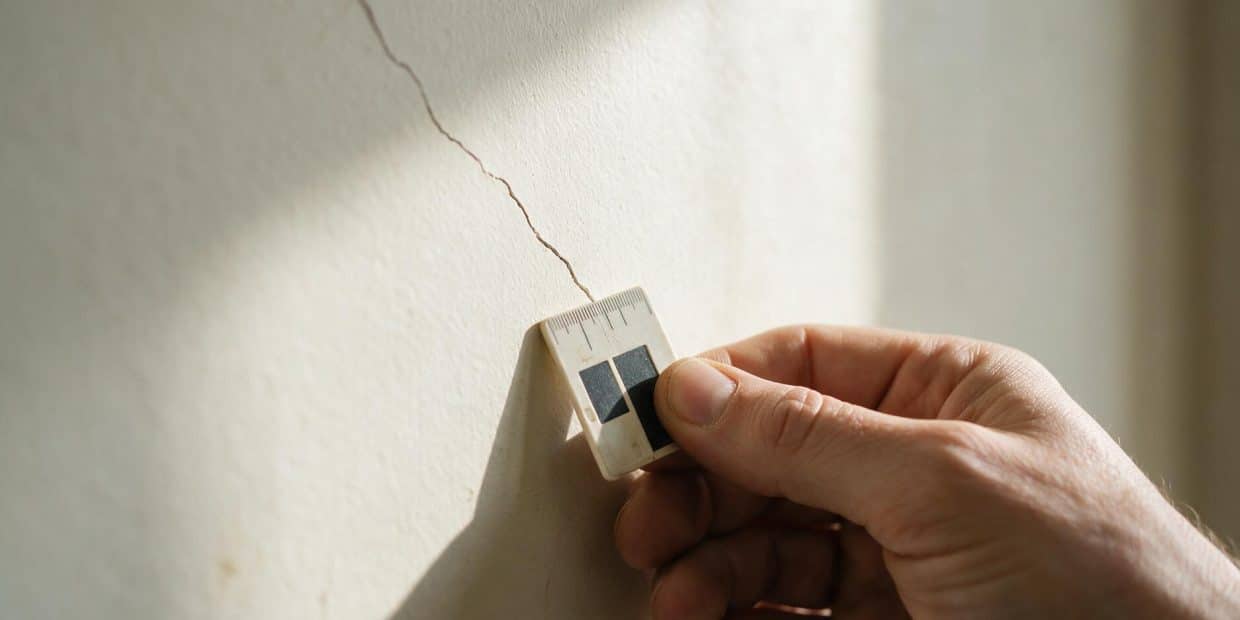
- Under 1/8 inch and not growing — normal movement, cosmetic fix, proceed below.
- 1/8 to 1/4 inch — worth tracking for a month before committing to a permanent repair.
- 1/4 inch or wider, or one side sits proud of the other — you can feel a lip with a fingernail, not just a line — stop patching and get a professional opinion first.
- Any horizontal crack, at any width — goes straight into the “call someone” pile. Direction overrides width on that one.
To track a borderline crack without guessing: stick a piece of painter’s tape across it, date it with a marker, and check back in 30 days. If the tape tears or the mark shifts, the crack is still active and a cosmetic patch is the wrong move until you know why. A $2 test beats a repaint you’ll be redoing.
Scraping or sanding a crack on a wall painted before 1978?
US homes built before 1978 may have lead-based paint under later coats, and dry-scraping or dry-sanding it releases dust. A homeowner working on their own house isn’t bound by the EPA’s RRP rule the way a paid contractor is, but the same precautions are worth following: work the area damp, use a HEPA vacuum instead of a dry brush, and never dry-sand down to bare gypsum on an old painted crack. See our disclaimer for the full rundown.
Why the same crack keeps coming back, and why more mud won’t fix it
Patch a crack with ordinary joint compound and watch it split open again in the same spot within a year, and the compound was never the problem. Rigid compound doesn’t move. If something behind it does — framing lumber shrinking and swelling with the seasons, or a roof structure doing the same — the crack has nowhere to go but back through your patch.
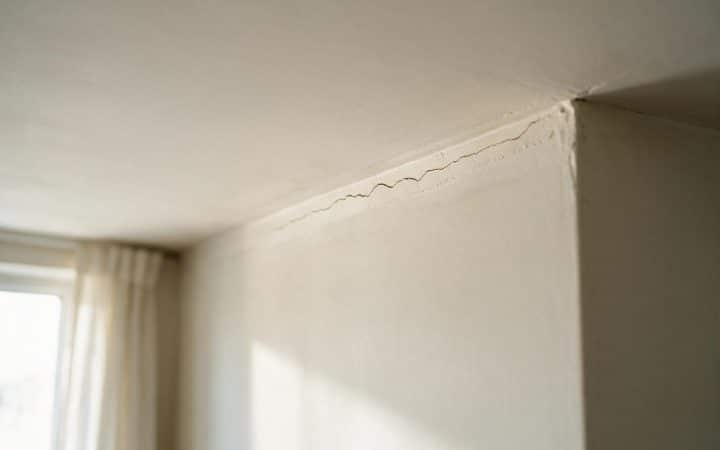
The single most common repeat offender is a crack running along the top of an interior wall, right where it meets the ceiling — worse every winter, smaller or gone by summer. That’s usually truss uplift, not settling. Roof trusses have a top chord and a bottom chord, and in cold, dry weather the top chord loses moisture and shrinks more than the bottom one, arching the whole truss upward in the middle. On a long span that lift can reach close to an inch at the center, and it drags the ceiling drywall up and away from the top of the interior walls underneath. It isn’t a structural problem. It’s seasonal, it shows up mostly in colder climates, and it has nothing to do with your foundation. If the crack comes with a brown stain, or the drywall feels soft or damp, that’s not truss uplift — check our water stain on ceiling guide or how to detect mold inside walls instead.
The fix for a movement crack isn’t a stronger patch. It’s a flexible one, applied so it can move with the house instead of fighting it.
Never mud a truss-uplift crack with rigid, all-purpose compound
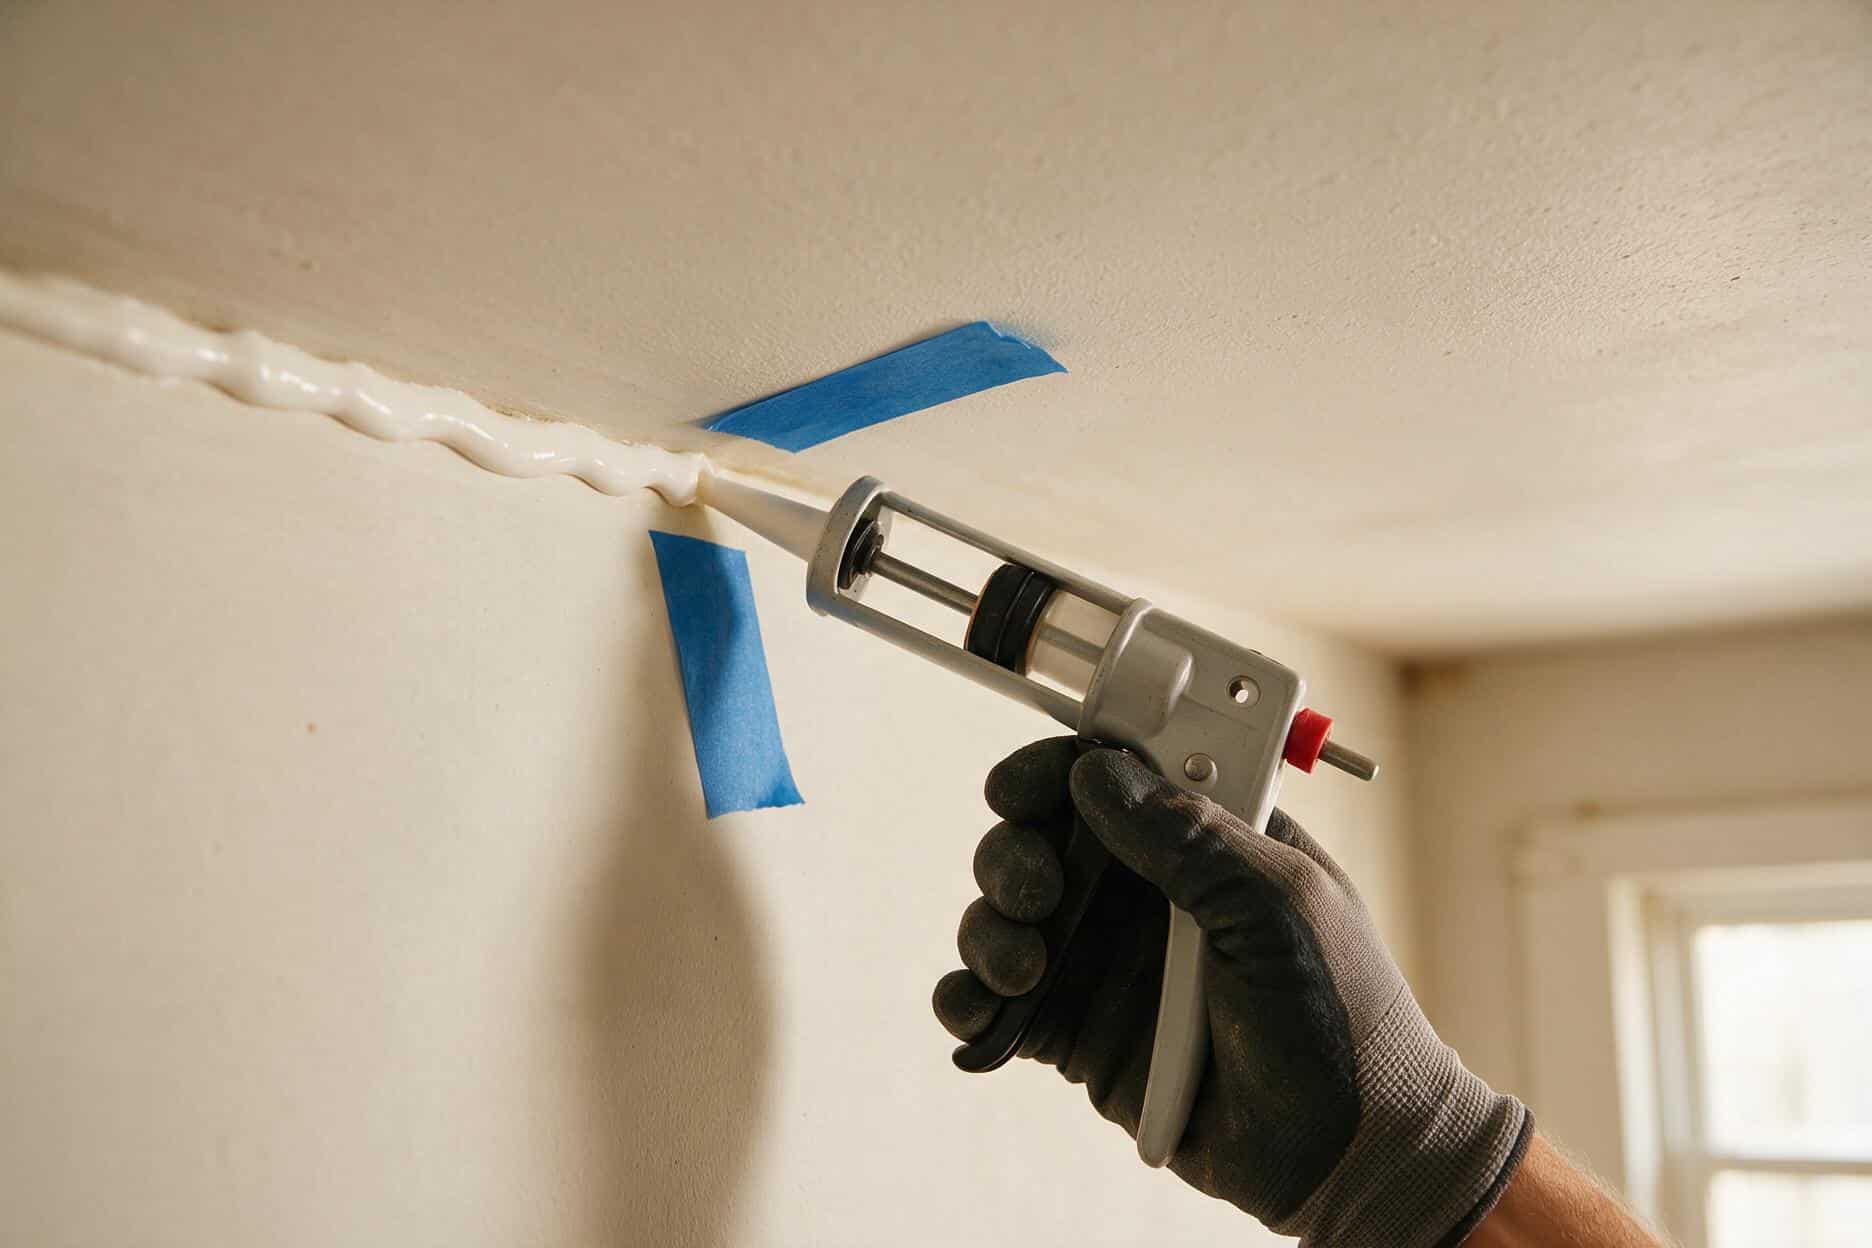
It bonds hard, and when the truss lifts again next winter, it cracks the patch instead of the old line — sometimes worse than before. Use a flexible, paintable elastomeric patching compound instead, or run a bead of paintable acrylic caulk (not silicone — it won’t take paint or a skim coat) into the joint before you tape and finish over it. If the gap is wide enough to see rather than just feel, hiding it behind crown molding fastened only to the wall — never the ceiling — lets the trim slide as the truss moves instead of cracking every year.
How to fix a hairline or settling crack, step by step
Once you’ve confirmed the crack is narrow, stable or slow-moving, and clear of the red flags below, this is the repair — the same sequence whether it’s a foot long next to a door frame or ten feet along a hallway ceiling.
Decide flexible or rigid
If the crack sits at a ceiling-wall corner, an inside corner between two framed walls, or has opened and closed with the seasons before, treat it as a movement crack and use a flexible patching compound or a caulk-and-tape combination. Everything else gets standard joint compound.
Open the crack
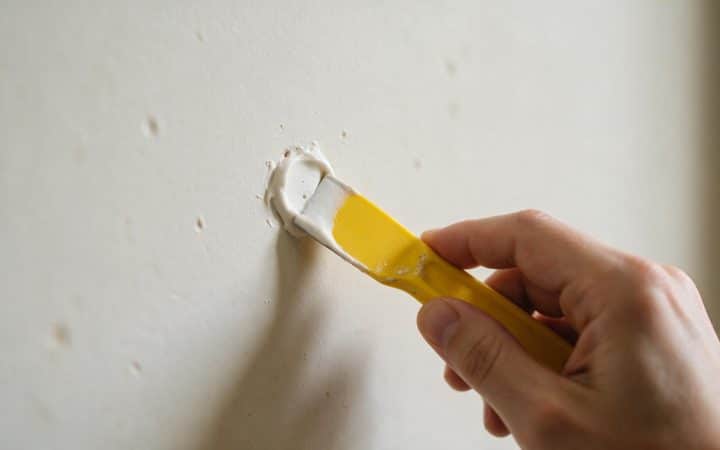
Run a utility knife or 5-in-1 tool along the full length to widen it into a shallow V, even if it looks hairline. Compound needs something to grip — painting over a closed surface line just re-cracks along the same path.
Clean it out
Brush or vacuum the dust and any loose paint or gypsum out of the groove. Compound applied over dust doesn’t bond, and this is the step behind most patches that fail early.
Bed the tape
For anything longer than a few inches, press paper or mesh tape into a thin bed of compound — or your flexible filler on a movement crack — over the full length, working out air bubbles with a 6-inch knife.
First coat
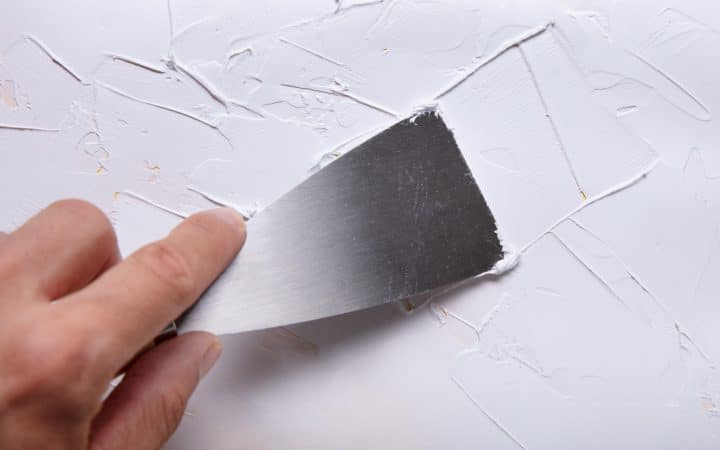
Cover the tape with a thin layer, feathered 3 to 4 inches past each edge. This coat is about adhesion, not looks.
Let it dry
All-purpose compound takes 12 to 24 hours a coat. If you’re patching several cracks or want to paint the same day, a setting-type compound (20, 45, or 90-minute) hardens by chemical reaction instead of drying out, so you can recoat within the hour.
Second and third coats
Each coat wider than the last, feathered 5 to 6 inches past the edge of the one before it. This is where a patch stops being visible.
Sand, prime, paint
Fine-grit sanding once fully dry, then a coat of primer before paint. Compound is more porous than the surrounding wall and will flash a different sheen through finish paint without it.
Tools and materials
You won’t need every row — only the ones for the crack you actually have.
| Item | Use | Rough cost |
|---|---|---|
| 5-in-1 tool or utility knife | Open the crack into a V before filling | $8–$15 |
| Paper or mesh drywall tape | Bridges the crack so compound doesn’t just crack again | $5–$10 |
| All-purpose joint compound | Standard fill and finish coats | $12–$20/gallon |
| Setting-type (“hot mud”) compound | Base coat when you want same-day recoating | $15–$25 |
| Flexible elastomeric patching compound or paintable acrylic caulk | Movement cracks — corners, truss uplift, repeat offenders | $10–$18 |
| 6-inch and 10–12-inch taping knives | Apply and feather each coat | $12–$25 |
| 220-grit sanding sponge | Smooth between and after coats | $5–$8 |
| Drywall primer or PVA sealer | Evens out porosity before paint | $18–$30/gallon |
One tube goes further than it looks
A single tube of flexible patching compound covers more corners than you’d expect — most houses only need one, even if truss uplift shows up at several ceiling corners at once.
What a structural crack looks like, and what to do next
Most of what brings people to a search for how to fix cracks in walls is cosmetic. A smaller share isn’t, and the difference is worth slowing down for.
- The crack is horizontal, at any width
- It’s 1/4 inch or wider, or it’s grown since you first noticed it
- One side sits higher or further out than the other — a lip you can feel, not just a line
- Doors in the room stick, or a nearby floor has a noticeable slope
- It’s diagonal or stair-step, on a masonry or block wall, and it’s getting longer
- Multiple vertical cracks appeared on the same wall around the same time
Any one of those is worth a call to a structural engineer — not a foundation repair company’s free inspection. A structural engineer’s fee pays for an independent opinion; a repair company’s free estimate pays for itself the moment it sells you a fix. Getting the diagnosis and the repair from two different sources isn’t paranoia — it’s how you find out whether you actually need thousands of dollars of foundation work or a drainage fix that costs a fraction of that.
What this costs in 2026
Prices below are for the crack repair itself — not the diagnosis, and not whatever a structural fix behind it might cost, which belongs in a foundation contractor’s estimate rather than this guide.
| DIY materials | Pro, hairline/settling | Pro, seam or corner crack | |
|---|---|---|---|
| Typical cost | $10–$40 | $100–$250 | $150–$350 |
Structural repairs — underpinning, wall anchors, drainage correction — run well past those numbers, and depend entirely on what an engineer finds rather than on the crack’s size. For the full range of drywall repair costs by job type, see our drywall repair cost guide; the numbers above are specific to the crack repair this article covers.
Questions I get on site
Is it normal for a new house to crack in the first year?
Yes. New-construction homes and additions typically show hairline cracking in the first heating season or two as framing lumber dries out and settles into its final shape. It’s almost always cosmetic, and worth waiting on before you commit to a permanent repair — it can reopen once more in year two before it truly stops.
Can I just paint over a crack instead of fixing it?
Not for long. Paint has almost no ability to bridge a moving joint, and a crack painted without tape or filler underneath telegraphs straight back through the new coat, usually within a season.
Why does the crack in my ceiling corner open every winter and disappear by summer?
That’s truss uplift, covered above — a seasonal lift in the roof structure, not a sign your house is settling or unsafe. Fix it with a flexible filler, not rigid compound, or hide it behind crown molding fastened only to the wall.
Is a crack in a plaster wall different from drywall?
The material behaves differently. Plaster over wood or metal lath tends to develop a fine network of hairline cracks across a wide area rather than one clean line, and it’s more brittle — pressing on a plaster crack to test it can do more damage than checking a drywall one does. Reattaching plaster to its lath is a different repair than taping a drywall seam, and a wide map of plaster cracks is often better served by skim coating the whole wall than by chasing each line individually.
Does homeowners insurance cover crack repair?
Usually not for ordinary settling — most policies treat that as gradual wear rather than a covered loss. Sudden damage from a specific covered event, like a burst pipe or a storm, is a different conversation. Check your policy or ask your agent rather than assuming either way.
Spackle or joint compound for a crack?
Joint compound, with tape underneath, for anything you’d actually call a crack. Spackle is built for small, non-moving holes like nail pops, not for bridging a joint that opens and closes.
How long before I can paint over a repaired crack?
With all-purpose compound at two to three coats, roughly 24 hours apart, plan on 2 to 3 days before priming. Setting-type compound for the base coat can get you to paint the same day.
Should I worry more about a crack above a door or window?
More than the same crack elsewhere on a flat wall. Corners above openings concentrate stress, and a diagonal crack running from that corner is one of the more reliable early signs of settling worth measuring and watching closely.
Guides on this site are for general information about routine home maintenance. Suspected asbestos, mold over 10 sq ft, or structural water damage should be assessed by a licensed professional in your state.