You can paint over wood paneling, and in most houses you do not need to strip it down to bare wood first. The part that trips people up is not the painting, it is the prep: paneling has a factory sealant that resists paint, and the wood underneath can bleed stains through a color coat weeks after it looked finished. Handle those two things in order and the rest of the job is a normal paint job.
This guide covers what actually makes paneling different from drywall, when you can skip sanding and when you cannot, which primer stops the bleed-through, and what to do with the grooves before the roller ever comes out.
How to paint over wood paneling without sanding every panel
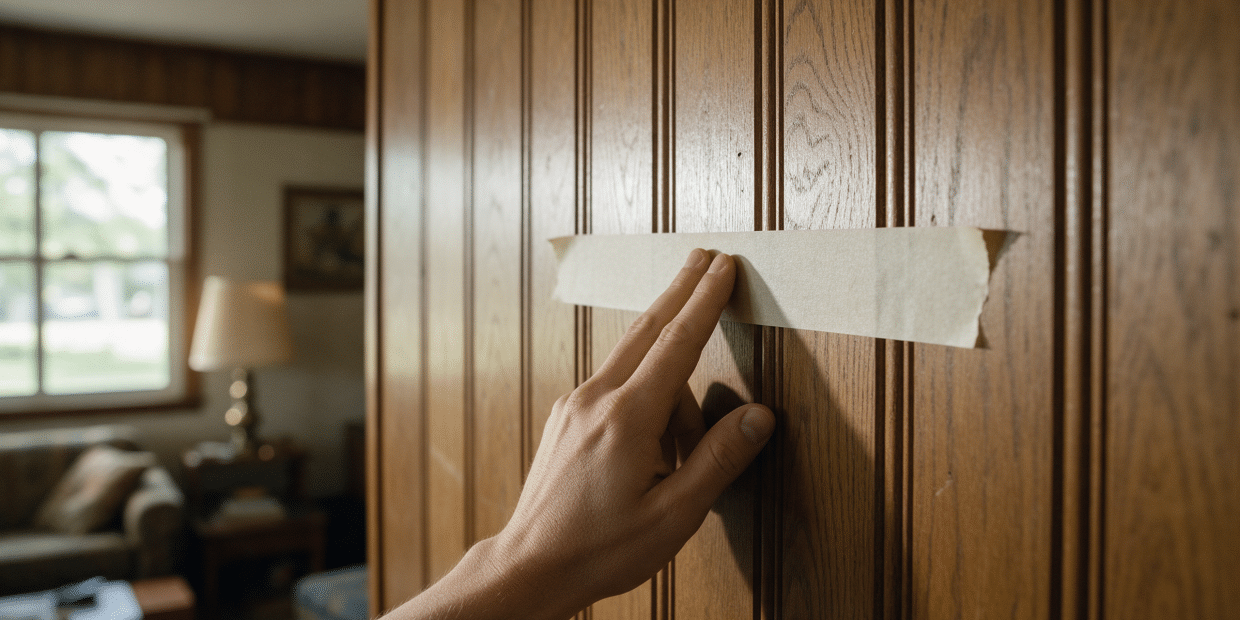
Most wood paneling installed from the 1960s through the 1980s left the factory with a clear sealant baked onto the surface, sometimes a vinyl-like coating, sometimes a sprayed lacquer. That finish is what makes paneling look glossy and slightly plastic under a lamp, and it is also exactly what paint cannot grip. Roll a color coat straight over an intact factory sheen and it beads, crawls, or dries in a thin film that peels off in sheets within a season, not because the paint was bad but because it never actually bonded to anything.
Whether you need to sand that sheen off first, or can bypass it with the right primer, depends on how glossy the panel actually is and whether it is solid wood, a thin wood veneer, or a photographic vinyl laminate over fiberboard. The three look similar from across a room and behave very differently under paint. It is the same question we cover for a different dated wall covering in whether you can paint over wallpaper: what is actually under the surface decides whether paint sticks for good.
| Clue | Solid wood or real veneer | Vinyl or photo-laminate panel |
|---|---|---|
| Grain pattern across sheets | Never repeats exactly from panel to panel | The same grain and knot pattern repeats every few sheets |
| A chipped corner or cut edge | Wood grain runs through the full thickness | A thin printed layer sits over plain fiberboard or plywood core |
| Fingernail test in a hidden spot | Slightly textured, takes a faint scratch | Smooth and slick, resists scratching |
Real wood and genuine veneer hold paint well once the sheen is broken, because paint is bonding to actual wood fiber underneath. Vinyl and photo-laminate paneling is the harder case: the printed surface is closer to a sheet of plastic laminate than to wood, and even a good primer struggles to form a permanent bond on it. If a test patch of primer flakes off a laminate panel with light fingernail pressure after a full day’s cure, painting over it is a short-term fix at best.
Test one hidden panel before you commit to the whole room
Pick a spot behind a door or in a closet, prep and prime a square foot exactly the way you plan to do the rest, and let it cure overnight. A primer coat that holds up to a fingernail scratch the next morning will hold up on the rest of the room.
Clean the panels before anything else touches them
Paneling that has been up for decades usually carries a film of furniture polish, cooking grease, or old wax that is invisible until you try to paint over it. Any of those will sit between the primer and the panel and cause the same peeling you get from skipping prep entirely, even if you sand or degloss on top of the residue. Wipe every panel down with a degreasing cleaner, a mix of ammonia and water works on most paneling, or mineral spirits on heavily waxed or smoke-stained surfaces, then let it dry fully before you touch sandpaper or deglosser to it.
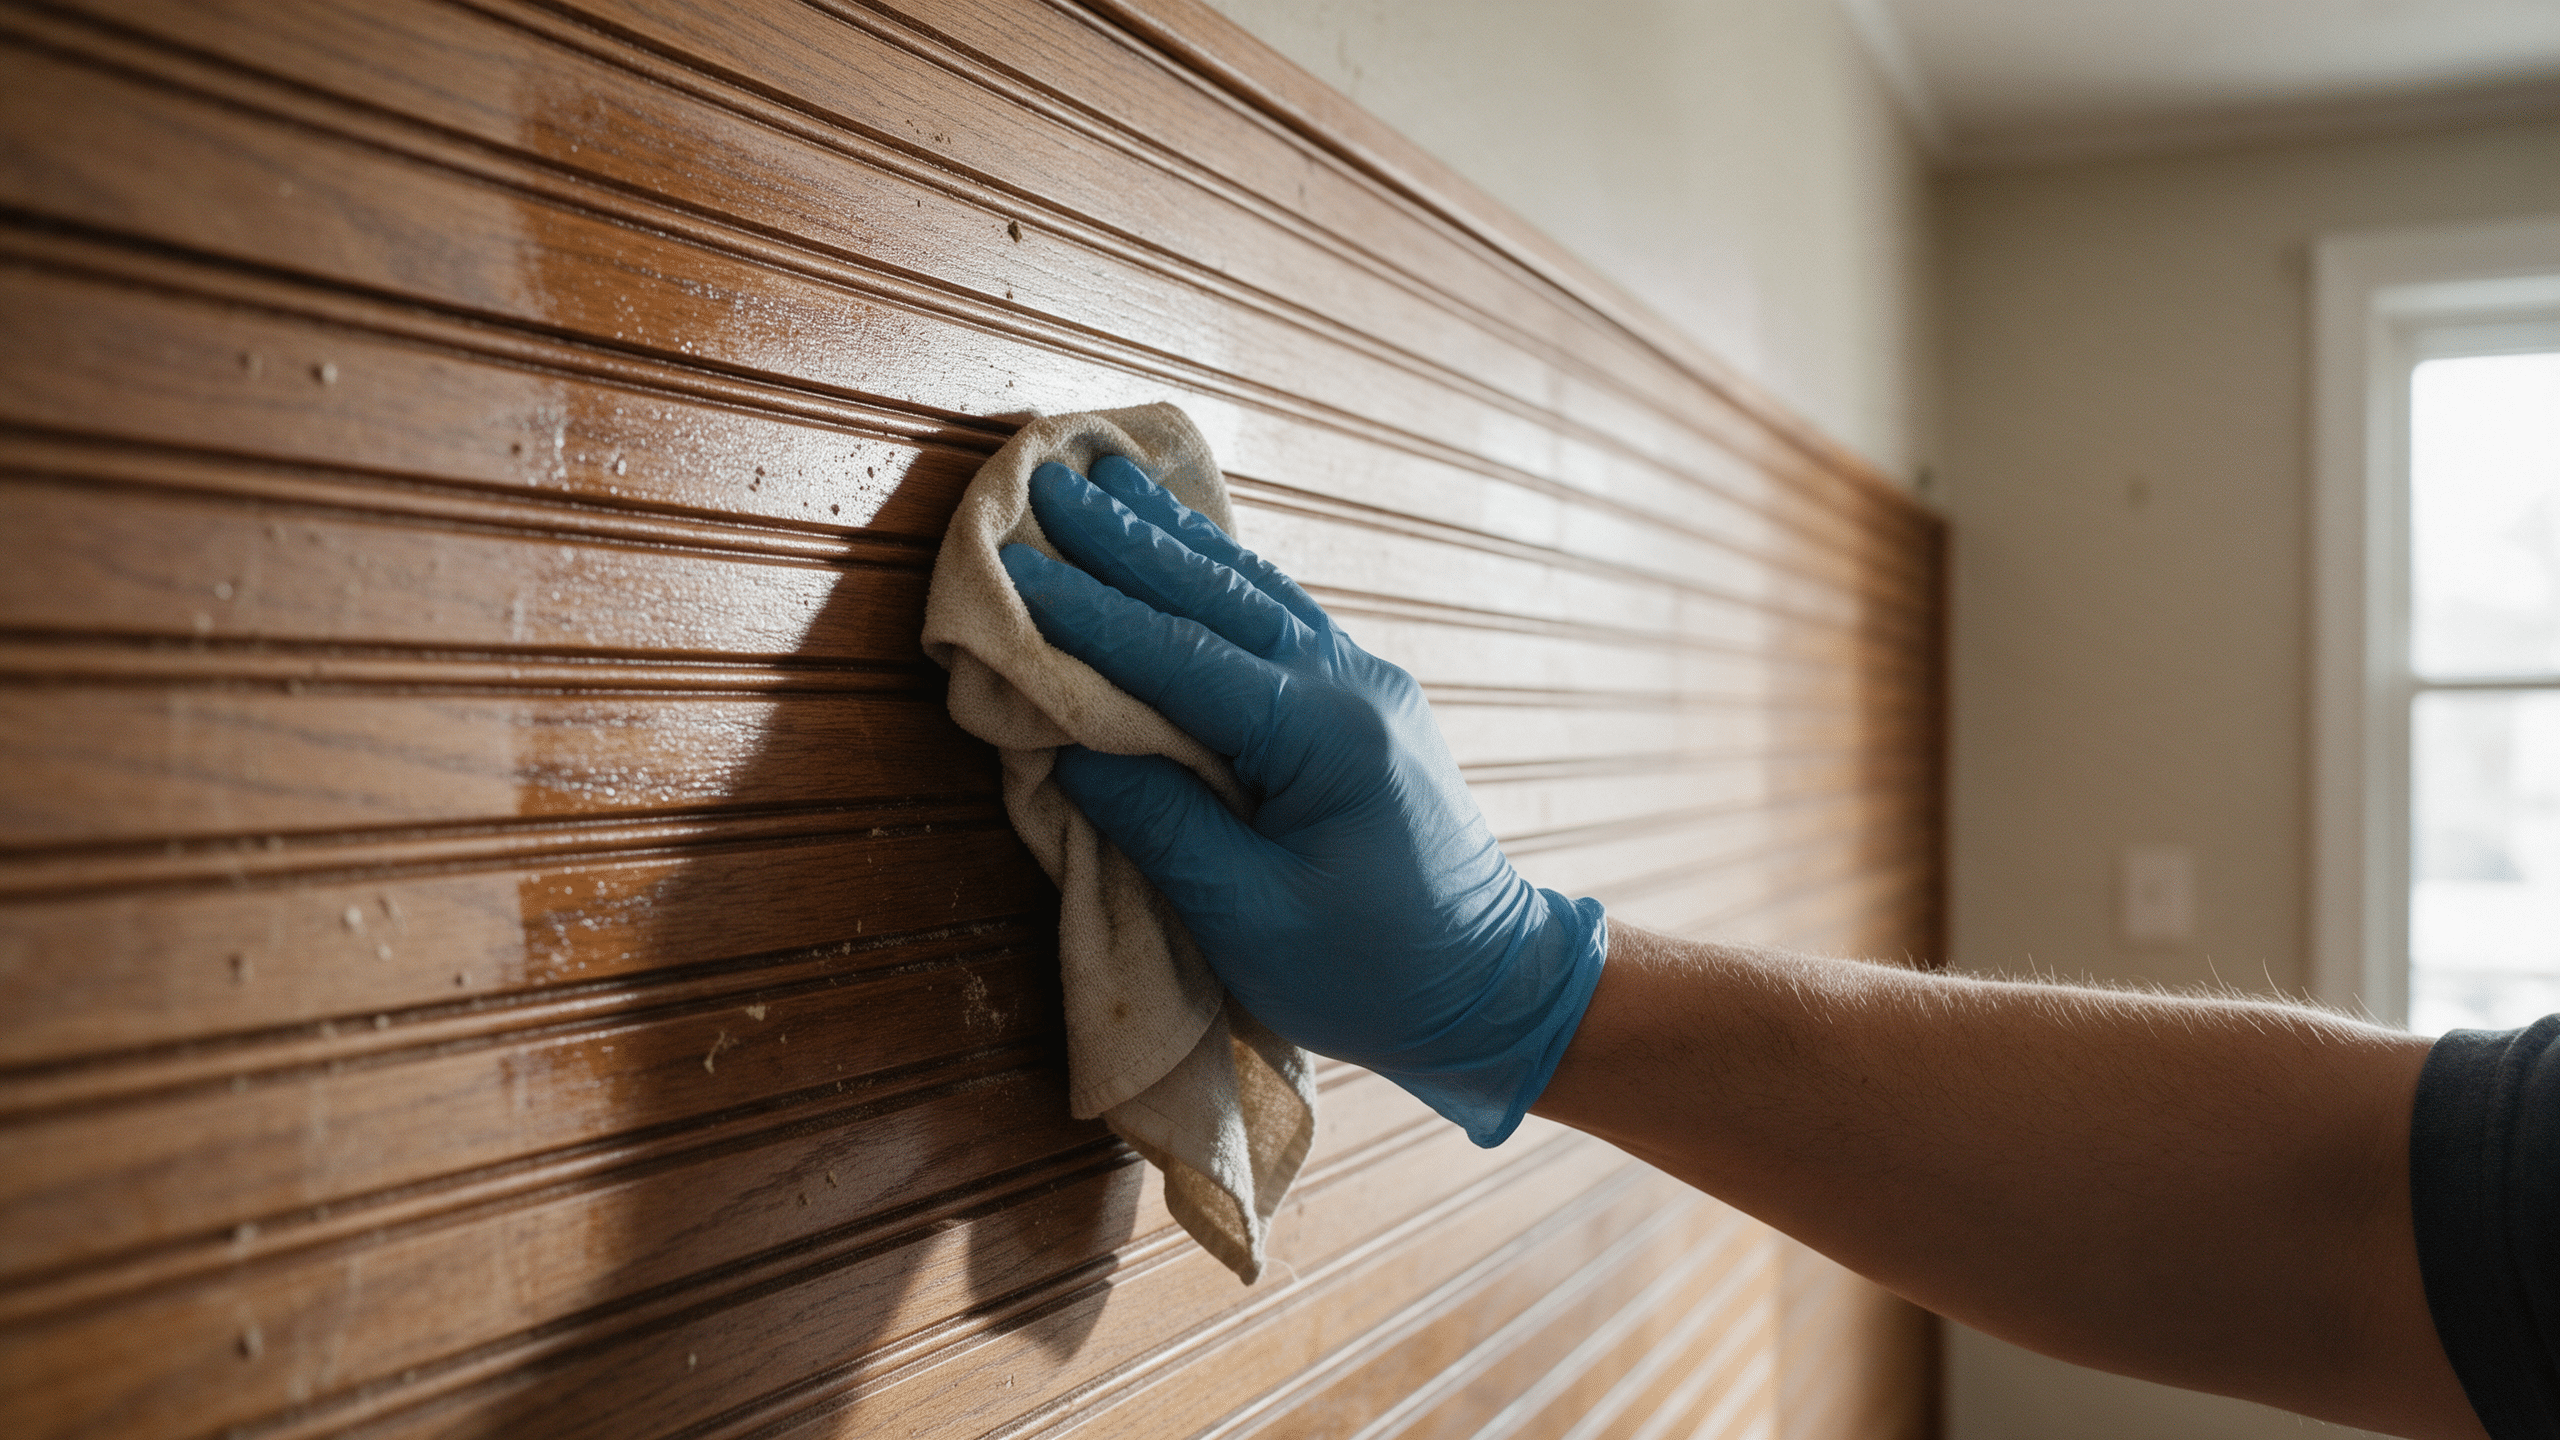
Rinse with a second, clean damp cloth to lift the cleaner itself off the surface, and skip the tack cloths sold for staining projects, a point Dummies’ guide to prepping paneling and cabinets for paint makes as well: their adhesive is built for oil-based finishes and can leave a residue of its own under latex paint.
Deglossing vs. sanding: which one actually works
Both sanding and a chemical deglosser do the same job for different reasons: they give the primer physical texture to grip instead of a smooth, sealed surface. A liquid deglosser, sometimes sold as liquid sandpaper, is wiped on with a rag and chemically softens the factory sheen enough for primer to bite. It is faster across a whole room and better suited to grooves and molded edges a sanding block cannot reach evenly. The tradeoff is timing: most chemical deglossers only stay effective for about thirty minutes after they are wiped on, so prime that section before moving to the next wall rather than deglossing the whole room first.
Sanding is the more reliable choice on a flat panel face and on any surface you are not fully sure is solid wood, because it physically removes sheen instead of softening it. A random orbital sander with 120 to 150 grit handles most of a panel quickly; the grooves still need to be hit by hand with a folded piece of sandpaper or a stiff brush, since the sander cannot get into them. Wear a dust mask either way, and run a window fan if you are sanding a closed room for more than a few minutes at a stretch.
One shortcut is worth knowing about: some shellac-based primers are formulated to bond to dense, glossy surfaces, including paneling and laminate, without sanding or deglossing first. That does not replace the cleaning step above, and it will not save a panel with wax or grease still on it, but it can cut a full day of prep on a flat, reasonably sound panel down to a cleaning pass and a primer coat.
Shellac-based primer has real fumes, not just a smell
The alcohol solvent in shellac-based, stain-blocking primers is strong enough to need a ventilated room, not just an open window. Run a fan pulling air out, take breaks outside while it dries, and look for the water-based version of the same product if you are priming a room with no cross-ventilation.
Prime with a stain-blocking primer, not an ordinary one
This is the step that decides whether the paint job still looks right in six months. Wood holds natural tannins, and knots and sap streaks hold even more of them, and an ordinary latex primer does not stop those compounds from migrating up through a color coat as the wall sees humidity swings. The result is a faint yellow-brown shadow that bleeds through weeks or months after the room looked finished, worst over knots and the darker streaks in the grain.
A shellac-based or oil-based stain-blocking primer is built specifically to seal that in. According to Zinsser’s technical data sheet for its B-I-N shellac primer, the product is formulated to block tannin bleed along with knots, sap streaks, smoke, and water stains, and to bond to dense, glossy surfaces such as paneling and laminate. One even coat is usually enough; heavily stained knots sometimes need a second light pass once the first has dried.
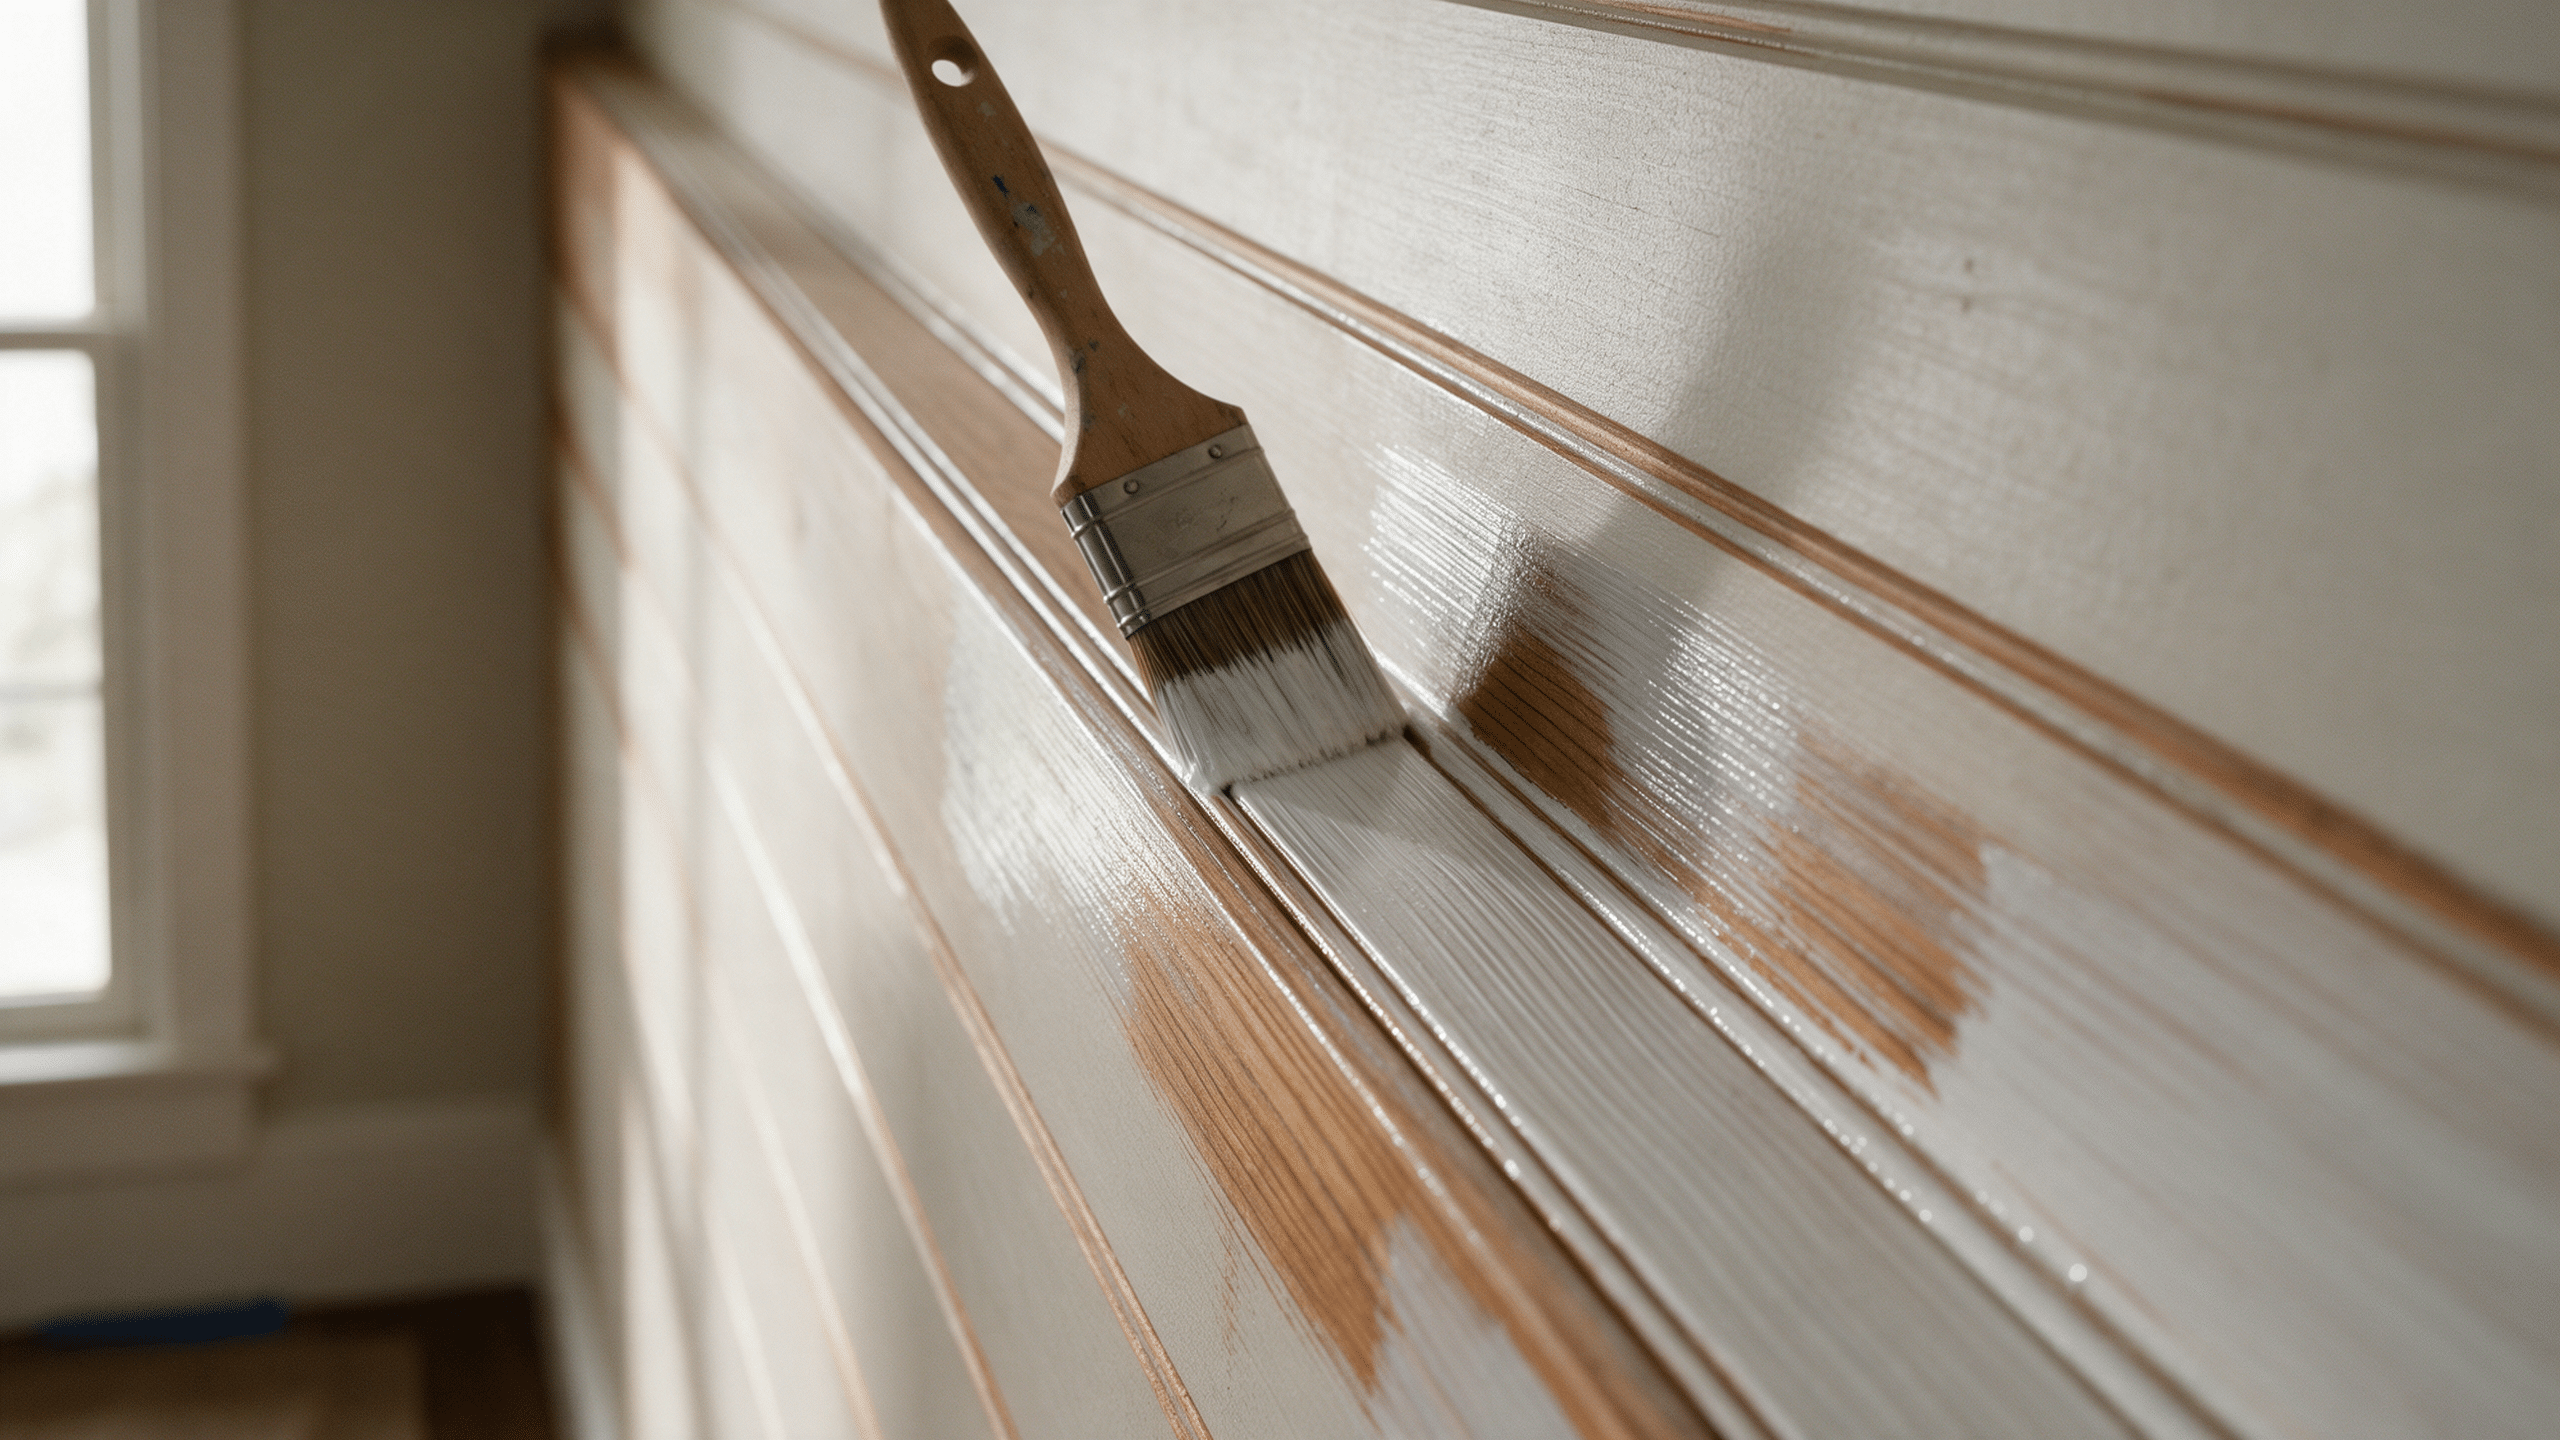
Skipping this and using a plain wall primer, or a paint-and-primer-in-one product built for repainting an already-painted wall, is the single most common reason a paneling repaint looks great at first and develops ghostly streaks by the following summer. The primer is not optional the way it sometimes is on a wall that was already painted; on bare paneling, it is doing two jobs ordinary primer only does one of.
How to paint over wood paneling step by step
Before you open a paint can, decide what you are doing with the grooves themselves. Filling them with paintable caulk and sanding flush gives a smooth, drywall-like wall once painted, at the cost of a full extra day for the caulk to cure and sand. Leaving them open keeps the install faster and reads as deliberate shiplap-style detail once it is painted a single color, which is the more common choice unless the grooves are unusually deep or damaged.
Clean every panel
Degrease with an ammonia-water mix or mineral spirits, then wipe with a clean damp cloth and let the wall dry fully.
Test one hidden panel
Prep and prime a square foot in a closet or behind a door first. A scratch test the next morning tells you whether your plan will hold on the rest of the room.
Decide on the grooves
Fill and sand flush with paintable caulk for a smooth wall, or leave them open and plan to brush primer and paint into them by hand.
Degloss or sand the flat faces
Work one section at a time if you are using a chemical deglosser, since most stay effective for about thirty minutes once applied.
Prime with a stain-blocking primer
Brush it into the grooves first, then roll the flat faces. Let it cure fully, not just dry to the touch, before judging the color.
Paint the first coat
Use a 3/8-inch nap roller on the flat faces and an angled brush in the grooves, working top to bottom so drips land on areas you have not finished yet.
Let it cure, then recoat
Check under raking light once the first coat is fully dry, not just once it feels dry to the touch; our guide to how long paint actually takes to dry covers the difference. A second coat is standard on paneling, since the grooves rarely get full coverage from the first pass alone.
What it costs in tools and materials
Painting over existing paneling is almost entirely a materials cost, not a demolition one, which is the main reason most homeowners choose it over tearing the panels out and rehanging drywall underneath.
| Item | Use | Rough cost |
|---|---|---|
| Degreasing cleaner or mineral spirits | Strip wax, nicotine film, and grease first | $6-$12 |
| 120-150 grit sandpaper or liquid deglosser | Dull the glossy factory finish | $8-$20 |
| Angled sash brush (2-2.5″) | Working primer and paint into the grooves | $8-$18 |
| Roller frame + 3/8″ nap covers | Coverage on the flat panel faces | $10-$20 |
| Shellac or oil-based stain-blocking primer | Seals tannins, bonds to glossy paneling | $25-$45/gallon |
| Interior latex paint, satin or eggshell | Color coat, two coats recommended | $30-$65/gallon |
| Paintable caulk | Filling grooves, only if you want them gone | $4-$8/tube |
Common questions
Can you paint directly over wood paneling?
Yes, on solid wood or real veneer paneling, as long as you clean it, break the factory sheen by sanding or deglossing, and seal it with a stain-blocking primer first. Skipping any of those three steps is why some painted paneling peels or shows stains within months.
Do you have to sand wood paneling before painting it?
Not always. A chemical deglosser does the same job on a flat panel face, and some shellac-based primers bond to glossy paneling without either step. Sanding is still the safer default on grooves, molded trim, and any panel you are not sure is solid wood.
What is the best primer for wood paneling?
A shellac-based or oil-based stain-blocking primer, not a standard latex wall primer. It is the only type built to stop tannins, sap, and old stains from bleeding through the color coat once the wall is up and painted.
Will paint cover grooved paneling evenly?
Only if you brush primer and paint into the grooves separately before rolling the flat faces. A roller alone skips the recesses and leaves them thin, which is the most common patchy spot on a painted paneling job.
Should you fill the grooves before painting?
Only if you want a smooth, drywall-like wall. Paintable caulk fills them, but it adds a full day for the caulk to cure and sand flush. Left open and painted a single color, the grooves read as an intentional detail rather than dated paneling.
How do you know if paneling is real wood or veneer?
Check whether the grain pattern repeats from panel to panel. Real wood and genuine veneer never repeat exactly, while vinyl and photo-laminate paneling reuses the same printed grain and knot pattern every few sheets.
How many coats does painted paneling need?
Plan on two coats of color over the primer. The grooves rarely get full, even coverage from a single pass, and a second coat is what actually hides the primer and evens out the sheen across flat faces and recesses alike.
The real decision: prep time, not paint
The paint itself is the easy part of this job. What actually decides whether it holds is whether you cleaned the panels, broke the factory sheen, and sealed the wood with a primer built to block tannins rather than hide behind a coat of color. Skip any one of those and the room looks finished for a while before it tells on itself. Get the grooves and the primer right once, and a painted panel wall holds up the same way any other painted wall does, including how it cleans once the color coat has fully cured; see our guide to cleaning flat paint without burnishing it. For the roller and brush technique once the primer is down, see our guides to painting walls without flashing and cutting in without tape, or browse the rest of our painting technique guides.
Guides on this site are for general information about routine home maintenance. Suspected asbestos, mold over 10 sq ft, or structural water damage should be assessed by a licensed professional in your state. See our disclaimer for details.