Every “joint compound vs spackle” guide treats it as a two-way choice, and treating it as one is exactly how a taped seam ends up cracking along the same line six months after a fresh coat of paint. On my truck there are three tubs, not two: spackle, joint compound in at least two grades, and setting-type compound, the bagged powder most homeowners have never bought and every finisher keeps within reach. Picking between the first two and never learning the third is the mistake I see reversed most often, usually by someone standing in the drywall aisle holding a bucket that will not be dry in time for the job in front of them.
This is not a materials-science lecture. It is the same triage I run on site before I open anything: what is actually damaged, how big is it, and how much of the wall does the compound have to disappear into. Answer those three and the product picks itself. Get them backwards and you spend an extra evening sanding, or you watch a “permanent” patch open back up along the exact line it failed on last time.
What’s actually in each tub
Spackle is a trademarked name before it is a product category. Merriam-Webster traces the word to around 1940 as a brand for a crack-filling paste, and it did what Kleenex and Jacuzzi did: it became the generic term for the whole shelf of small-hole fillers, whatever the label on the tub actually says. That history is part of why people default to it for jobs it was never built to do — the brand name is the one word every homeowner already knows, so it becomes the answer to every question, not just the one it’s good at.
Spackle
Modern spackle is usually a vinyl or acrylic polymer paste, pre-mixed, sold ready to use straight out of a small tub. It cures by evaporation alone, and because the resin content is high relative to the tiny volume that goes into a nail hole, it can be dry in 15 to 30 minutes and shrinks almost nothing. Fast, low-shrink, no mixing: that combination is why it works for a picture hook and fails for almost everything bigger than one.
Joint compound
Joint compound, drywall mud, is a different animal: gypsum powder, ground limestone, and water-retaining binders, sold pre-mixed in a bucket or dry in a bag. It also dries by evaporation, but slower — a full 24 hours per coat in a normal room is typical — and it shrinks more as that water leaves, which is exactly why one thick pass over a wide seam pulls back into a shallow trench instead of standing proud. That shrinkage is not a flaw. It is what lets a coat feather out to nothing at the edges instead of leaving a hard ridge, and it is the entire reason joint compound disappears a taped seam and spackle does not.
Premixed joint compound also comes in more than one grade — all-purpose, lightweight, and topping behave differently enough to matter. I break that split down separately in skim coat walls, since which grade goes on first and which goes on last decides whether a full wall finishes flat or takes an extra sanding session to fix.
Setting-type compound, the one most guides skip
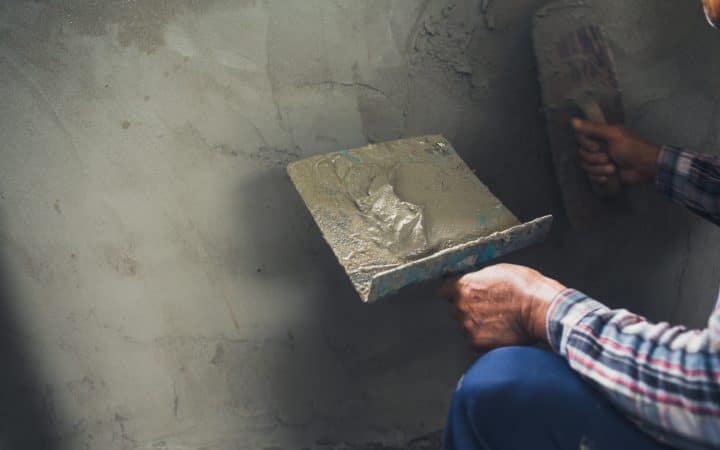
Setting-type compound is sold as a bag of powder you mix yourself, usually called hot mud on a job site, labeled with a number — 20, 45, 90 — that tells you its working time in minutes. It does not dry. It sets, through the same chemical reaction that hardens gypsum plaster: water rehydrating calcined gypsum back into a solid crystal structure. That reaction runs on a clock, not on humidity or airflow, which means a 90-minute bag is ready for a second coat in 90 minutes whether the room is a dry attic in August or a damp basement in November. It is also the reason a finisher can run three coats on a wall in one day when a homeowner with premixed compound is stuck waiting for tomorrow.
| Spackle | Joint compound (premixed) | Setting-type (hot mud) | |
|---|---|---|---|
| Base material | Vinyl or acrylic polymer | Gypsum, limestone, binders | Calcined gypsum powder |
| Cures by | Evaporation | Evaporation | Chemical reaction |
| Working / dry time | 15–30 min to dry | 8–24 hr per coat | 20–90 min, bag-dependent |
| Shrinkage | Minimal | Moderate to high | Very low |
| Sandability | Hard, resists feathering thin | Soft, feathers easily | Hard once set; sand fast, before it fully cures |
| Bond strength for tape | Poor | Good | Best |
| Best single use | Nail holes, small dents | Taping, skim coats, large areas | Same-day multi-coat, deep fills |
Match the product to the job, not the aisle sign
Home centers shelve these three within a few feet of each other and let the labels do the explaining, which is most of the problem. None of the labels mention tape adhesion, feather width, or set time versus dry time, and those are the three things that actually decide the outcome. Here is the sequence I actually use.
Nail holes, picture hangers, small dents
Spackle, every time. The hole is small enough that shrinkage never becomes visible, the fast dry means you can prime and paint the same visit instead of coming back tomorrow, and the container size actually matches the job — you are not opening a five-gallon bucket to fill something the size of a pencil eraser. If the wall is peppered with a cluster of pops rather than one clean hole, that is a different diagnosis before it is a different material; see how to fix nail pops in drywall for the two-screw technique that keeps them from coming back.
Taping a seam, a corner bead, or a factory drywall joint
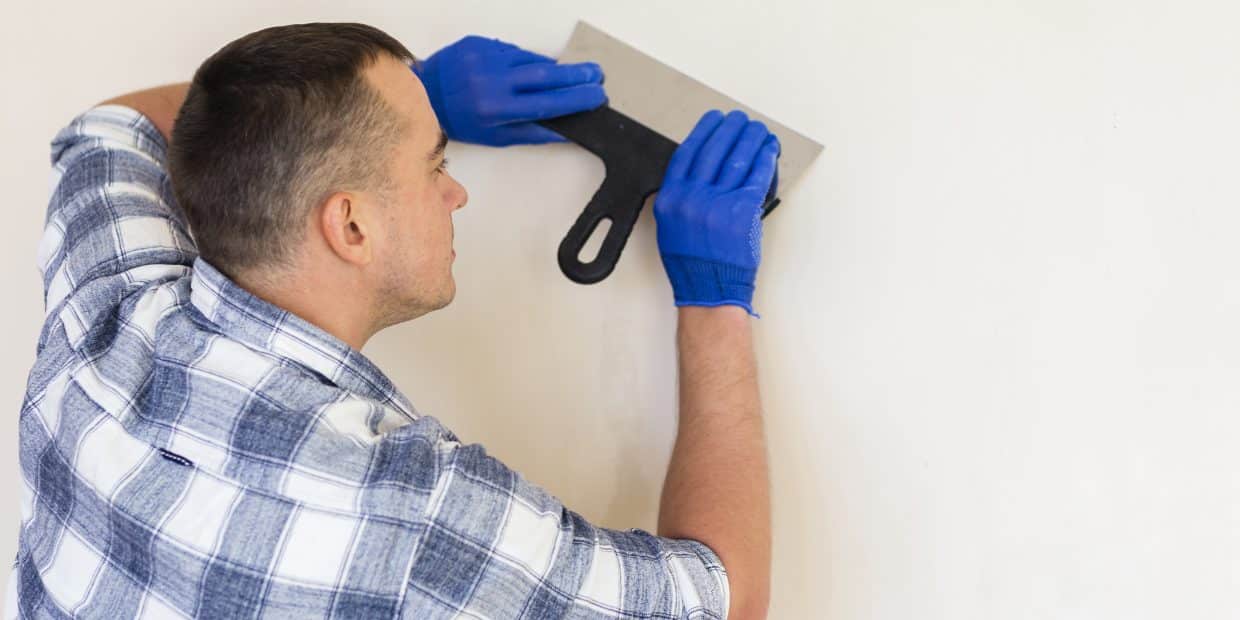
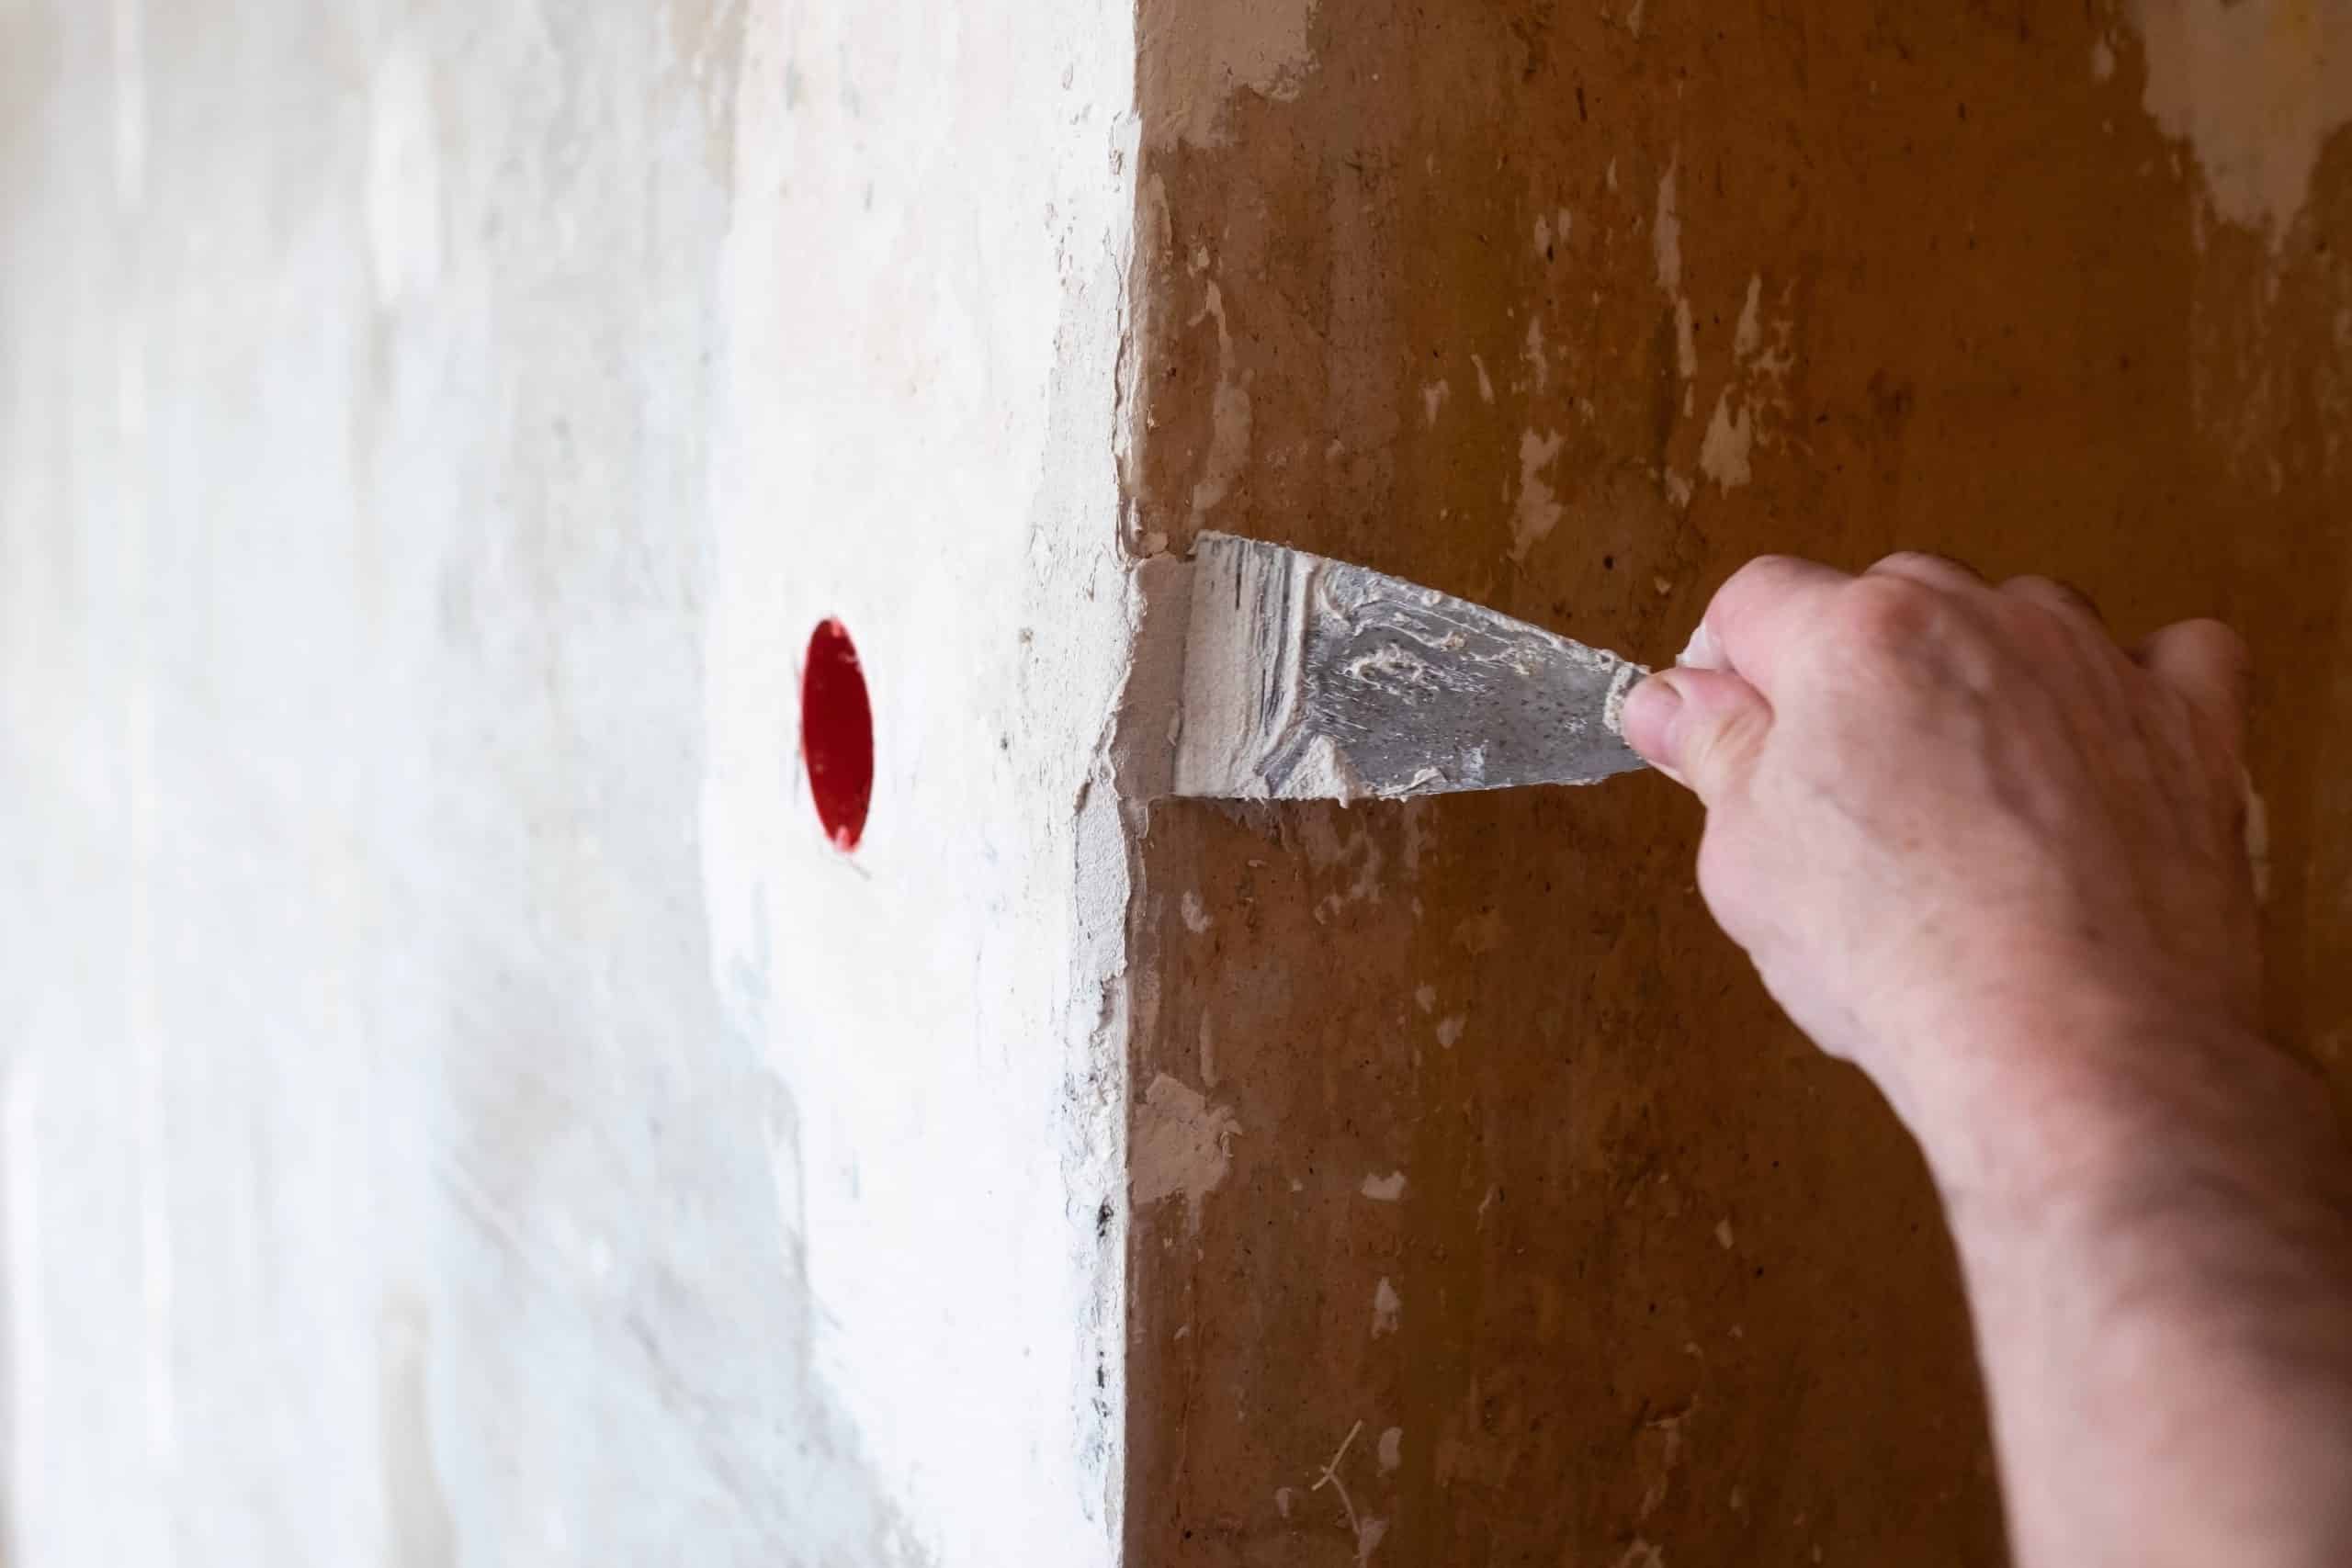
Joint compound only. Never spackle, and this is the swap that causes the most callbacks. Embedding paper or mesh tape needs a compound that stays workable long enough to bed the tape without air pockets, then feathers out ten to twelve inches wide with no hard edge. Spackle’s whole selling point (minimal shrink, fast skin) works directly against both of those. It skins over before you can feather a wide edge, and it does not key into tape the way gypsum-based mud does, so the tape edge telegraphs through paint and eventually lifts. If the joint in question is a crack rather than a factory seam, the cutting and taping method is different again; that sequence is covered in how to fix cracks in walls.
A hole bigger than your fist, or one that needs backing
Joint compound for the finish coats, and setting-type for the first fill if you want to keep working the same day. Past about eight inches, mesh patches stop being honest and the repair needs wood or drywall backing behind the opening, a cut-in piece, and paper tape on all four new joints — spackle was never designed to bridge that kind of span or thickness. The full method, including when a mesh patch is still enough and when it is not, is in how to patch a large hole in drywall.
Skim coating an entire wall
Joint compound, thinned and usually rolled on before it gets knifed off. Spackle is not sold in a volume that makes this practical, and its low shrink means it never buries texture the way a properly thinned coat of mud does. I walk through the roller method, the GA-214 finish levels, and how many coats a given wall actually needs in skim coat walls.
You need a second coat today, not tomorrow
Setting-type. This is the material most homeowners have never bought and most contractors always have on the truck. A weekend warrior working with premixed compound plans three coats across three or four days because each one has to dry. A 45-minute bag gets a second coat on in under an hour, which is how a finisher turns what should be a four-day job into a two-day one without cutting a single step out of it.
Deep fills, more than about a quarter inch
Setting-type again. Premixed compound applied thick shrinks as it dries and pulls away from the sides of a deep gouge, which means a second and sometimes a third fill before it reads flat. Setting-type builds depth in one pass because it hardens by reaction rather than by losing water, so what you trowel in is close to what stays.
Why the wrong pick actually fails
- Spackle over a taped seam. The tape either doesn’t bond properly or the compound skins before you can feather it wide. Either way, the edge shows as a faint ridge under raking light, and it often opens along that same line within a year.
- Joint compound on a single nail hole. Not a disaster, just wasted time. You’re committing to a slower dry and usually a second coat for a repair spackle would have closed out in one visit.
- People reach for lightweight compound to embed tape because it sands so easily, and I get why — but its bond strength is lower than all-purpose, and tape set in it can lift months later, usually showing up first as a hairline shadow near a corner.
- All-purpose used as the only finish coat sands hard and dusty and resists feathering thin. A wall finished entirely in it takes noticeably longer to bring flat than one that switches to lightweight or topping for the last pass.
- And spackle used to fill a deep hole in layers cracks between those layers more often than not, since it isn’t formulated to key into itself the way mud is. Each pour shrinks just slightly differently than the one before it.
Sanding any of these on a pre-1978 wall is a different question
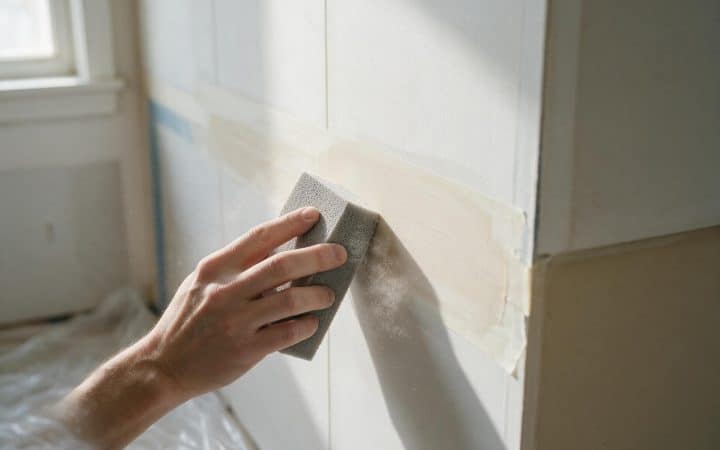
None of these three compounds are hazardous to sand on their own. What might be underneath them is. If the paint on the wall predates 1978, dry sanding it is a lead-dust exposure route, and that changes the job from a Saturday task to one requiring containment or a licensed contractor. Wet-sand with a sponge instead, or test the paint first. See the disclaimer for where my advice on this stops.
What it actually costs to have the right tub on hand
| Product | Typical container | Retail price, 2026 | What one container actually repairs |
|---|---|---|---|
| Spackle | 8–16 oz tub | $5–$9 | A dozen or more small holes, lasts years unopened |
| Joint compound, premixed | 3.5-gallon bucket | $16–$22 | A full room, two to three coats, walls and ceiling |
| Setting-type, dry bag | 18 lb bag | $14–$20 | Several deep fills or a same-day multi-coat repair |
Spackle costs more per ounce than any of these, and buying joint compound instead “because it’s cheaper per pound” for a single nail hole is a false economy. You will use two tablespoons out of a 3.5-gallon bucket, and the rest sits in the garage until it skins over or dries out before the next job shows up. Buy the small container that matches the small job.
One thing worth knowing if you are pricing this against a professional repair rather than doing it yourself: the tub choice barely moves a contractor’s bill. A finisher is billing for time and trips, not for which ten-dollar product came off the truck, so getting this decision right saves a DIYer real money and saves a pro almost none. The drywall repair cost breakdown has the full labor-versus-material split if you are deciding whether to hire the job out at all.
A $7 tub of spackle can out-earn a $20 bucket of mud
On a house with fifteen scattered nail holes and nothing else wrong, spackle finishes the whole job in one visit for under ten dollars. The same fifteen holes done in joint compound cost about the same in materials but add a second visit for coat two, because that is what the compound needs to look right. Small jobs are where the “wrong” product costs you a day, not a dollar.
The one place this changes: overhead and ceilings
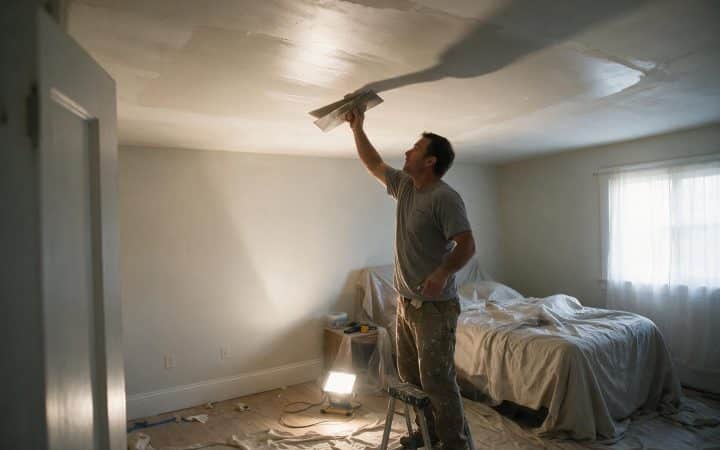
“Joint compound vs spackle for ceiling” comes up often enough that it deserves its own answer, because gravity changes more than one rule here. As I put it in the skim coating guide, a ceiling is roughly triple the difficulty of a wall with the exact same materials, since the mud is fighting to fall the entire time you are working it.
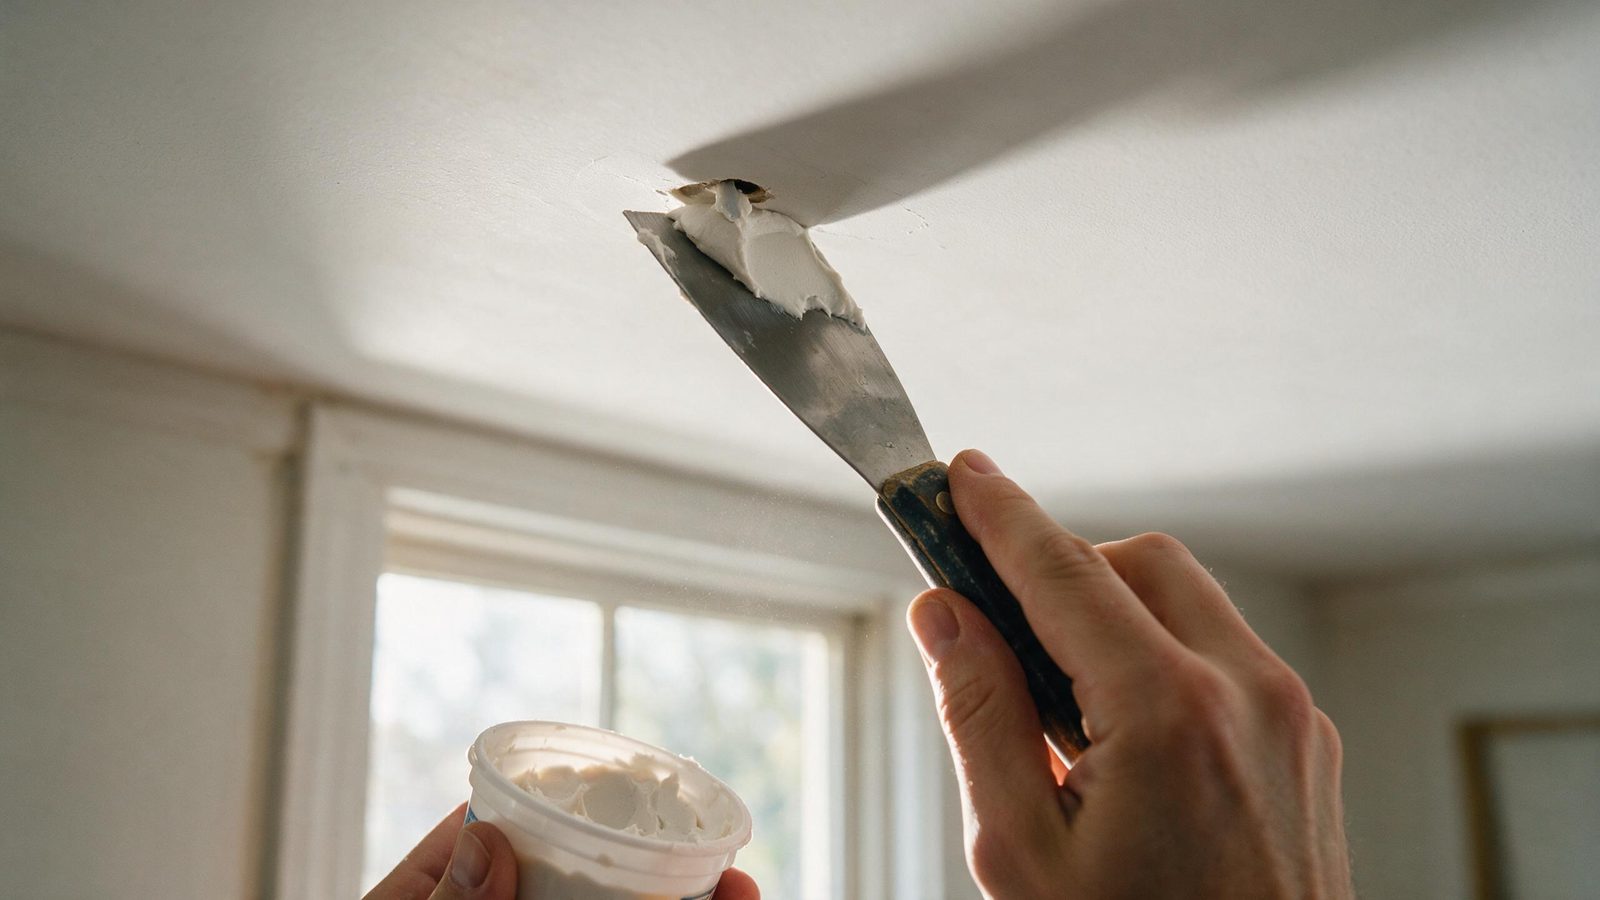
For a scattered nail pop or small anchor hole overhead, spackle still wins, and its stiffness is actually an advantage here — it sags less than thinned joint compound while you are working directly above your head. For anything larger, taped, or textured, the product choice does not change from the wall logic above, but the technique does: thin the mud slightly more than you would for a wall so it holds on a roller instead of dropping on you, and work smaller sections, since a skim coat skins over just as fast pointed up as it does pointed sideways. Setting-type earns its keep overhead more than anywhere else in the house, because a compound that stops moving on a schedule rather than whenever the room’s humidity allows is worth the extra step of mixing it yourself. A ceiling patch also tends to run 20 to 40 percent above the identical wall repair once you price it out, which the drywall repair cost guide breaks down by job type. If the ceiling in question is stained rather than just holed, start with what is actually feeding it — that diagnosis lives in moisture and mold — before you decide which compound closes it up.
The decision, in under a minute
-
Measure what’s actually damaged
Not the room, the hole. Under about two inches across and shallower than a quarter inch, you’re almost certainly reaching for spackle. Bigger or deeper changes the answer immediately.
-
Ask whether tape is involved
Any repair that includes embedding paper or mesh tape — a seam, a corner, a crack that’s been cut open — is a joint compound job. This rule overrides the size question. A two-inch taped repair still wants mud, not spackle.
-
Check the depth
Past about a quarter inch of fill, premixed compound will shrink enough to need a second pass. If you want it done in one, that’s setting-type compound, not a thicker layer of the same mud.
-
Decide how many coats you need today
One and done: spackle for small jobs, or a single coat of mud for anything that doesn’t need much feathering. Two or three coats before dinner: setting-type. Two or three coats over a weekend, with no rush: premixed joint compound.
-
Buy the container size that matches the job
A small tub for a handful of holes, a bucket for a room, a bag for a deep fill or a same-day repair. Buying the biggest container because the per-ounce price looks better is how half-used buckets end up dried out in the garage.
-
When two answers seem to tie, default to joint compound
It is the more forgiving material for anything you’re not fully sure about, since it sands easily, feathers wide, and takes paint cleanly. Spackle is the specialist tool; mud is the generalist.
Questions I get on site
Can I use spackle instead of joint compound to tape a seam?
You can force it to work for one coat, but I would not stand behind it. Spackle skins too fast to feather a seam out wide, and its bond to paper or mesh tape is weaker than gypsum-based compound’s. The seam usually telegraphs through paint within a year, sometimes faster under a window with strong side light.
Can I mix spackle and joint compound together?
Don’t. They are different chemistries — one is a polymer paste, the other is a gypsum slurry — and mixing them gives you a batch with unpredictable dry time, shrinkage, and sandability. Use one or the other for a given coat, not a blend.
Is spackle the same thing as caulk or wood filler?
No. Caulk stays flexible after it cures and is meant for joints that move, like where trim meets drywall, so it will never sand smooth the way spackle does. Wood filler is formulated to bond to and be stained like wood grain. All three sit near each other at the store and none of them substitute for the others.
What is hot mud, and do I need it for a small job?
Hot mud is the job-site name for setting-type compound, sold as a powder in bags labeled by working time in minutes. For one small hole, no — spackle or premixed compound is simpler and you don’t have to mix it. It earns its place on deep fills, same-day multi-coat repairs, and anything overhead where you want the material to stop moving on a schedule instead of whenever the room dries it out.
Does spackle shrink at all?
A little, but far less than premixed joint compound, which is the entire reason one thin coat is usually enough. On a hole deeper than about a quarter inch, even spackle’s minimal shrink can leave a slight dip, so check it with a light before you prime and add a second thin pass if you see one.
Can you sand spackle the same way as joint compound?
Not quite. Spackle dries harder and denser, so it resists a sanding sponge more than joint compound does and is more prone to leaving a slightly proud, shiny patch if you don’t feather the edges while it’s still workable with the knife. Joint compound sands soft and dusty by comparison. For the grit progression that gets either one flush with the surrounding paint, see what grit to sand drywall.
Can I paint directly over spackle or joint compound?
Prime first, always. Both are more porous than the surrounding painted wall, and unprimed compound drinks the sheen out of the topcoat directly over the repair — a problem finishers call flashing, where the patch reads as a duller or flatter patch even under the same color. A spot coat of primer on the repair, feathered a few inches past its edge, prevents it.
The word history on spackle comes from Merriam-Webster; finish-level references follow GA-214 as published by the Gypsum Association. Prices are US ranges checked against retail listings in August 2026 and are not a quote. Everything about which material actually holds up on which repair comes off my own job sites since 1997. If a product behaves differently than described here, tell me and I will look into it. More on picking the right material before you start is under surface prep, and the pricing side of every repair on this site lives in the costs section.