A dried roller mark doesn’t always mean repainting the whole wall. If the paint underneath is sound, a light sanding pass and a thin, feathered touch-up coat can blend a ridge or a faint lap line back into the finish, often without anyone spotting where the fix starts. That’s the short version of how to remove roller marks without repainting: diagnose which kind of mark is actually on the wall, then sand and feather instead of starting over.
Our guides to painting walls and painting a ceiling with a roller both cover why roller marks and lap marks happen while the paint is still wet: pressure, loading, nap, and timing. This one picks up after that. The paint has already dried, the mark is still there, and not every mark calls for the same fix.
How to remove roller marks without repainting: diagnose the mark first
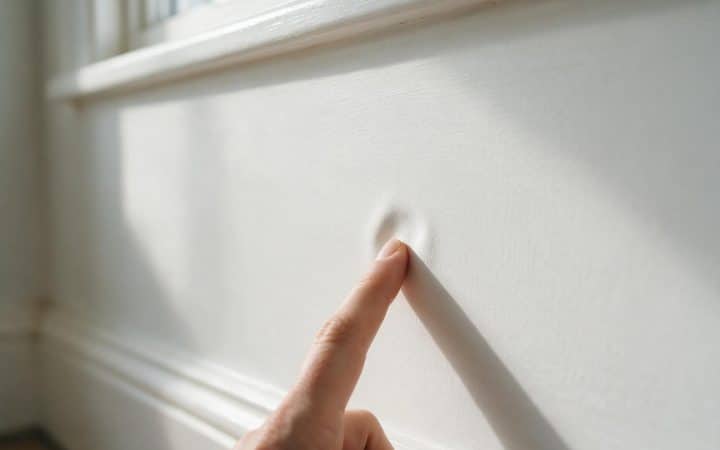
Two different problems get lumped together as “roller marks,” and they need different fixes. One is a texture problem: ridges or stipple you can actually feel with a fingertip, left by an overloaded or heavily pressed roller. The other is a flashing problem: a faint lap line that looks fine under normal light and only shows up when a lamp or window rakes across it at a low angle, caused by a difference in film thickness rather than anything you can feel.
Sherwin-Williams’ own guidance on brush marks and stippling lists the usual causes: adding paint or rolling again over an area that had already started to dry, working the paint too long or too fast, the wrong roller cover for the job, a film applied too thin, a hot surface or direct sun while painting, and a surface that was more porous than expected. None of those are mistakes you can undo after the fact. What you can do is sand the result smooth and recoat it properly, which is the method below.
| What you see | What’s actually going on | Fix without repainting? |
|---|---|---|
| Rough or bumpy to the touch, visible in normal light | Excess stipple or ridges from an overloaded or heavily pressed roller | Usually, sand the ridges flat, then feather a thin coat |
| Smooth to the touch, only shows under a lamp or raking window light | Flashing: a lap line from film-thickness differences, not texture | Usually, a thin feathered coat often fixes it without sanding first |
| Marks scattered across most of the wall, or the existing paint looks faded or aged | General wear or sun fading, not one technique slip | Rarely, a patch will stand out more than it hides, see the repainting section below |
| A sanded and feathered spot still shows after it dries | Sheen above flat, or new paint from a different can or batch | Depends, see the matching section below before trying again |
How to remove roller marks without repainting: the sand-and-feather method
This is the method Sherwin-Williams points to for brush and roller marks once the paint has already dried: sand the problem area smooth, then recoat it. The part most guides skip is how far to feather that recoat so it doesn’t just trade one visible mark for another.
Test the sanding step on an inconspicuous patch first
A closet wall or the back of a door gives you a sense of how fast your specific paint sands and how much pressure it takes to knock down a ridge without cutting through to bare drywall.
-
Confirm the paint is fully dry, not just dry to the touch
Sanding or recoating before the film has cured underneath can lift or smear it. How long paint takes to dry has the actual windows by condition, not just the label’s best case.
-
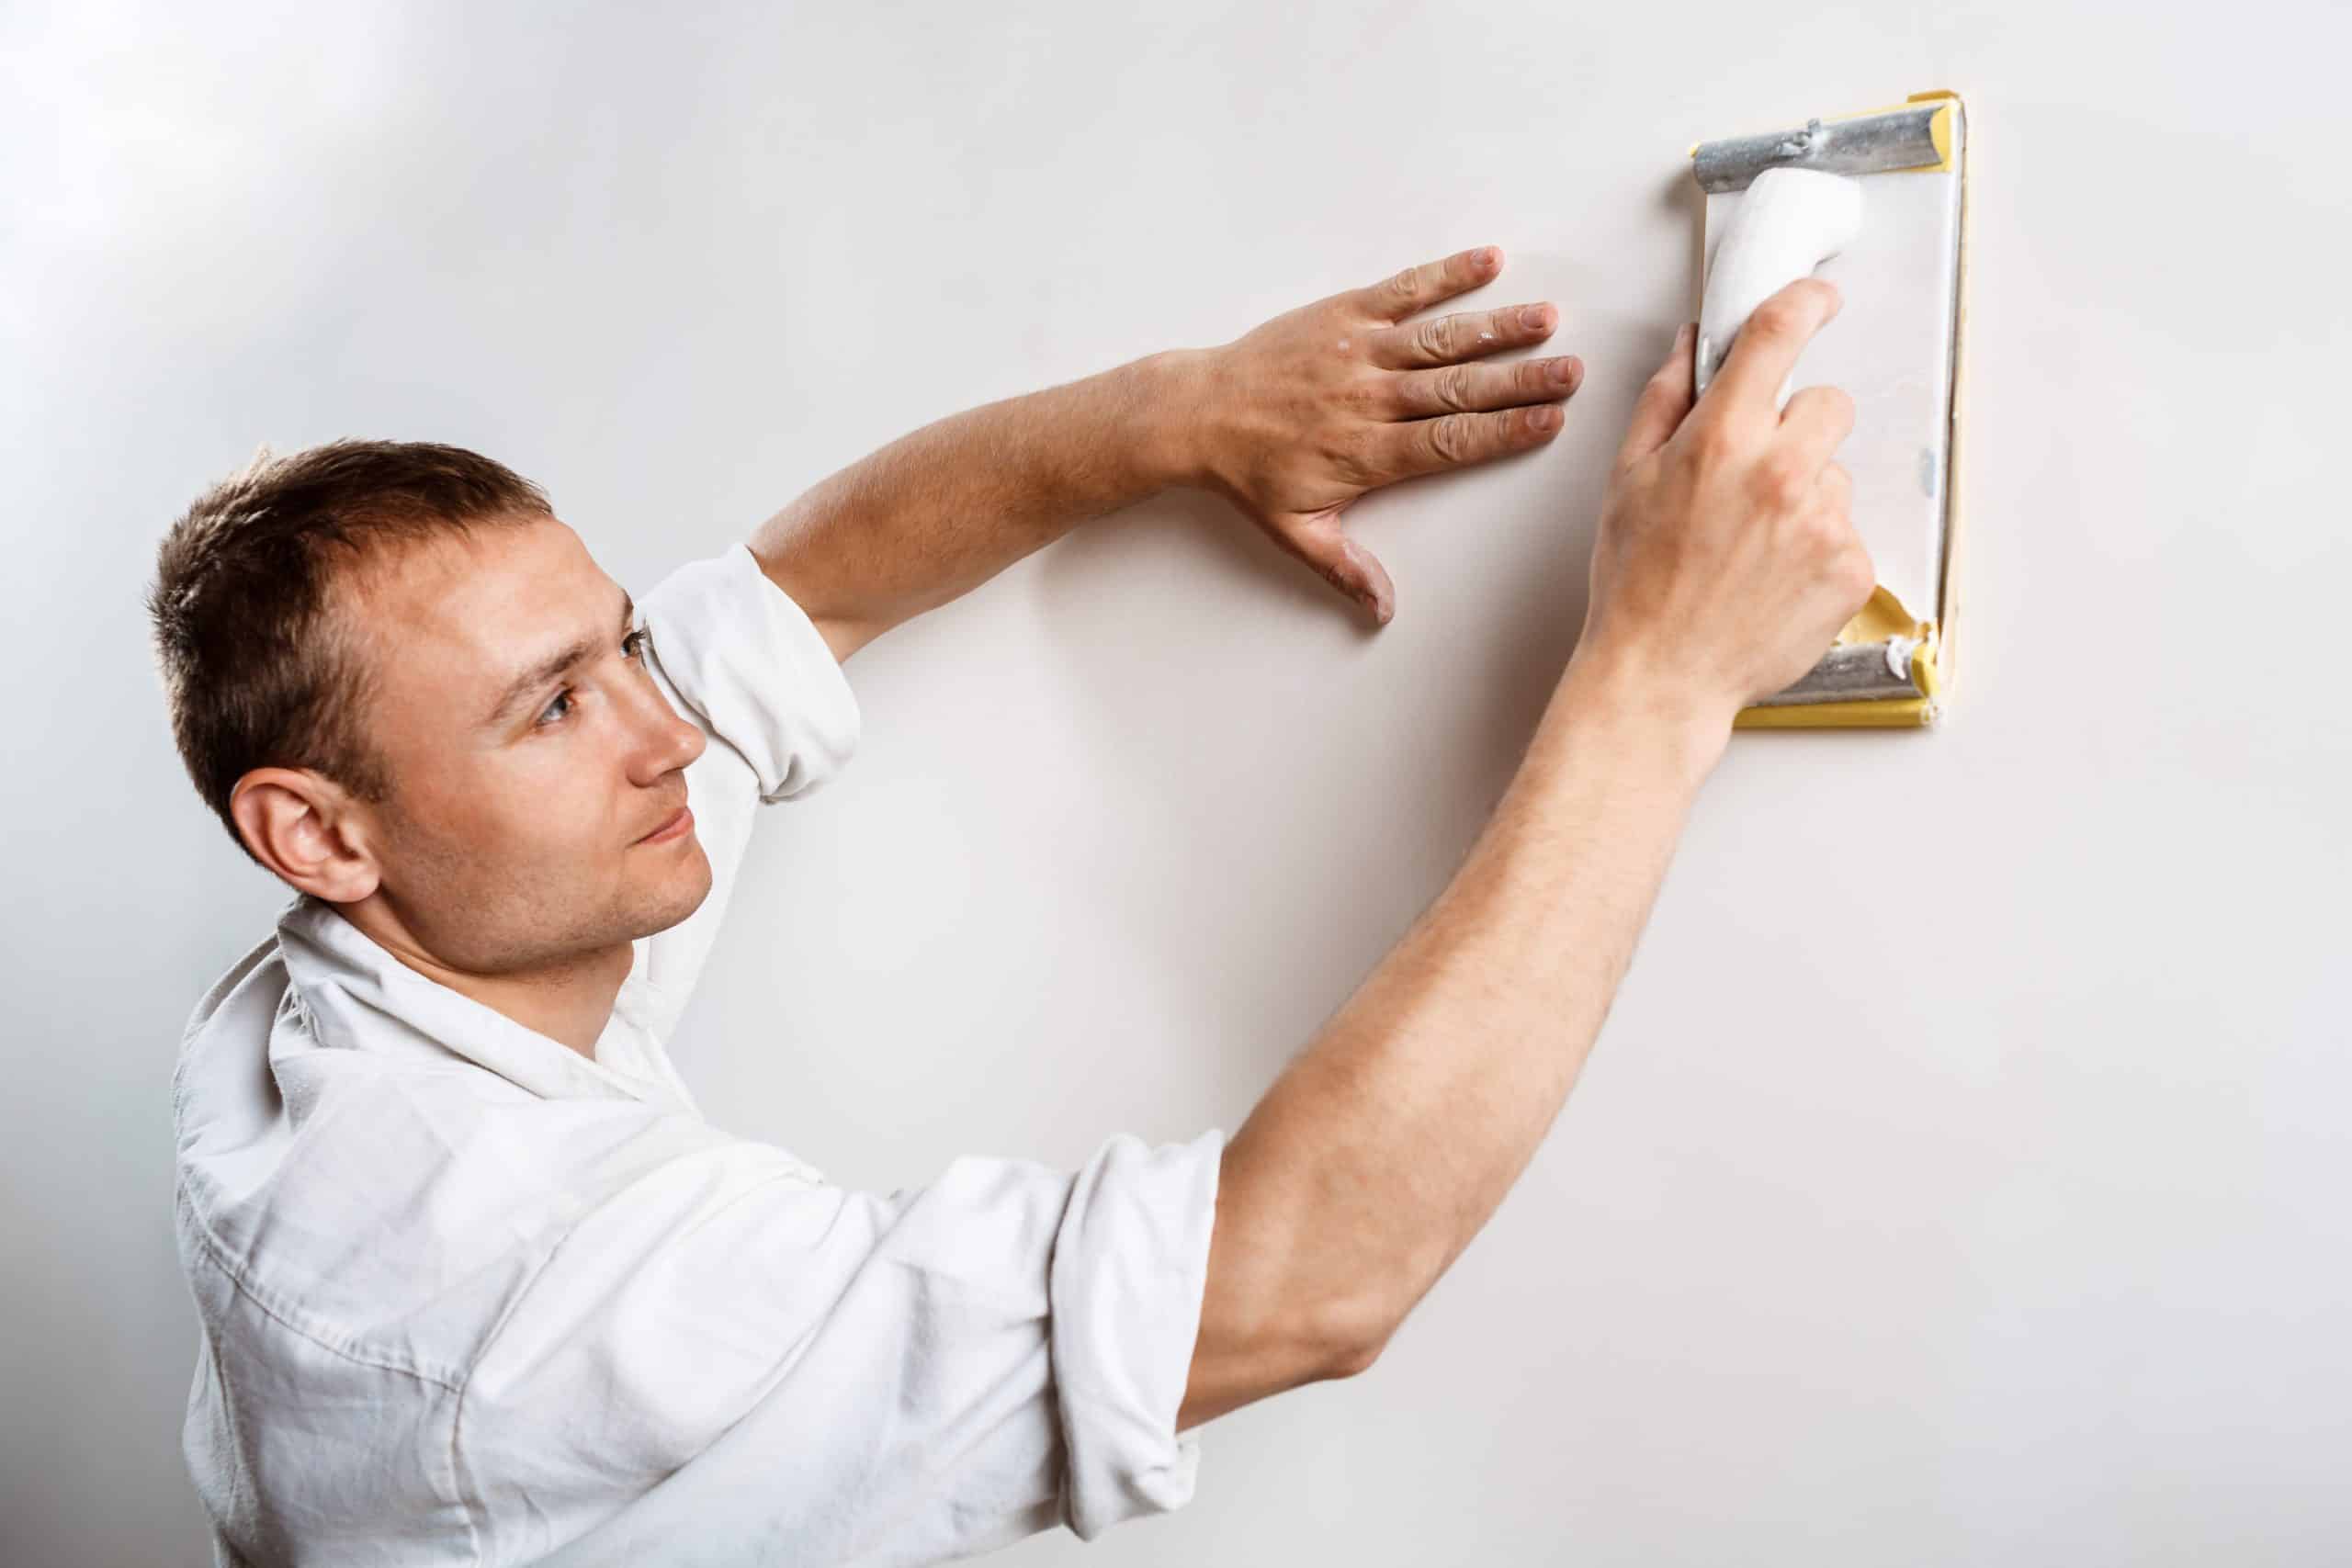
Sand the ridge with fine sandpaper, not a coarse grit
Light, even strokes with a fine sandpaper or sanding sponge, just enough to knock the high points level with the surrounding paint. The goal is flattening a ridge, not removing paint down to bare compound.
-
Wipe the dust off before any paint goes back on
A dry cloth or a barely damp one lifts sanding dust that would otherwise sit under the touch-up coat and show as a gritty patch once it dries.
-
Match the tool to how the wall was originally painted
A rolled wall gets touched up with a small roller, not a brush. The next section covers why that match matters more than it sounds like it should.
-
Apply a thin coat, feathered past the edge of the repair
Extend the new paint beyond the sanded spot, using less paint and lighter pressure as you move outward, so the edge fades instead of stopping at a hard line.
-
Let it dry fully before judging the result
A touch-up coat can look slightly different while it’s still curing and blend in once it’s fully dry. Check it under raking light, not straight-on room light, before deciding it needs a second pass.
Matching the touch-up so it doesn’t become its own patch
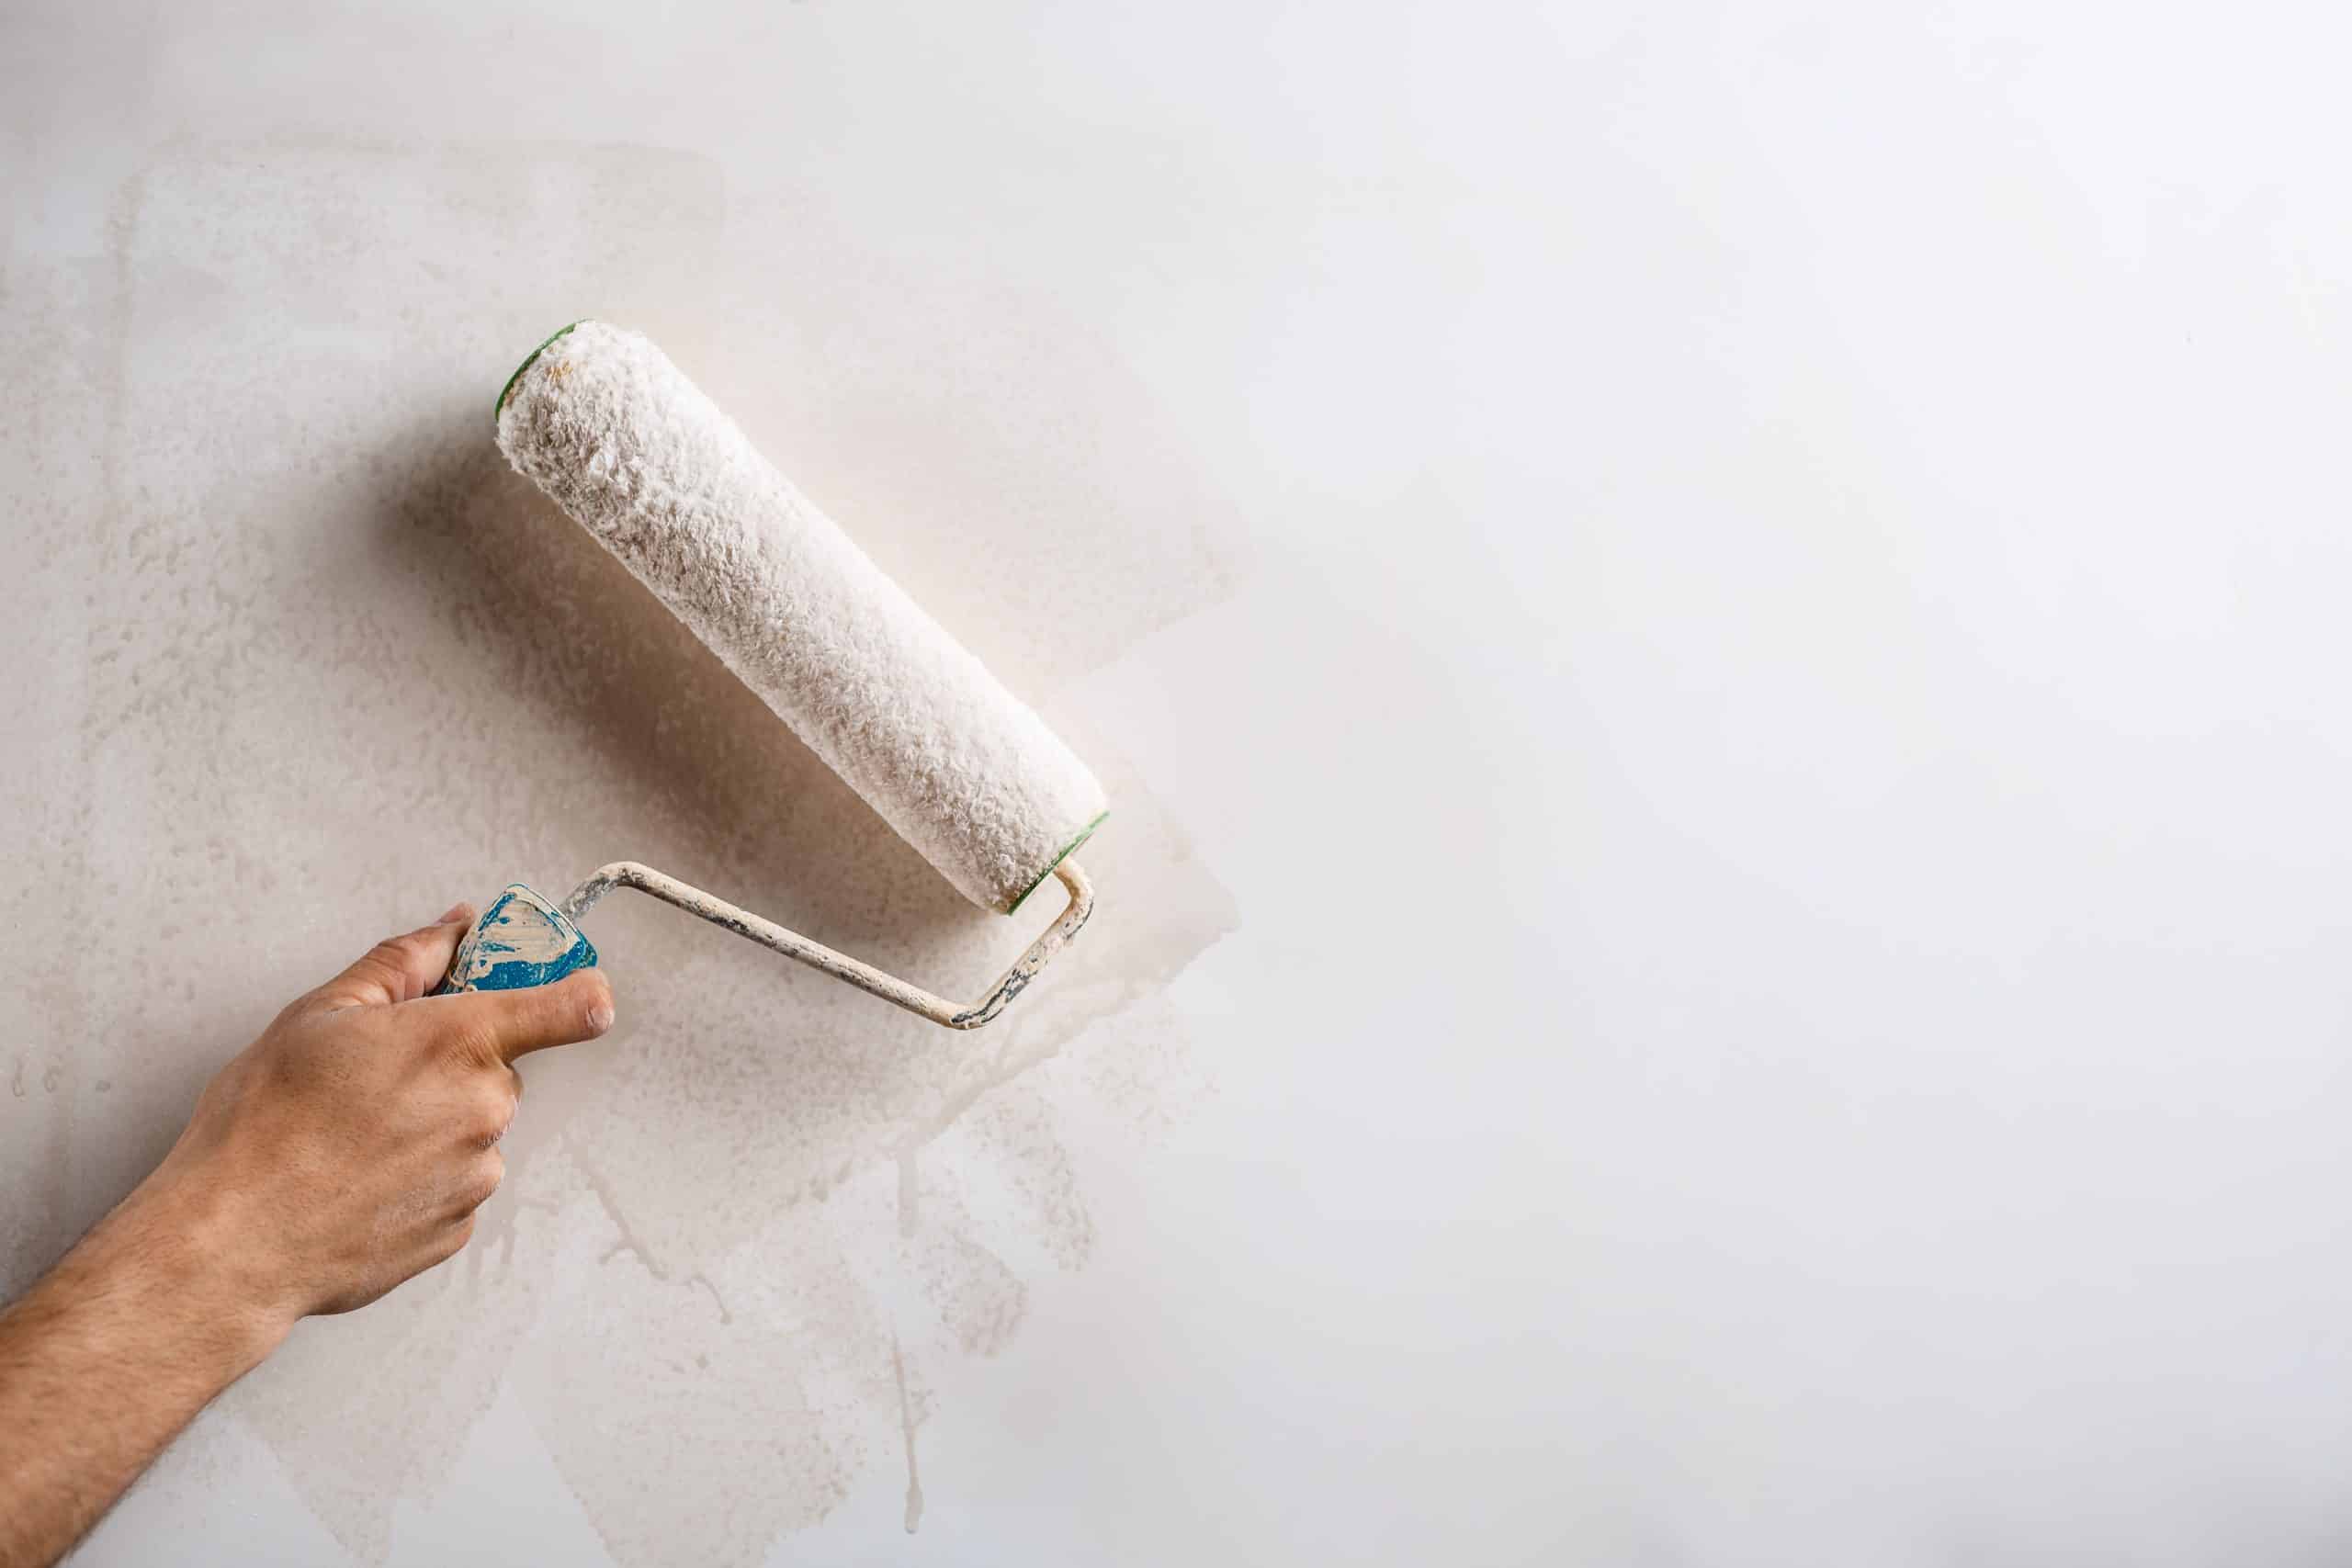
Crown Paints’ guidance on touching up paint without leaving patchy marks comes down to matching the original application method. A wall that was rolled needs a small roller for the touch-up, not a brush, because a brush lays down a different texture than a roller does, and that texture mismatch is often more visible than the mark it was supposed to fix. The same logic is why cutting in with a brush and rolling a wall call for different tools in the first place: each one leaves its own distinct finish, and swapping one in for the other partway through a wall shows.
For a textured or stippled finish specifically, Crown Paints recommends a small foam roller or a stippling brush rather than a standard nap roller, and practicing the motion on a scrap piece first, since matching an existing stipple pattern by eye takes a test run more often than it looks like it should. Thin coats matter here too: one thick layer over the repair reads as a slightly raised or glossier patch even after it’s fully dry, while two or three thin ones feathered wider each time disappear into the wall instead.
Sanding paint in a home built before 1978
Older layers under a more recent coat can contain lead. Keep the sanded area damp, use a HEPA vacuum instead of a dry brush, and don’t sand a painted wall down to bare drywall without knowing what’s underneath the top coat. See our disclaimer for the full rundown.
Tools and materials for fixing roller marks
| Item | Use | Rough cost |
|---|---|---|
| Fine sandpaper (around 220-grit) or a sanding sponge | Knocking down ridges without cutting through to bare compound | $4-$8 |
| Small roller cover, sized to match the wall’s sheen | Touch-up coat on a rolled wall | $5-$10 |
| Small foam roller or stippling brush | Matching a textured or stippled finish | $5-$12 |
| Tack cloth or a barely damp rag | Clearing sanding dust before the touch-up coat | $3-$6 |
| Work light or clip lamp | Checking the repair under raking light before and after | $15-$30 |
| Leftover paint from the original can, same sheen | Color and sheen match for the touch-up | Usually on hand |
When patching costs more than repainting the wall
Crown Paints is direct about the limit of a spot repair: when the damage is extensive, or the surrounding paint has visibly aged or faded, especially on a sun-exposed wall, a touch-up tends to create several visible patches instead of one clean fix. Repainting the whole wall from corner to corner is what actually gives a uniform color and finish in that situation, not a bigger or more careful patch.
The same logic applies to roller marks specifically. One ridge or one lap line on an otherwise sound, recently painted wall is a sand-and-feather job. Marks scattered across most of the wall, paint that’s visibly a different shade of white than it was a few years ago, or a sheen above flat where every patch catches the light differently, are all signs that a full recoat will take less time overall than chasing patches across the same wall one at a time.
Common questions
Will sanding alone fix dried roller marks?
No. Sanding only knocks the ridge down level with the surrounding paint. It still needs a feathered touch-up coat afterward, since bare or thin compound left exposed by sanding will show through as a dull patch once the wall is dry.
Do I need to prime the sanded spot before the touch-up coat?
Only if the sanding cut through to bare drywall or exposed joint compound. Recoating over paint that’s still sound underneath, with the same product, doesn’t need a separate primer step first.
Should I use a roller or a brush for the touch-up coat?
Match whatever tool painted the wall originally. A brushed patch on a rolled wall lays down a different texture than the roller did, and that mismatch often stands out more than the roller mark it was meant to fix.
Why does my touch-up still show as its own patch?
Usually the edges weren’t feathered far enough, the coat was too thick instead of thin, or the paint came from a different can or an older batch than what’s on the rest of the wall. A sheen above flat makes all three more visible.
Can I just roll a fresh coat over the marks without sanding first?
For a smooth flashing line you can’t actually feel, sometimes. For a ridge or stipple you can feel with a fingertip, no: paint rolled over a ridge still has that ridge underneath it, and raking light will still find it once the new coat dries.
When does it make more sense to repaint the whole wall?
When the marks are scattered across most of the wall, or the surrounding paint has visibly aged or faded, especially on a sun-exposed wall. In both cases a spot touch-up tends to create several visible patches instead of blending in.
Is sanding a dried wall ever risky?
It can be in a home built before 1978, where an older coat under the current paint may contain lead. Keep the area damp while sanding, use a HEPA vacuum rather than a dry brush, and don’t sand down to bare drywall without knowing what’s underneath.
The decision, in one line
A single ridge or lap line on a wall that’s otherwise sound is a sand-and-feather job, not a reason to repaint. Marks spread across most of the wall, or paint that’s visibly aged next to itself, is where a full recoat actually saves time over chasing patches one at a time. More on getting the original coat right in the first place lives under painting technique.