How should primer look on a wall? Flat, even, and one shade across the whole surface. A patch that’s duller than the rest, or a streak with a slight shine to it, is usually not a mistake. It’s the surface telling you something about what’s underneath, and it changes what you do next before you reach for the topcoat.
Most people land here staring at a wall that looks worse after priming than before, a patch gone chalky and dull next to paint that still has a bit of sheen. The wall isn’t ruined. It’s doing exactly what primer does when it meets two different surfaces at once.
How should primer look on a wall right after it dries
Dry primer should read as flat and slightly chalky, a notch duller than the finish paint you’re about to put over it. Color matters less than evenness. White primer over a patch and white primer over the surrounding field should look like the same material, even if the wall underneath used to be blue.
What throws people off is that “even” doesn’t mean “solid.” Primer is thin by design, usually one to two mils dry, and a single coat over bare drywall paper can still show a faint shadow of what’s under it. That’s normal. The real problem is unevenness, patchy in some spots and glossy in others, because that’s what shows up again once the color coat goes on.
| What you’re looking at | What it means | What to do about it |
|---|---|---|
| Dull, chalky, uniform color across the whole wall | Normal, correctly primed | Nothing, go ahead and paint |
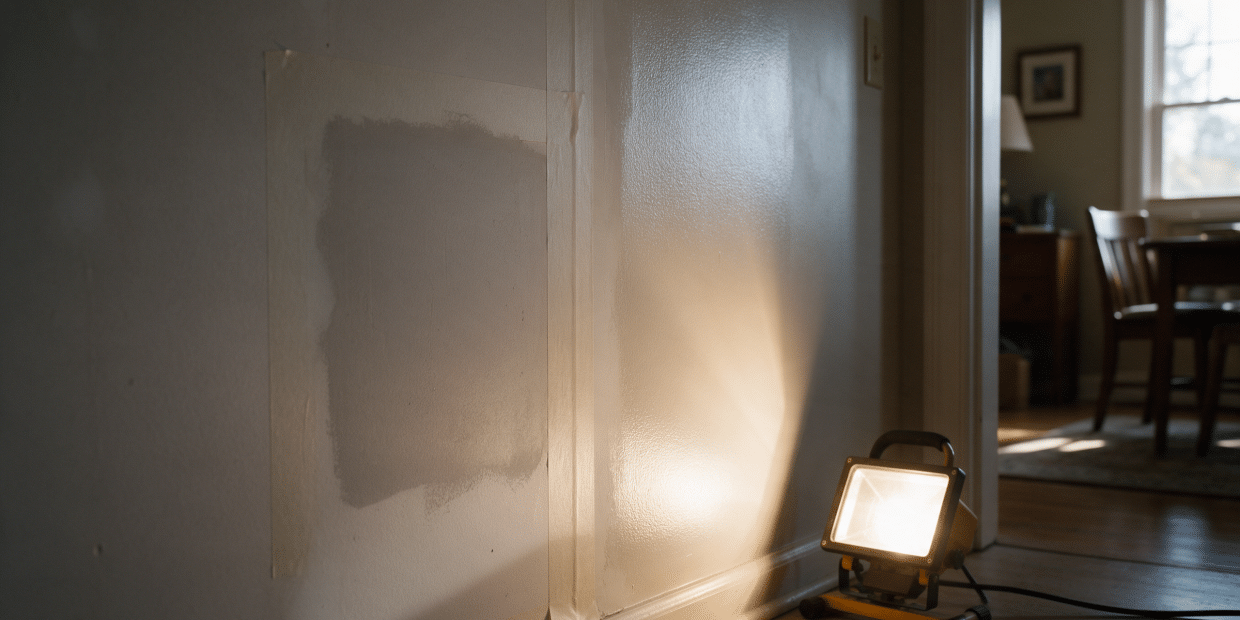
| A dull square or rectangle over a patch, shinier field around it | Flashing from a porosity mismatch between joint compound and paper | Re-prime, feathered a few inches past the patch edge |
| Streaks with visible sheen, almost wet-looking when dry | Coat laid on too thick, or overworked with the roller | Let it cure fully, scuff lightly, recoat thin |
| You can still faintly see the old color or a stain through it | One coat on a porous or stained surface, not a failure | Second coat, or a stain-blocking primer if it’s a water or smoke mark |
| Powdery, rubs off white on your finger when you touch it | Primer over an unscuffed, chalky old paint film | Wash and scuff-sand the wall, then reprime |
Why primer flashes over drywall mud and old paint
Drywall paper and the joint compound troweled over a seam or a repair aren’t the same material, even once they’re sanded to the same color. Paper has a factory finish that resists water slightly. Dried joint compound is closer to chalk, and it drinks a liquid coat the moment it touches the surface, faster and deeper than the paper right next to it.
Roll the same primer over both at the same time and the compound pulls more of it in, leaving a thinner, flatter film right where the patch is. The paper holds more of the coat on the surface, which keeps a touch more sheen. Painters call the result flashing: one section reads dull, the section next to it reads slightly glossy, and no amount of squinting fixes it, because it isn’t a lighting problem. It’s two different absorption rates sitting side by side on the same wall. Fresh joint compound is thirstiest of all right after it sets, which is one more reason the timing rules in the setting-type joint compound guide matter before you ever pick up a primer roller.
A drywall primer explainer puts the same mismatch in product terms: the paper is textured on purpose so joint compound grips it, and once that compound is sanded flat, the two materials still don’t absorb paint at the same rate, which is what makes an unsealed repair “flash” under the topcoat (askthebuilder.com). A primer built to equalize porosity, often labeled PVA or an all-purpose stain-blocking primer, closes that gap before color goes on.
Judge it under a work light, not the overhead fixture
Room light coming straight down hides flashing almost completely. Set a work light or a lamp on the floor a few feet from the wall, pointed sideways across the surface, and the dull-versus-shiny line shows up immediately. It’s the same trick that works for checking a skim coat for ridges.
The sheen test: how should primer look on a wall before you paint
You don’t need a meter for this. The whole test is your hand, a light, and a few minutes of patience before you commit to a color coat.
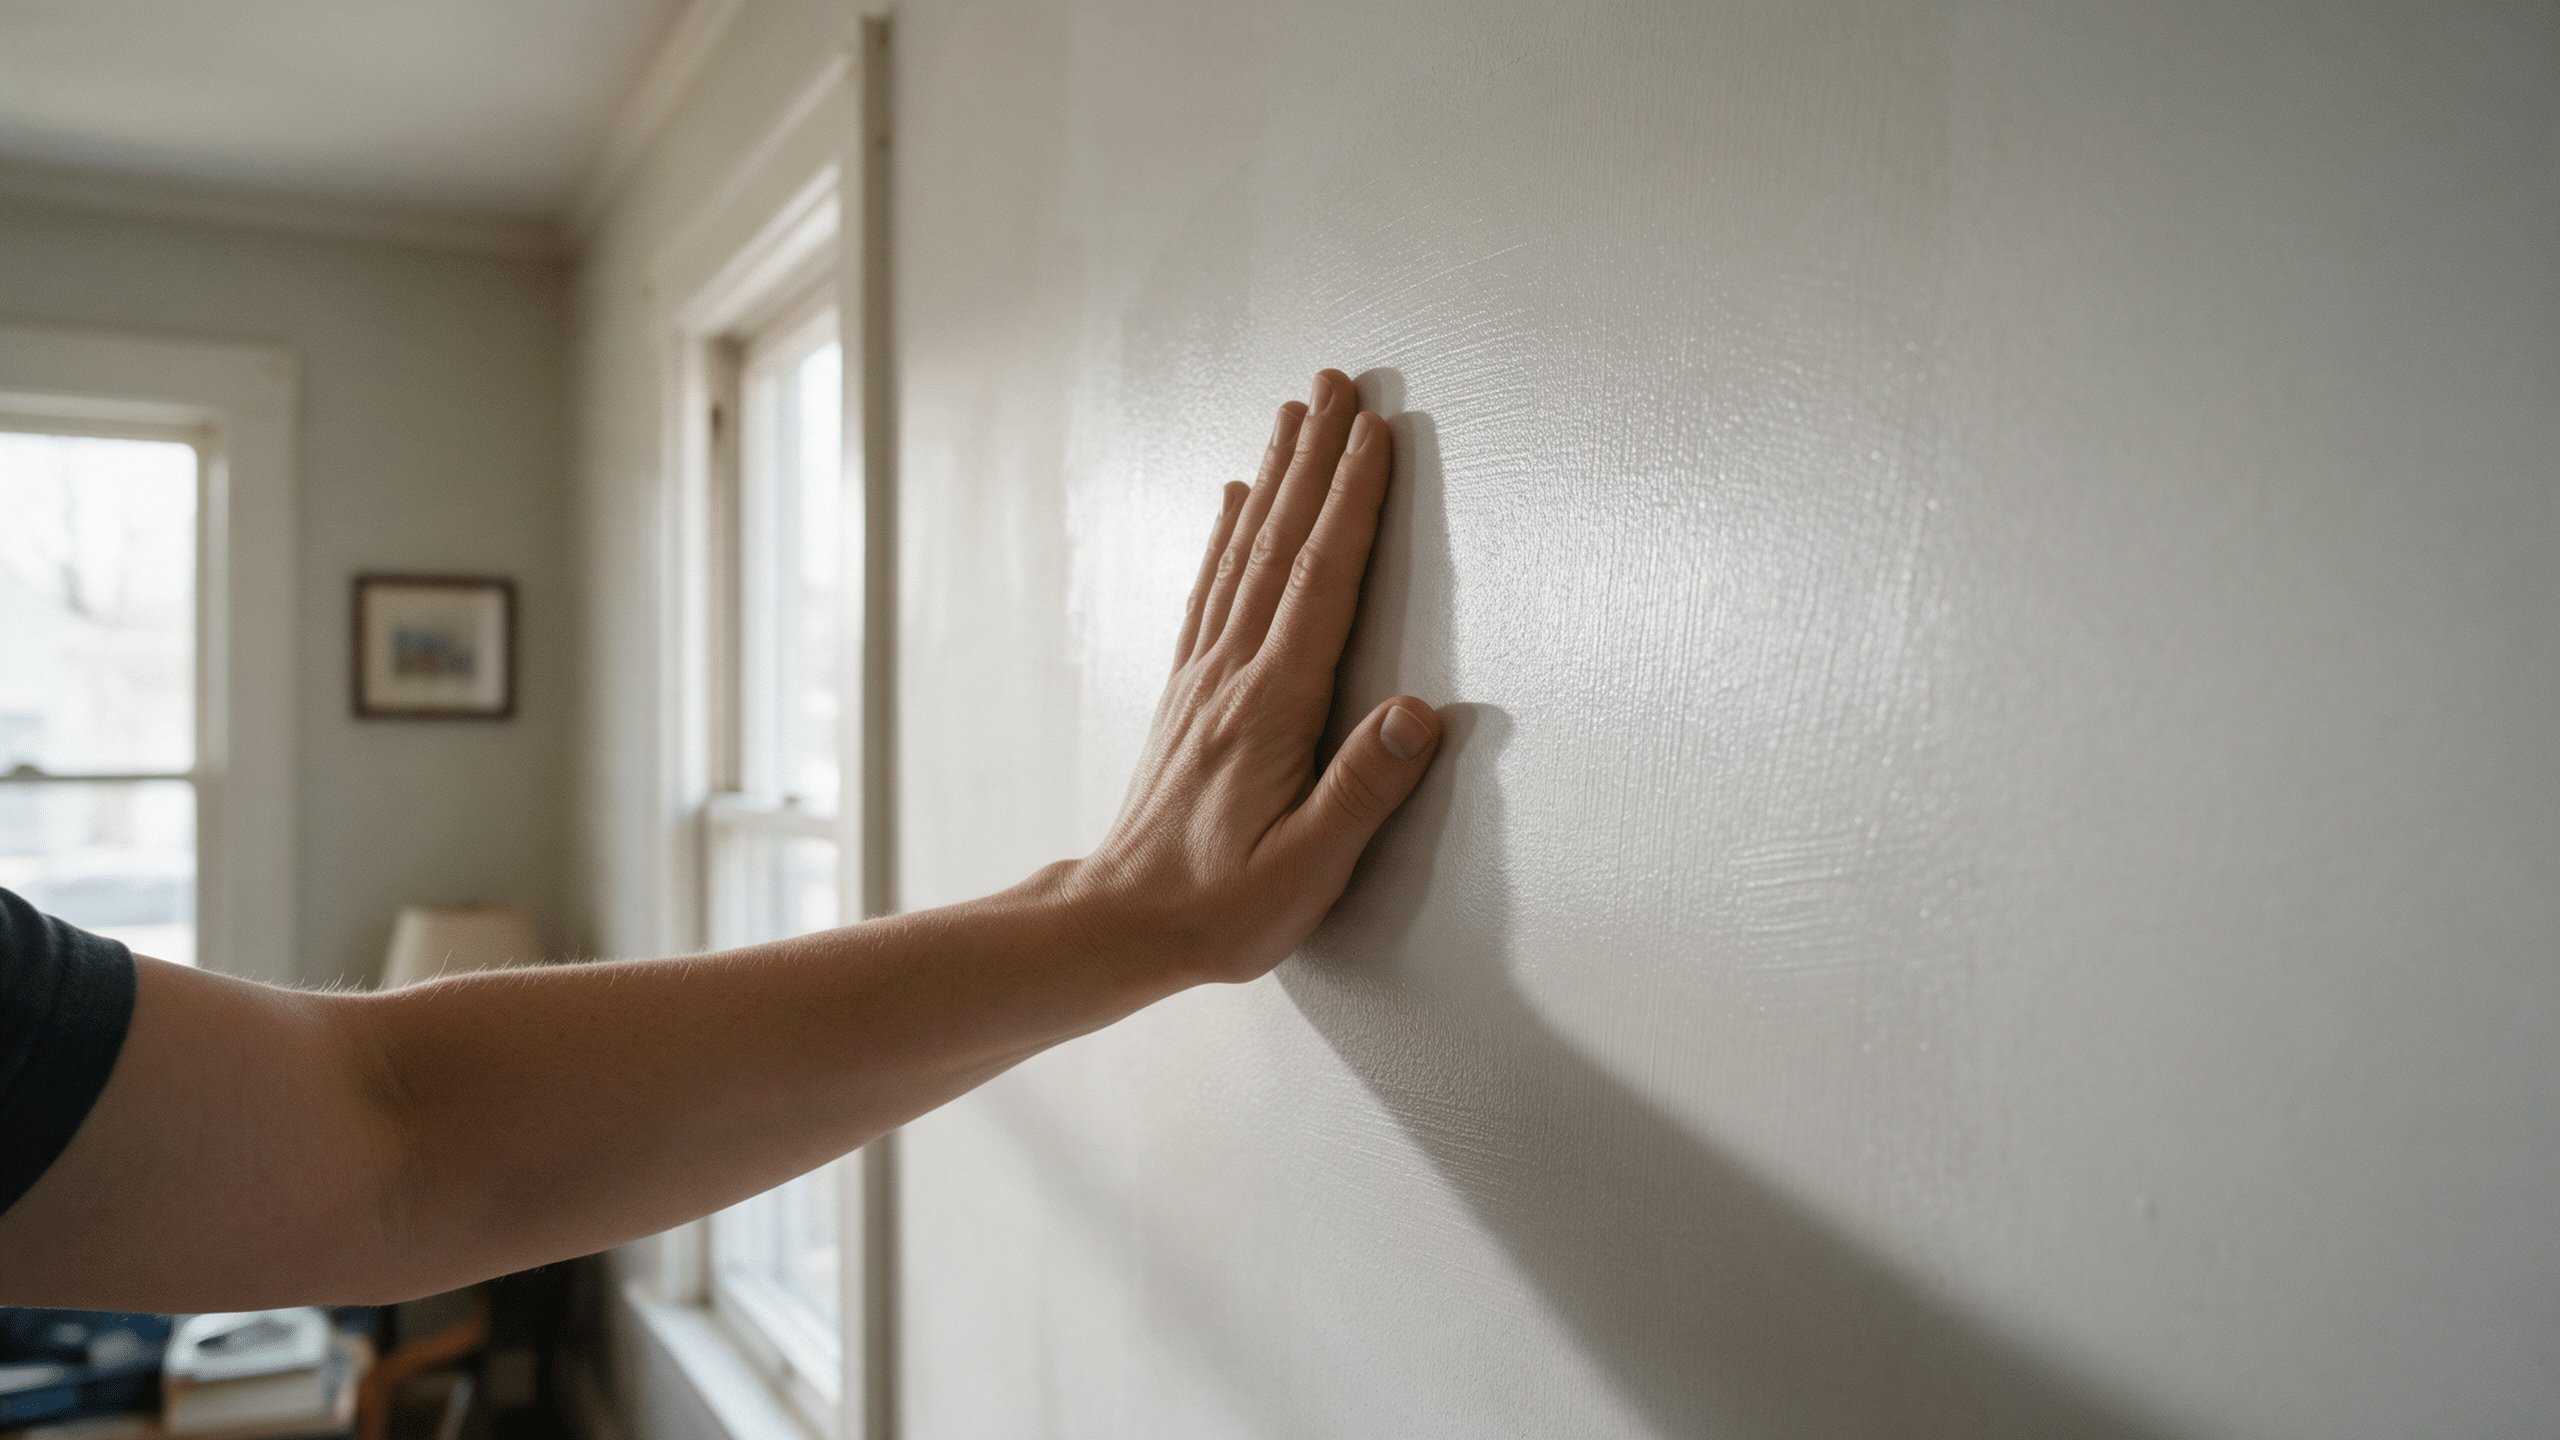
-
Wait for it to dry to the touch
Press the flat of your hand against a few spots, including a patch and the open field. Nothing should feel cool, tacky, or soft. A water-based primer in a normal room is usually there within thirty to sixty minutes, slower in a cold or humid room.
-
Check it under raking light
Low, sideways light from a work lamp or a flashlight held flat against the wall will show you exactly where the sheen changes. Walk the light along the whole wall, not just the spot you’re worried about.
-
Run a flat palm across the surface
A properly primed wall feels slightly toothy and even. A spot that feels smoother and almost slick usually has more film built up there than anywhere else, which is the streak you saw under the light.
-
Compare the repair to the field, not to your memory of the old wall
The question isn’t whether the patch looks like it did before you fixed it. It’s whether the patch and the surrounding primer read as one surface. If they don’t, that’s the signal to recoat, not a cosmetic quirk to paint over and hope.
-
Decide: one coat or two
If the dull patch and the field are close in tone and the palm test feels consistent, one coat is enough. If the patch still reads noticeably duller or you can see texture or old color through it, give it a second coat before the color goes on.
When one coat is enough, and when you need a second
On a wall that’s already painted and sound, getting only a color change, one coat of primer over the whole surface is usually the end of it. The job there is to kill the old color so it doesn’t ghost through, not to fix porosity, since painted drywall doesn’t vary much from one square foot to the next.
A patch, a whole sheet of new drywall, or anywhere joint compound is the top layer is a different situation. That surface is far more absorbent, and manufacturers build it into the product spec. Zinsser’s technical data sheet for its all-purpose Bulls Eye 1-2-3 primer notes that “certain applications may require a second coat of primer,” and lists coverage at roughly 450 square feet per gallon on a non-porous surface against only 350 on a porous one, so the same gallon runs out faster over bare mud (Zinsser Bulls Eye 1-2-3 technical data sheet). That gap in coverage is the same gap you’re seeing with your eyes as flashing.
| Stage | Typical timing |
|---|---|
| Dry to the touch | 30-35 minutes |
| Ready for a topcoat | About 1 hour, in a normal 70-80°F room |
| Second coat of primer, if the first still looks thin or patchy | Once the first coat is dry to the touch, no need to wait longer |
| Full hardness of the dried film | 7 days |
That one-hour window is also why rushing the topcoat backfires. A primer that’s dry to the touch has only just stopped being wet, and a color coat rolled on too soon can drag the still-soft film and reopen the exact unevenness you were priming away.
Priming a patch versus priming a whole wall
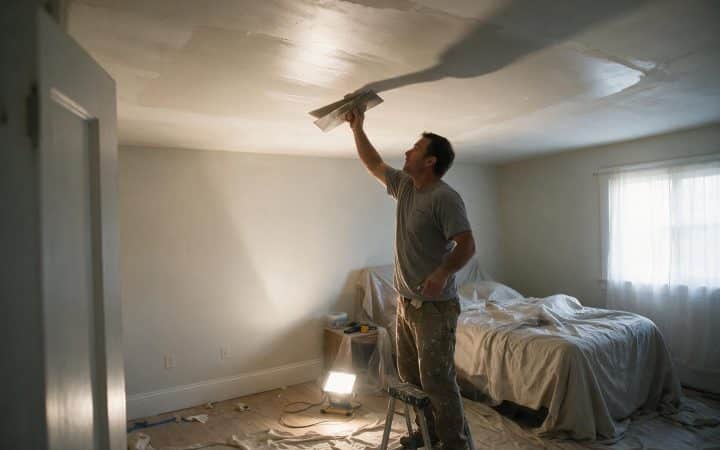
Spot-priming just the patch is the fast move, and it’s the wrong one more often than not. A primer edge that stops right at the repair line leaves a hard boundary between two films of different thickness, which is exactly what flashes once the topcoat goes over it. Carry the primer a few inches past the patch in every direction instead, feathering it so there’s no sharp line for the color coat to trip over.
How far past the patch depends on the repair. A nail hole or a small anchor hole from a small drywall repair only needs a few inches of feathering. Anything closer to a wider joint compound repair, including a taped seam or a corner, usually wants a full foot of overlap on each side, because that’s roughly how far the compound itself was feathered out when it was applied.
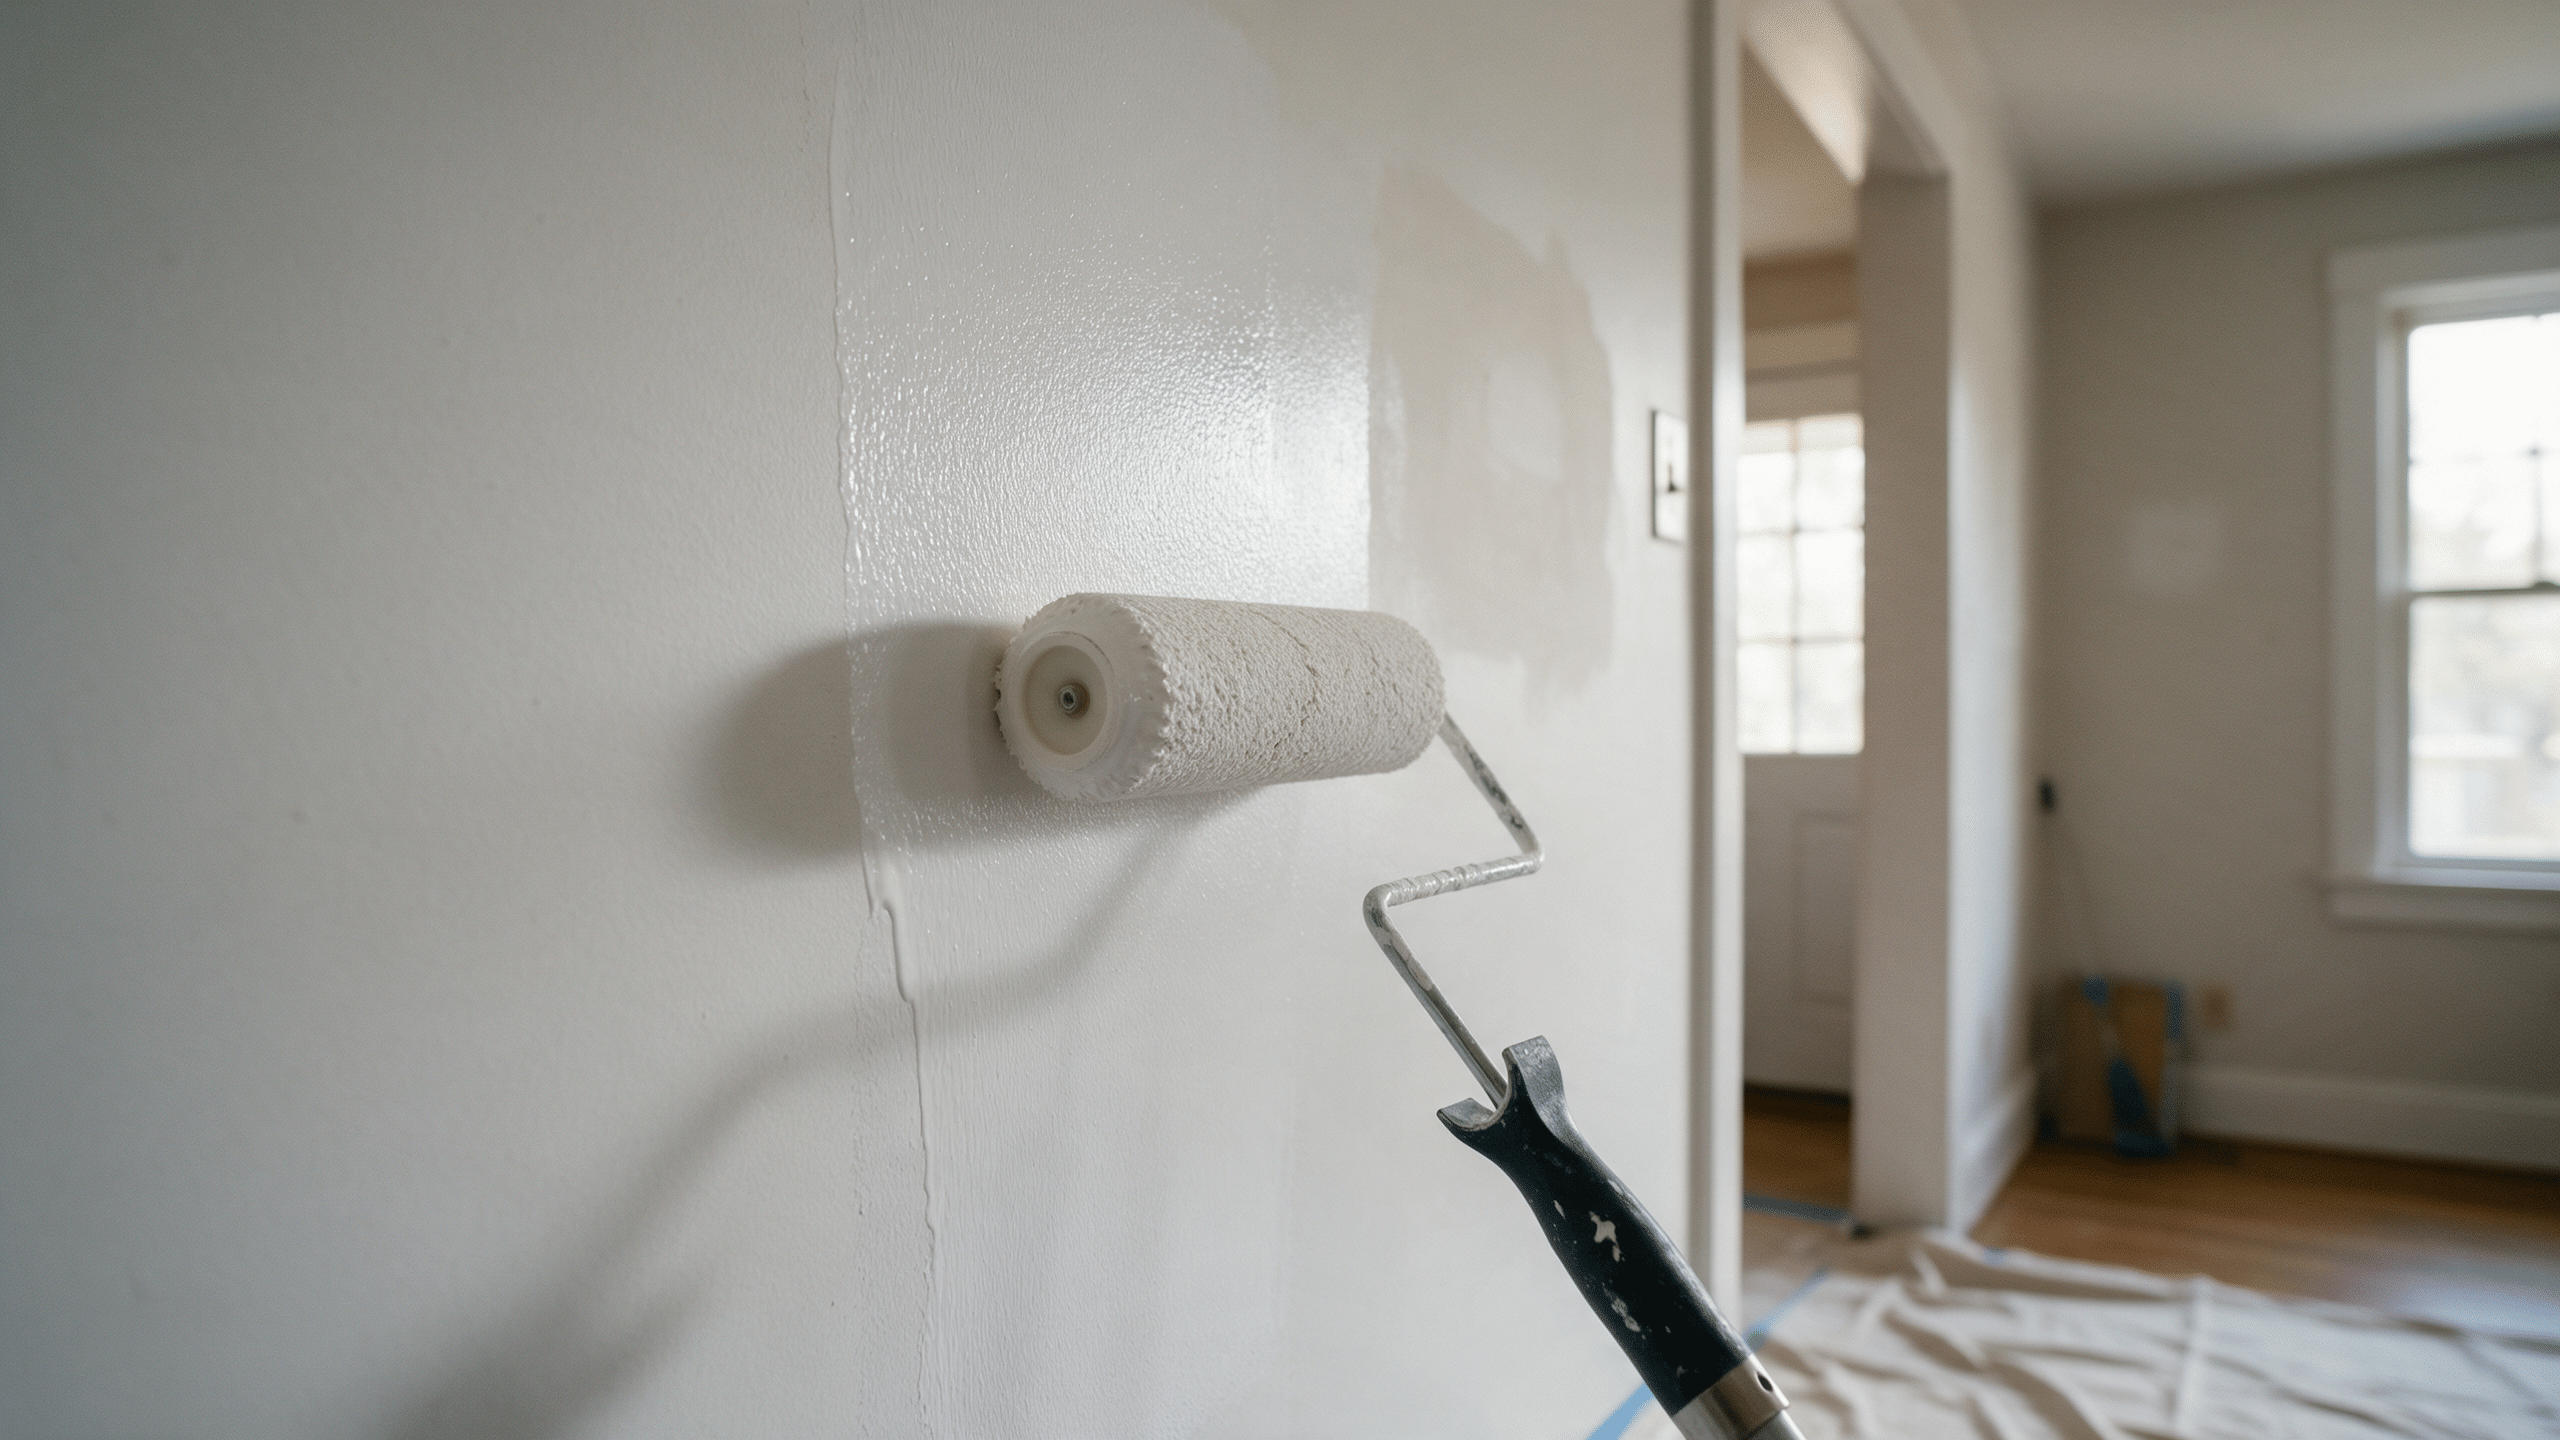
Priming the entire wall, not just the repair, is the more reliable call whenever the patch is large, there are several of them, or the existing paint has any sheen to it. It’s the same reason a full skim coat always gets primed corner to corner rather than just over the new mud. Full-wall priming costs you a bit more primer and an extra half hour of rolling. It also means you’re never trying to blend a hard edge, because there isn’t one.
Old glossy or semi-gloss paint changes the math again. Primer doesn’t bond well to a slick film, so the surface needs a light scuff-sand first, enough to dull the sheen and give the primer something to grip, covered in the grit guide for drywall and paint. Skip it and primer can look fine going on, then peel in sheets weeks later, a worse problem than a dull patch.
Test before you scuff-sand paint from before 1978
Scuffing or sanding old paint to get primer to bond is exactly the action that releases lead dust if that paint predates the 1978 US ban. A lab test on a paint chip runs about forty dollars. Wear a NIOSH-approved respirator and clean up with a HEPA vacuum and a wet mop rather than a dry broom, and read where this site’s advice stops on the disclaimer page before you sand anything in a pre-1978 house.
Mistakes that make primer look worse than it is
Rolling it on too thin to save a few dollars is the most common one. A starved coat dries almost see-through in spots, and the instinct is to blame the primer rather than load the roller properly.
Priming only the repairs and skipping the field, covered above, is the second. The third is a full color coat over primer that’s merely dry to the touch rather than fully cured, which can trap a sheen difference under the finish paint and show it again weeks later, now under two coats instead of one.
The fourth is grabbing whatever primer is already in the garage without checking whether it matches the job. General-purpose primer is fine on an already-painted wall getting a color change. A fresh patch or a stain wants something built for porosity or stain-blocking, and the wrong tool is a common reason a “properly primed” wall still flashes, a flaw that shows up under the same raking light that reveals roller marks and flashing on a finish coat.
Common questions
Is it normal for primer to look patchy or uneven right after it dries?
To a point, yes. A dull patch next to a slightly glossier field is flashing, caused by joint compound and painted drywall absorbing the primer at different rates. It’s not a failed job by itself, but it’s also the signal to recoat that area rather than paint straight over it.
Does primer need to fully hide the color underneath before you paint?
No. Primer’s job is to even out porosity and sheen so the topcoat behaves the same way everywhere, not to act as a stand-in for the finish color. A faint shadow of the old color showing through one coat is normal; your actual paint color is what covers it.
How long after priming can you paint over it?
About an hour for a standard water-based primer in a normal room, once it’s dry to the touch. Cold or humid rooms slow that down, and the film keeps gaining hardness for about a week after, so give it extra time before leaning anything against a freshly painted wall.
Do I need to prime a wall that’s already painted?
Only in specific cases: a dramatic color change, a glossy or semi-gloss surface, a stain you need blocked, or any patches and repairs on the wall. A same-sheen, similar-color repaint on sound paint usually doesn’t need a dedicated primer coat at all.
How many coats of primer does a wall actually need?
One coat over already-painted drywall is standard. Bare drywall, fresh joint compound, and anywhere a stain is being blocked often want a second coat, because the first one gets absorbed before it can build a sealing film.
What does it mean if primer looks like it soaked in instead of sitting on the surface?
The surface is more porous than the primer can cover in one coat, usually bare drywall paper or unsealed joint compound. It isn’t wasted primer, it’s the first coat doing exactly what a porous surface makes it do. A second coat will sit on top instead of soaking in.
Is primer supposed to look flat and dull, or glossy?
Flat and a little chalky is correct, consistently, across the whole wall. Streaks with visible sheen usually mean the coat was laid on too thick or overworked with the roller in that spot, not that the primer is wrong for the job.
Trust what the wall shows you, not the can’s timeline
A patchy-looking primer coat is usually information, not a mistake: it’s telling you where the surface underneath is thirstier than the rest of the wall. Read it with a raking light and a flat hand, feather any repair past its edges, and give it the hour it actually needs before the color goes on. More on getting a surface ready lives under surface prep, and what happens once the color coat goes on is collected under painting technique.
Dry time, recoat window, and coverage figures come from Zinsser’s published technical data sheet for Bulls Eye 1-2-3 primer. The porosity mismatch is drawn from a drywall primer explainer at askthebuilder.com. Lead testing guidance follows the US EPA’s pre-1978 paint rules. How I put these pages together is on the about page. If something is off in your situation, tell me and I’ll correct it.