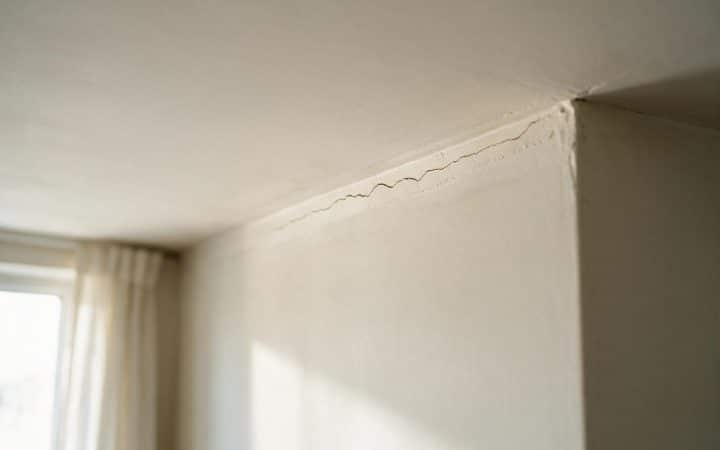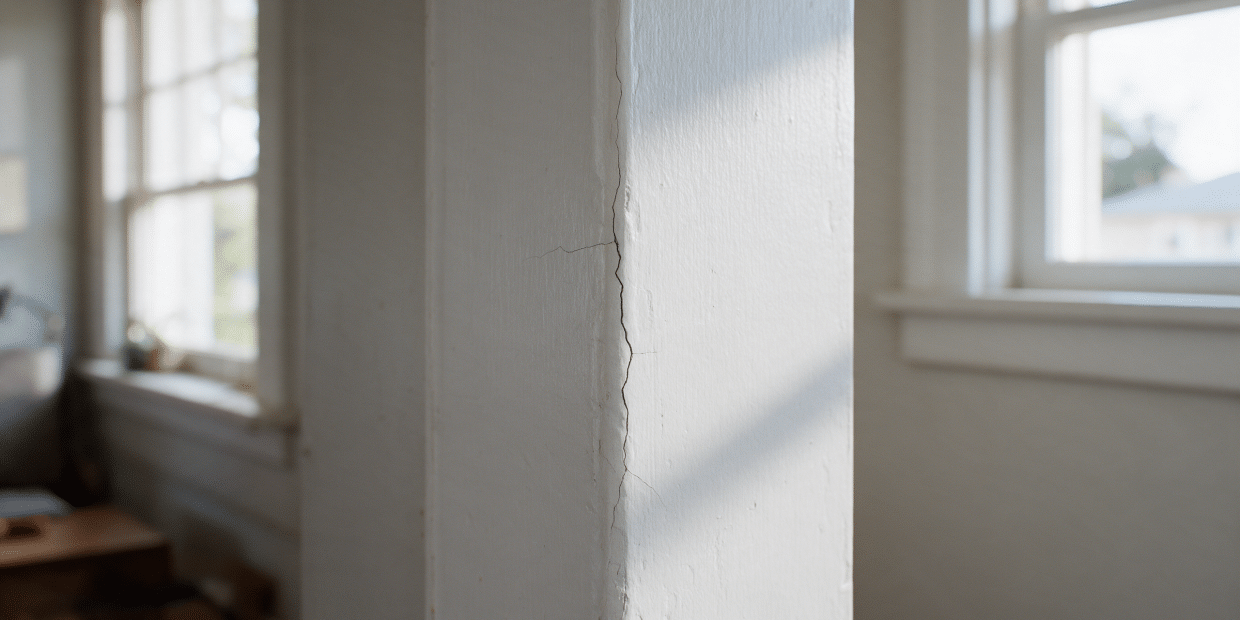
A crack running along a wall corner is not one repair, it’s two. An inside corner that’s cracking usually means the paper tape underneath has let go. An outside corner that’s cracking almost always means the metal or vinyl bead behind the paint has bent or pulled loose. Fixing drywall corner cracks the right way starts with telling those two apart, because retaping an inside seam and replacing a bent bead use different tools, different compound, and a different amount of patience.
Confuse the two and the crack comes back within a season. Mudding over a bent outside bead hides the dent for a while, then the paint cracks along the same line the next time a vacuum cleaner or a moving box catches the edge. Caulking a wide inside gap instead of retaping it fails the other way: caulk flexes, but it was never meant to bridge a joint that keeps opening and closing.
How to fix drywall corner cracks: pick the method by corner, not by size
Size is the number most people check first, and it’s the wrong one to start with. A hairline crack on an inside corner and a half-inch gap on an outside corner call for different repairs, and neither has much to do with how many inches the crack runs. What decides the fix is which kind of corner it is, and what’s sitting under the paint. If the damage actually punches through the wall instead of just cracking it, that’s a different repair; see our guide to patching a large hole in drywall instead.
| Corner type | What’s underneath | Usual cause | Fix |
|---|---|---|---|
| Inside corner (two walls meeting, or wall to ceiling) | Paper or fiberglass mesh tape, folded into the joint | Tape lifting from the compound, or a hairline settling crack | Cut out the loose tape, retape, re-mud |
| Outside corner (doorway, hallway edge, pass-through) | Metal or vinyl corner bead running the length of the edge | The bead got bumped or bent, or was never fastened tight | Hairline: re-mud over the bead. Bent or crushed: cut out and replace it |
The ten-second test that tells you which repair you need
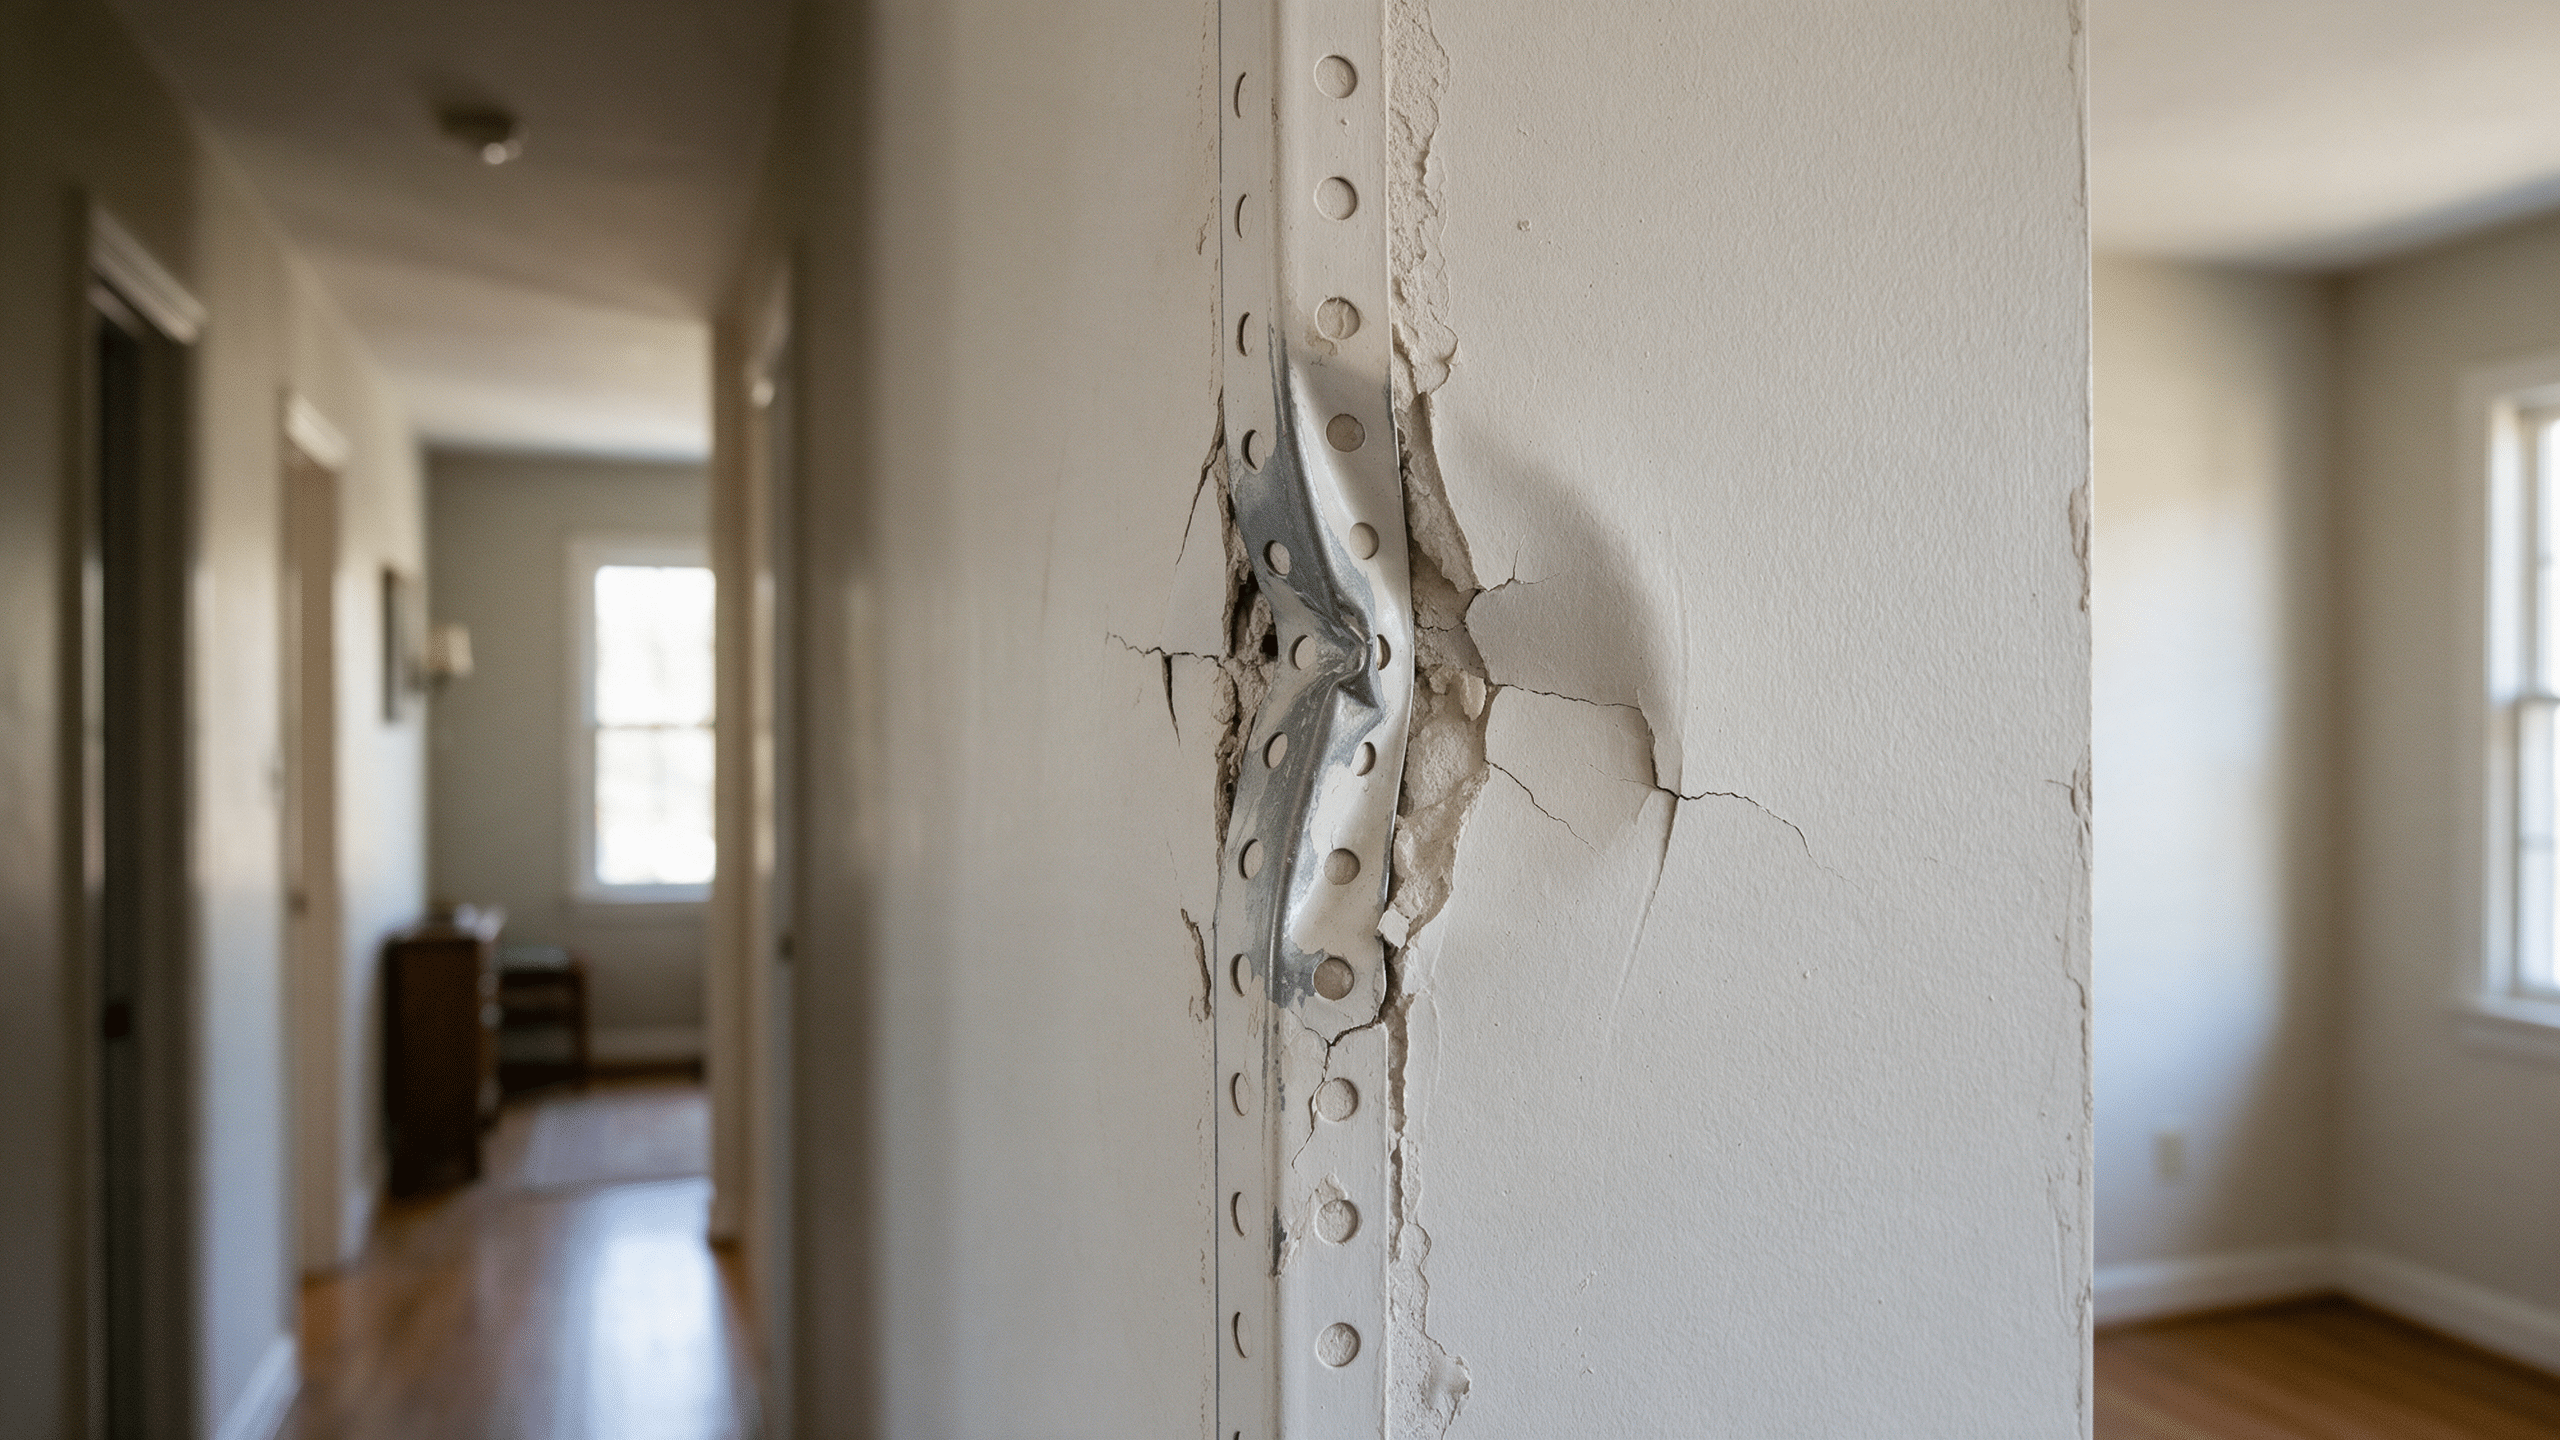
On an inside corner, run a fingernail along the crack. If a strip of tape lifts or flakes away, it has already failed and needs to come out, not get buried under more compound. On an outside corner, press a hand flat against the edge. A hairline crack over a bead that still feels straight is a re-mud job. A bead you can flex, or one with a visible dent or a lip you can catch with a fingernail, has failed structurally and needs to be cut out and replaced, according to corner bead manufacturer Trim-Tex.
Why corners crack in the first place
Outside corners take the abuse. They’re the edge that catches a moving box, a vacuum cleaner, a furniture dolly, or a kid’s bike handlebar, and a metal bead only has to bend a little before the thin coat of compound over it cracks along the dent. A bead that was fastened too far apart, or only tacked at the top and bottom instead of roughly every 8 inches along each flange, moves more than one screwed down tight, and it eventually telegraphs a crack even without a direct hit.
Inside corners crack for a quieter reason: the house itself moving. Framing lumber expands and contracts with temperature and humidity through the year, and that small seasonal movement concentrates right at the joint where two pieces of drywall meet at 90 degrees. A well-taped inside corner absorbs some of that movement. A corner where the tape was pressed in too dry, with air pockets trapped behind it, can’t, and it’s usually the first place cracking shows up as a house settles. Improper fastening, moisture reaching a metal bead and corroding it, and ordinary impact damage round out the common causes on either type of corner, per the repair breakdown at Engineer Fix.
A crack at a corner is not the same problem as a crack running along a flat seam in the middle of a wall, where two sheets of drywall butt together instead of meeting at an angle. That’s a taping issue with its own failure pattern; see our guide to drywall seam cracks if that’s closer to what you’re looking at.
Retaping an inside corner crack
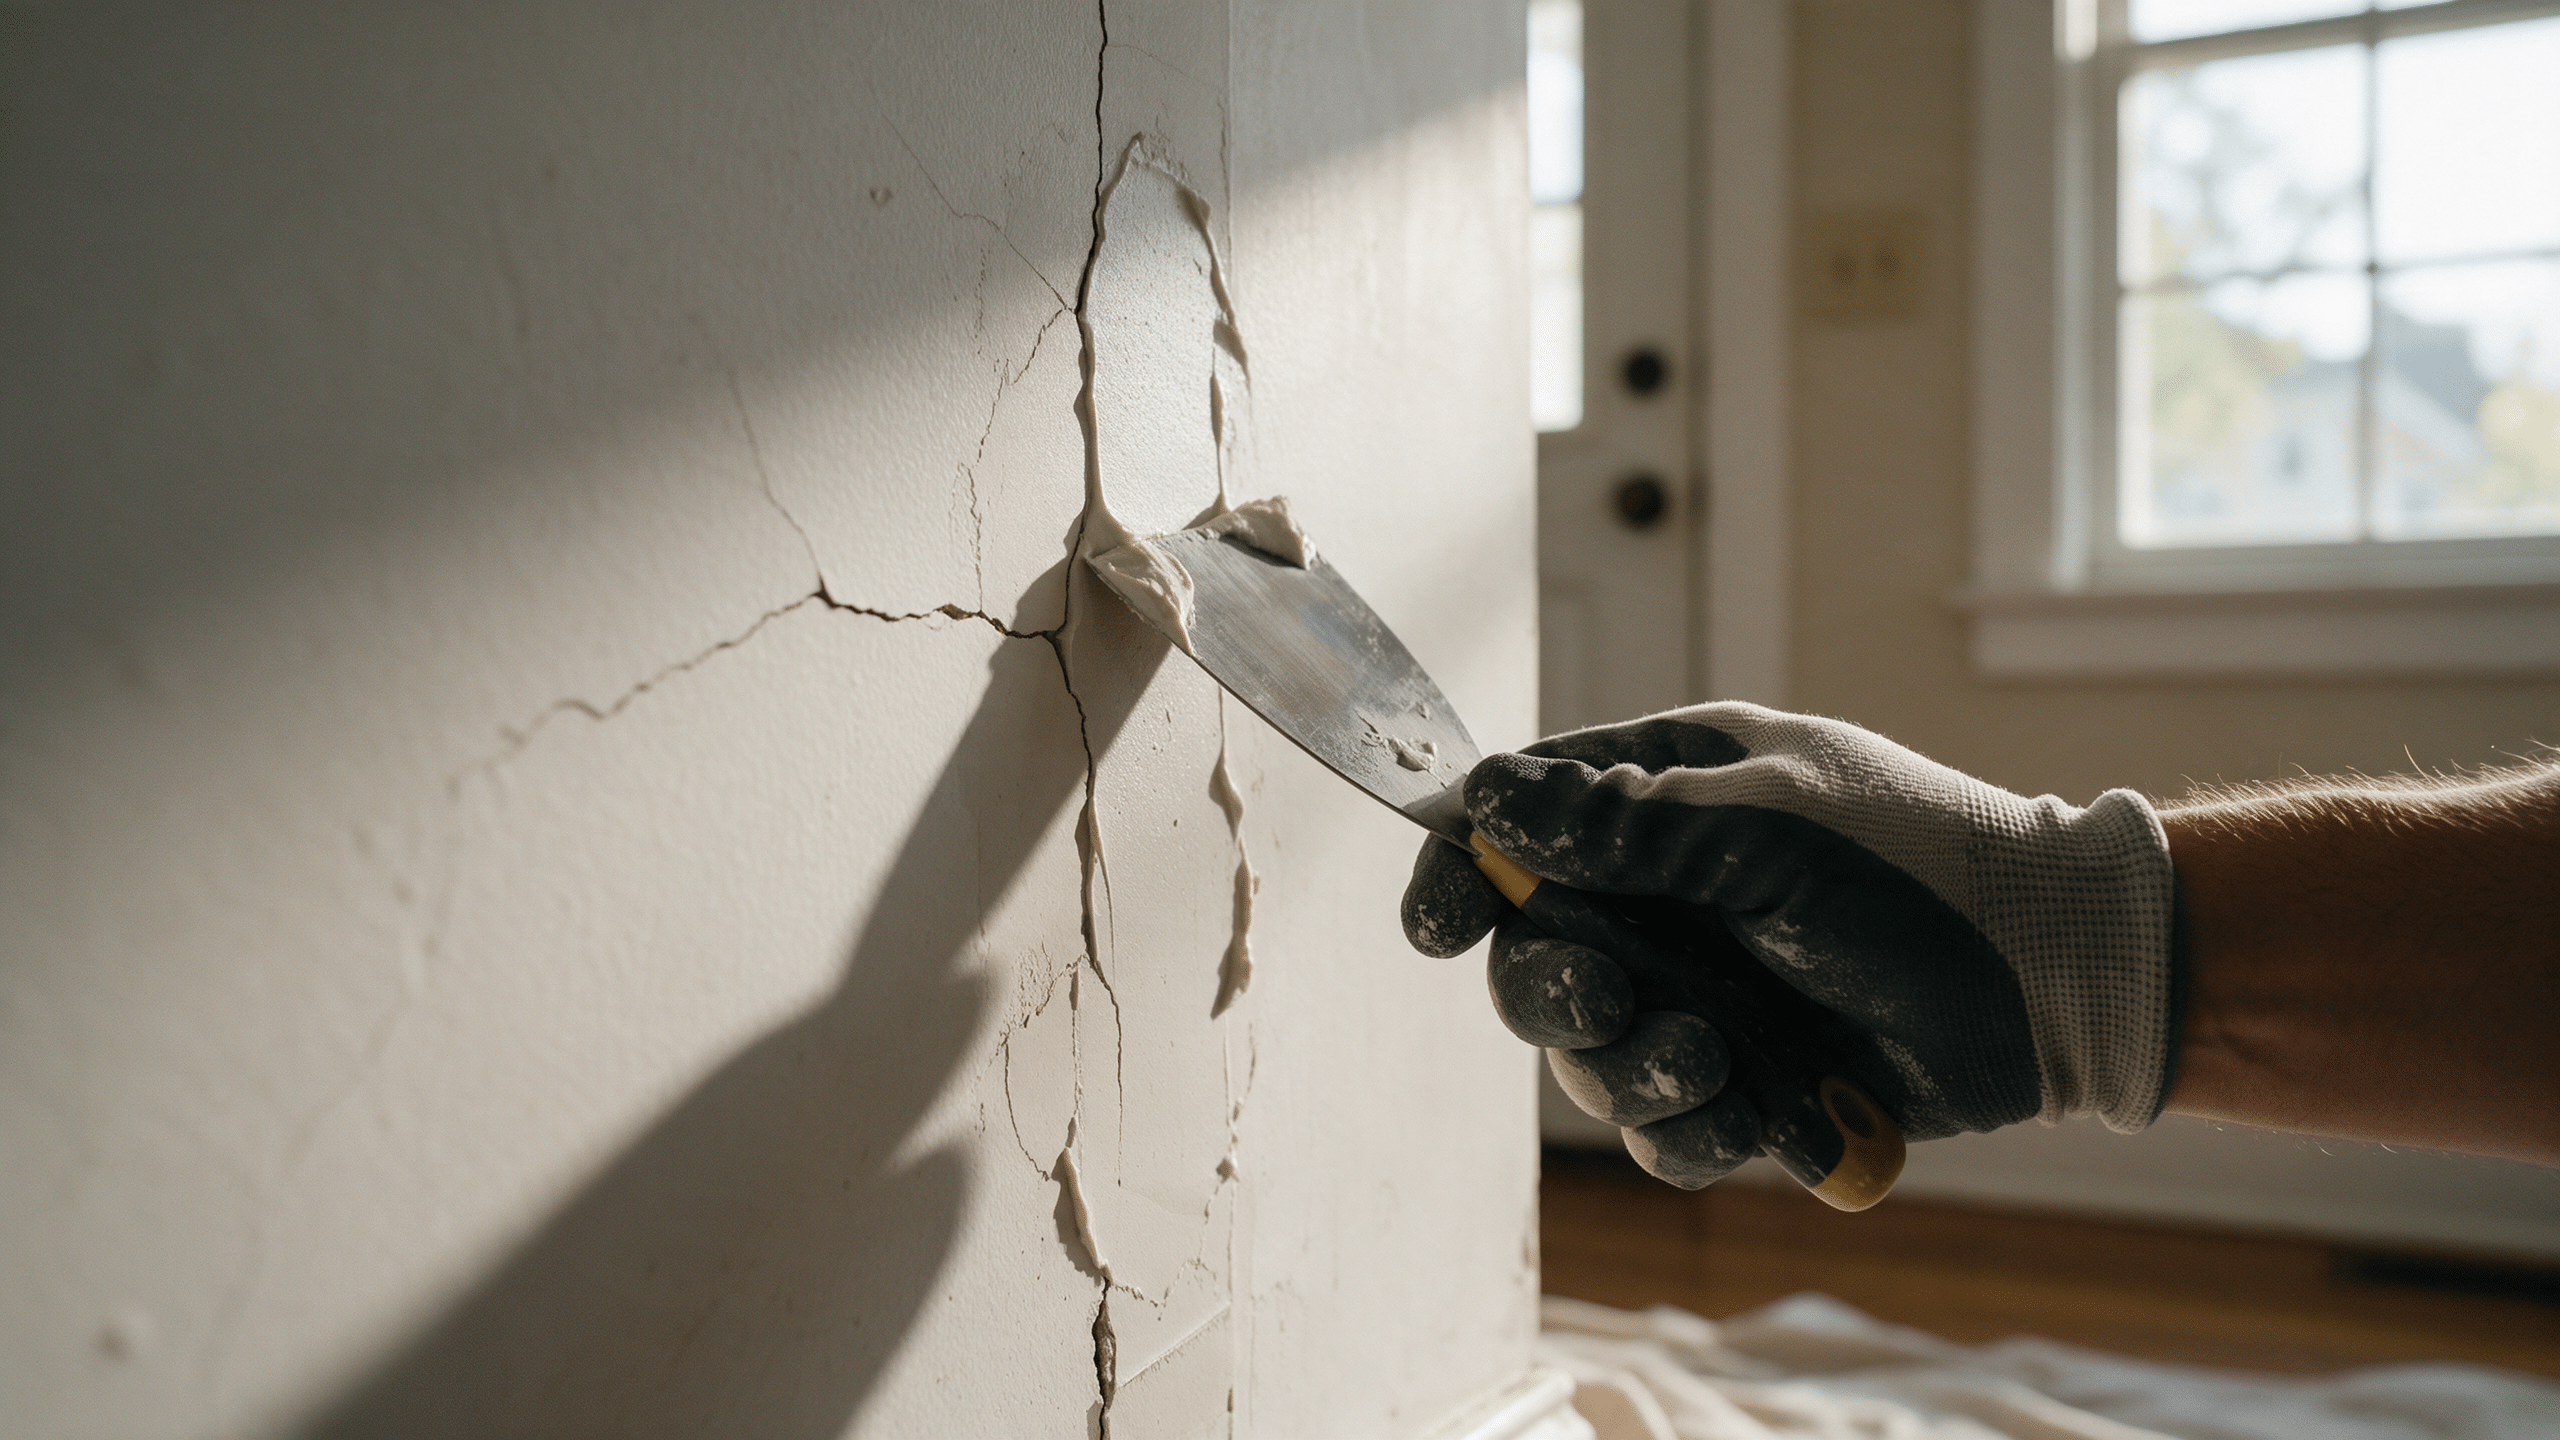
Once you’ve confirmed the tape has actually failed rather than just hairline cracked on the surface, the fix is the same one drywall finishers use on a brand new inside corner: pull the bad section, replace it, and mud it in three thin coats instead of one thick one.
Cut out the loose tape
Score along both sides of the failing section with a utility knife and peel it away. Anything that lifts with light pressure needs to come out. Don’t mud over a strip of tape that’s already floating free of the wall.
Clean and check the joint
Brush or vacuum out dust and loose compound. If the gypsum core underneath is soft, crumbly, or damp, stop and find the moisture source before you tape over it.
Bed new tape
Apply a thin layer of joint compound into both sides of the corner, fold a length of paper tape (or use pre-creased corner tape) down the middle, and press it into the wet mud with a corner trowel or a 6-inch knife, working top to bottom.
First coat
Cover the tape with a thin layer of compound on each side, feathered a couple of inches past the tape. This coat is about adhesion, not looks.
Second and third coats
Once dry (about 24 hours a coat with all-purpose compound, well under an hour with setting-type “hot mud”), apply two more coats, each wider than the last, feathering 4 to 6 inches past the edge of the one before it.
Sand, prime, paint
Fine-grit sand once fully dry, then prime before paint so the compound doesn’t flash a different sheen than the surrounding wall under the finish coat.
Hairline crack or bent bead: diagnosing an outside corner
Every outside corner on a wall, at a doorway, a hallway edge, or a kitchen pass-through, has a strip of corner bead running underneath the paint. It’s usually galvanized metal on older homes and vinyl or paper-faced composite on newer ones, and its job is to give that edge a straight, crisp line while protecting the soft gypsum core from getting knocked in. A hairline crack over an intact bead is cosmetic. A bent or crushed bead is not, because the metal underneath no longer sits flat, and any compound applied over it cracks again along the same dent no matter how many coats go on.
Scraping or sanding a corner crack on paint from before 1980?
US homes painted before 1978 may have lead-based paint under later coats, and dry-sanding or dry-scraping it releases dust. Work the area damp, use a HEPA vacuum instead of a dry brush, and avoid sanding straight down to bare gypsum on an old corner. See our disclaimer for the full rundown.
Replacing a damaged outside corner bead
A bent bead can’t be straightened back into service, at least not reliably enough to trust it under fresh paint. Cutting out the damaged section and screwing in a new piece is the fix that doesn’t crack again within a year, and it’s a smaller job than it sounds.
Mark and cut the damaged section
Score the compound about an inch above and below the damage with a utility knife, then cut straight through the bead itself with a hacksaw or an oscillating tool.
Remove the old piece
Pry it away from the corner and pull or grind off the screws or staples holding it. Scrape away loose compound down to bare drywall.
Cut and fit the replacement
Cut a new length of matching bead, metal for metal, vinyl for vinyl, a bit longer than the gap, and dry-fit it before fastening anything.
Fasten it
Screw or staple the new bead roughly every 8 inches on each flange, checking with a level or a straightedge that it sits flush and plumb with the old bead on both ends.
First coat
Use a 6-inch knife to force compound through the bead’s perforations for a mechanical bond, not just a surface skim.
Fill and finish coats
A wider knife for the second coat once the first is dry, then a thin skim coat with a 12-inch knife for the third, feathering each one past the edge of the last.
Sand and prime
Medium-grit sand once fully cured, wipe down the dust, then prime before paint.
Tools, materials, and what this actually costs
Neither repair needs a full toolbox. You’ll only need the row for the job you’re actually doing. If you’re unsure whether a tub of spackle or a bag of joint compound is the right call, our joint compound vs spackle guide breaks down when each one actually belongs on the wall.
| Job | You’ll need | Rough material cost |
|---|---|---|
| Inside corner retape | Paper or pre-creased corner tape, corner trowel or 6″ knife, joint compound | $10-$20 |
| Outside corner bead replacement | Replacement bead, hacksaw or oscillating tool, tin snips, screws or staples, 6″/10″/12″ knives, joint compound | $20-$40 |
| Either job, finishing | Sanding sponge, primer, paint | add $15-$25 |
Or pay someone else to do it
Our guide to fixing cracks in walls prices a professional seam or corner crack repair at $150 to $350. DIY materials for either job on this page run $10 to $40, with the gap between those numbers being labor, not compound.
When a corner crack means something more than tape or bead
Most corner cracks are exactly what they look like: a joint that moved, or a bead that got bumped. A smaller share are a symptom of something else, and it’s worth ruling that out before spending an afternoon retaping.
A corner crack deserves a second look, not a third coat of mud, if it’s wider than about 1/4 inch, if one side sits higher than the other, if it runs diagonally down from a window or door corner, or if new cracks keep appearing on the same wall every few months. Our guide to fixing cracks in walls covers the width test and the direction table that separates normal settling from something a structural engineer should see instead.
How to fix drywall corner cracks for good
The fix depends on which corner you have, not how bad the crack looks. Retape an inside joint instead of caulking over it, and cut out a bent outside bead instead of burying it under more compound, and either repair should hold. For the rest of the wall, our drywall repair guides cover everything from small holes to full skim coats, and our surface prep guides walk through what comes next once the patch is dry and ready for primer.
Common questions
Do hairline drywall cracks at a corner need to be repaired?
Not urgently. A thin, stable hairline crack over an intact inside tape line or an unbent outside bead is mostly cosmetic and can wait. It’s worth fixing before repainting, since paint alone won’t hide it for long, but on its own it isn’t a sign of a bigger problem.
Is it okay to caulk a drywall corner crack?
On an inside corner with a tight hairline crack and solid tape underneath, a thin bead of flexible, paintable caulk works fine and moves with the house better than rigid compound does. Caulk isn’t a substitute for retaping a corner where the tape itself has already lifted.
How do you fill a big gap in a drywall corner?
A gap wider than a hairline needs tape and joint compound, not caulk or spackle alone. On an inside corner, bed new tape into fresh compound across the full length of the gap. On an outside corner, a gap that wide almost always means the bead itself has separated and needs to be refastened or replaced before it’s mudded over.
How do you fix a drywall corner that has no corner bead?
Bead can be added to a bare outside corner the same way a replacement piece is installed: cut to length, fastened every 8 inches or so, then mudded in three coats. Skipping the bead and just building up compound by hand leaves a soft, rounded edge that dents again quickly.
What can you use instead of a metal corner bead?
Vinyl and paper-faced composite corner beads are the common alternatives to metal. Neither rusts or dents as easily, and the paper-faced type embeds into the compound much like tape does, which some finishers find easier to feather smooth.
Does an inside corner need corner bead, or is tape enough?
Tape alone is standard for inside corners. Bead is built for outside, convex edges that take impact; an inside corner doesn’t get hit the same way, and paper or mesh tape bedded in compound is the normal finish there.
How long before I can paint over a corner crack repair?
With all-purpose compound at three coats and about 24 hours of drying time each, plan on 2 to 3 days before priming. Setting-type “hot mud” for the base coat can cut that down to same-day priming and painting.
Guides on this site are for general information about routine home maintenance. Suspected asbestos, mold over 10 sq ft, or structural water damage should be assessed by a licensed professional in your state.